Create and Customize Address-Based Markers in 23degrees
In this tutorial you will learn how to create a marker based on an address.
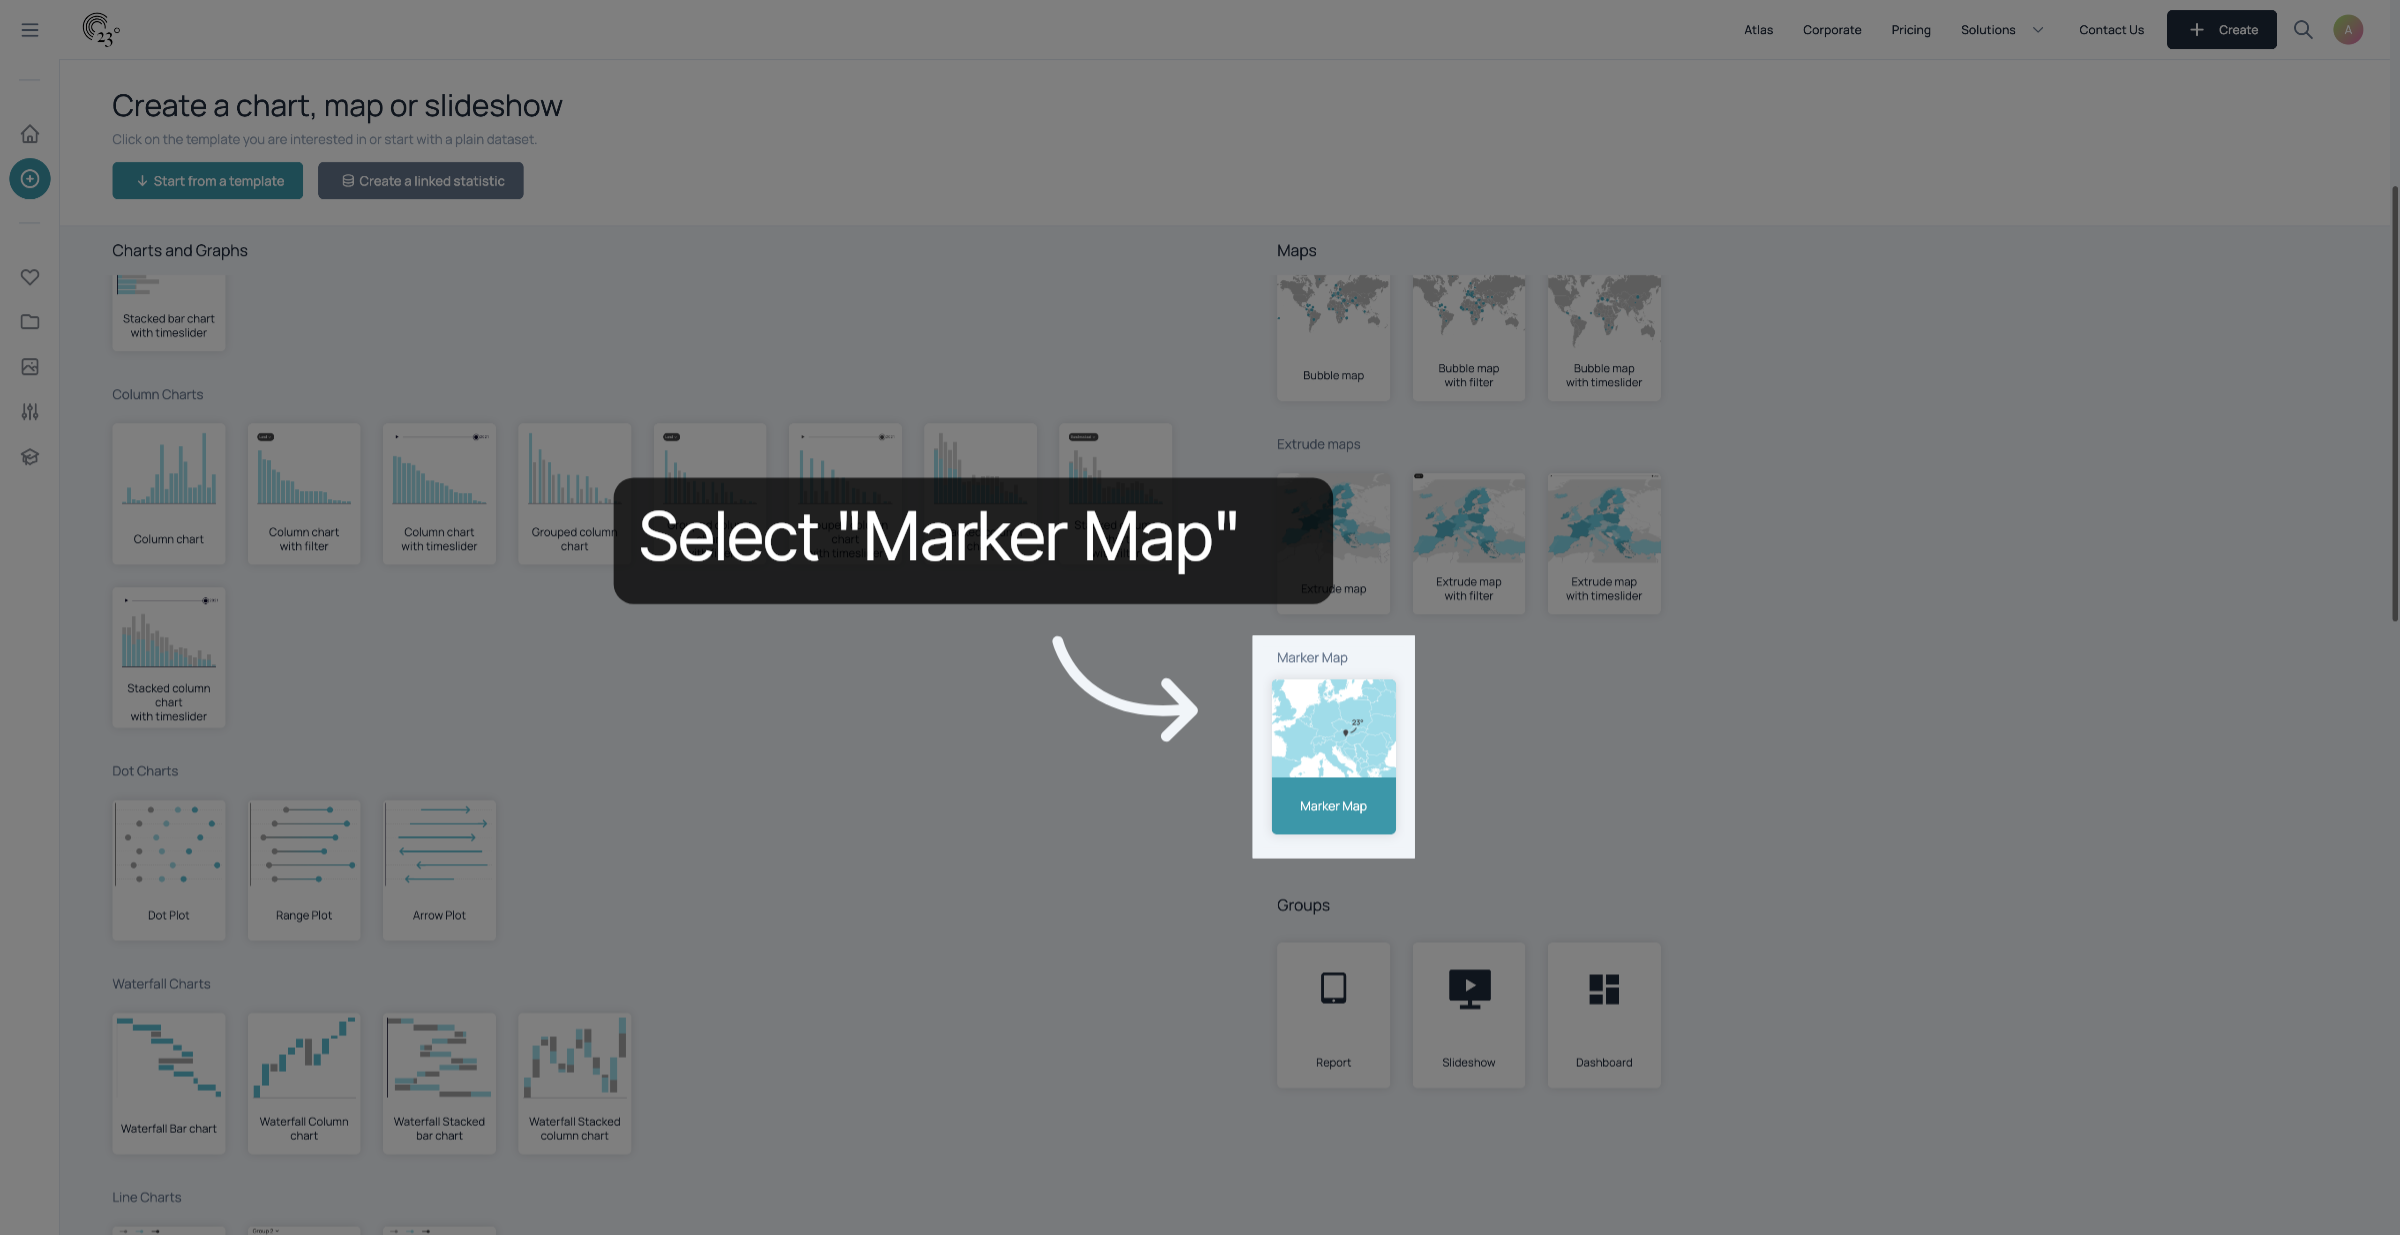
Select "Marker Map".
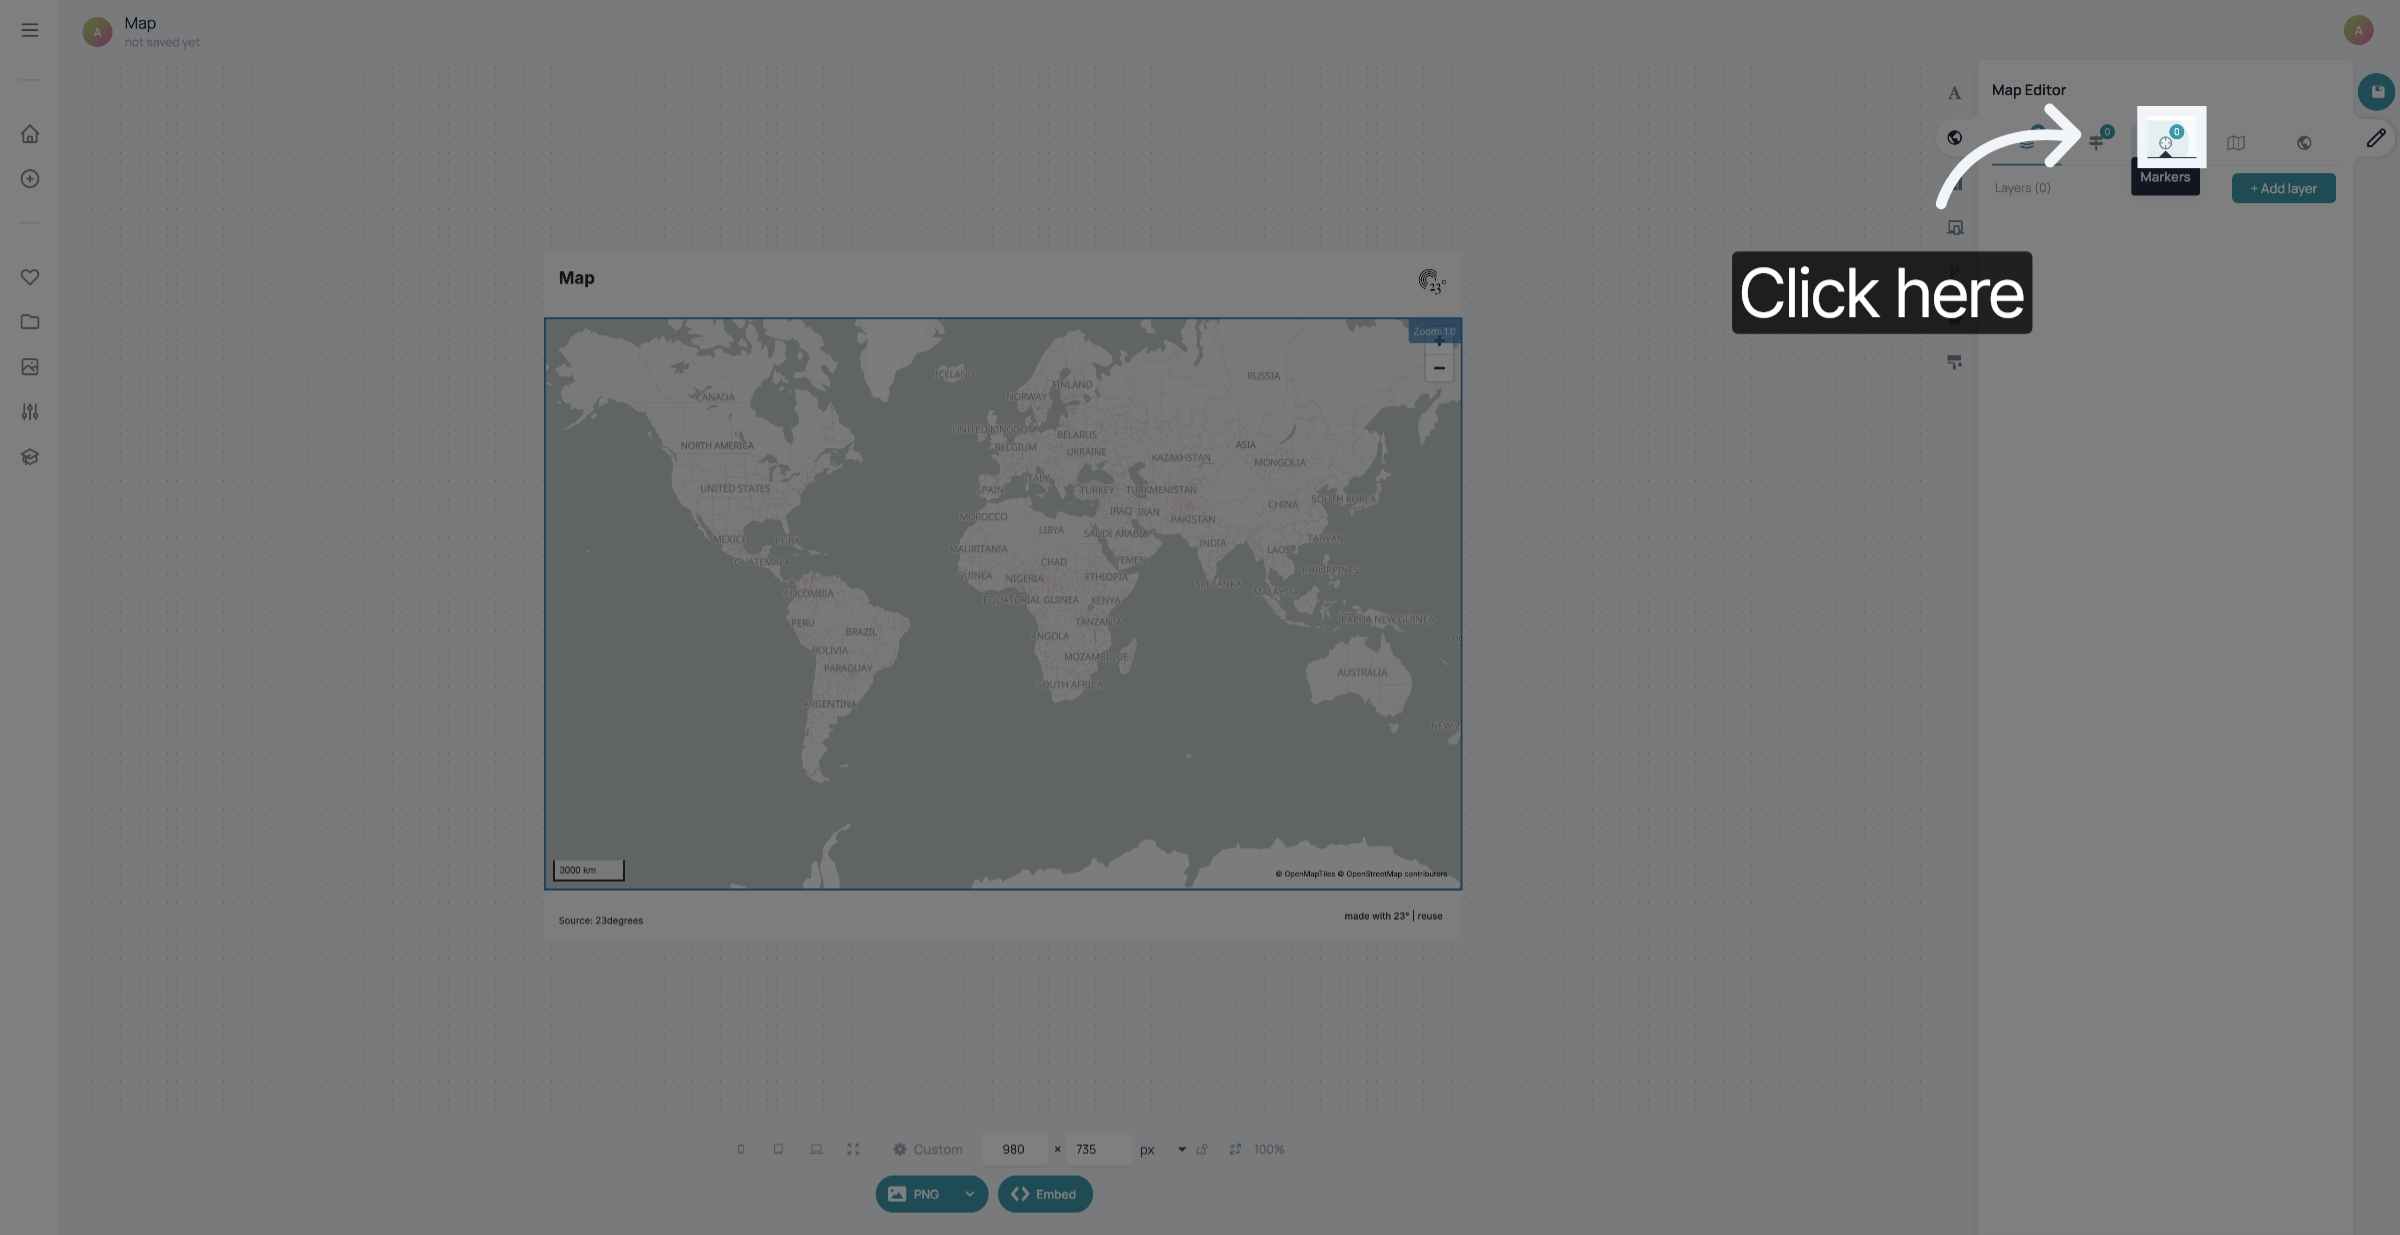
To add a marker, click here
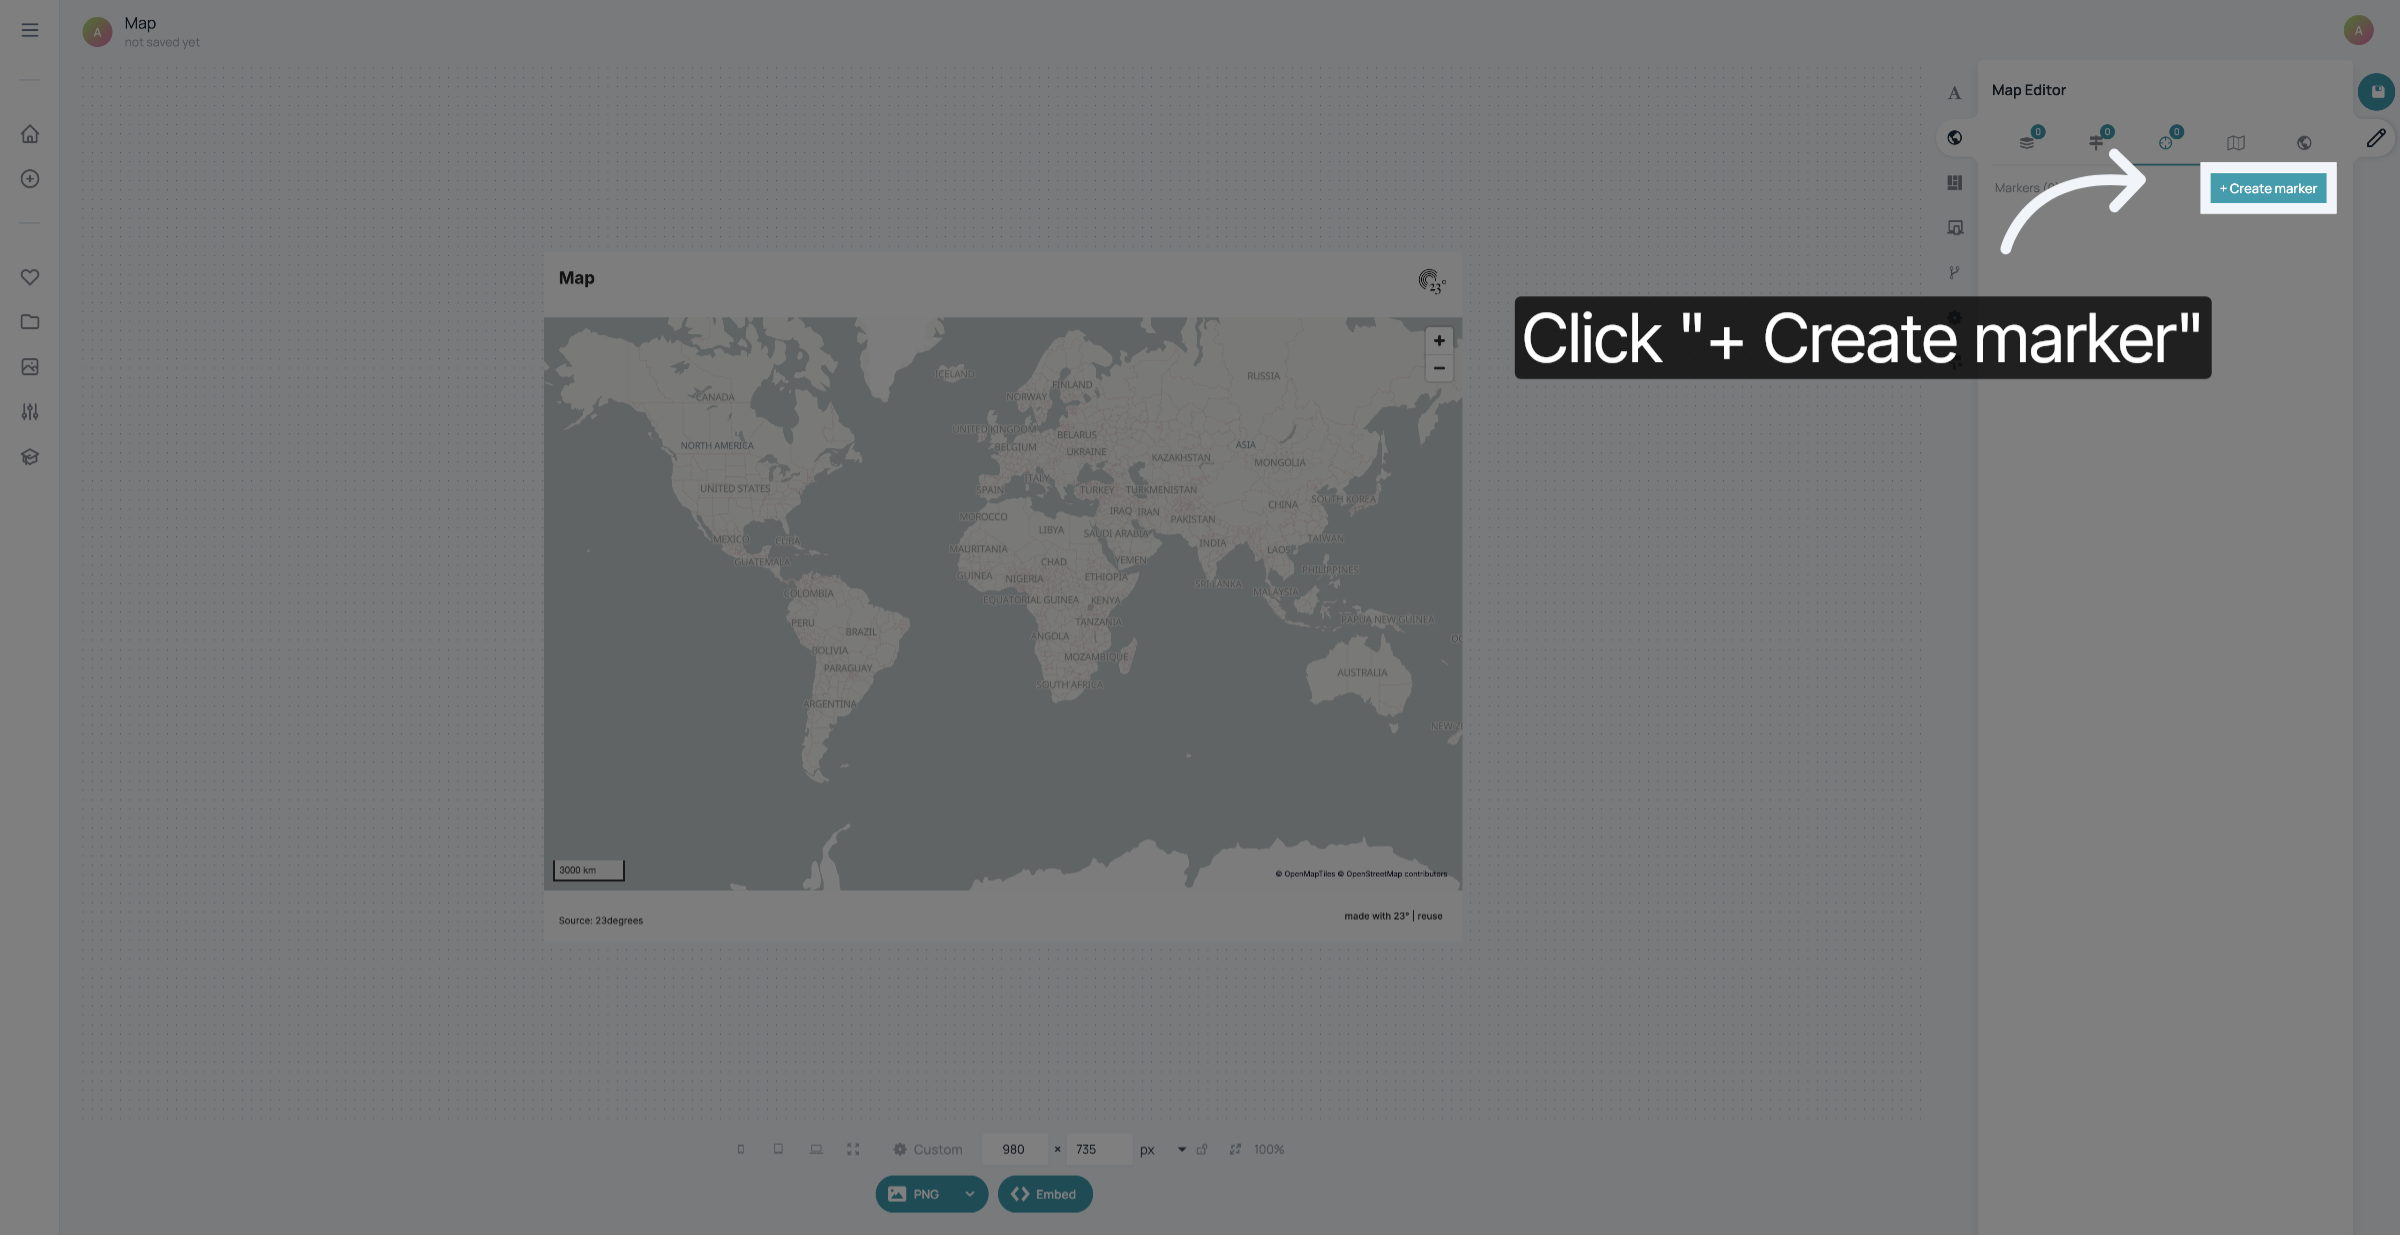
Click "+ Create marker" to add a marker to your map.
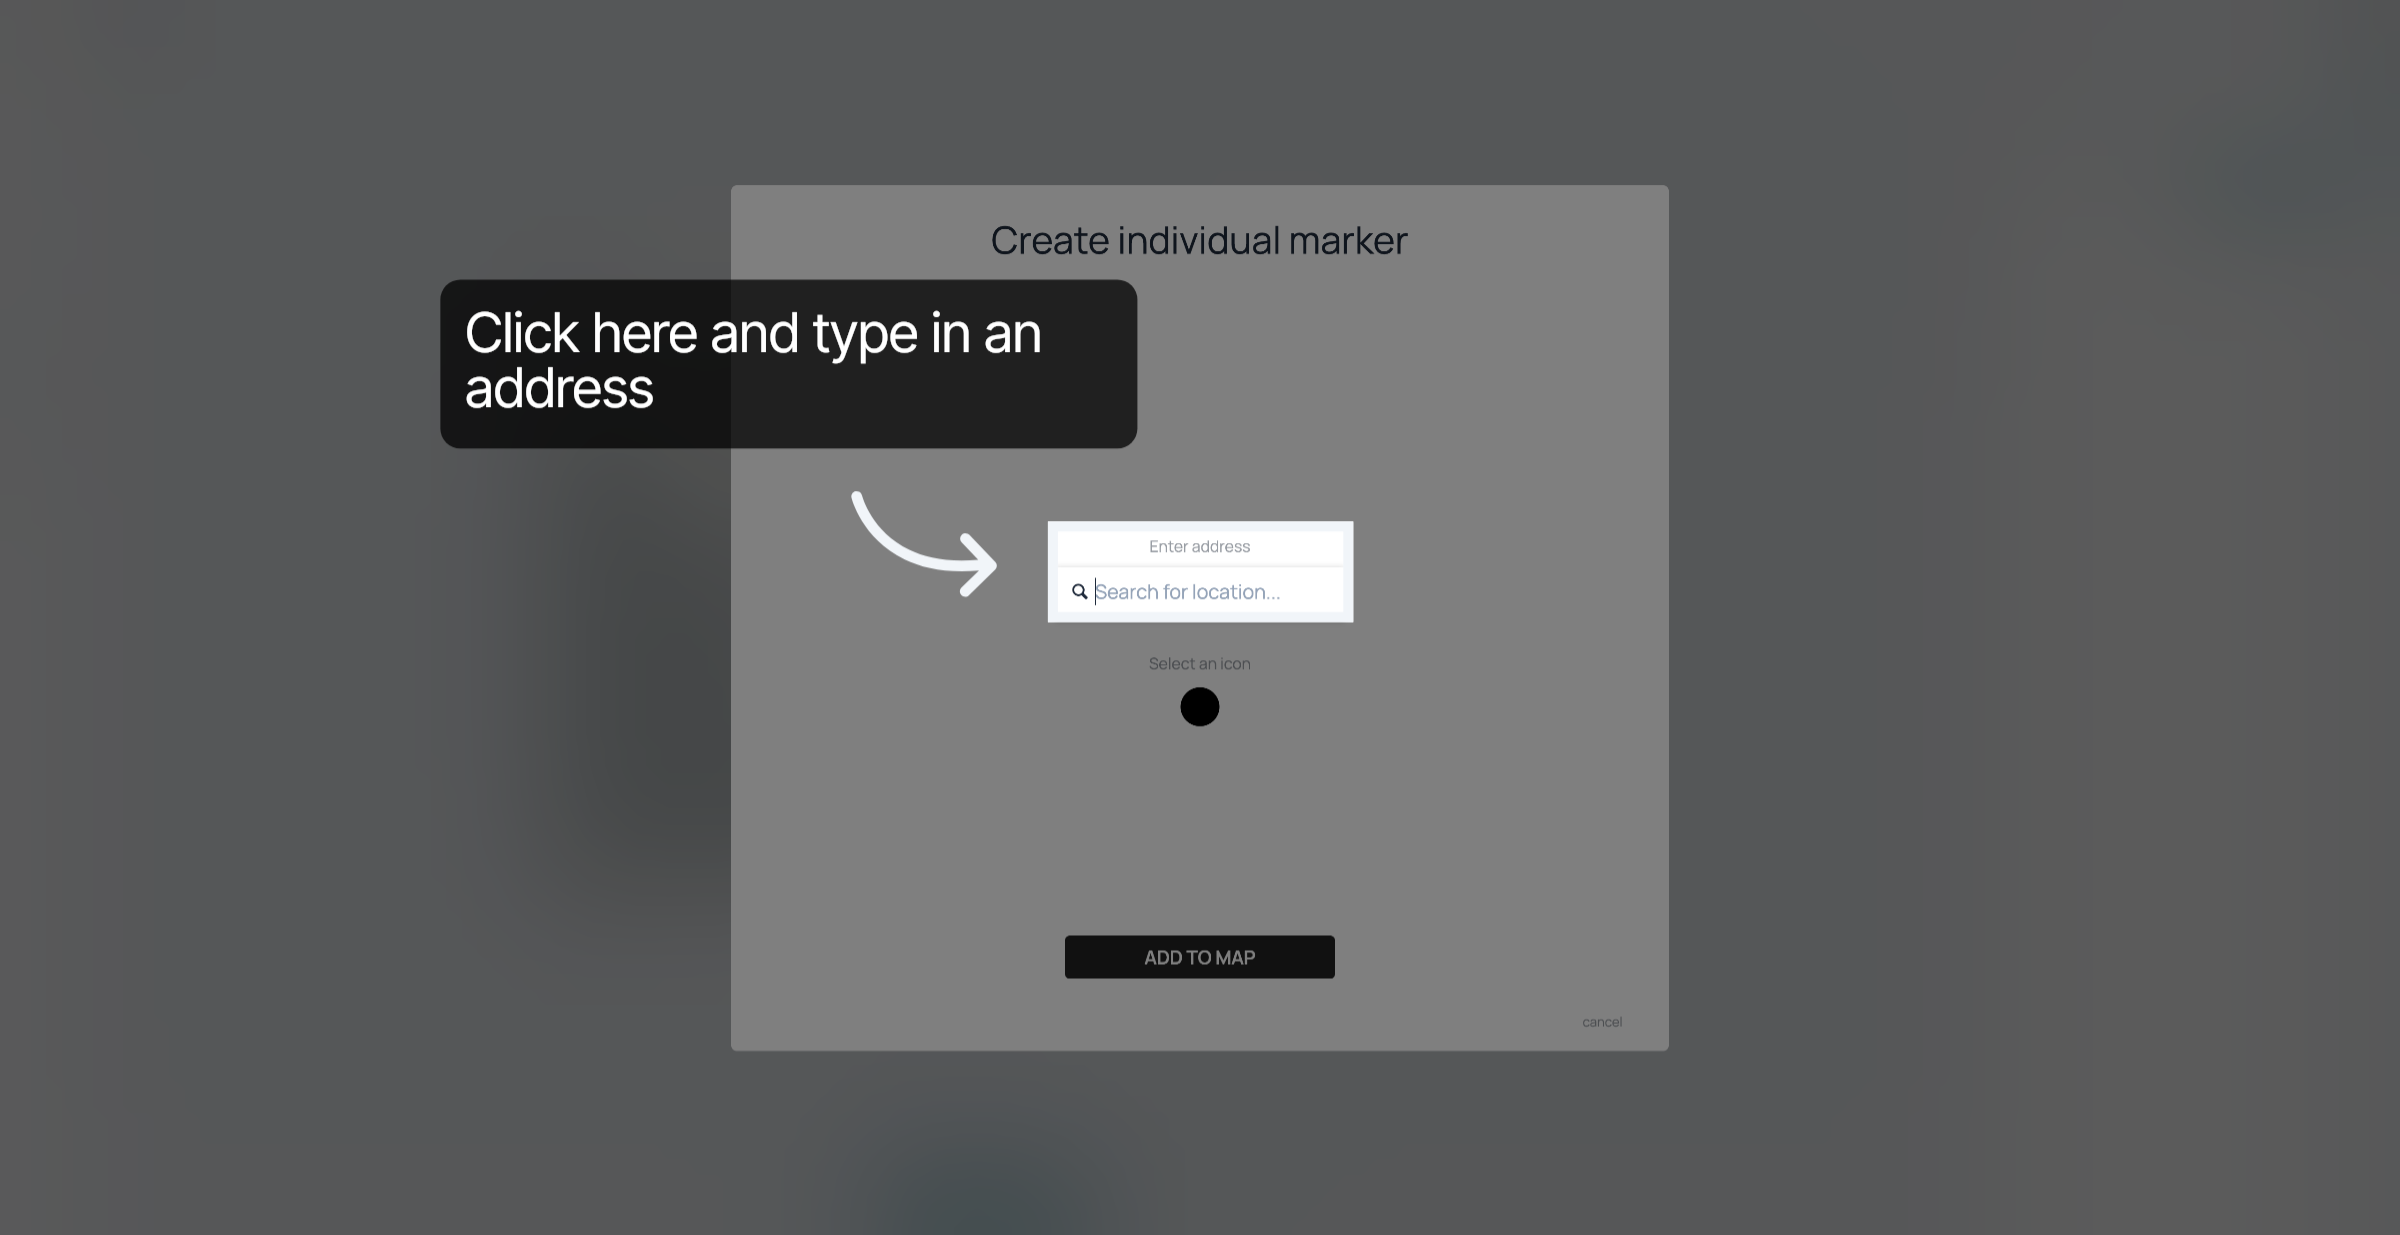
Enter the address where you want to set a marker.
Select the correct address from the search suggestions
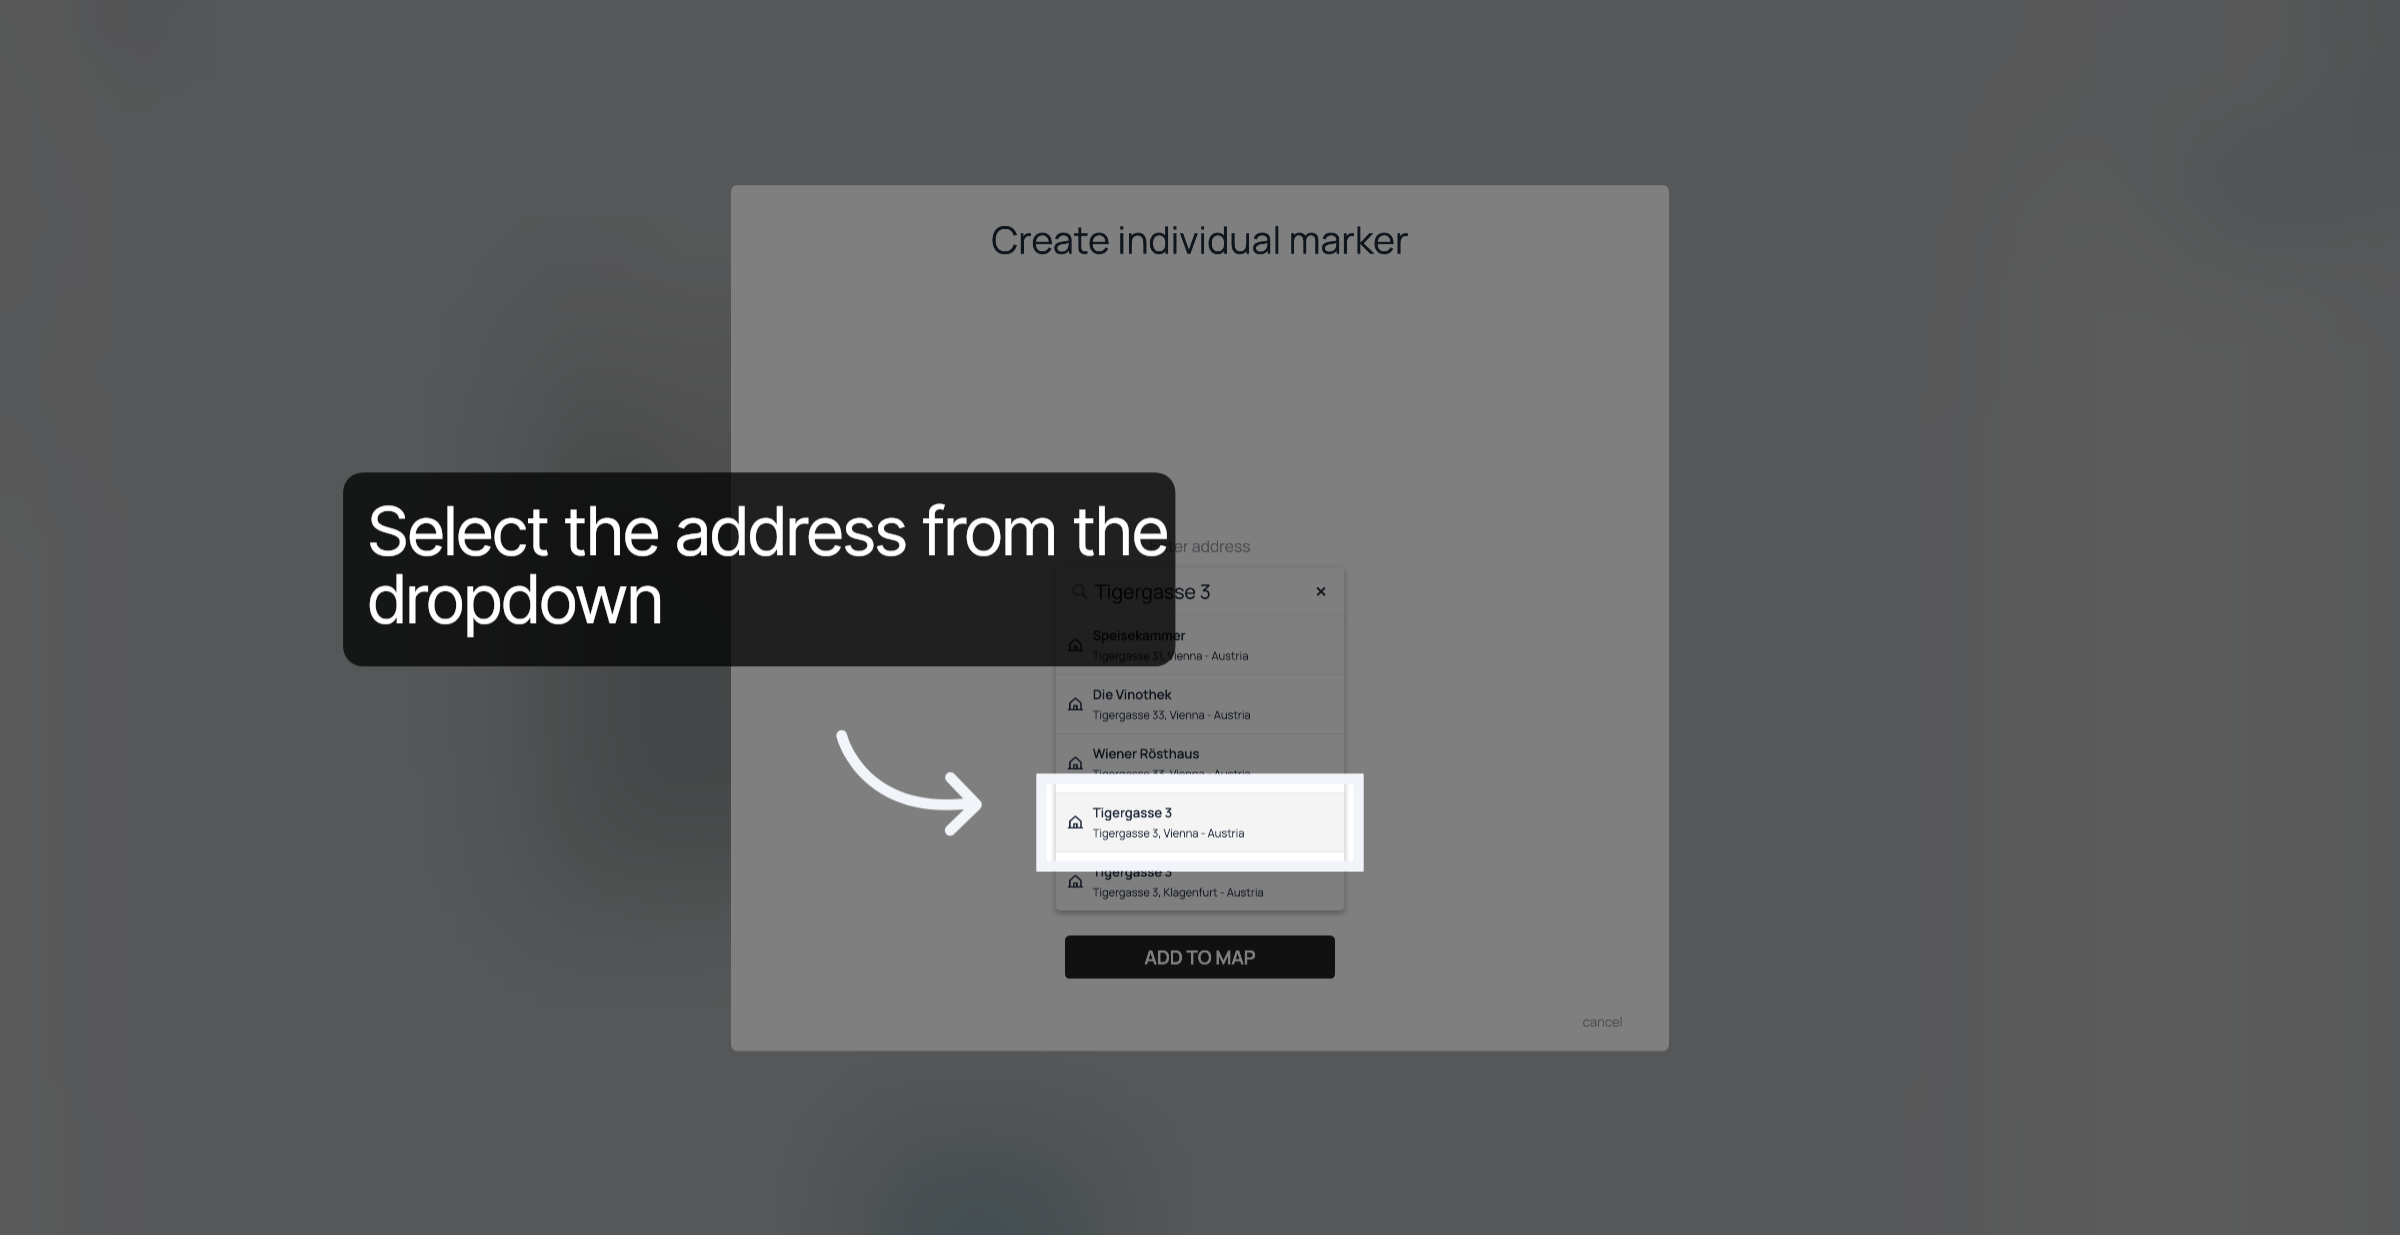
Click "Add to map" to place the marker at the selected address.
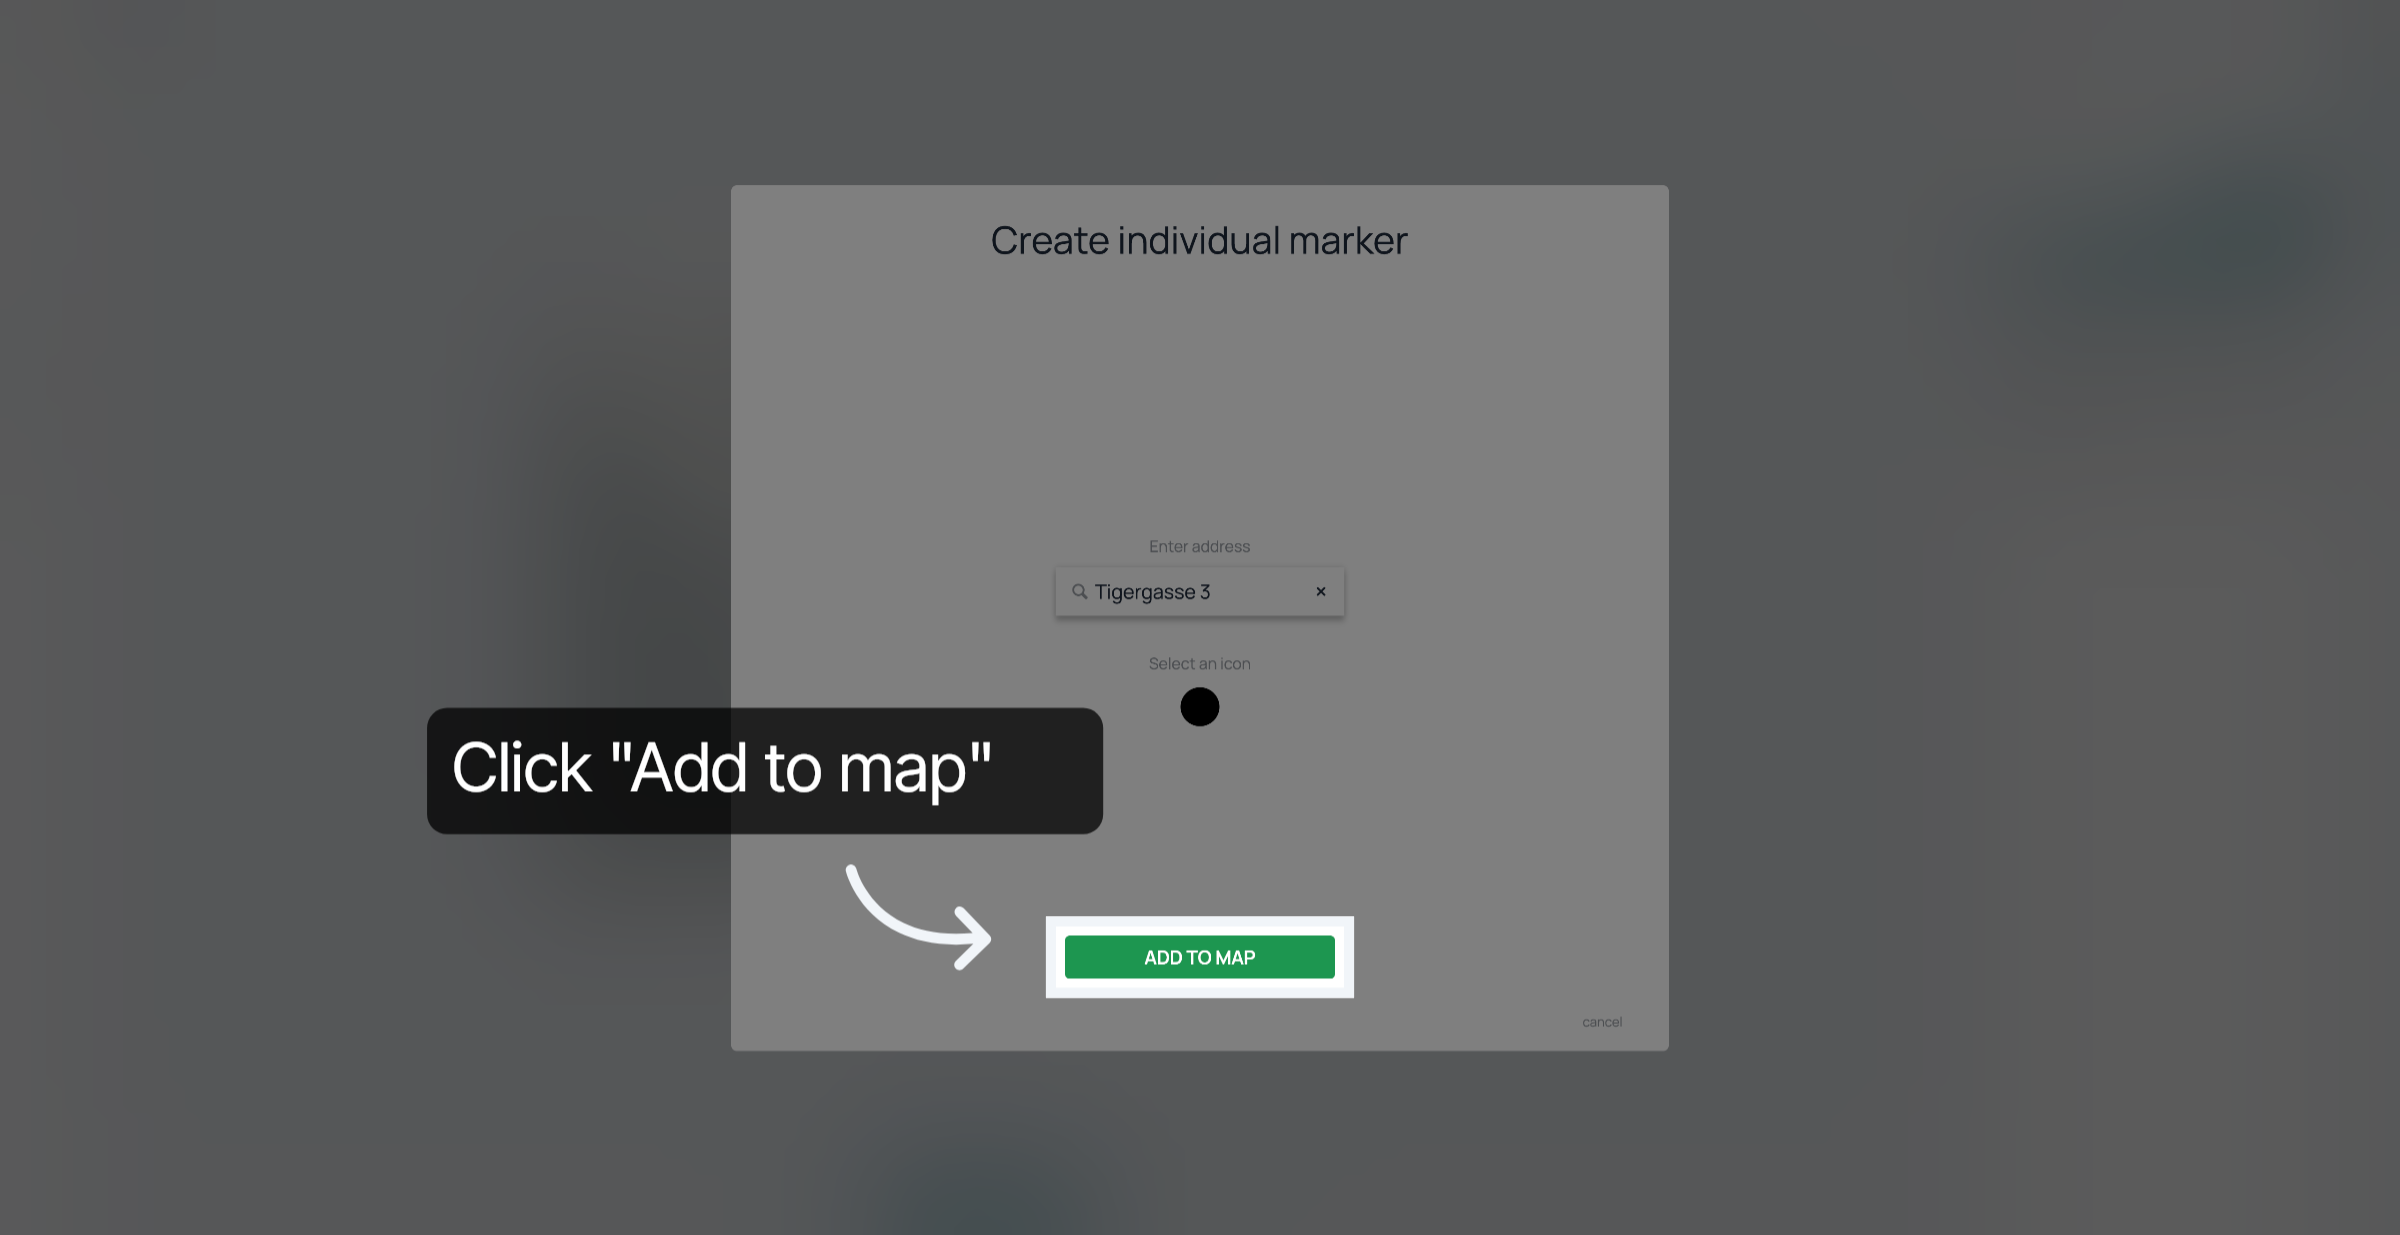
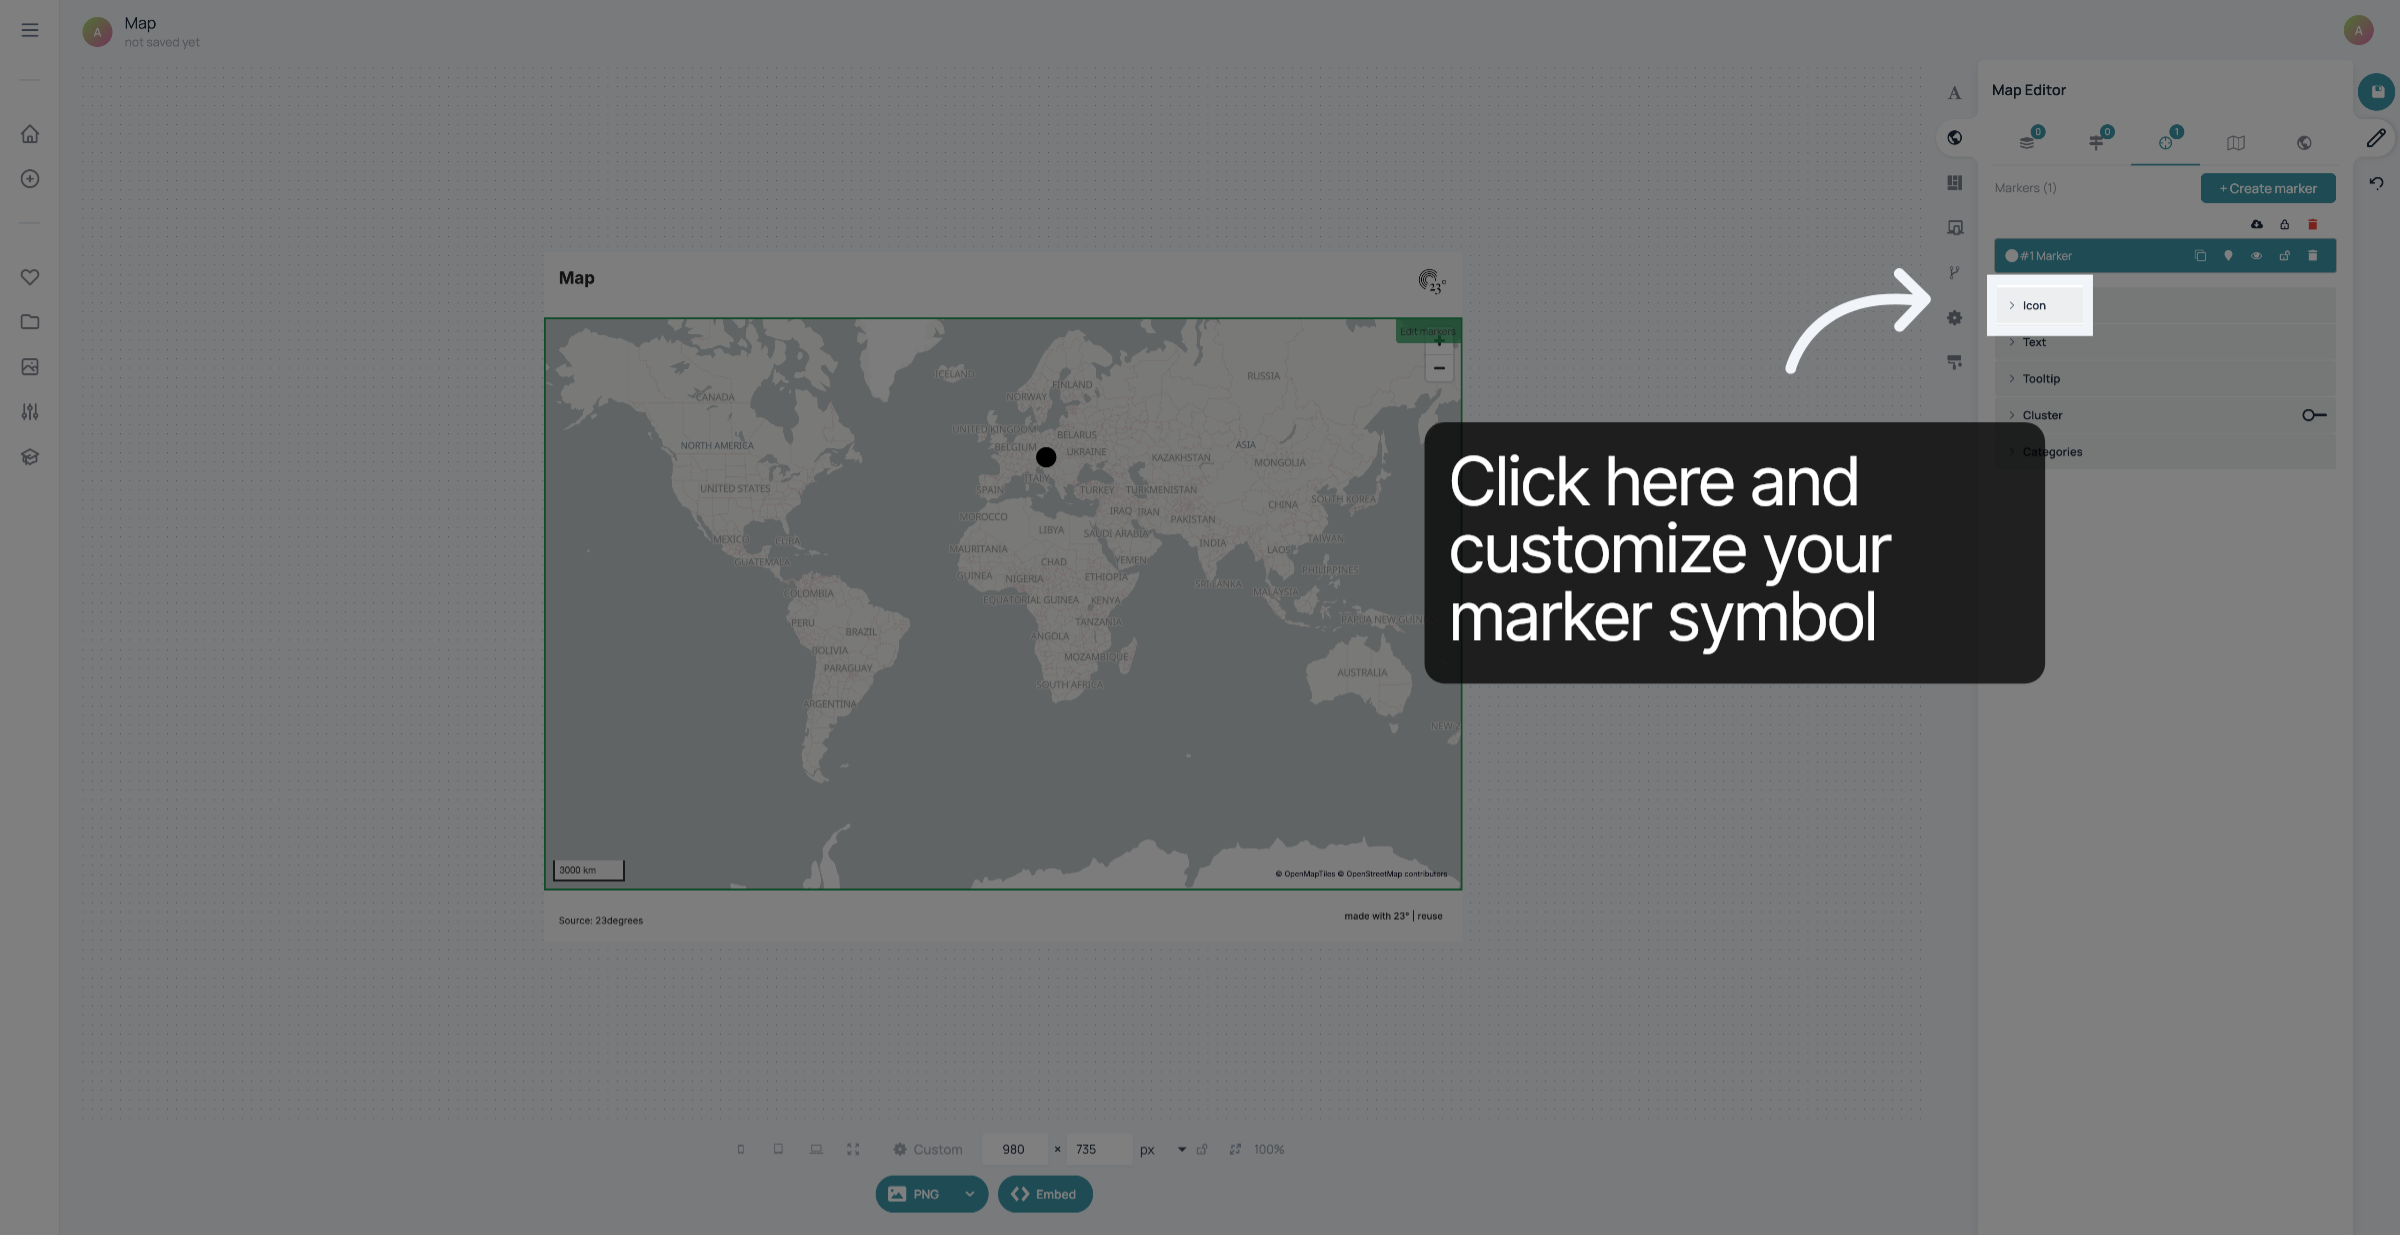
Click here to customize the icon of your marker.
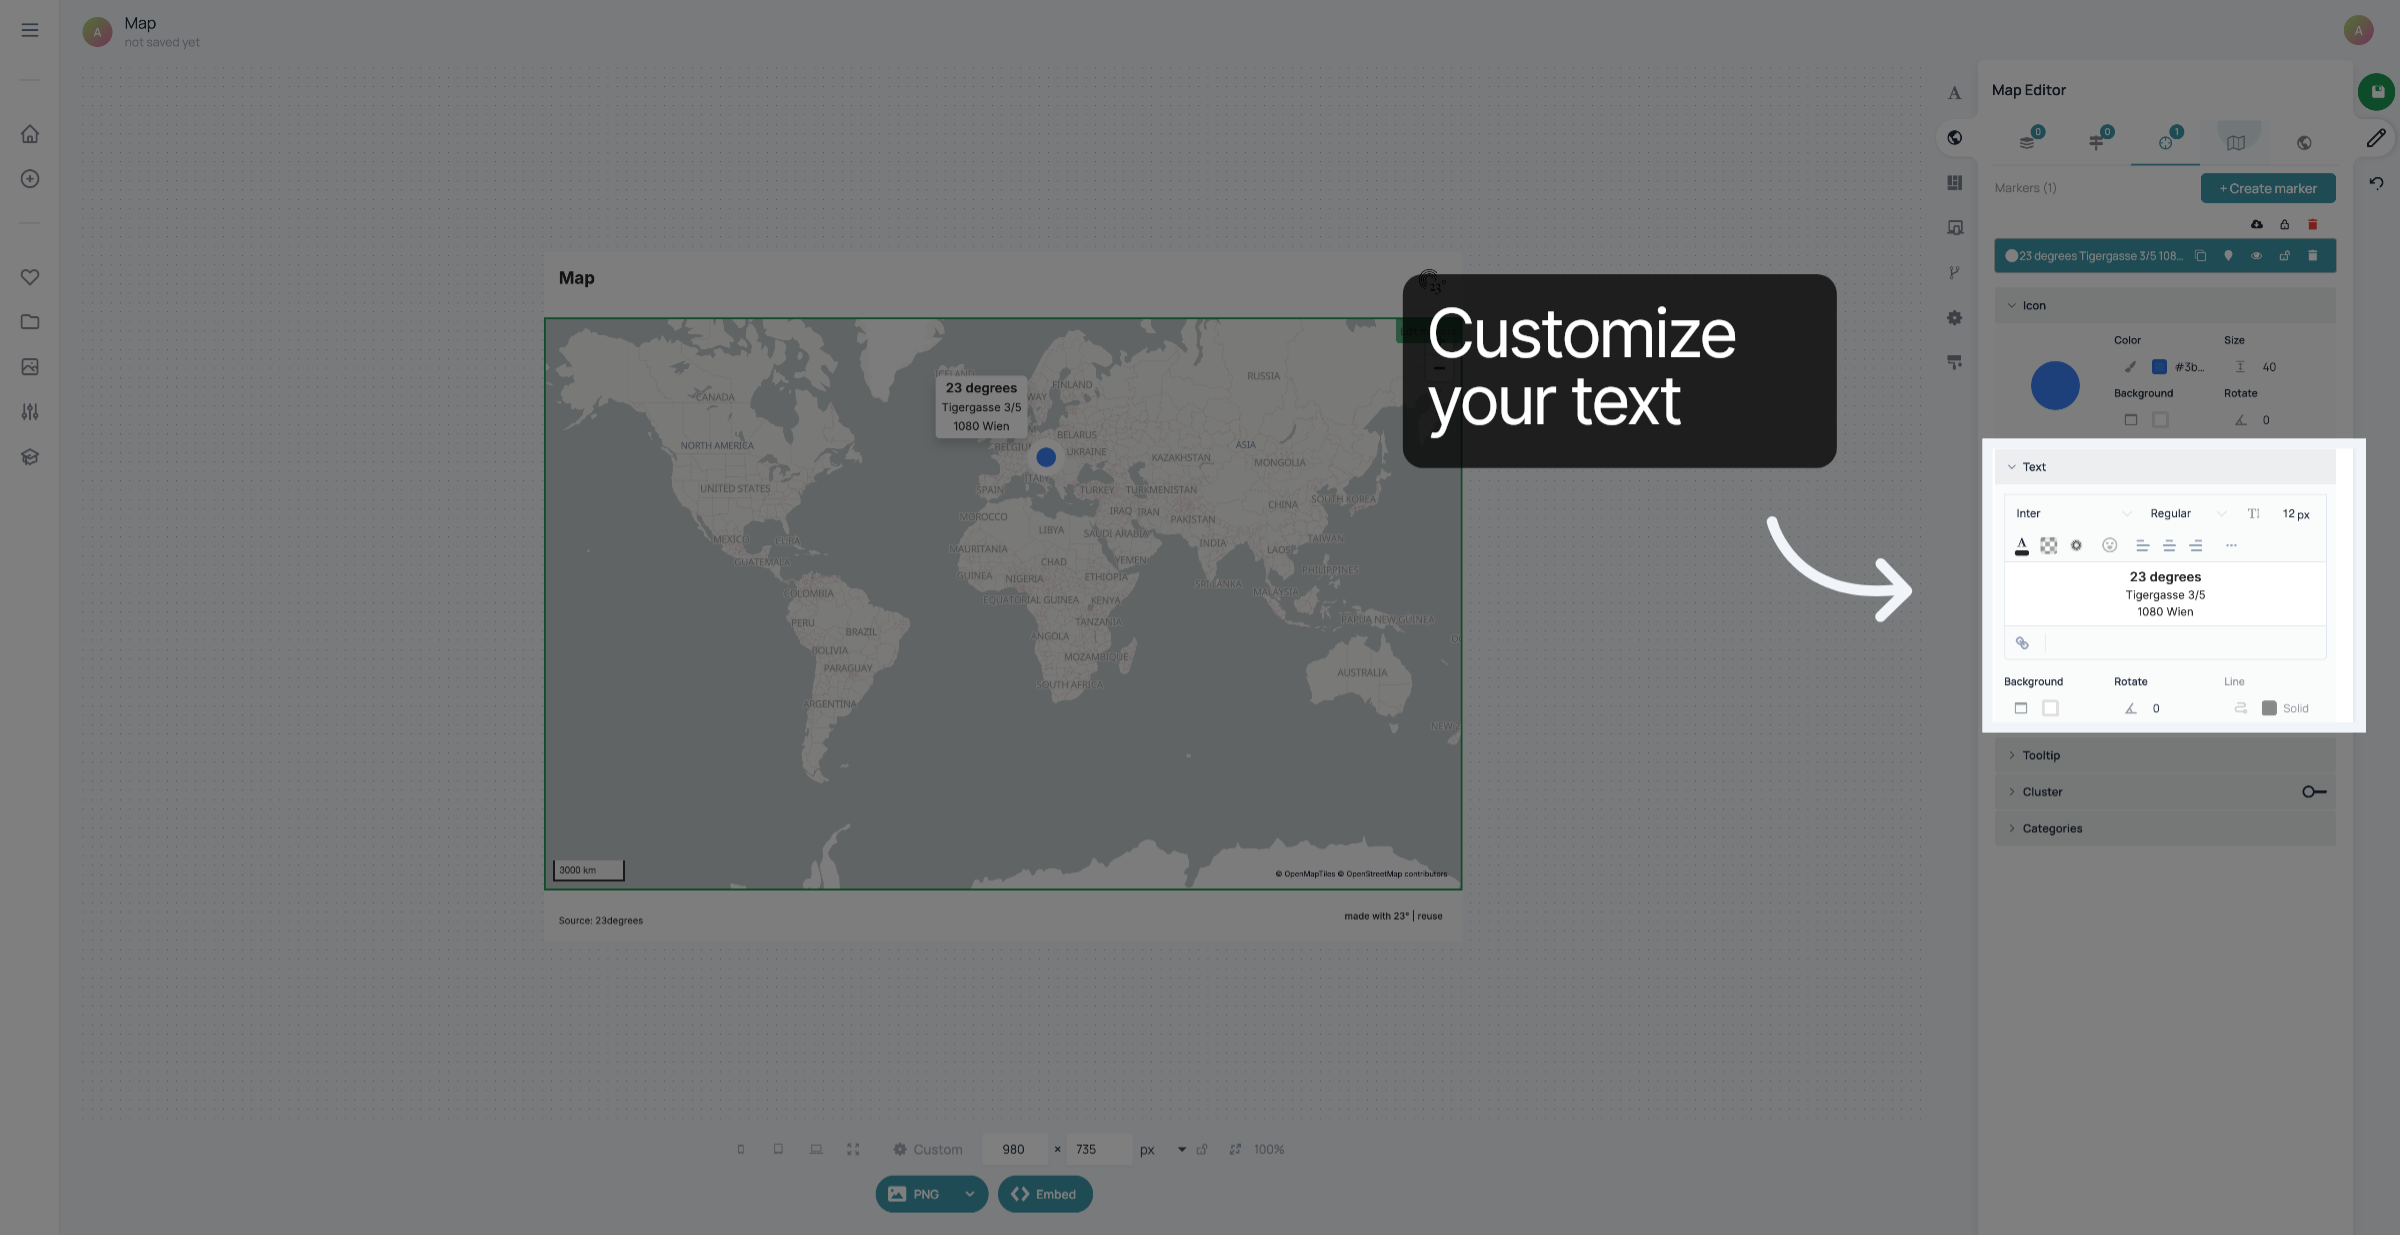
Click "Text" to edit the text that will be shown next to your marker.
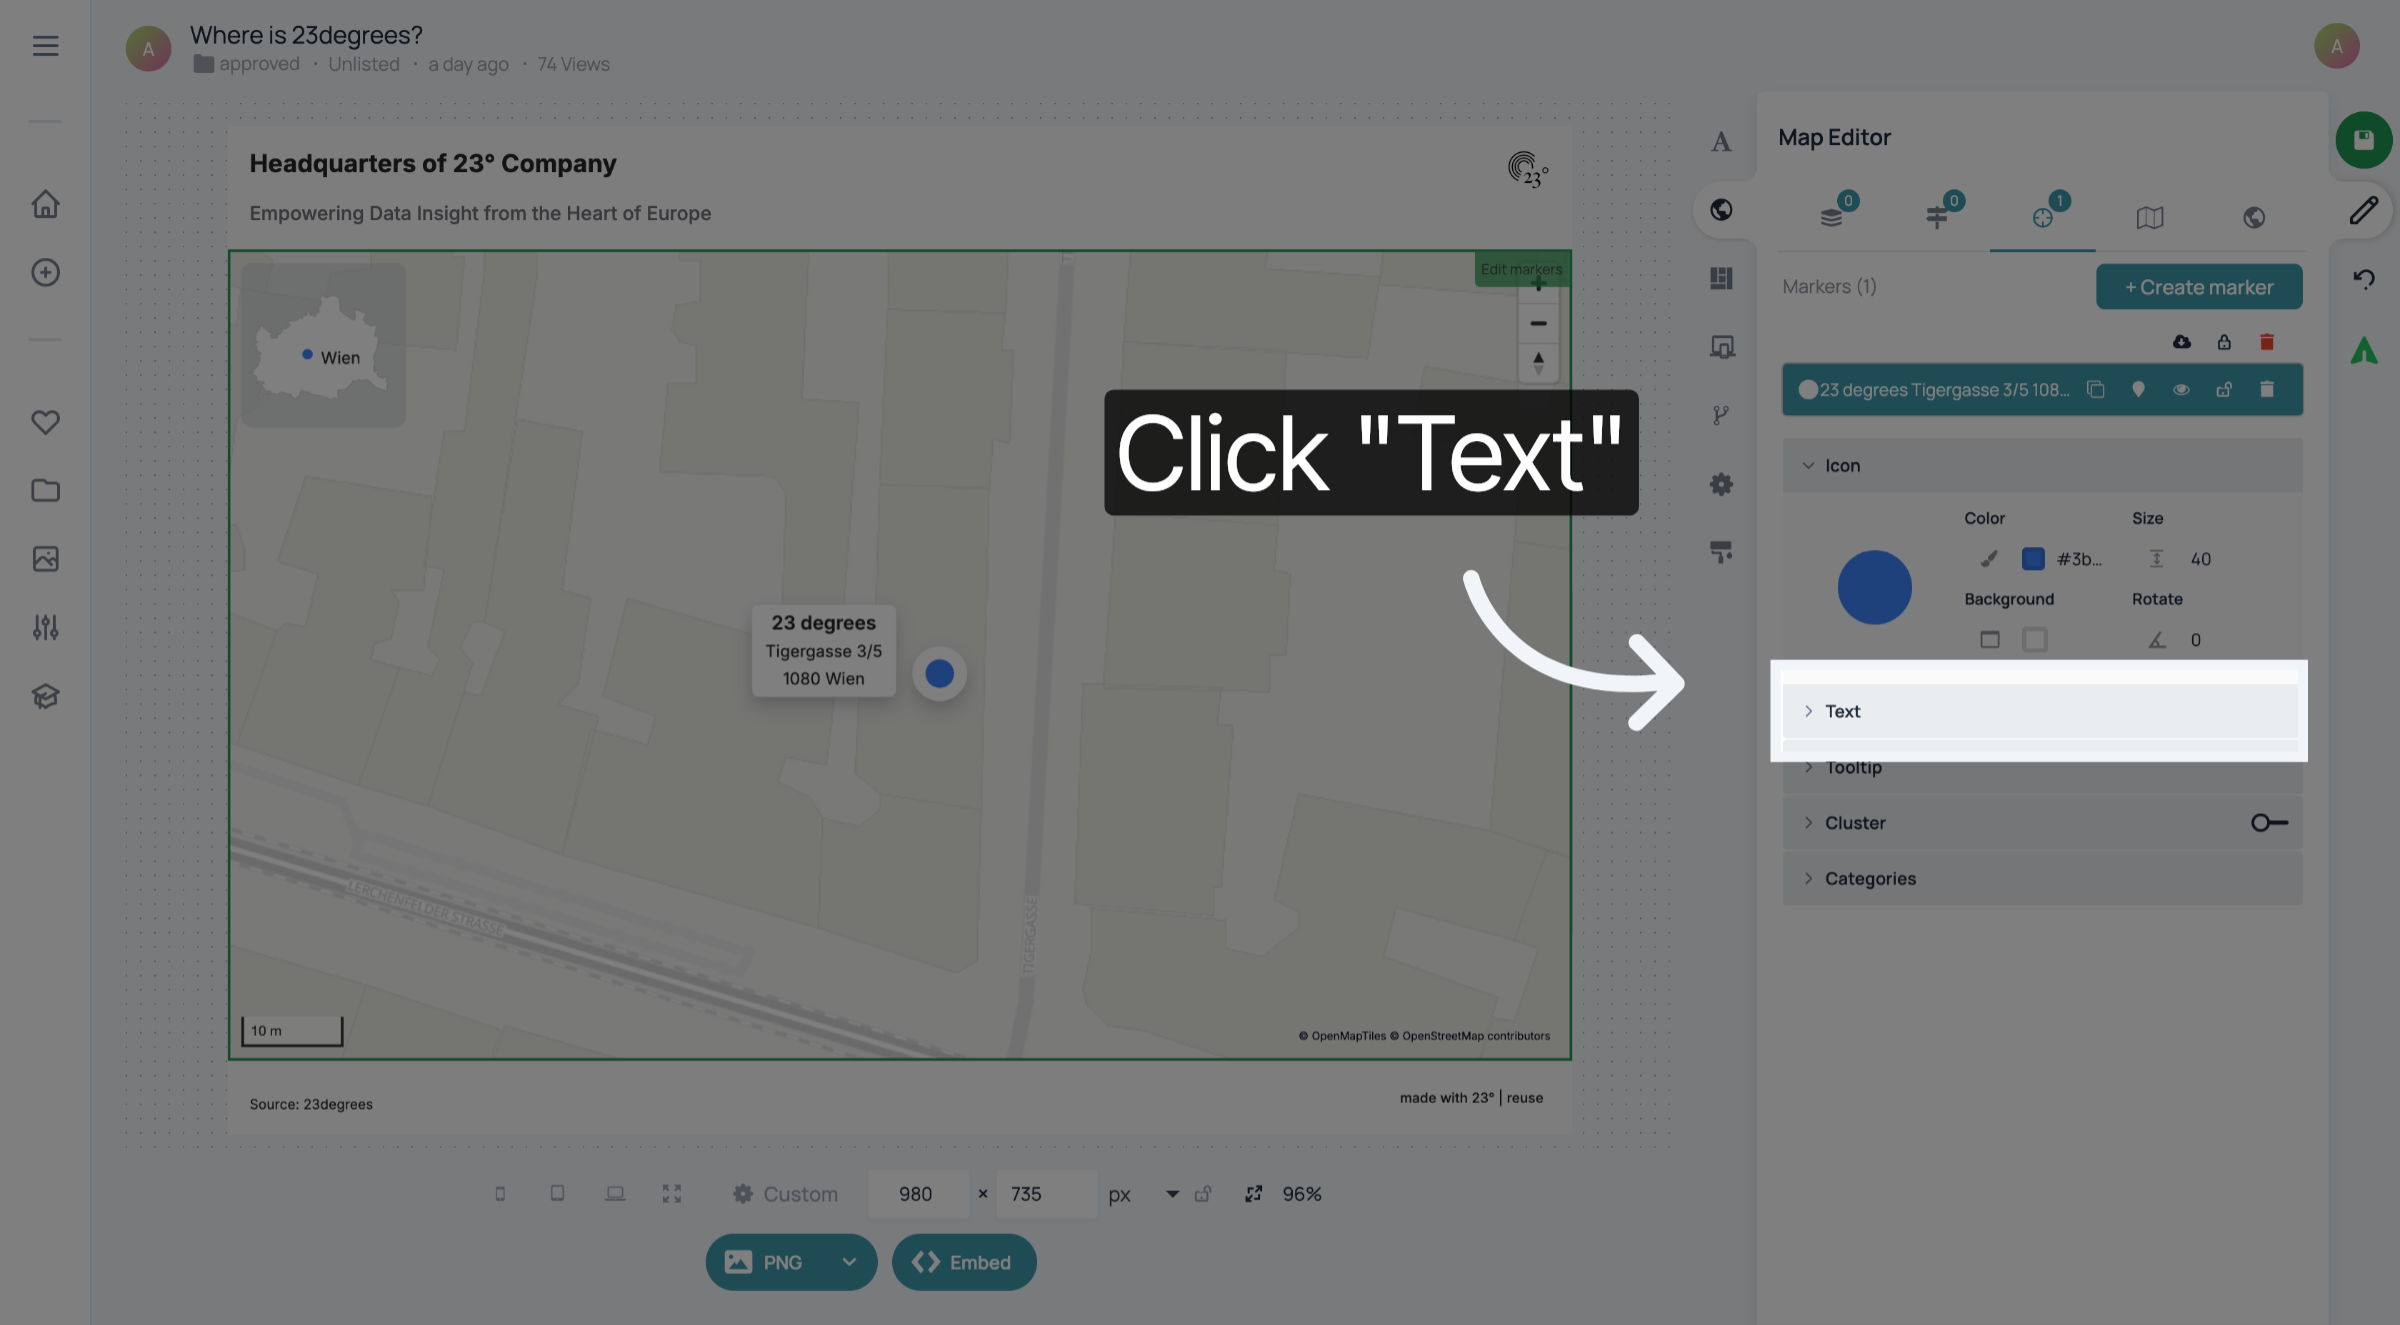
Type in the text and style it as well as the background.
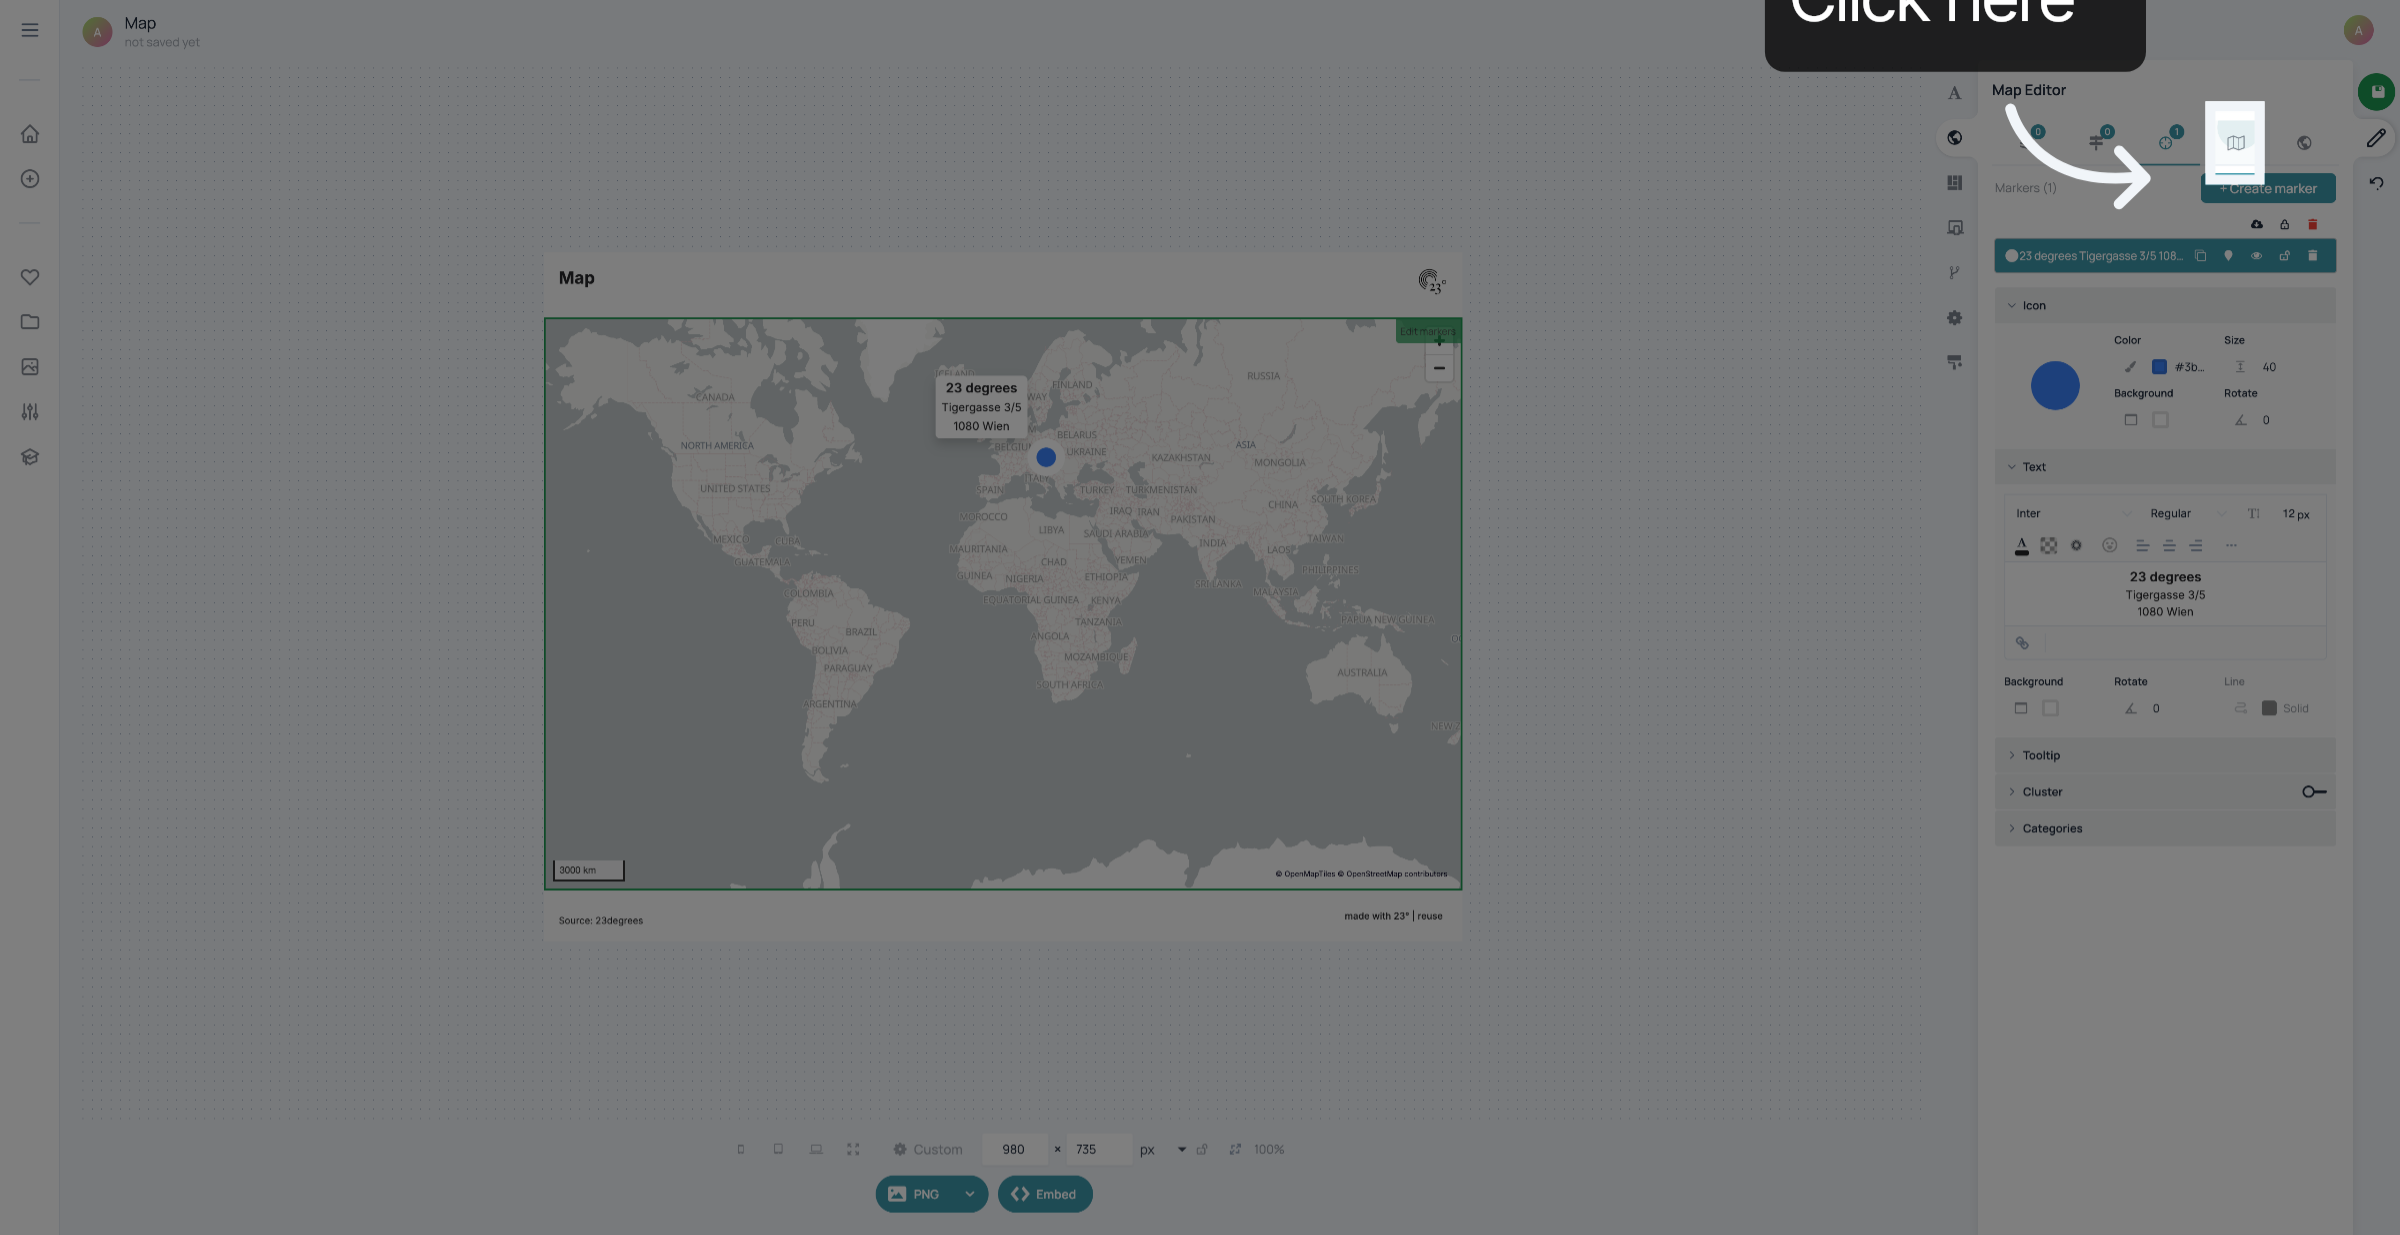
Click the map symbol to customize the viewport of your map
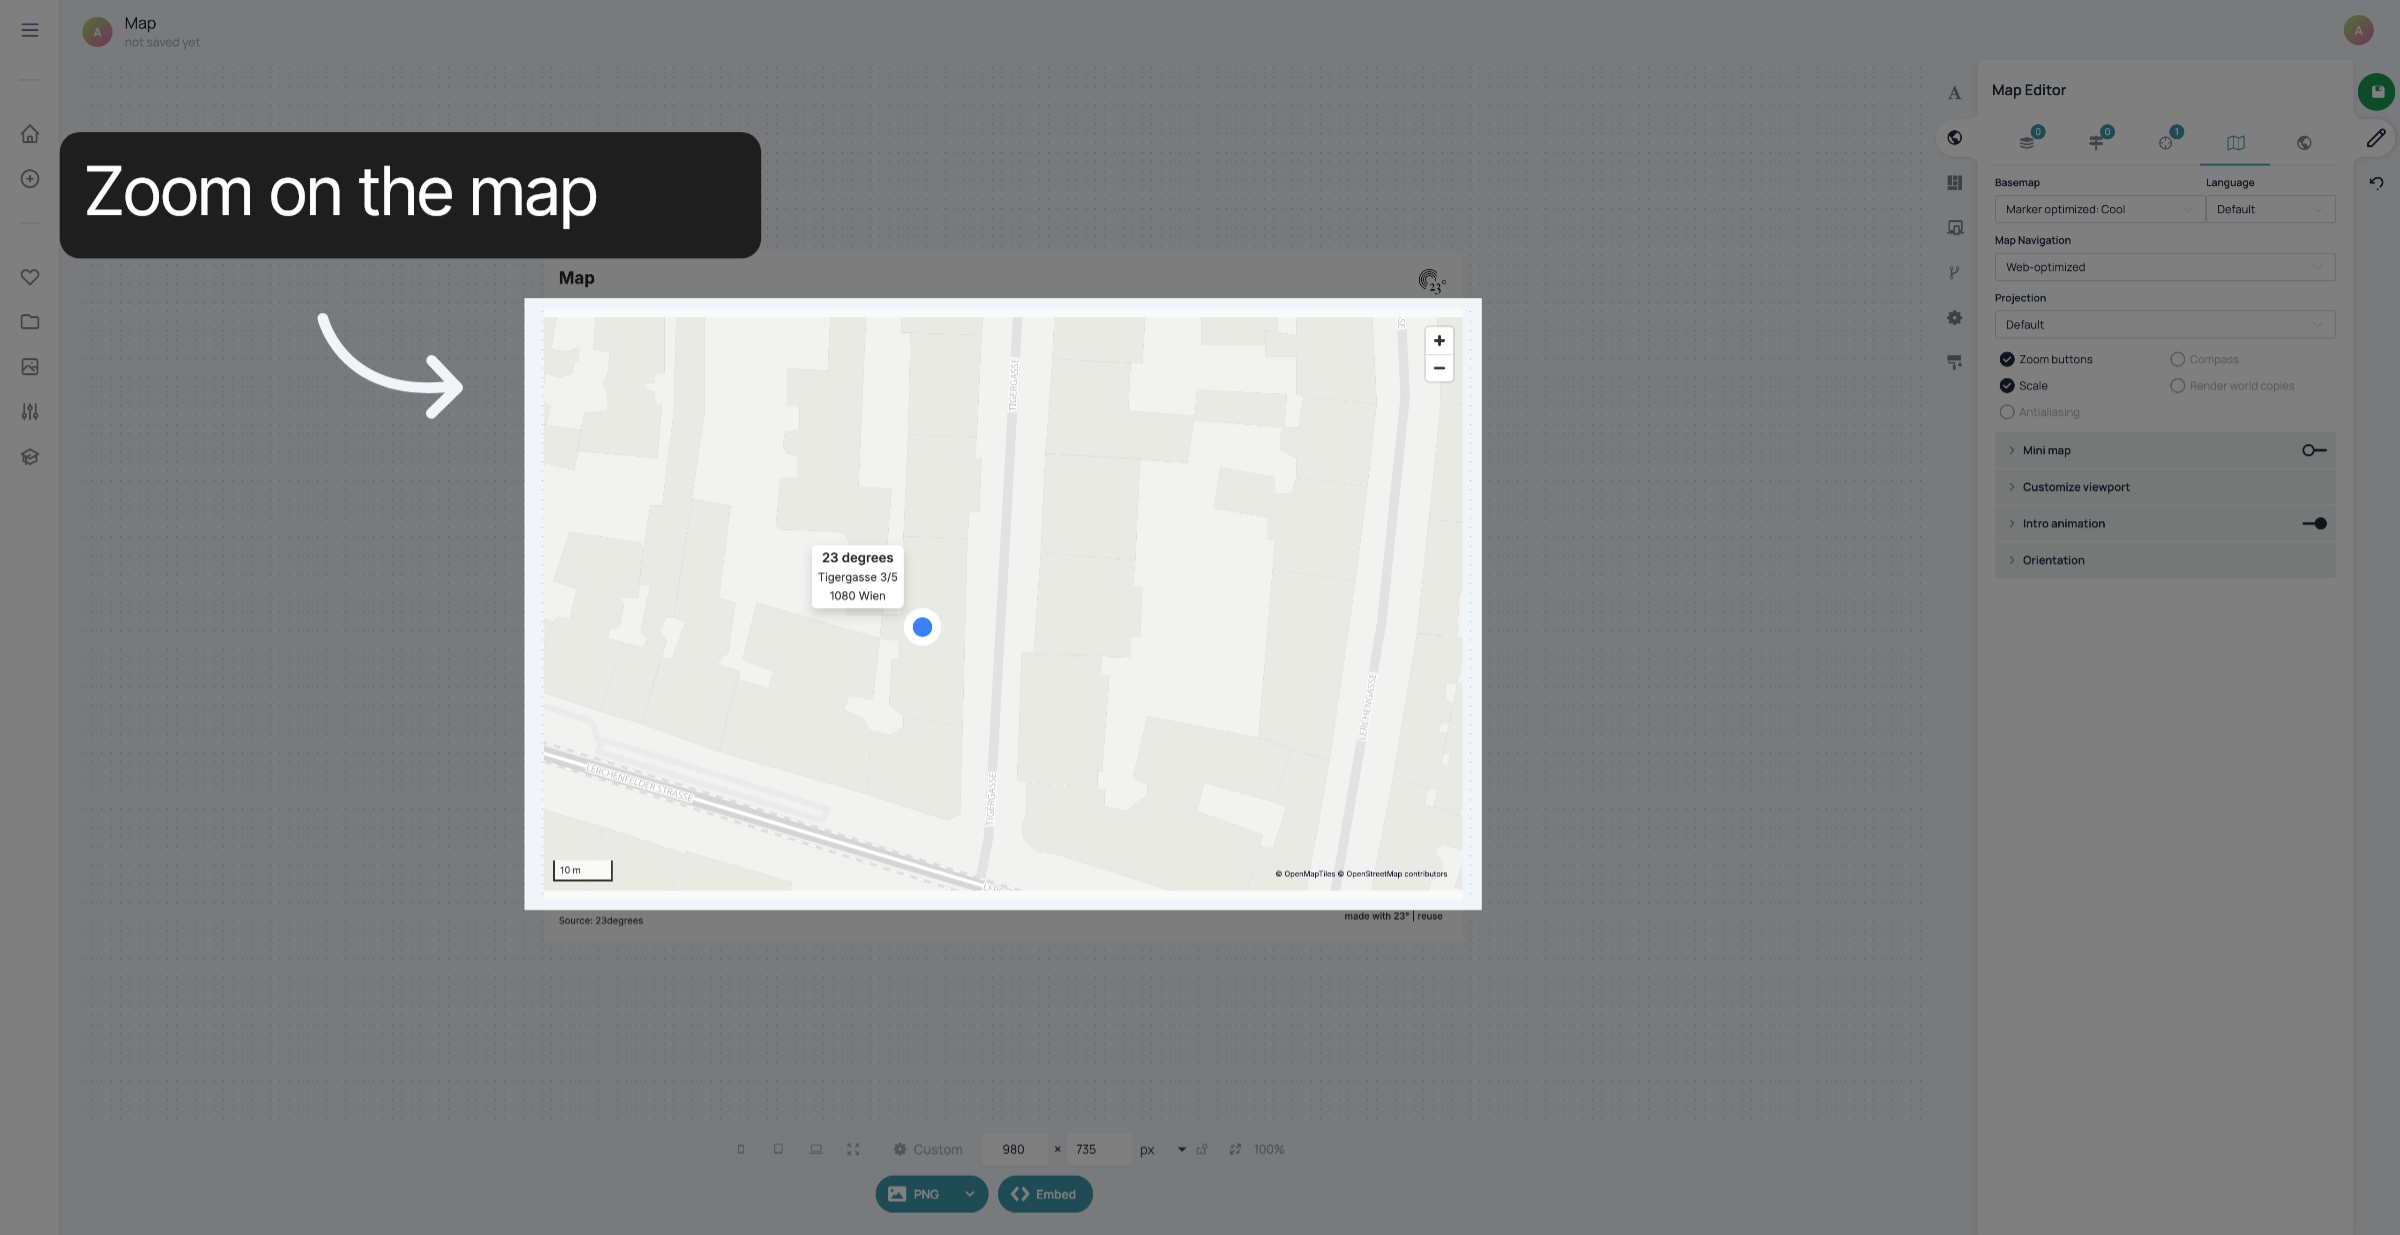
Zoom on the map until you have reached the zoomlevel you want your marker to be shown in. You can also click and drag the map to place the viewport where you want it to be.
Click "Customize viewport"
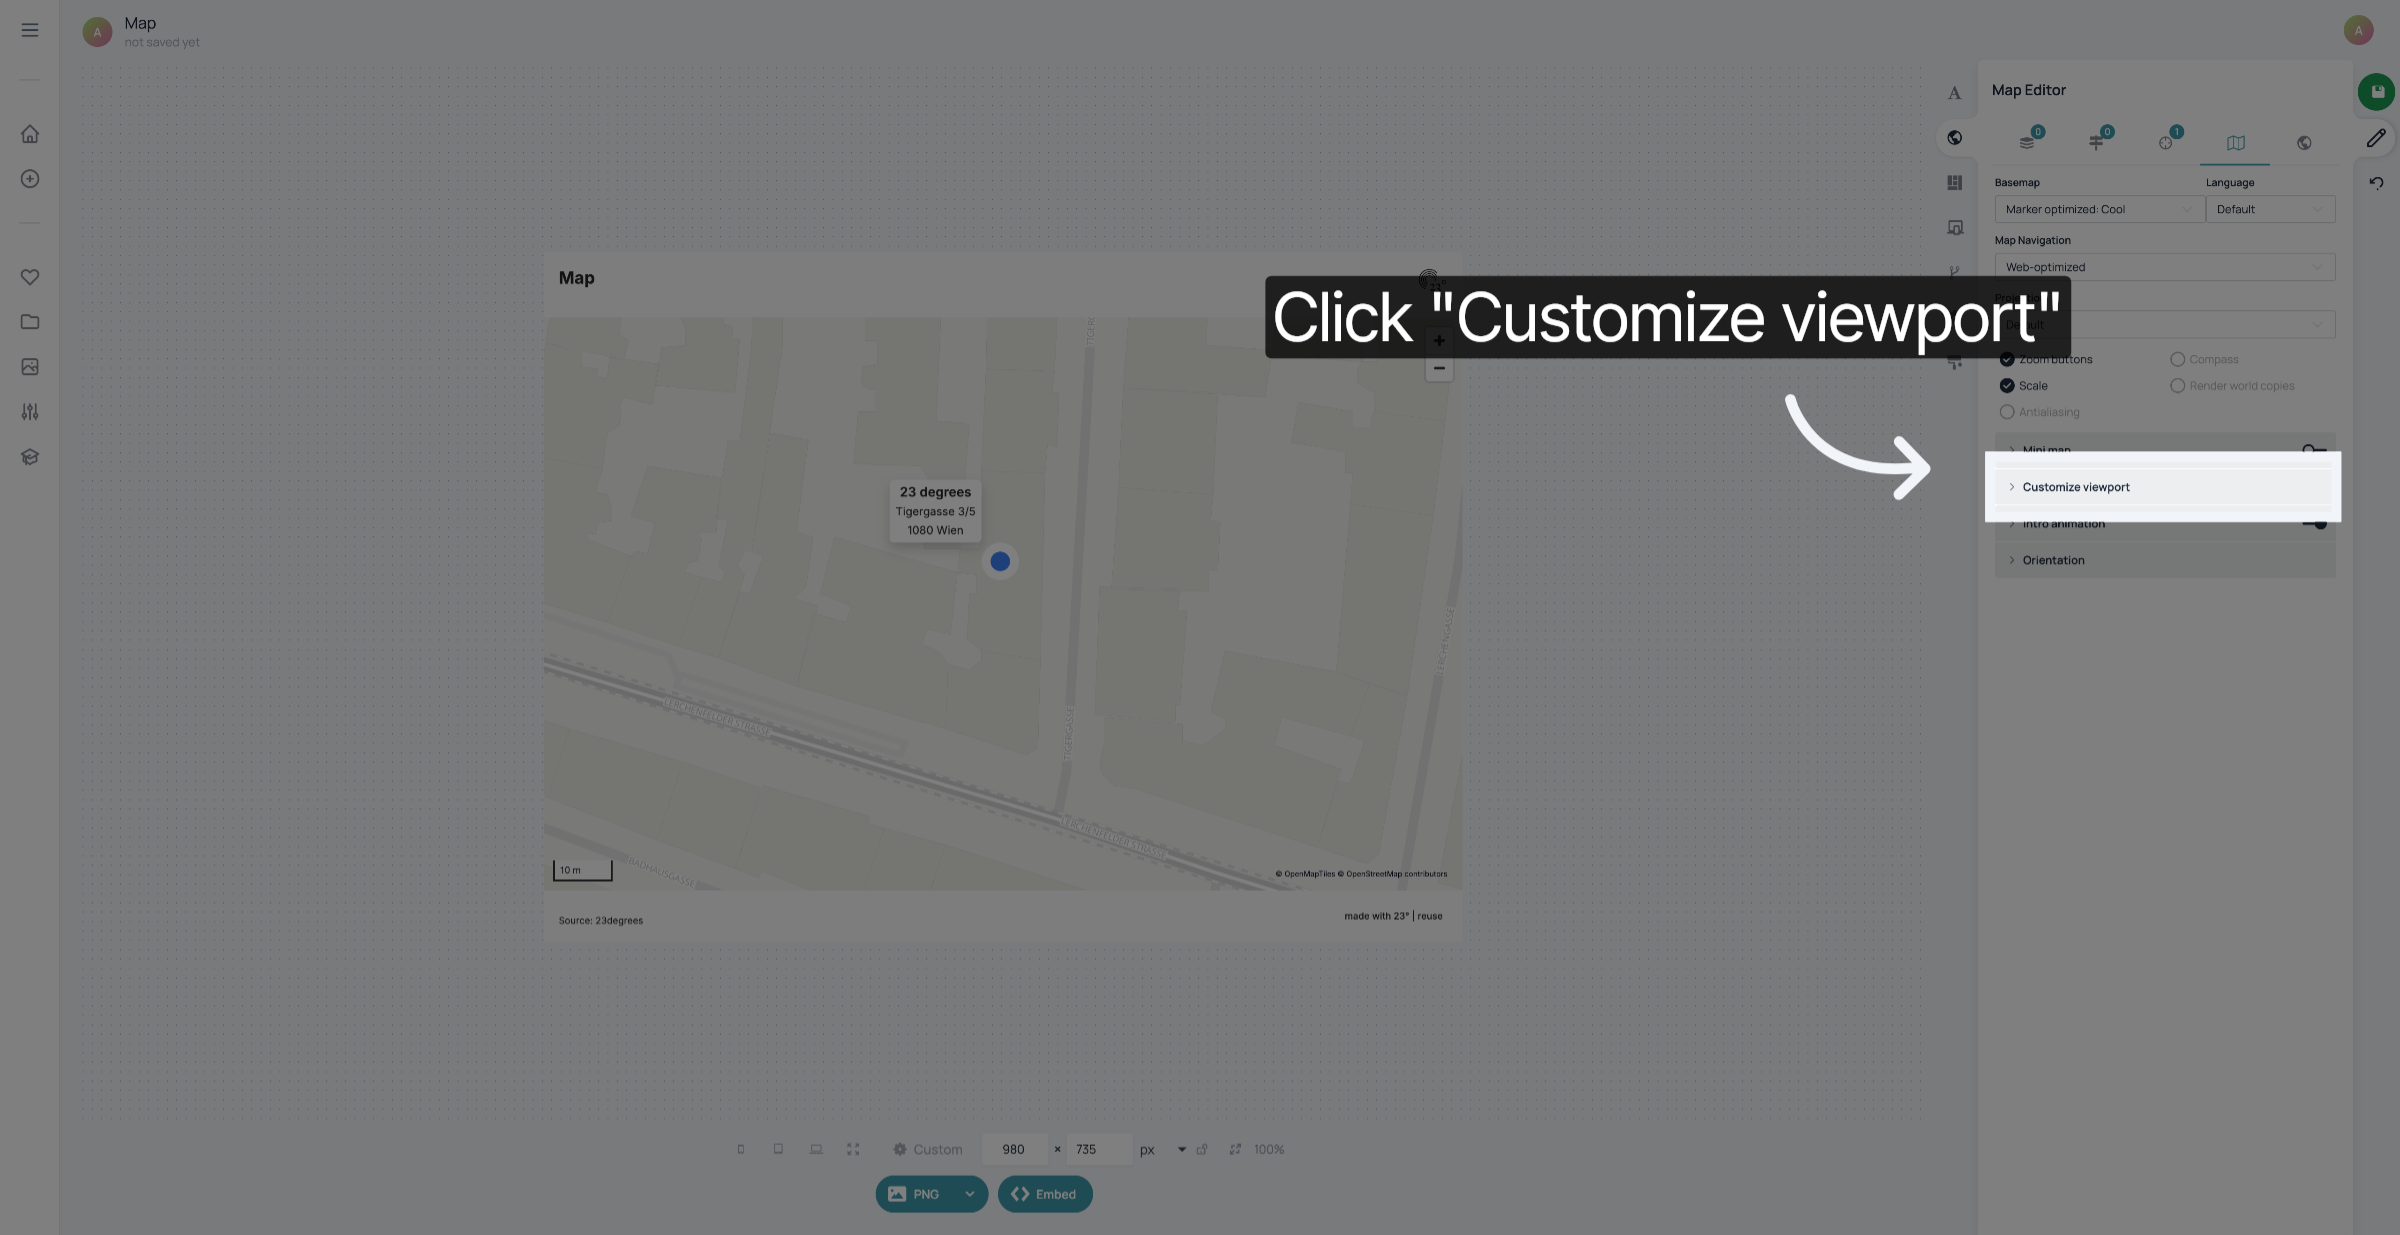
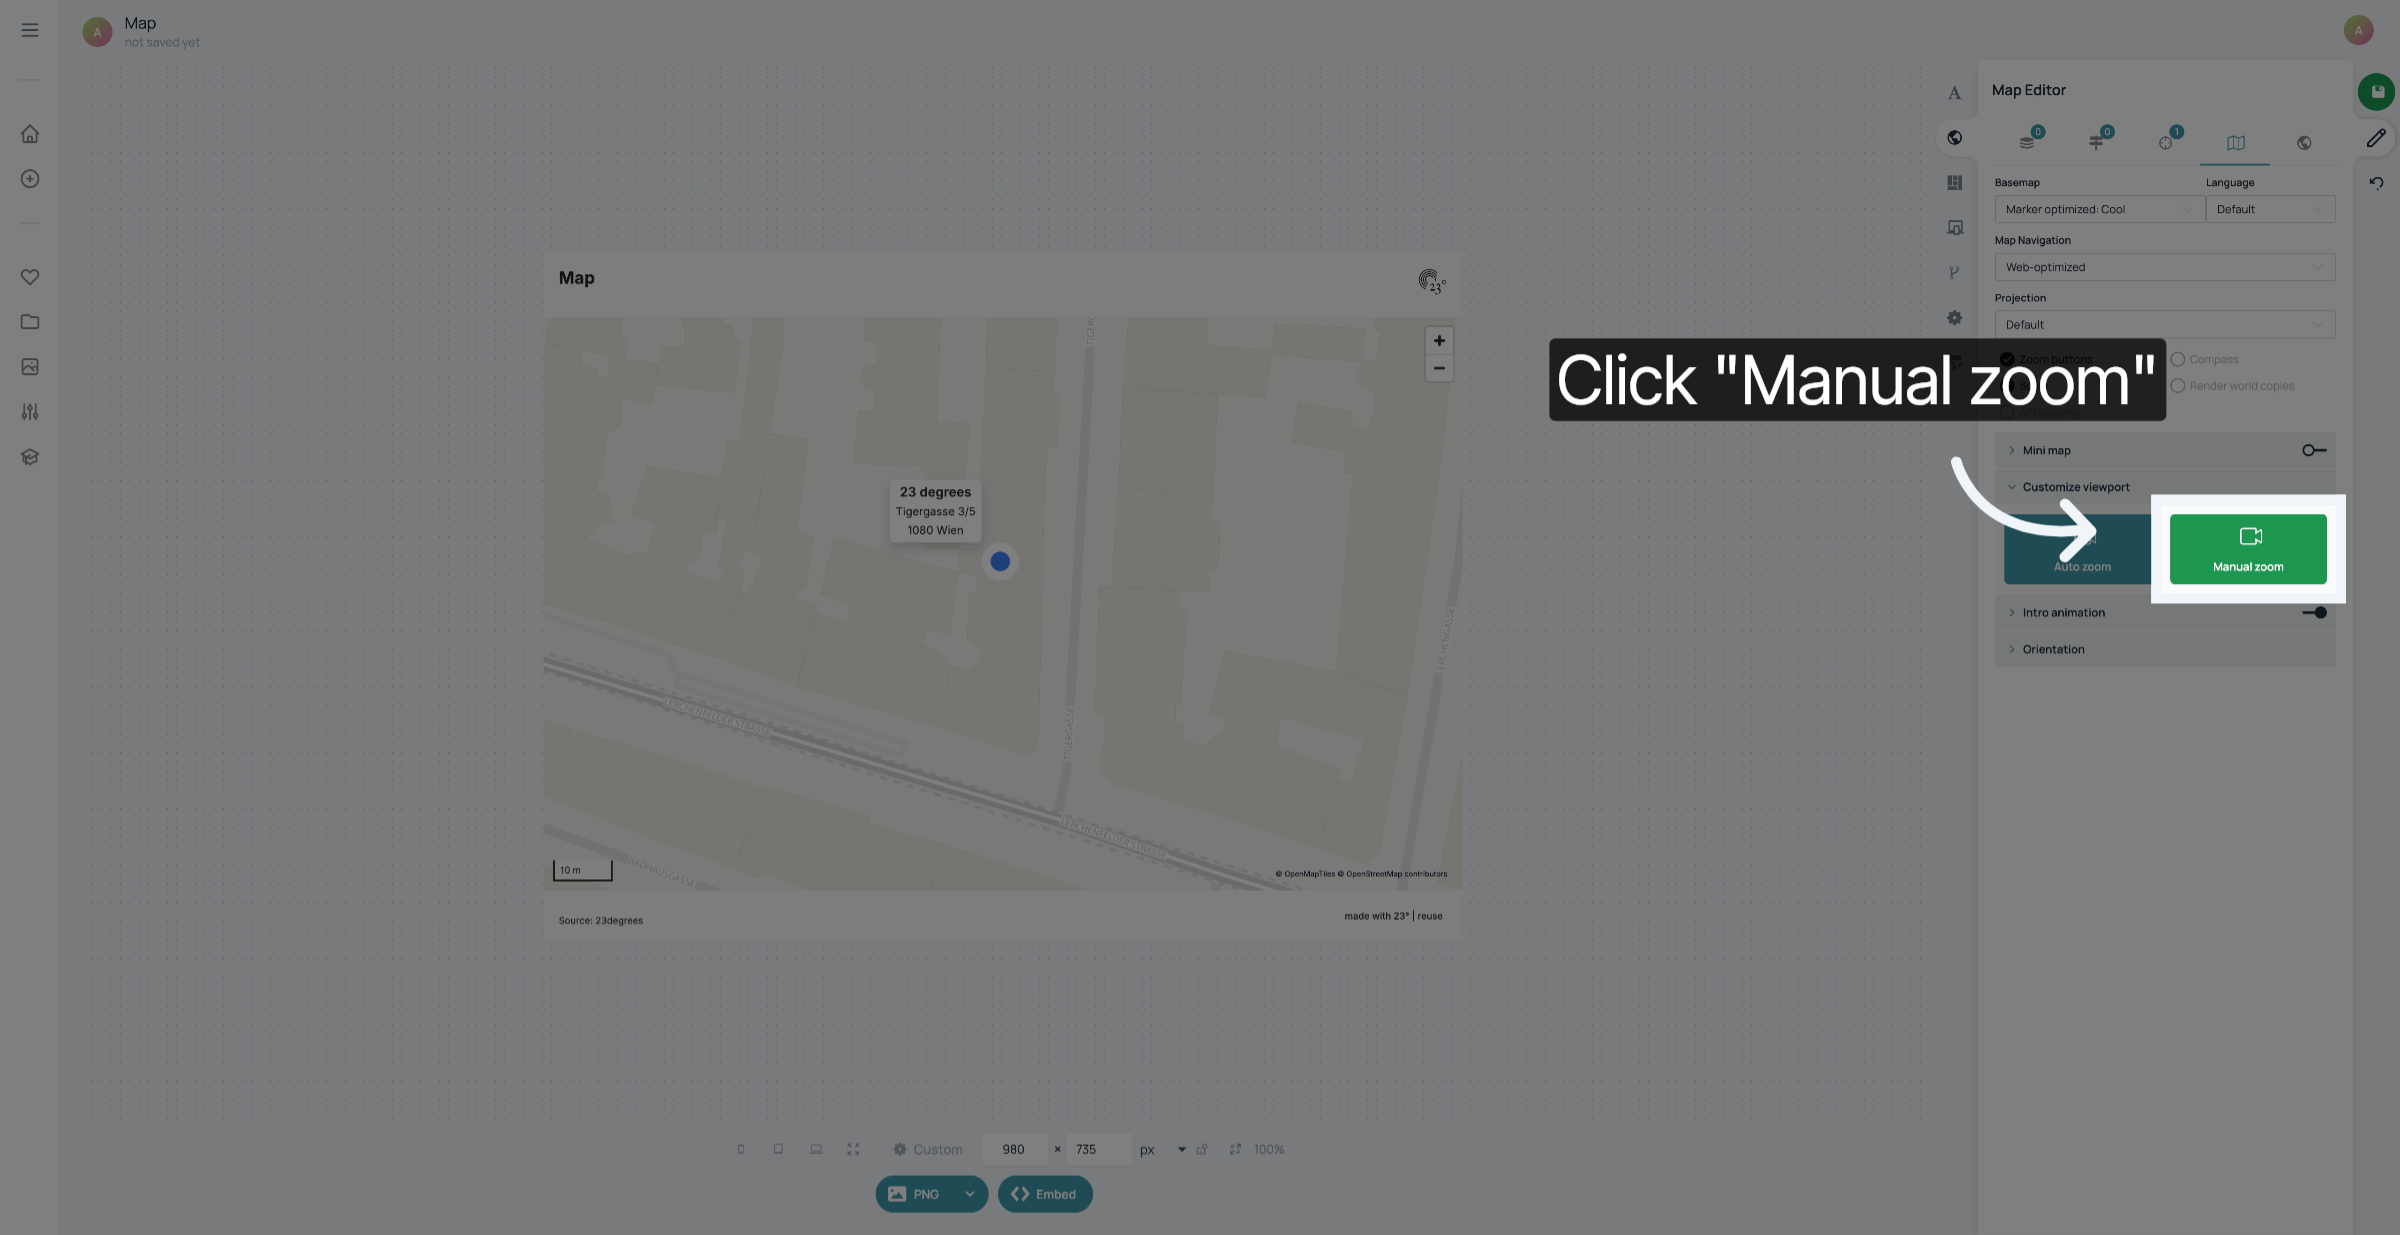
Click "Manual zoom".
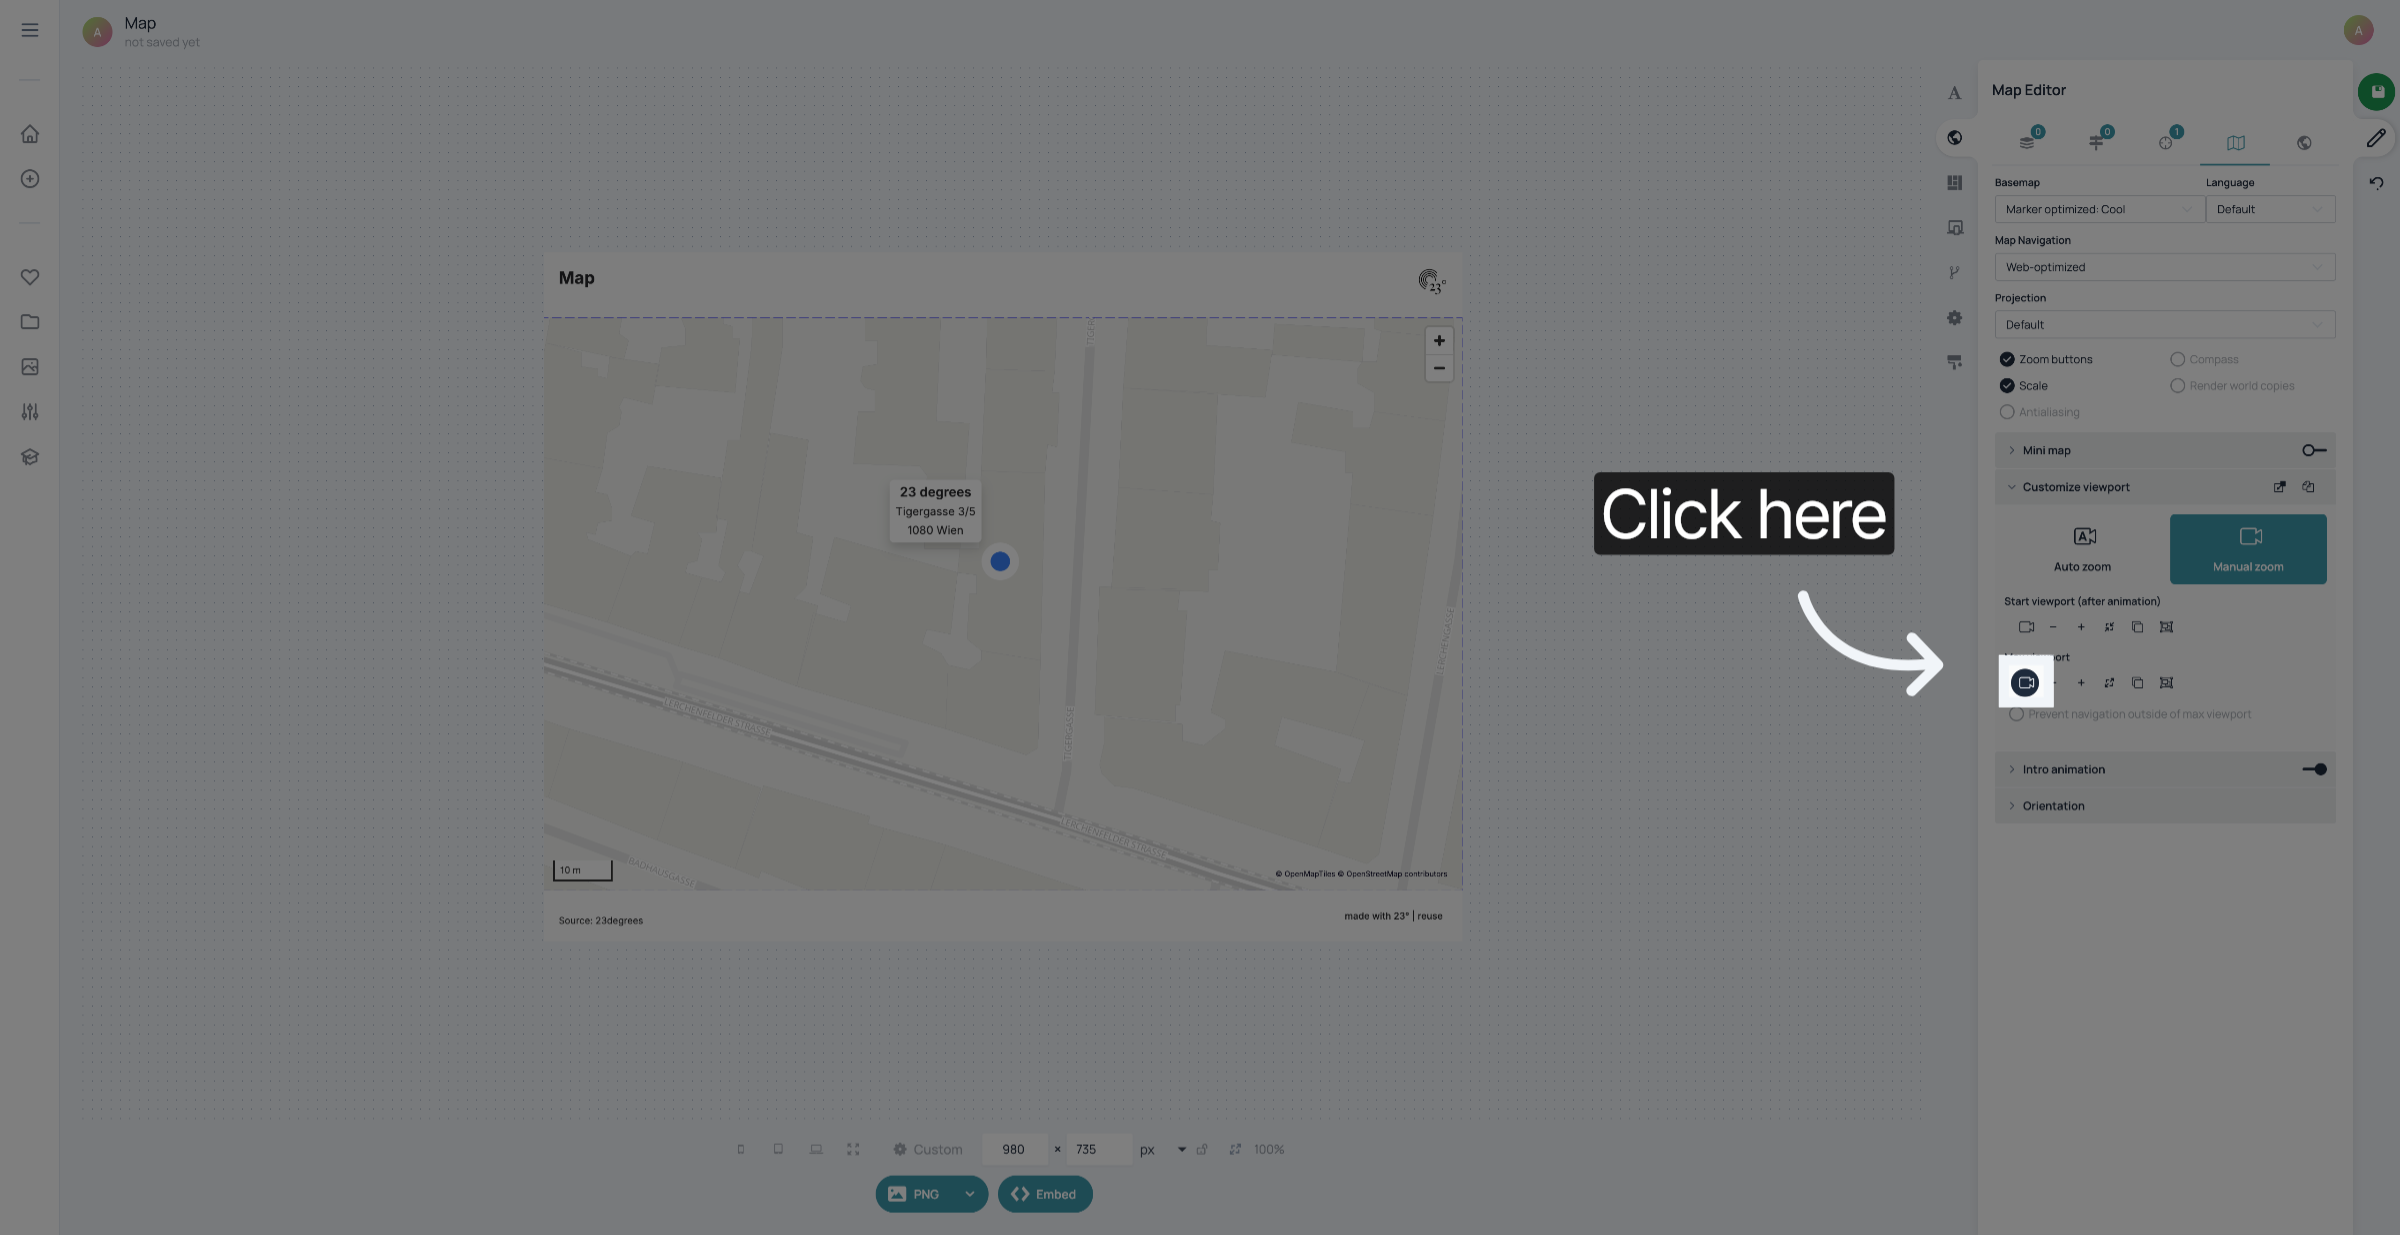
Click the camera symbol below "Max viewport" to set the viewport where you want the intro animation of your map to start.
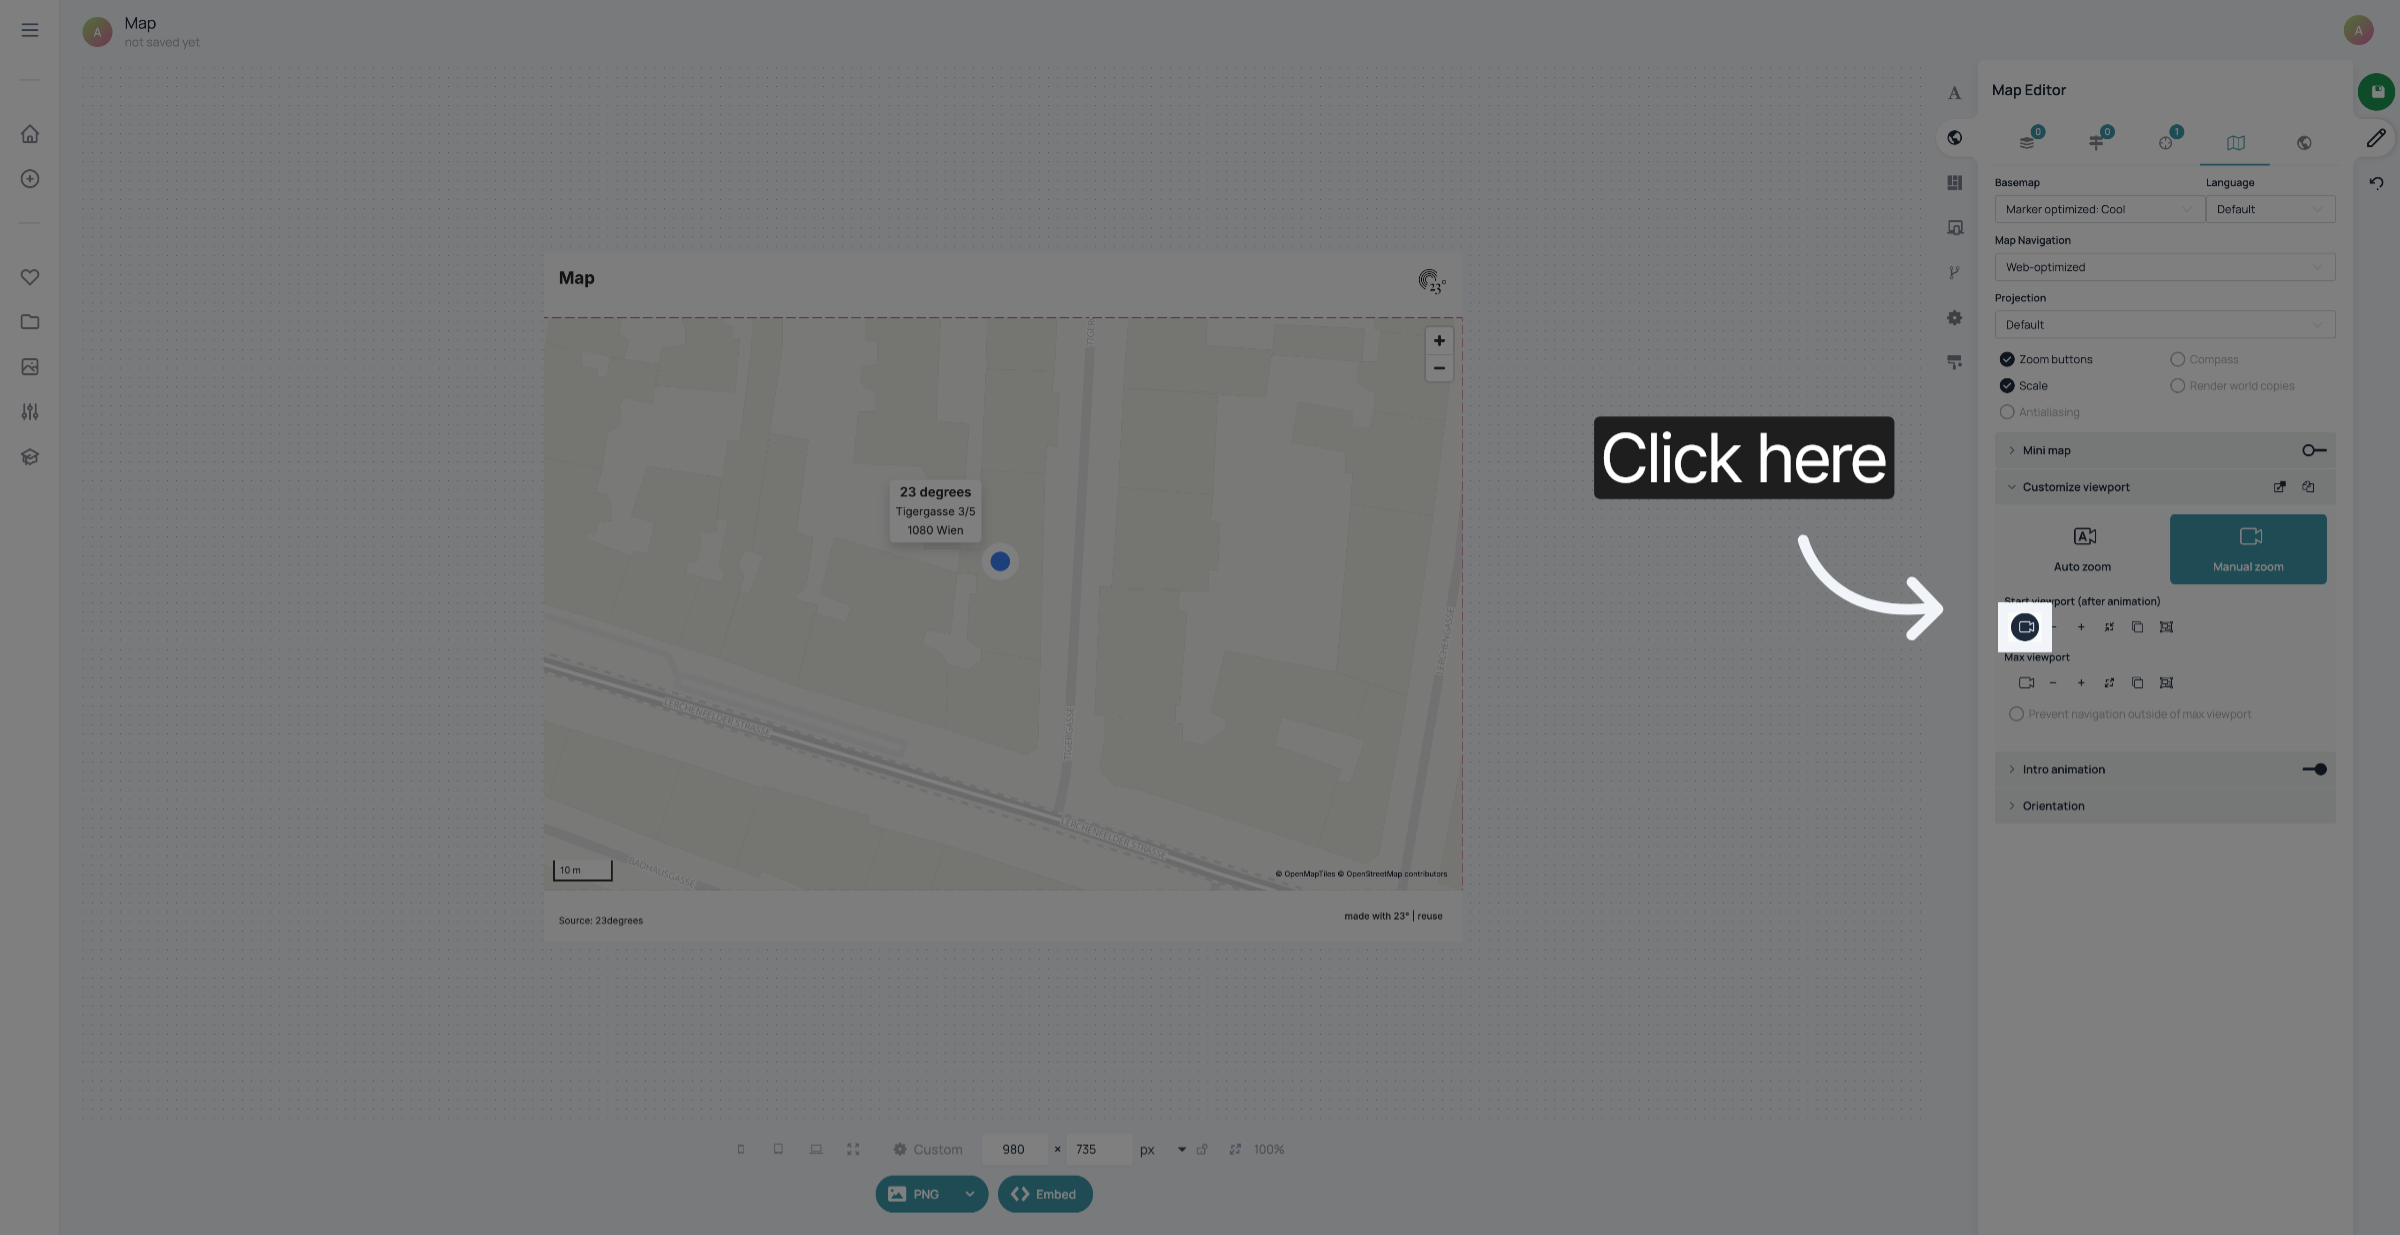
Click the camera symbol below "Start Viewport" to save the viewport where you want your intro animation to end. They can be the same viewport, if you don't want an intro animation to take place.
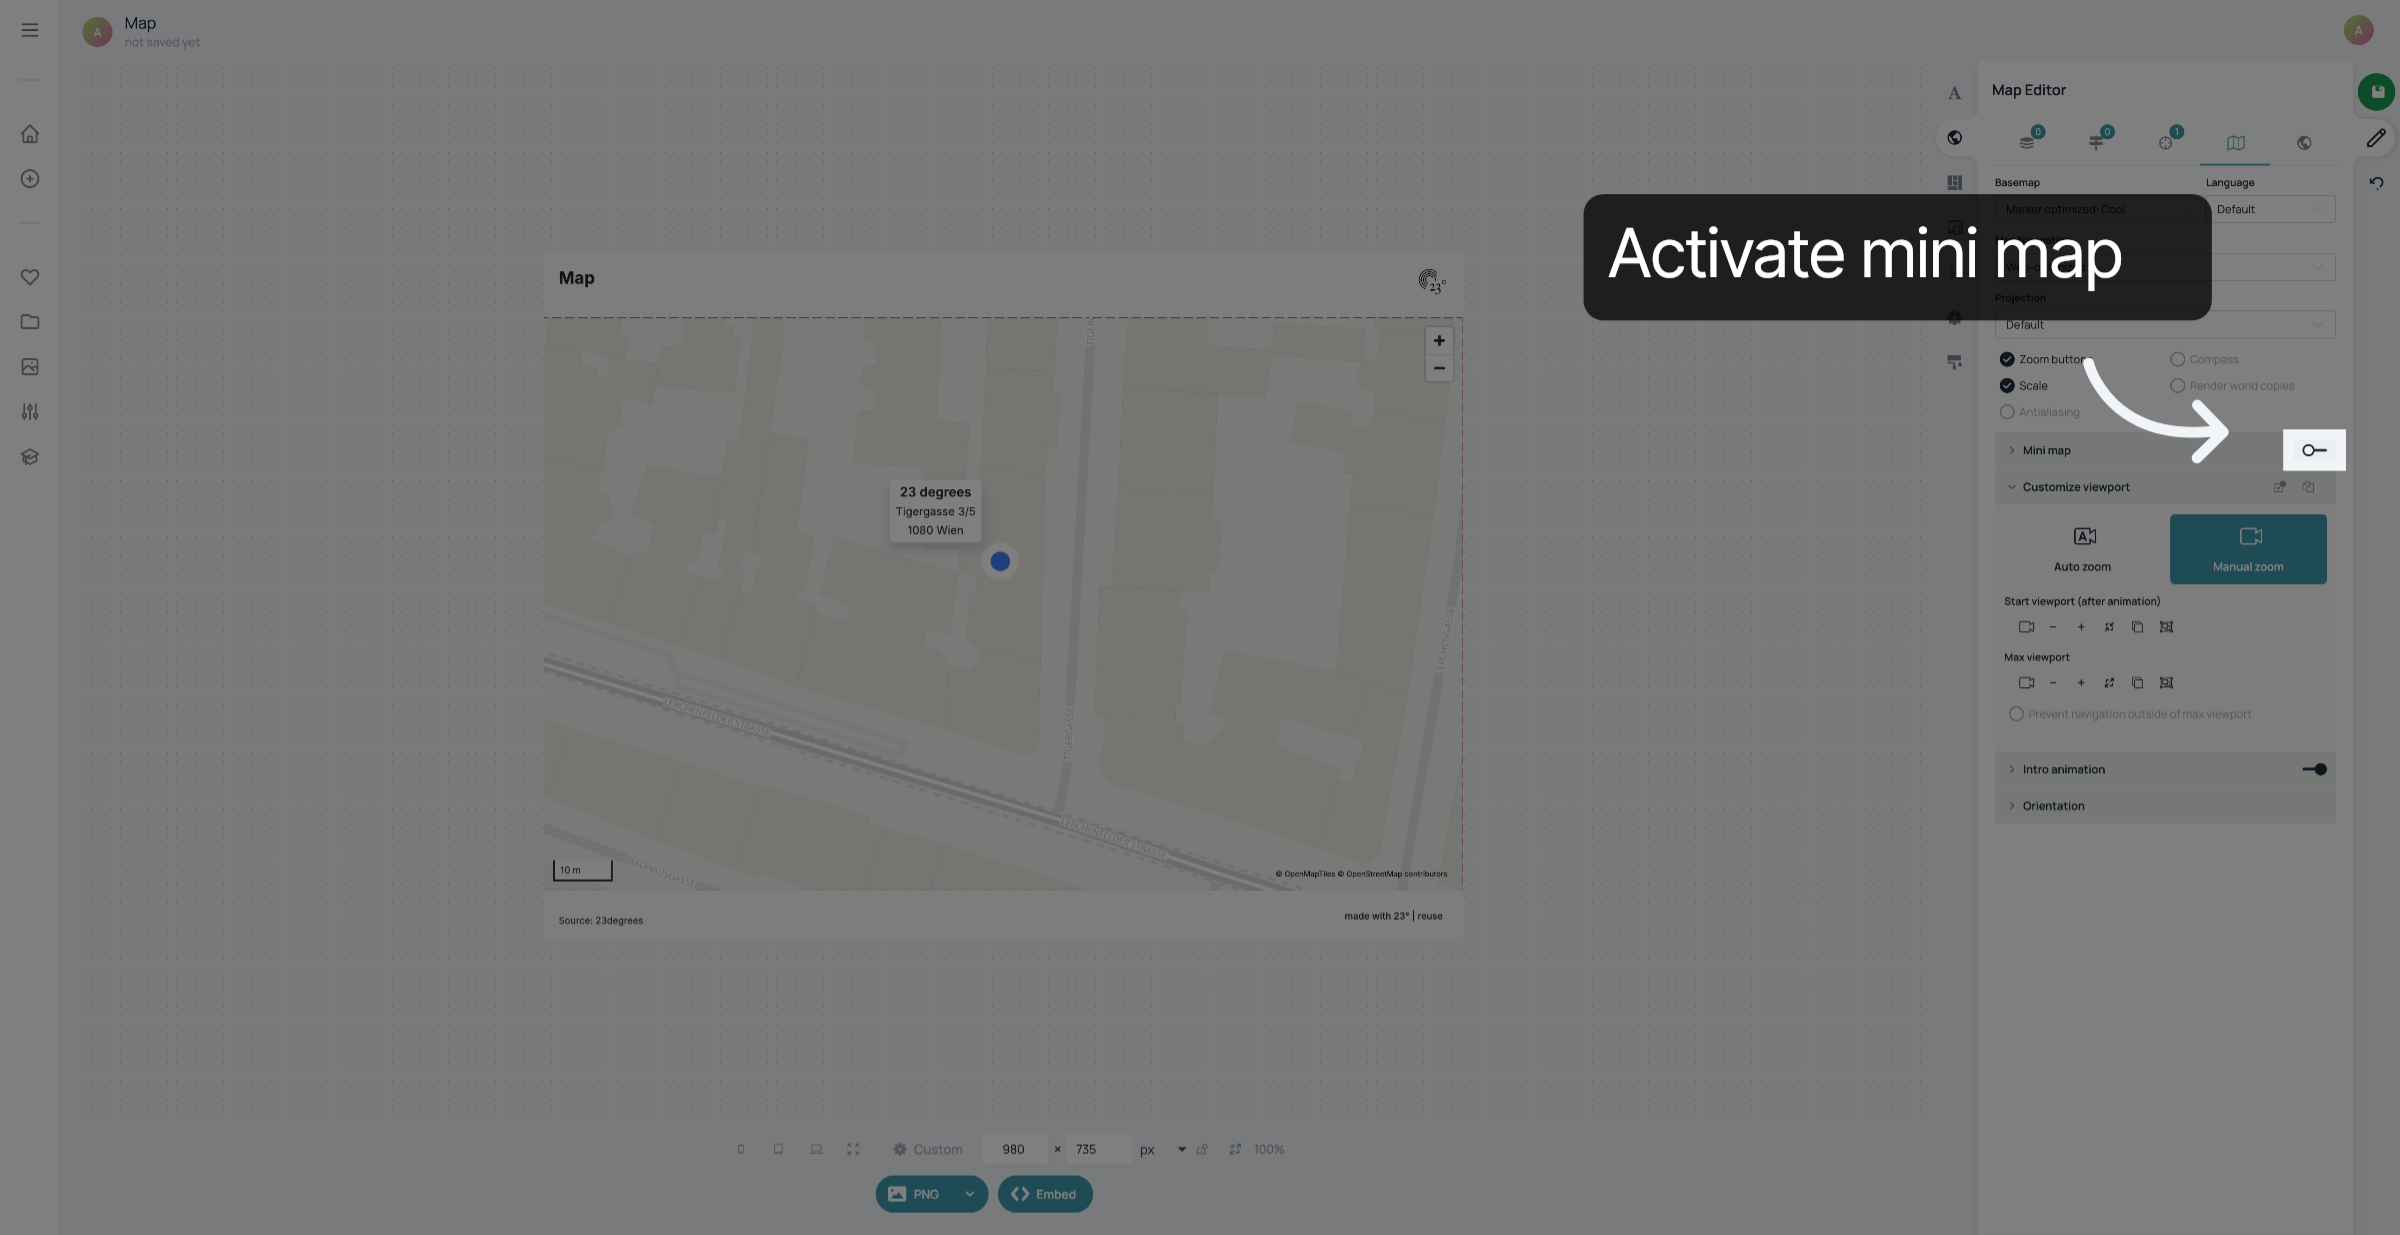
If you want to add a minimap to your map, you can activate it here.
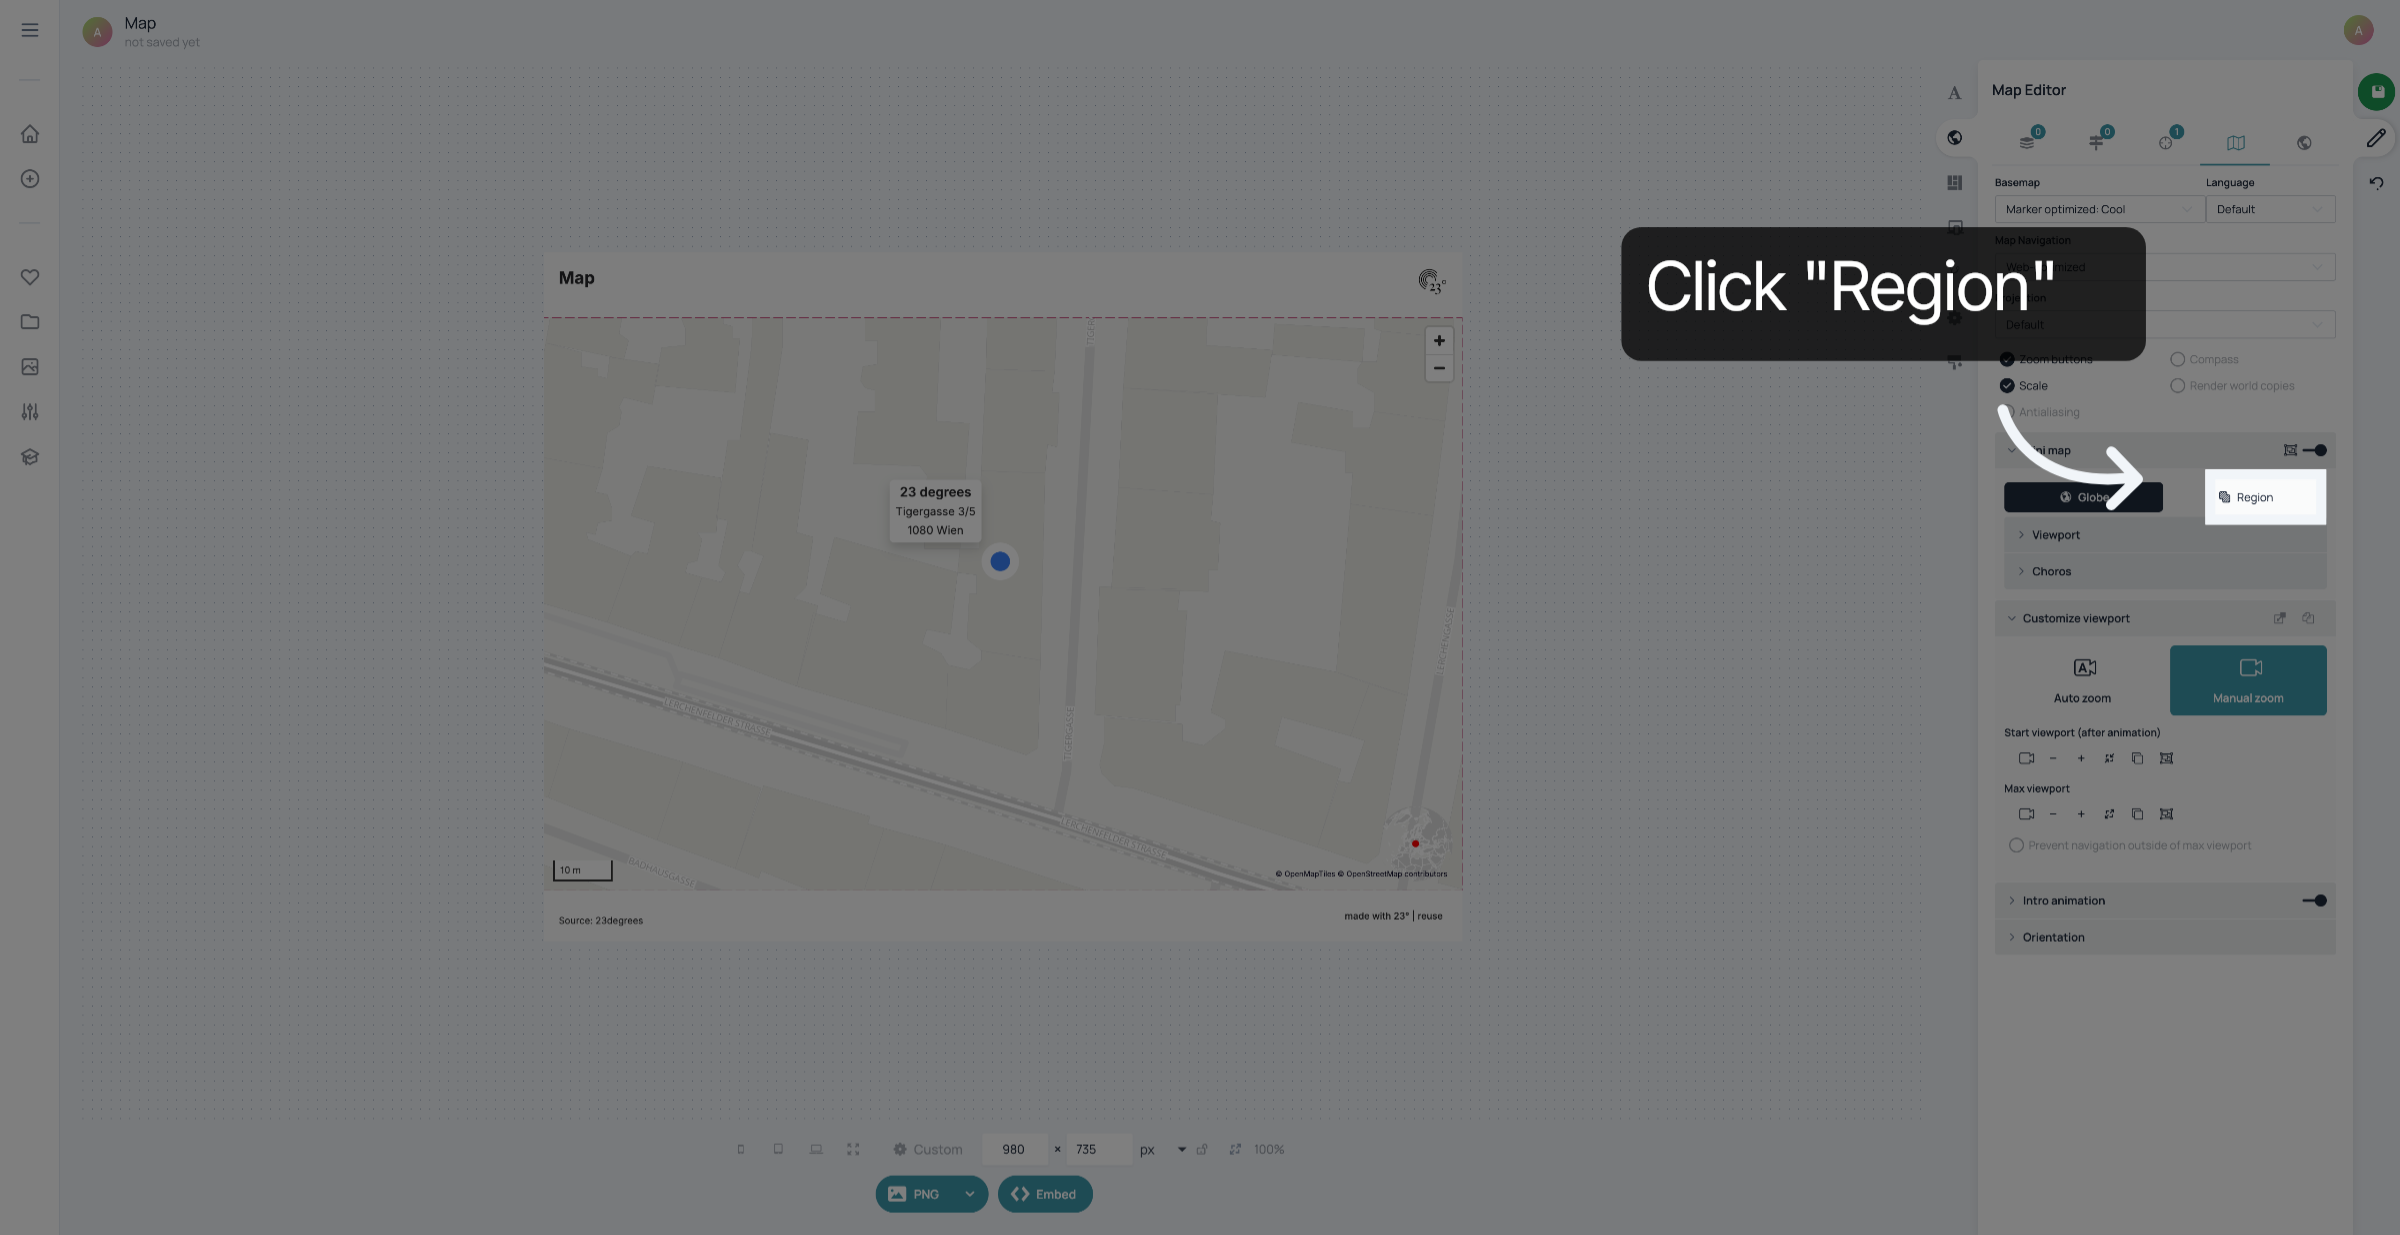
To add an inset map of a city, in this case Vienna, click "Region
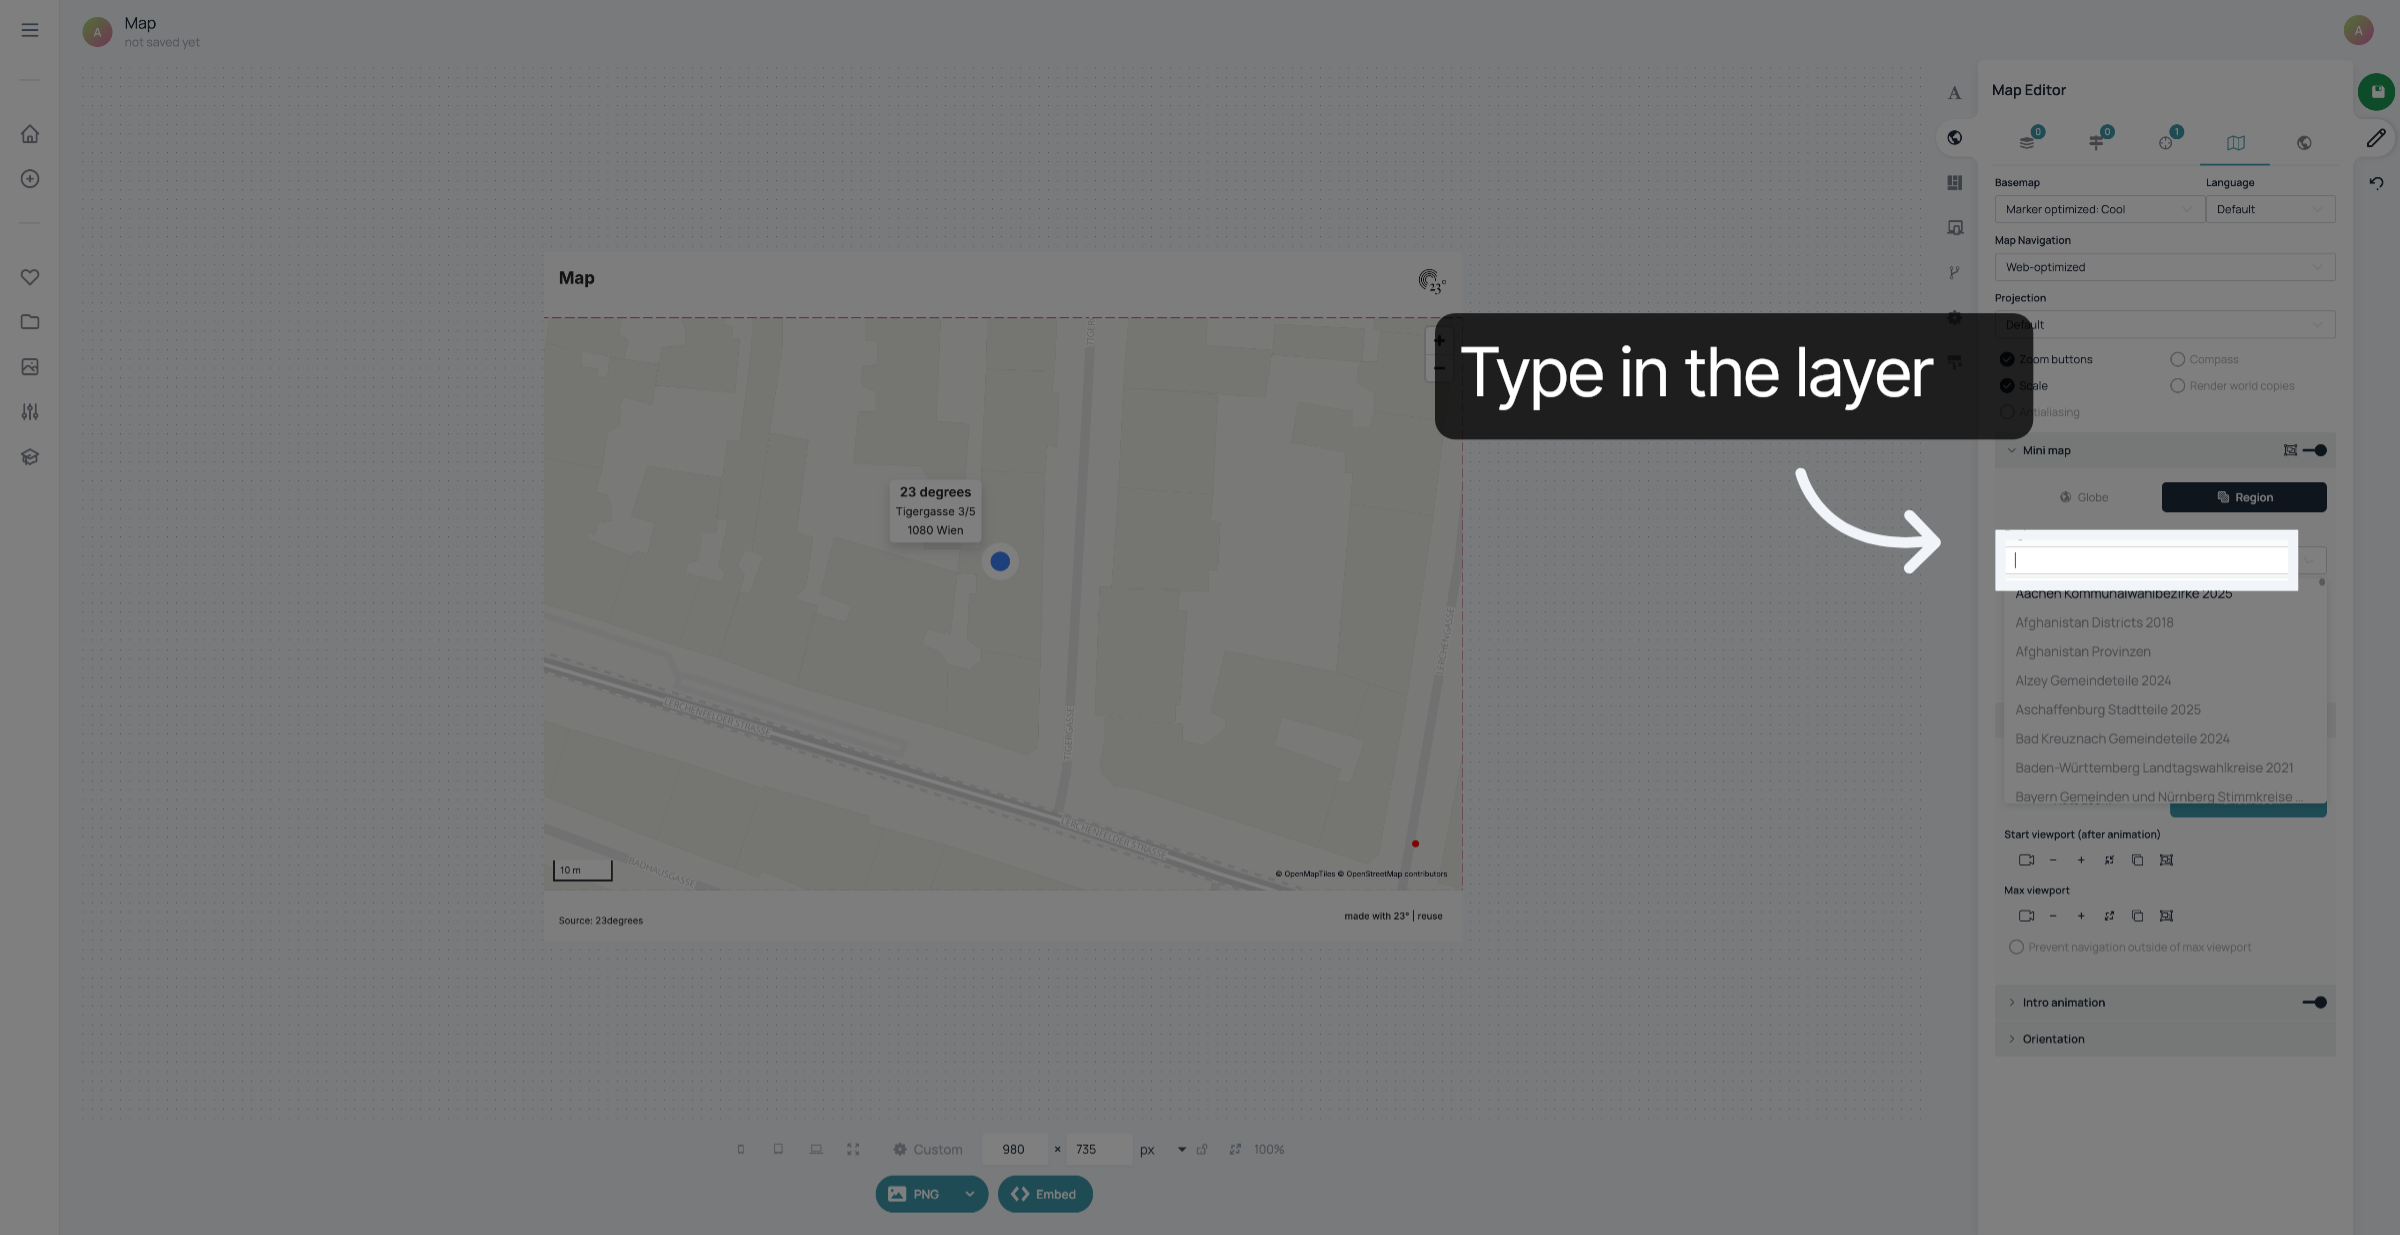
Type in the layer where the shape of the region is contained. In this case it's "Österreich Bundesländer".
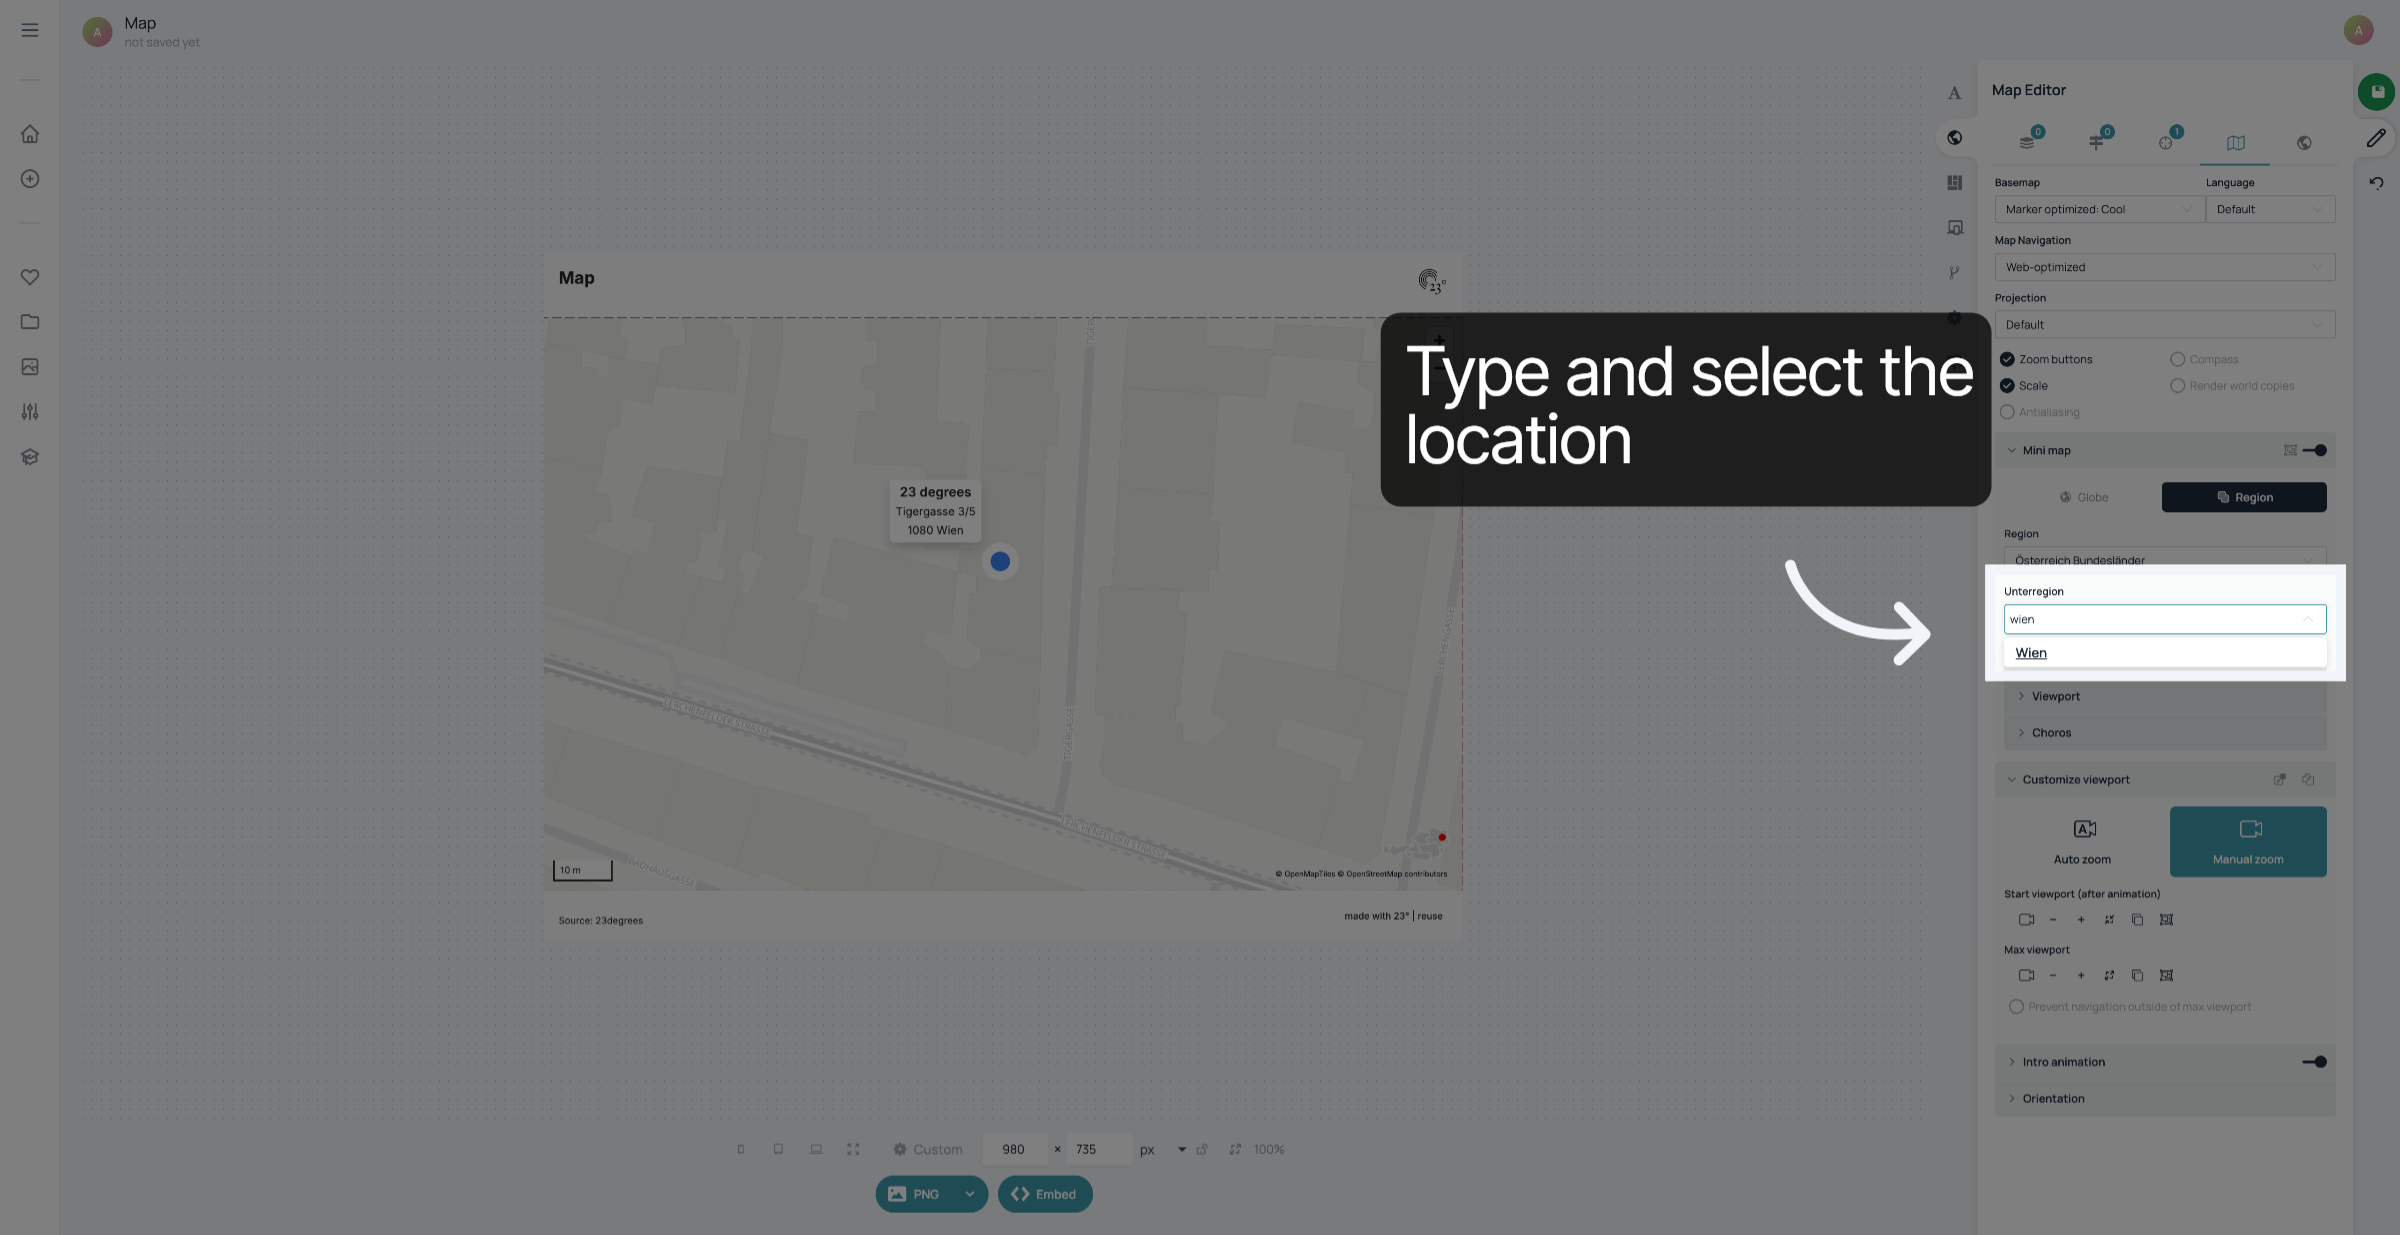
Type in or select the region that your marker in.
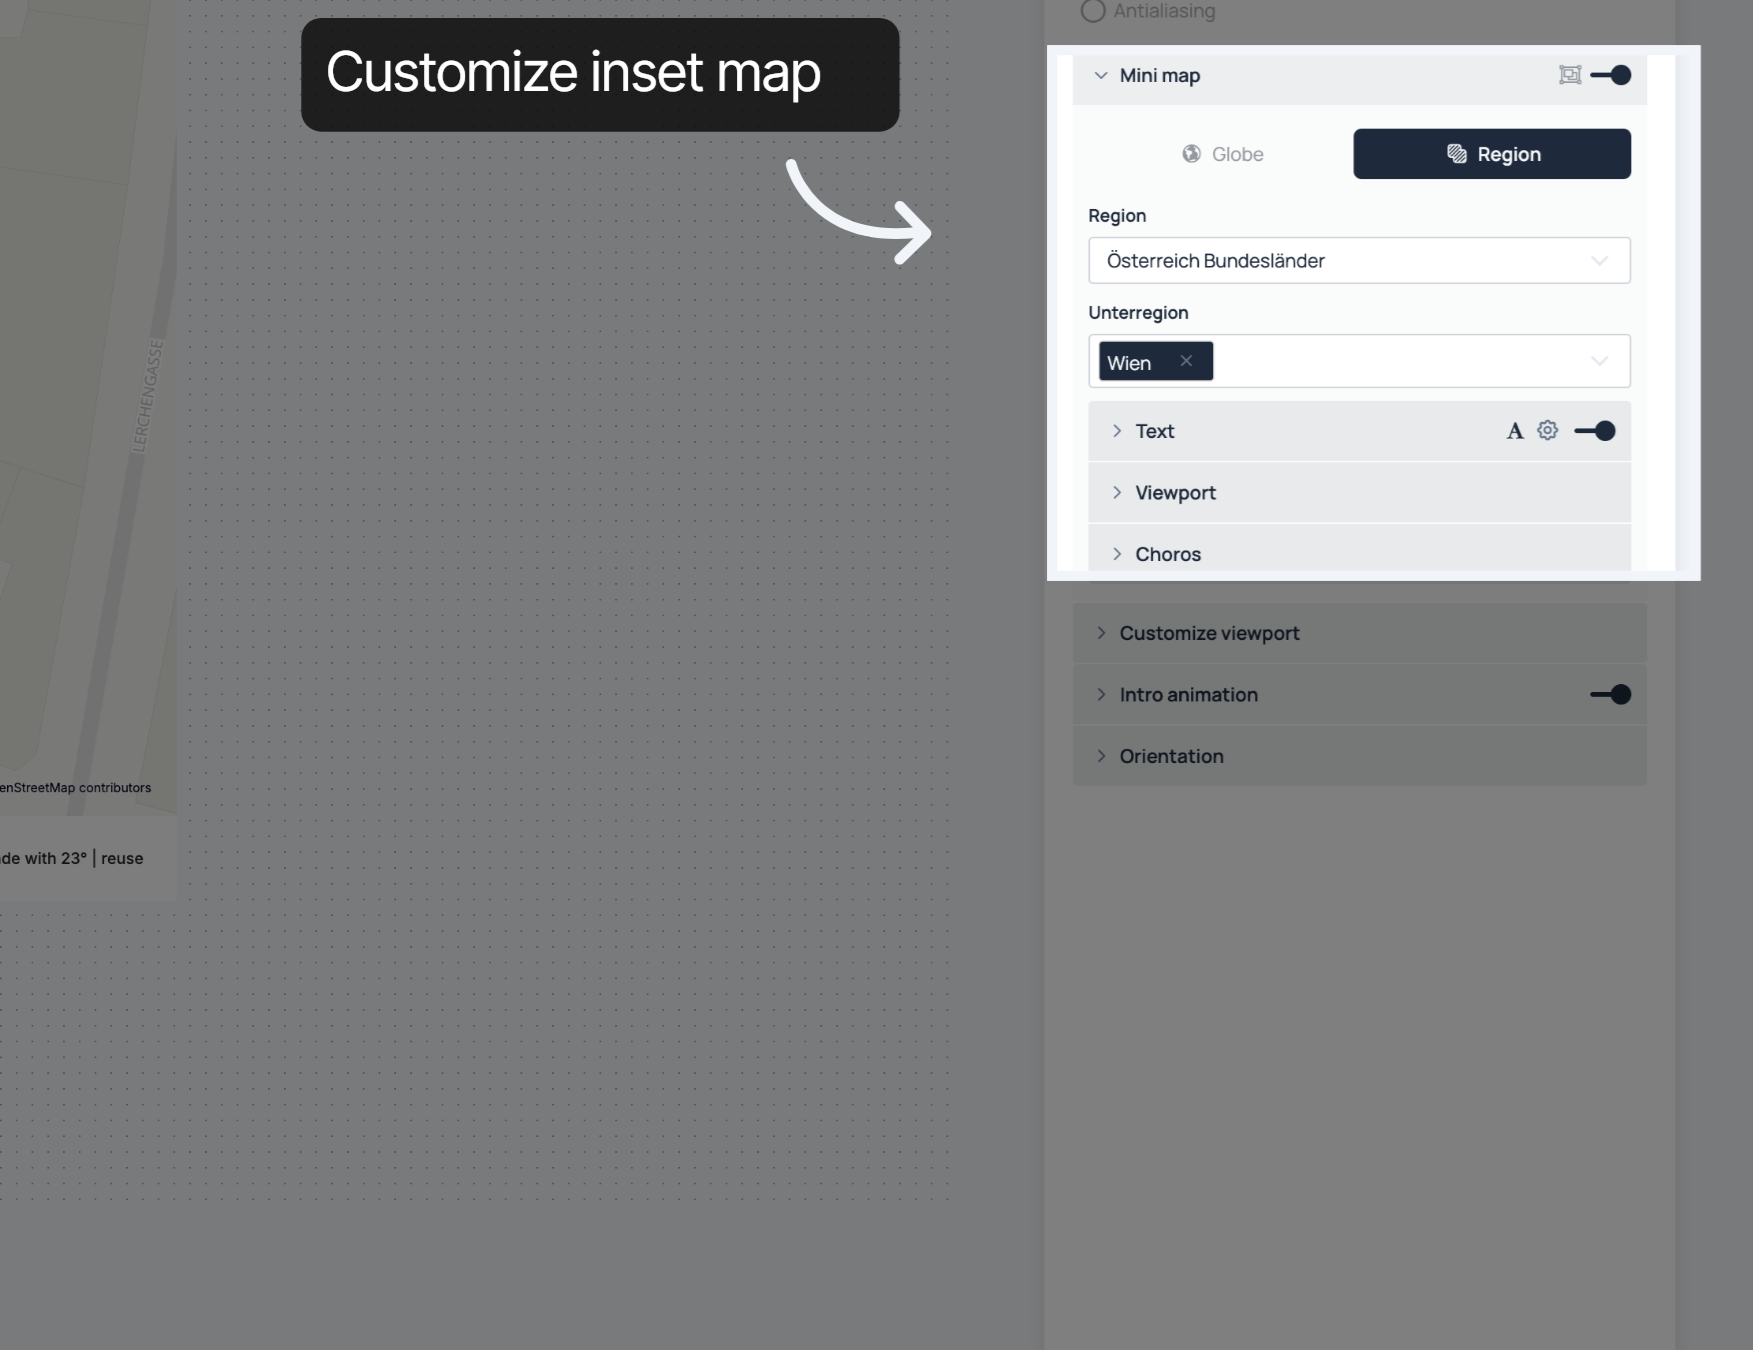
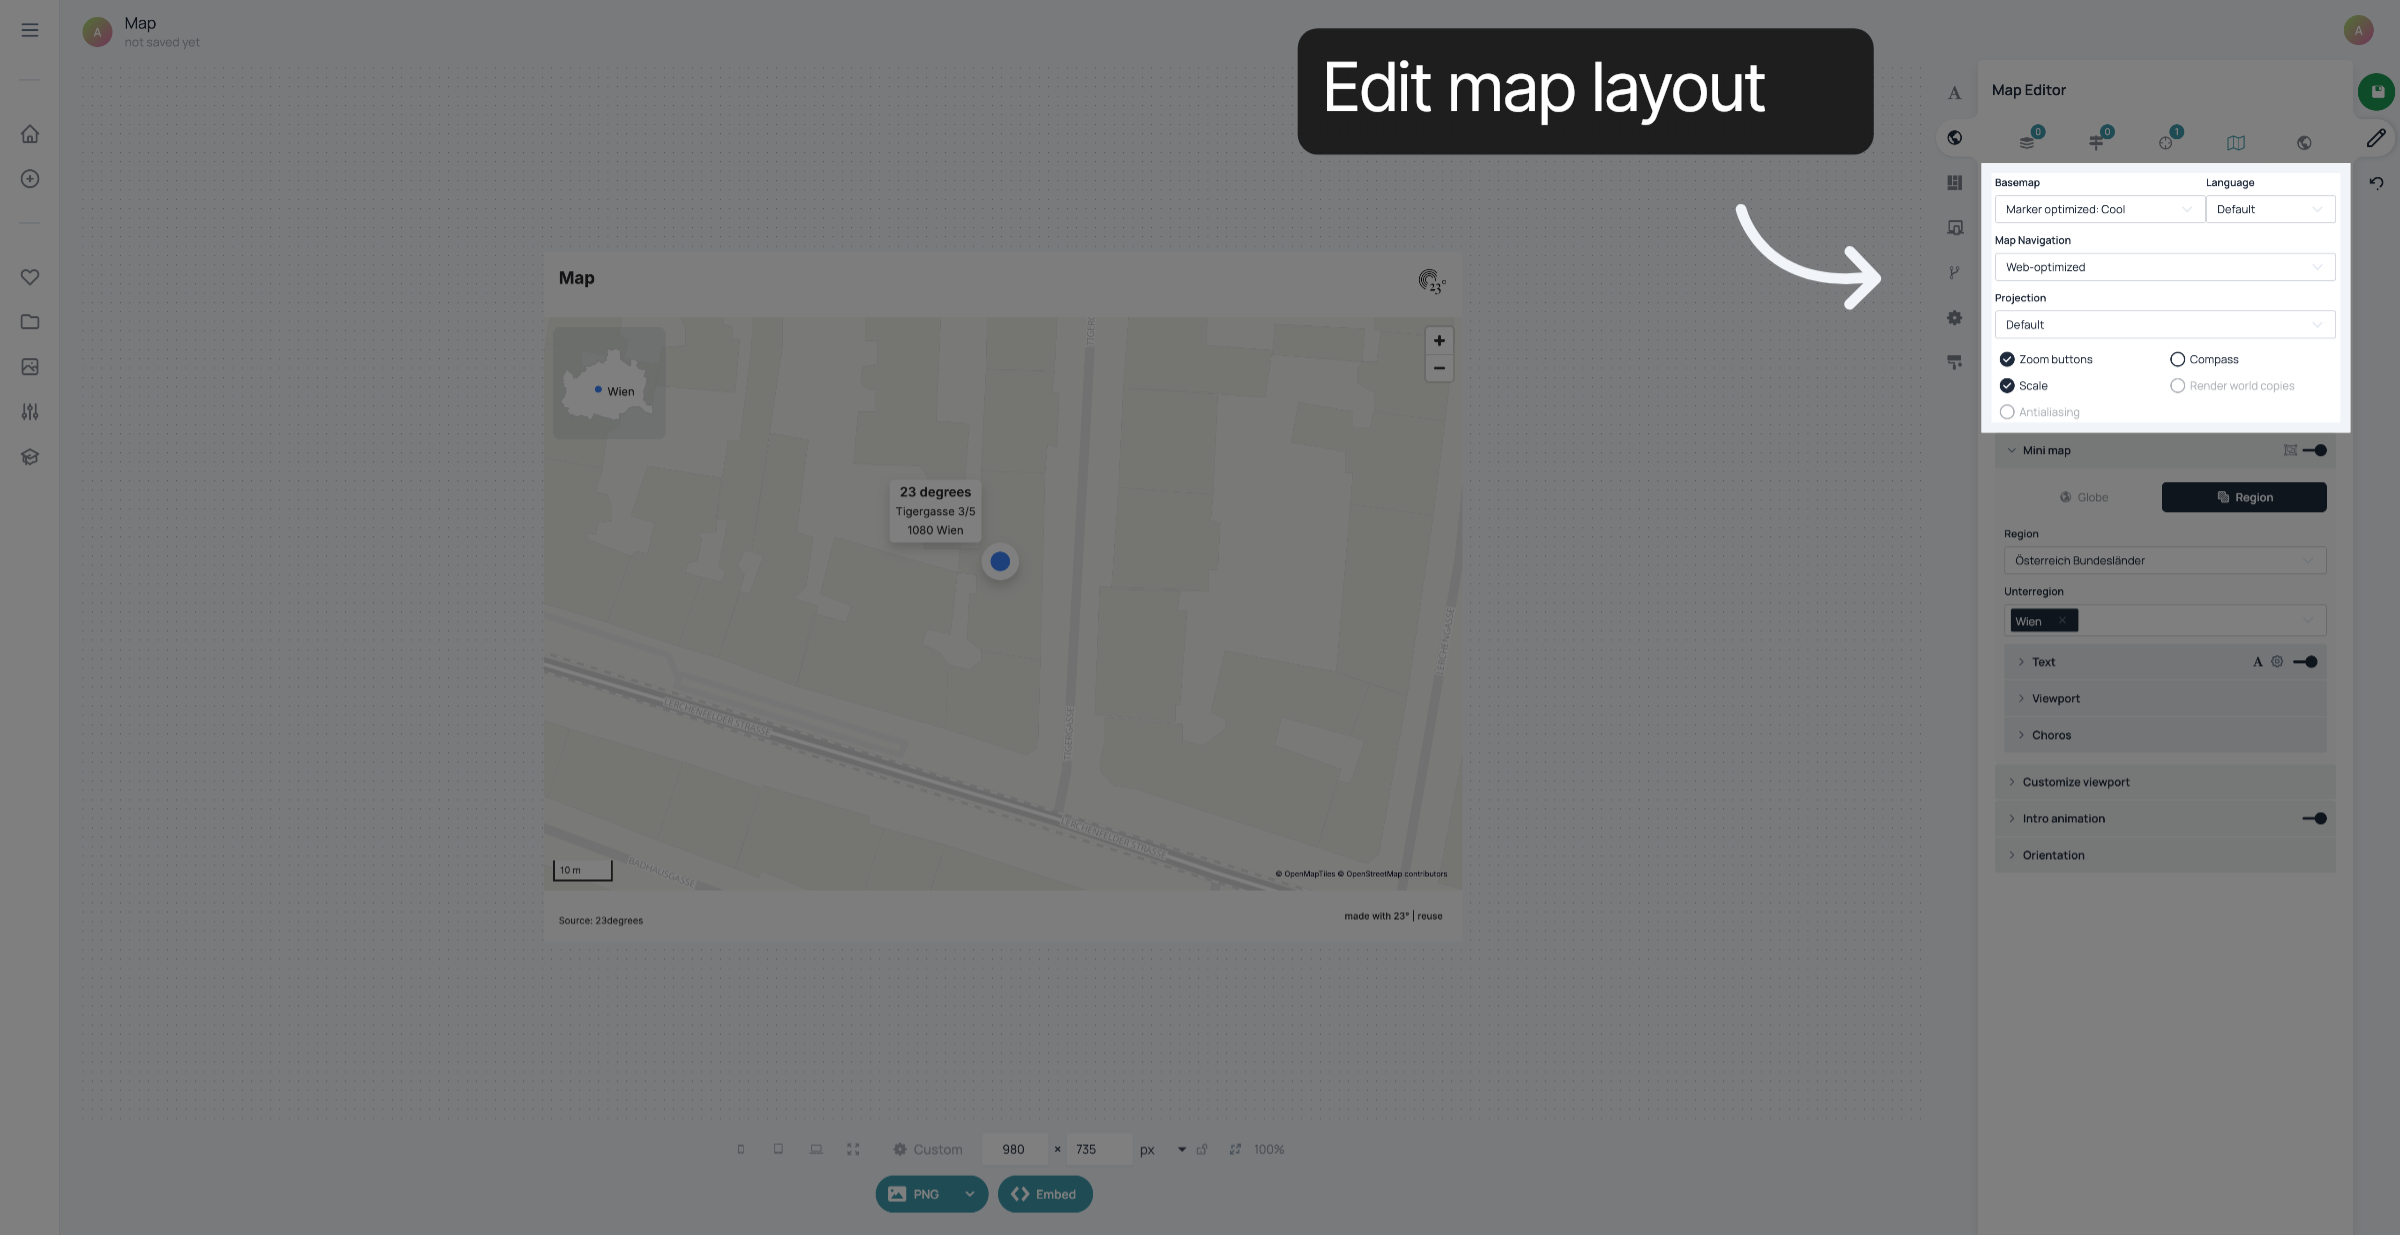
You can customize your map here.
On the top of the map settings, you can edit the layout of your map. For example, you can change the basemap, add zoom buttons and the way the users will navigate your map.
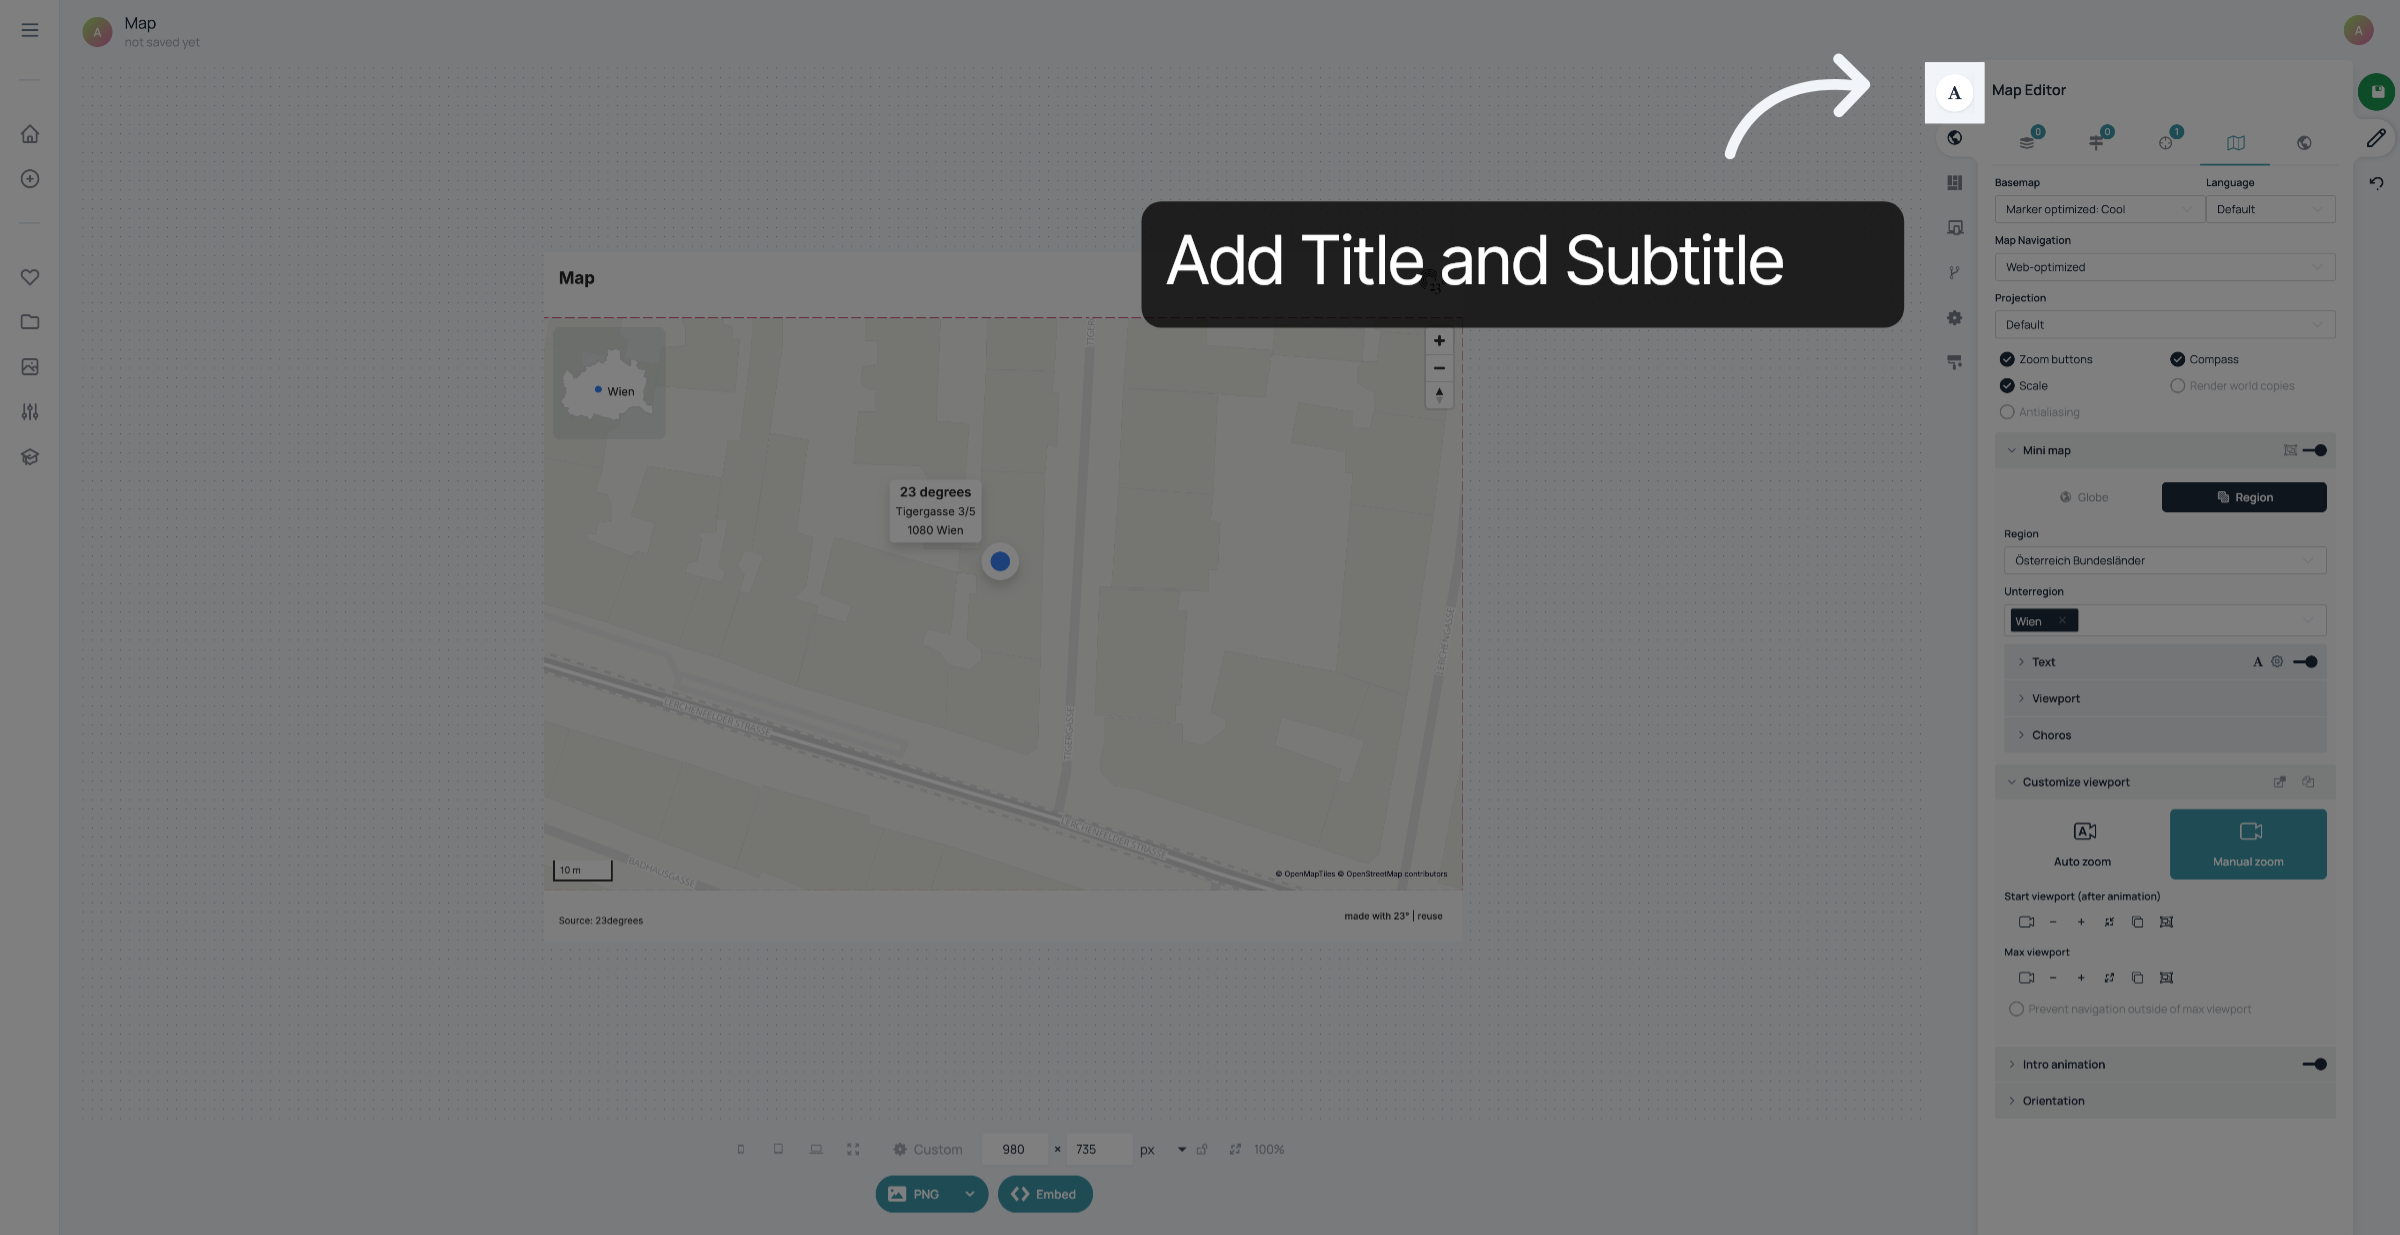
Add Title and Subtitle
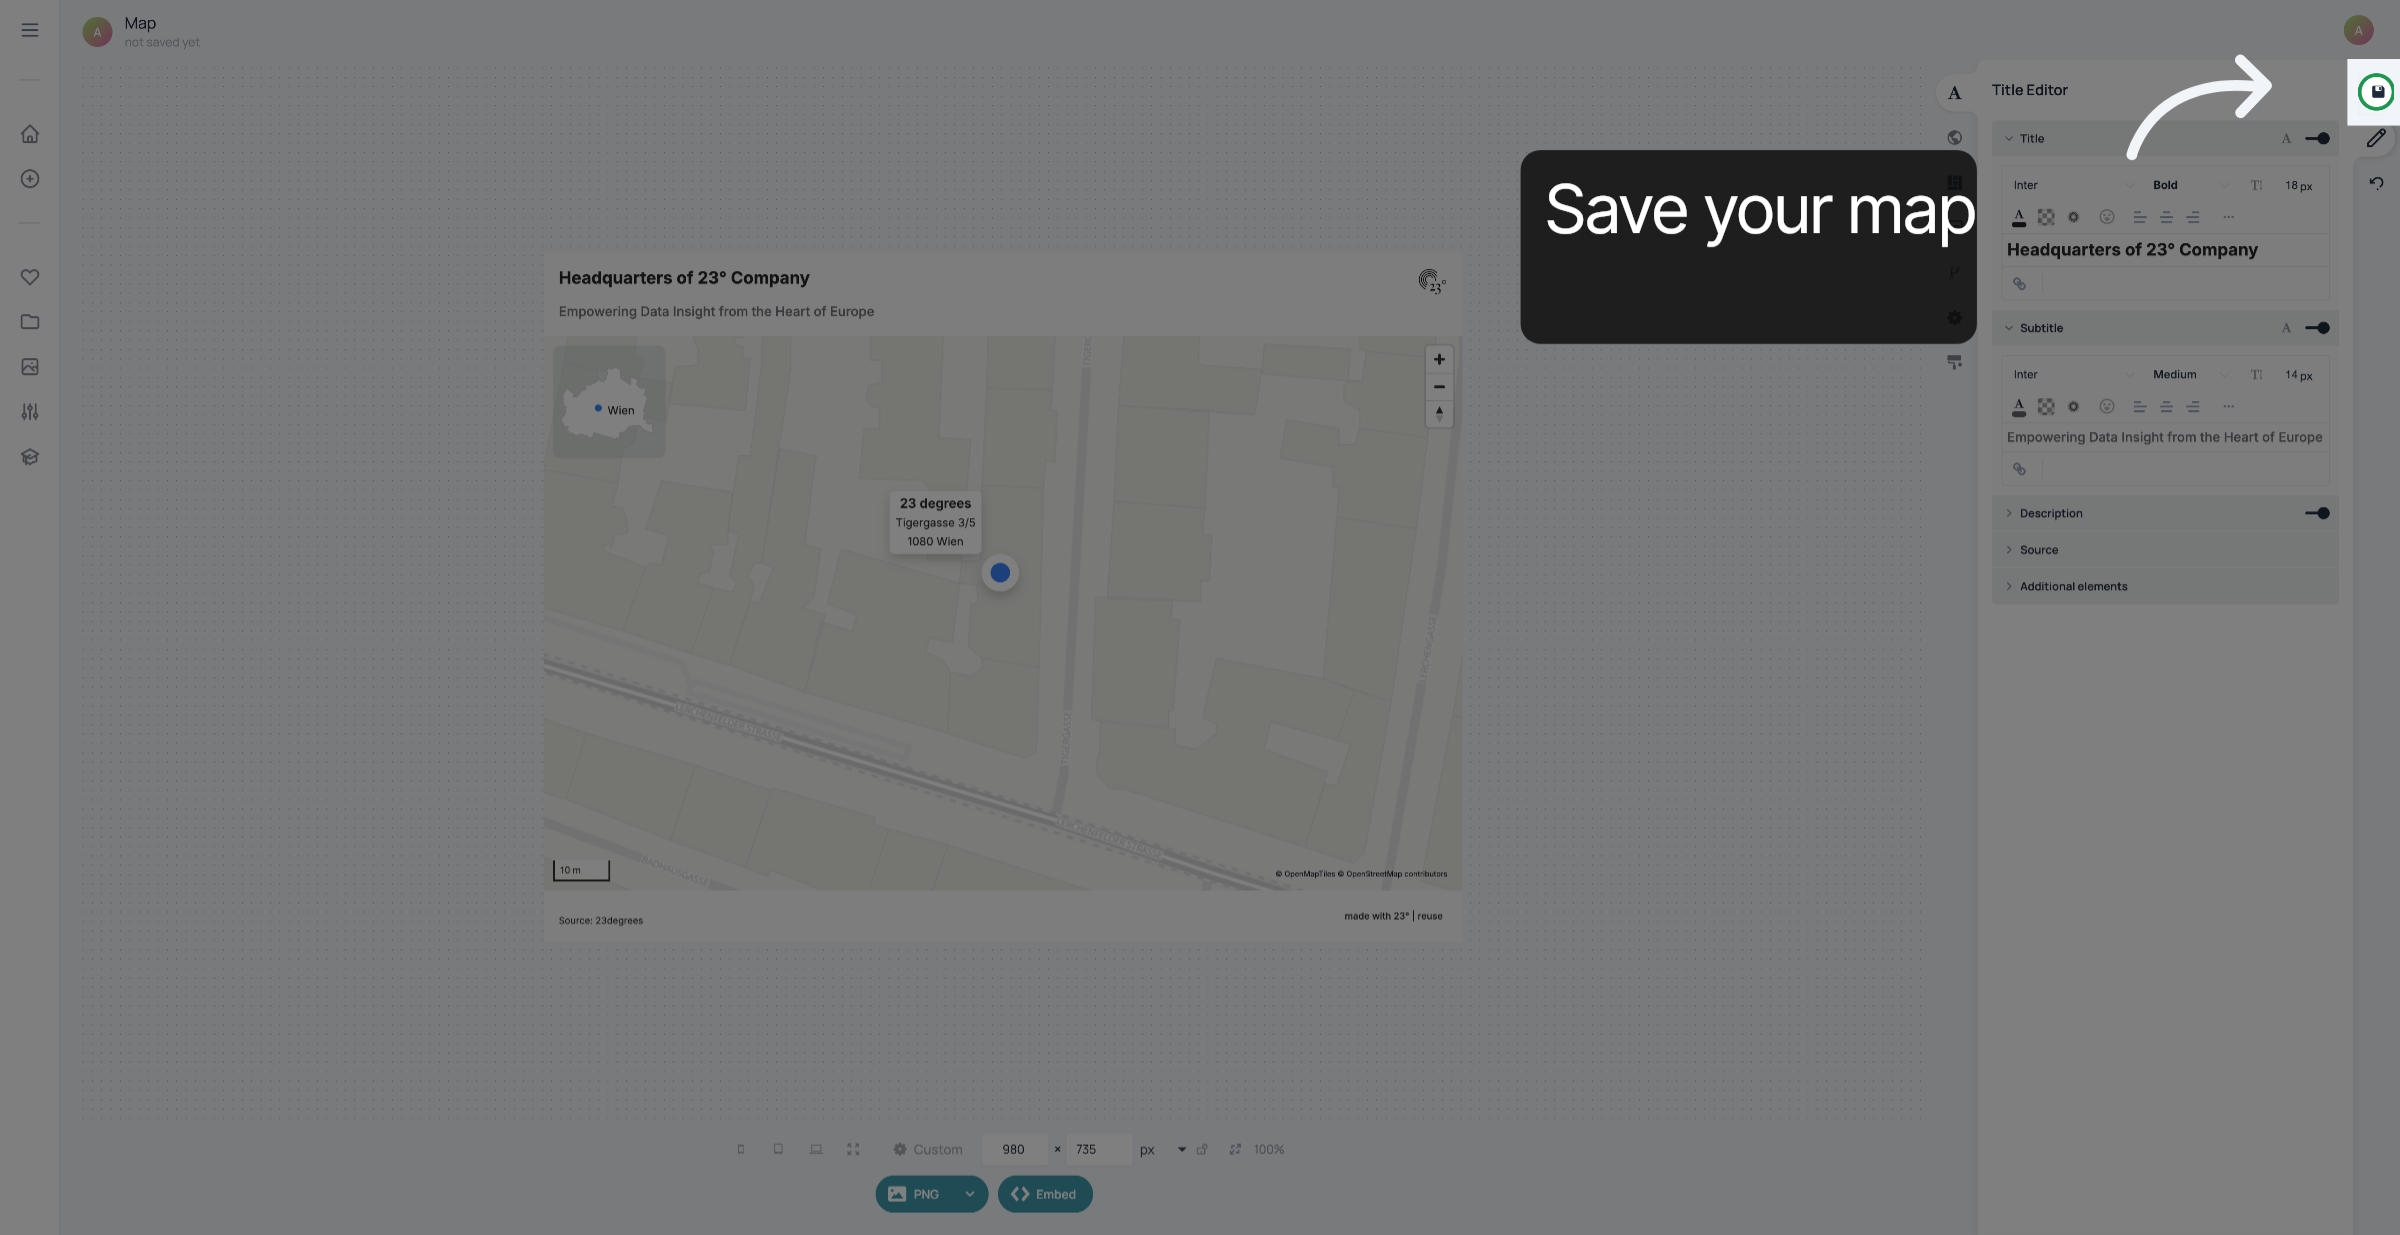
Click here to save your changes.
You have successfully created and customized a marker based on an address.