How to customize clusters in Cluster Maps
This tutorial shows how to customize the clusters in a cluster map.
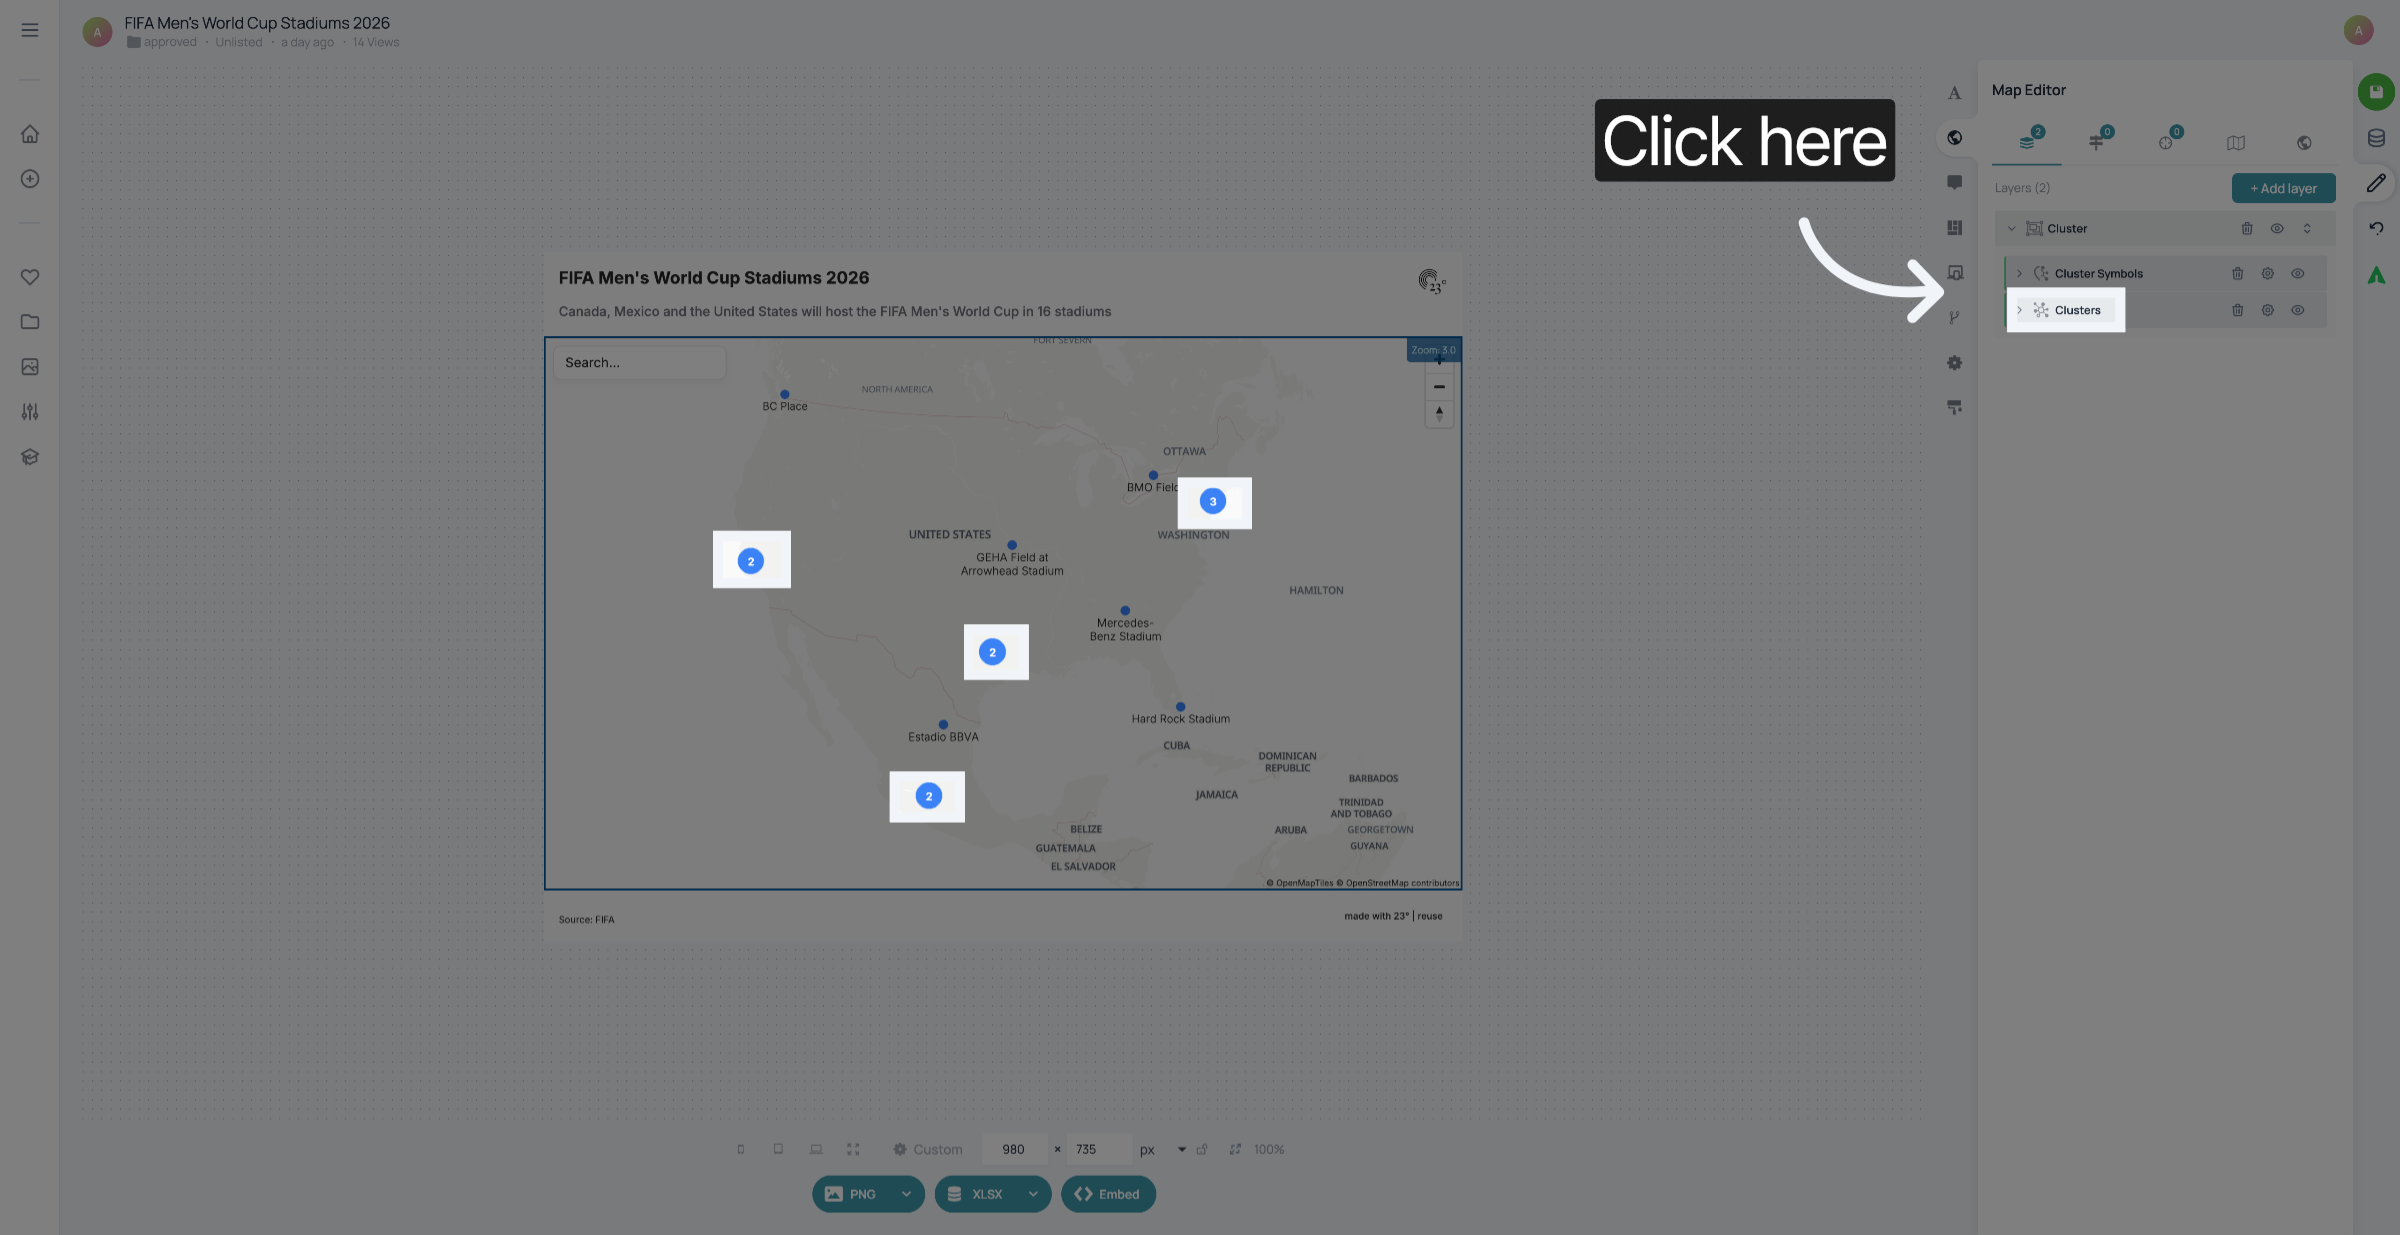
Click the cluster map menu to begin customizing your clusters.
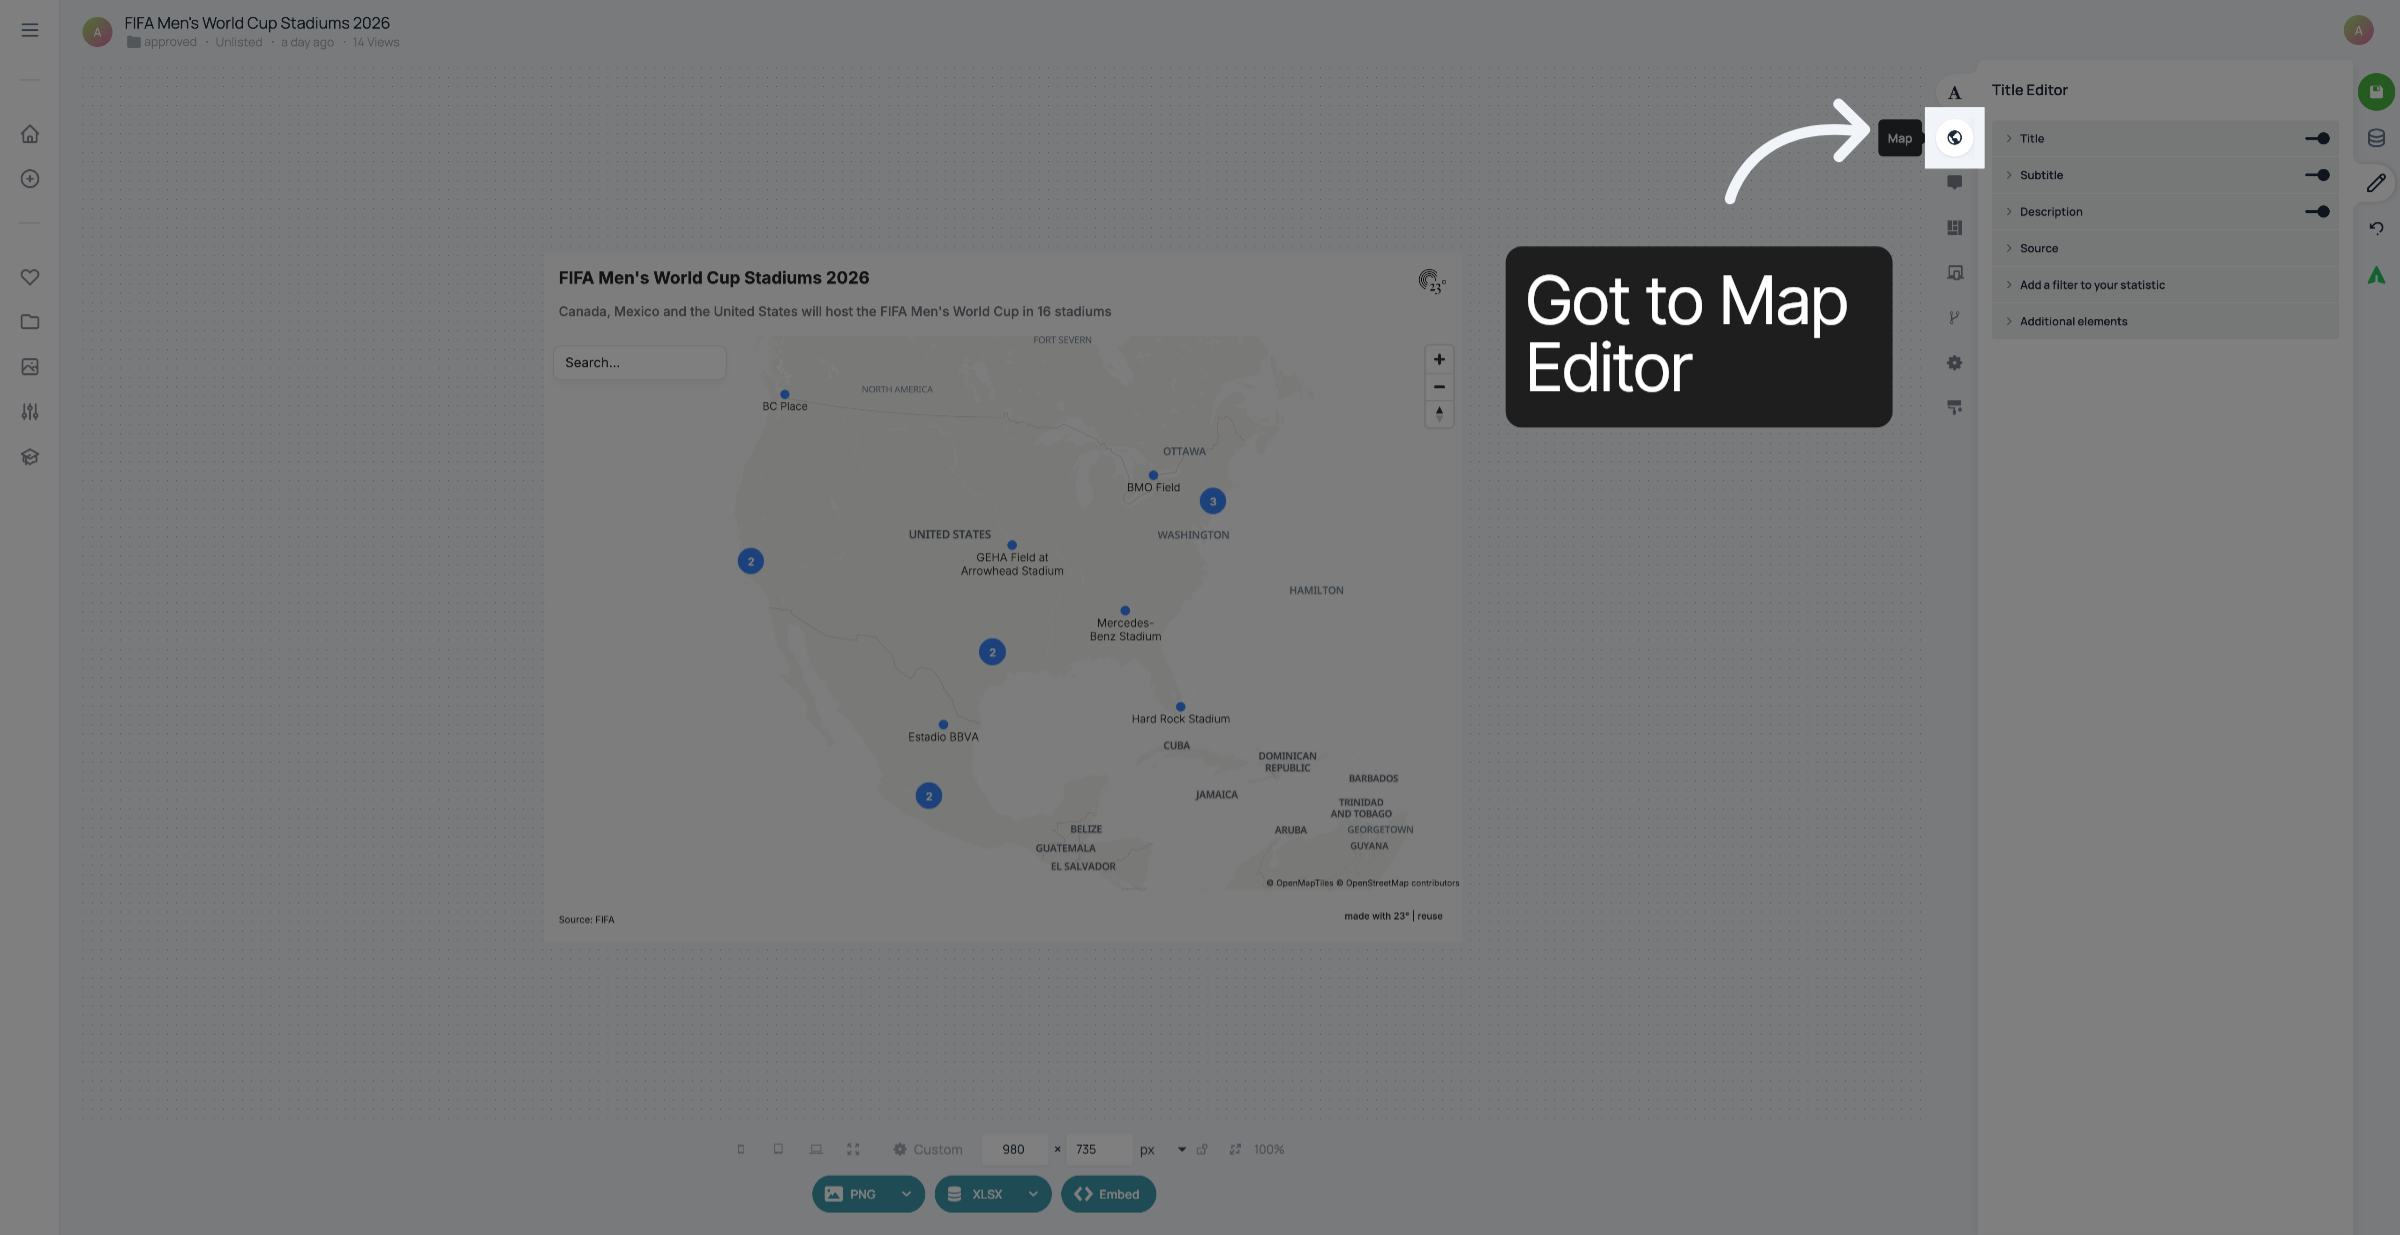
Click the cluster settings option to open customization features.
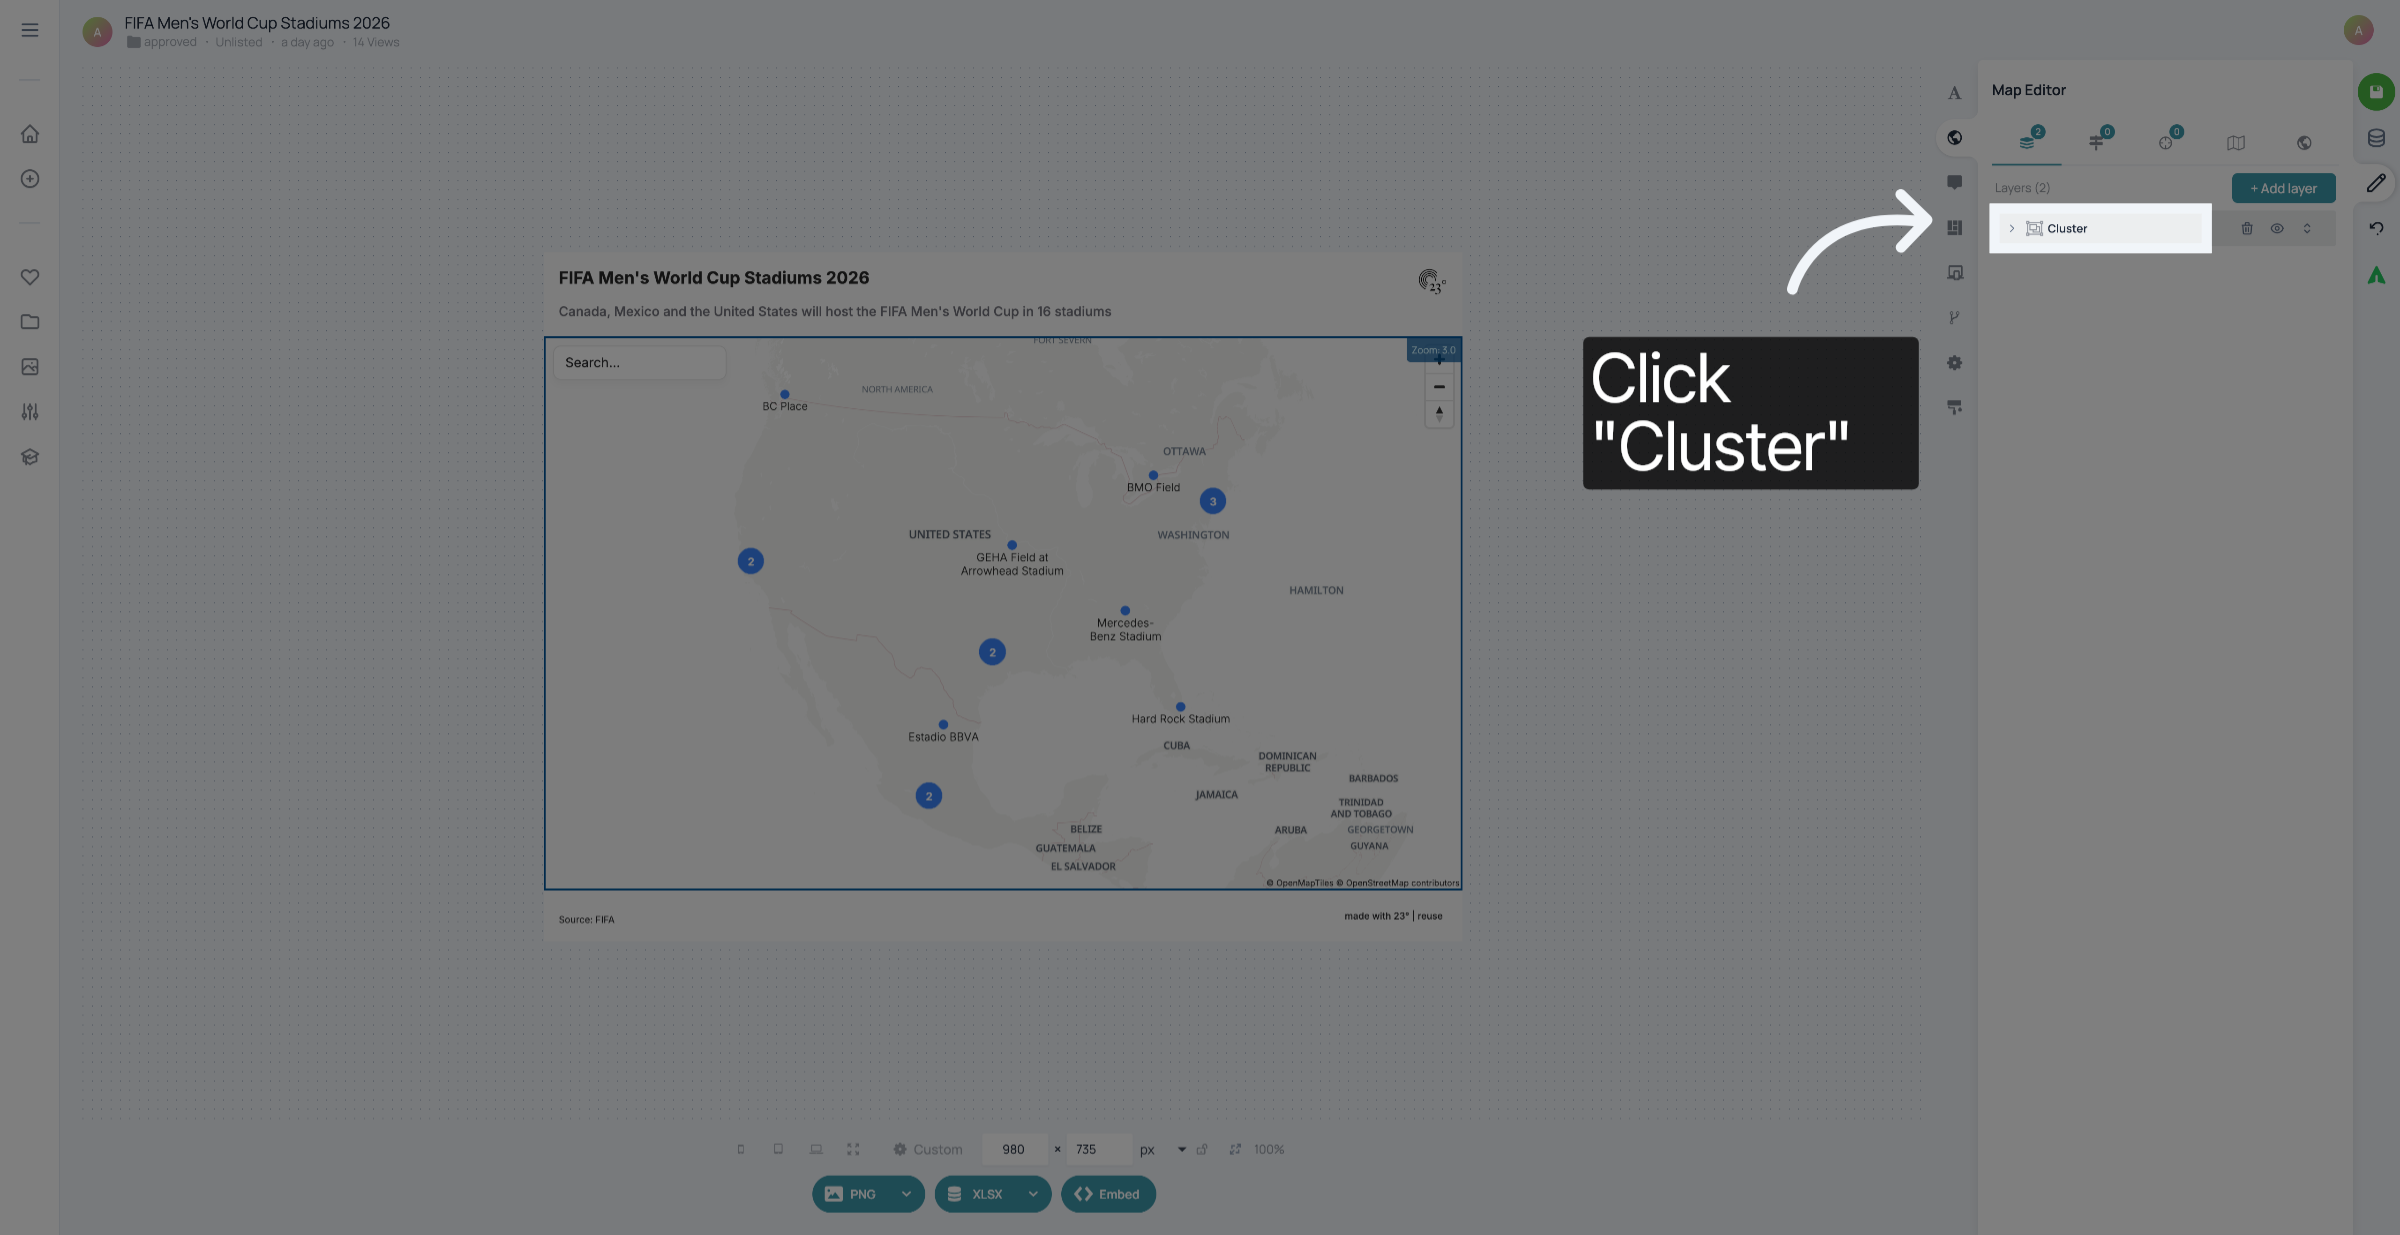
Click the cluster options tab to view available cluster adjustments.
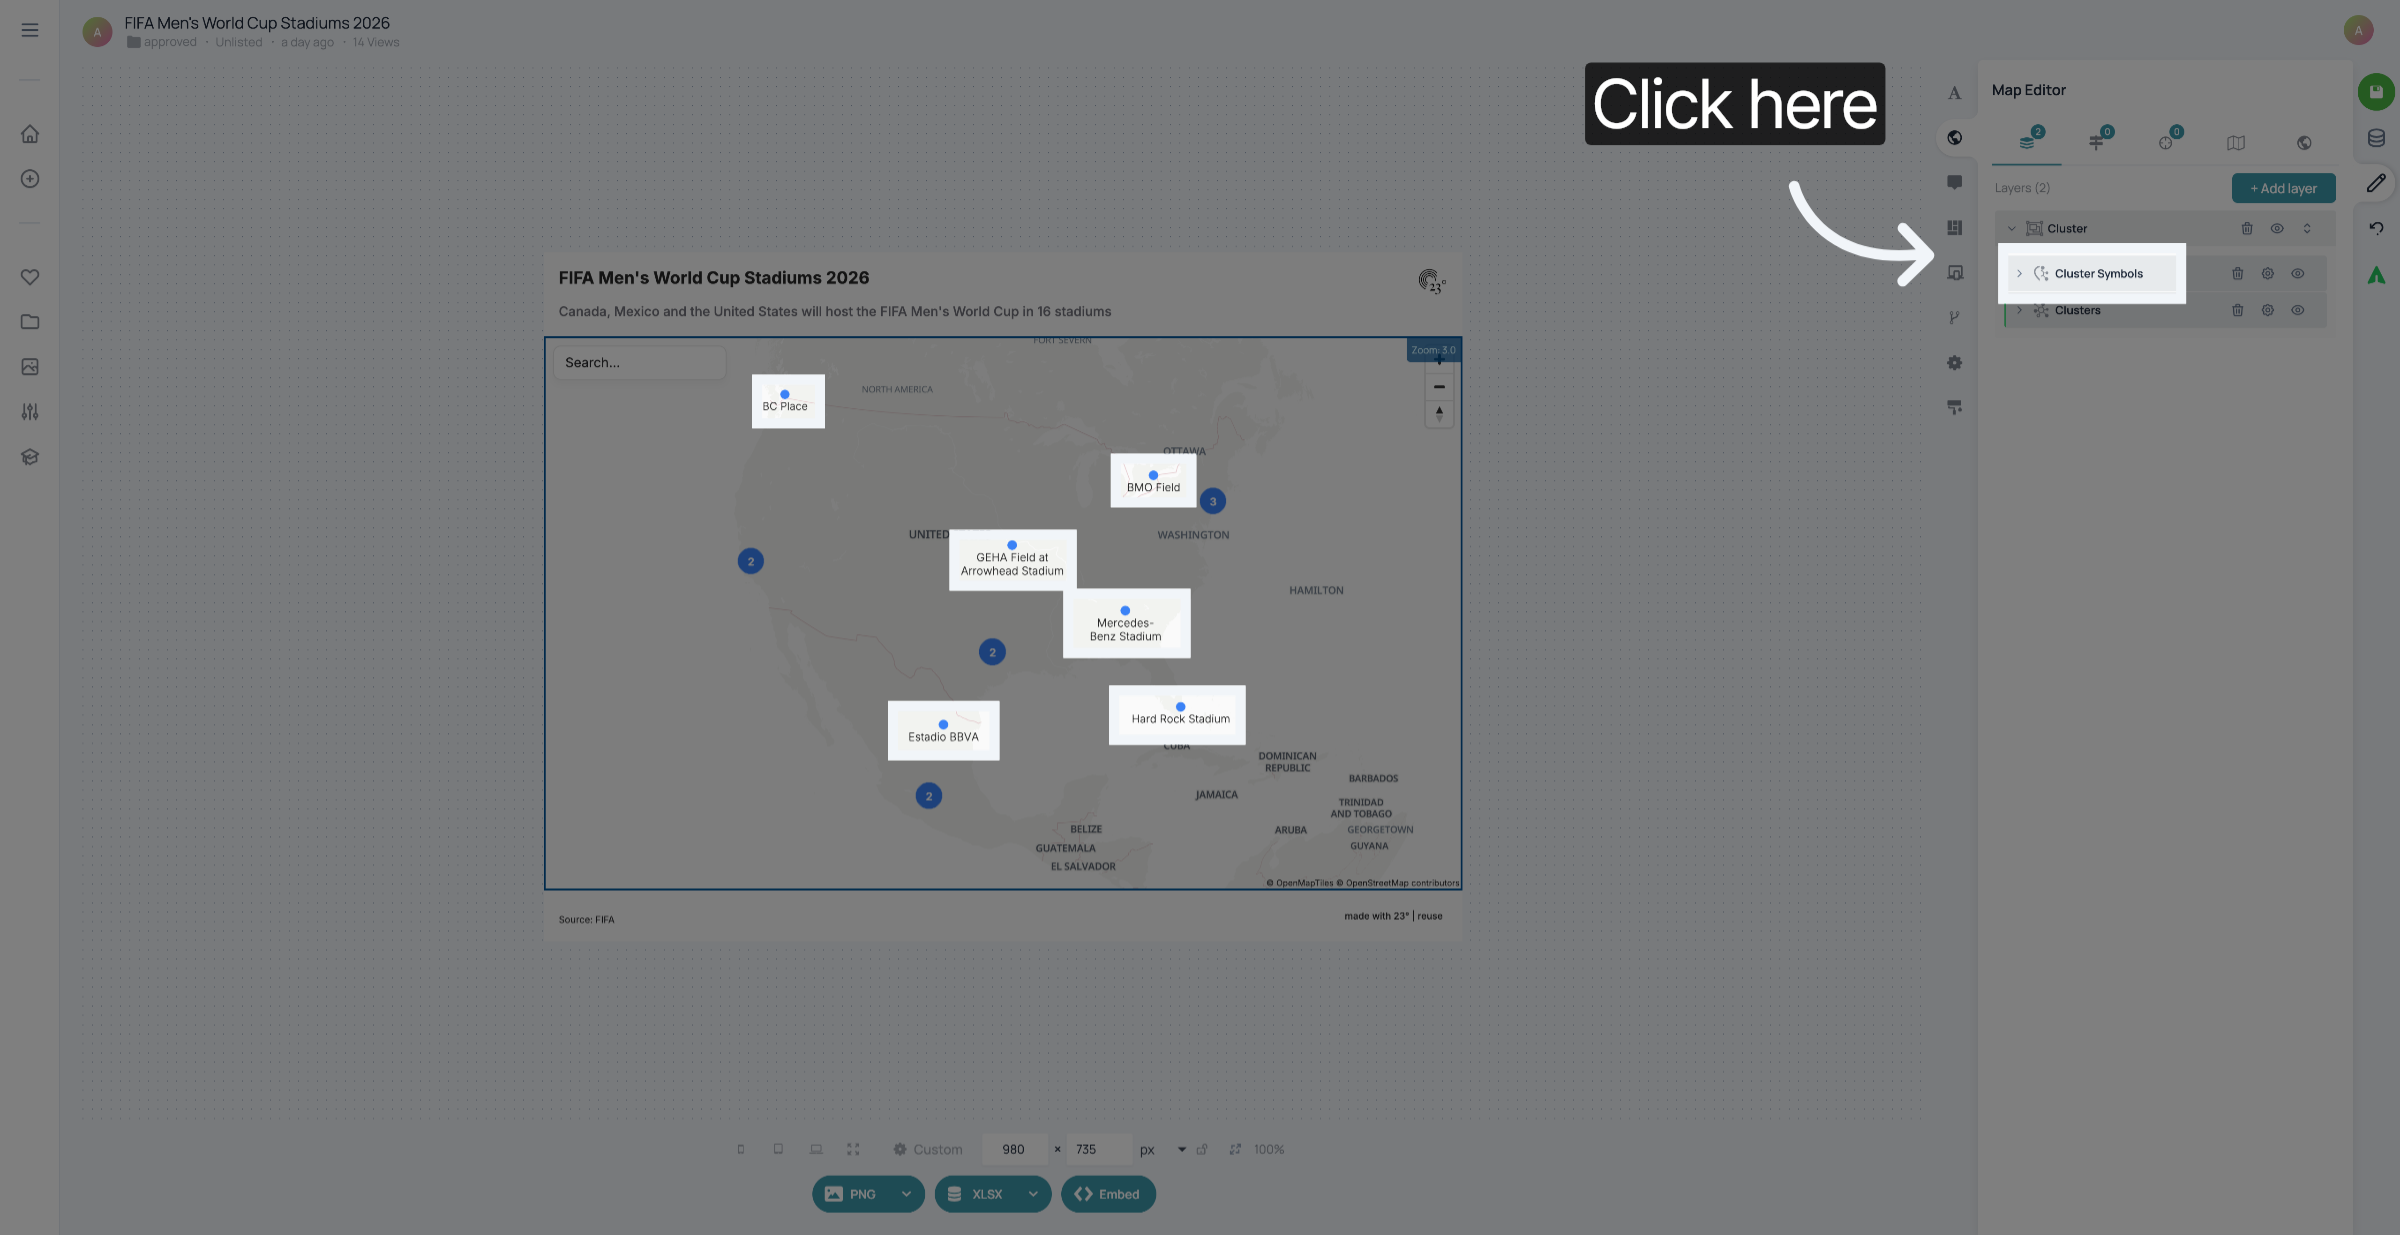
Click the appearance settings to modify cluster visuals.
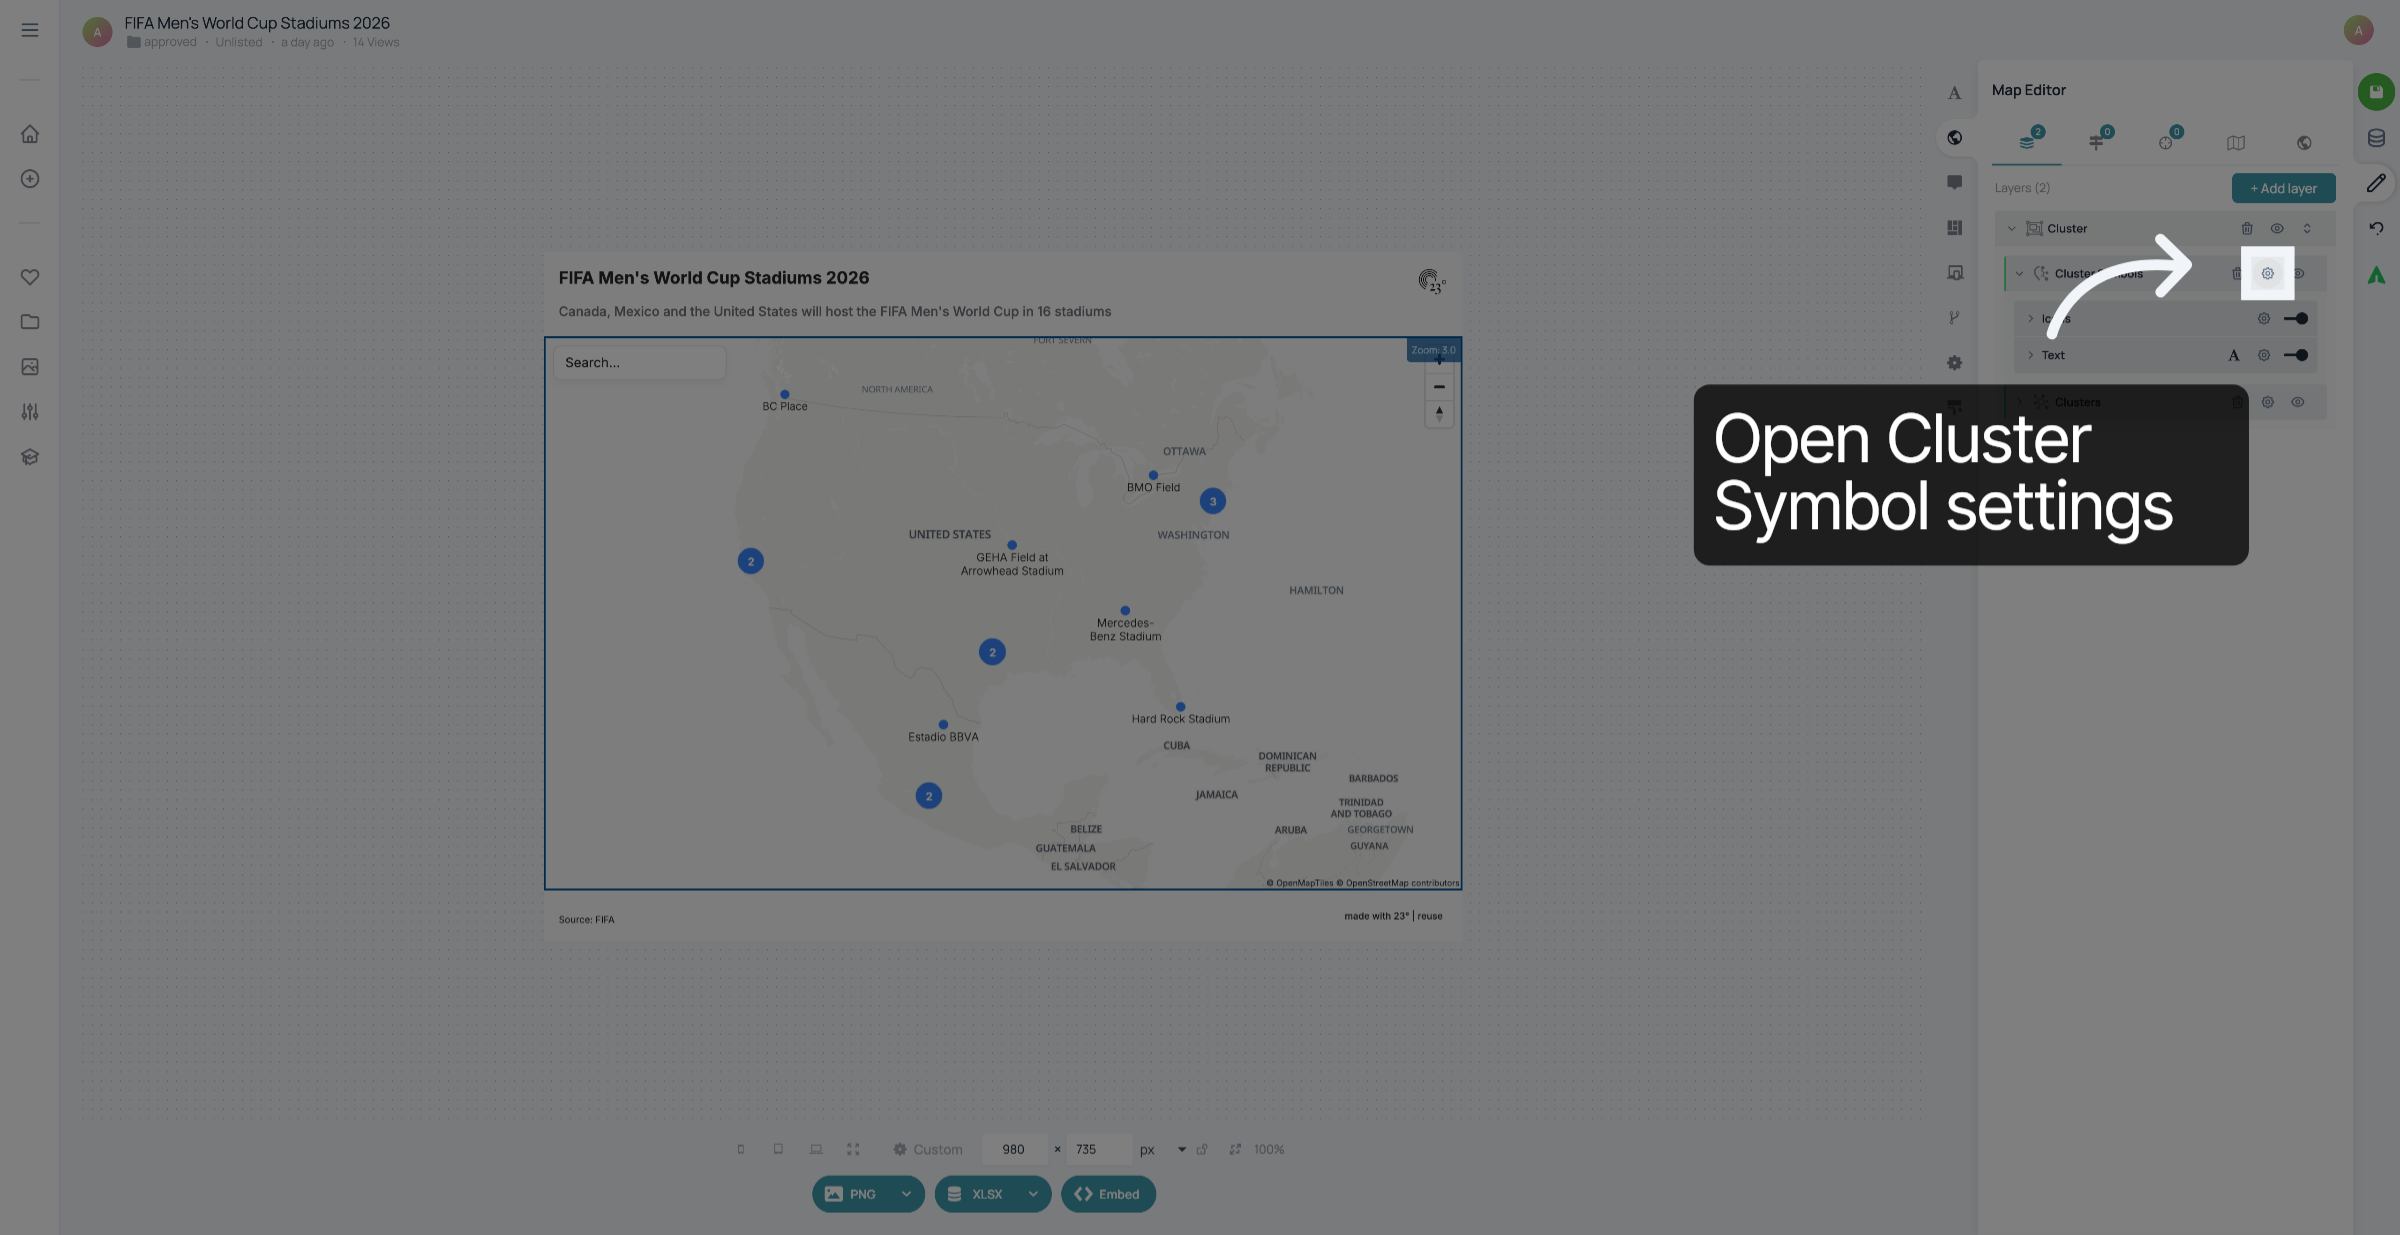
Click the color settings to change cluster colors.
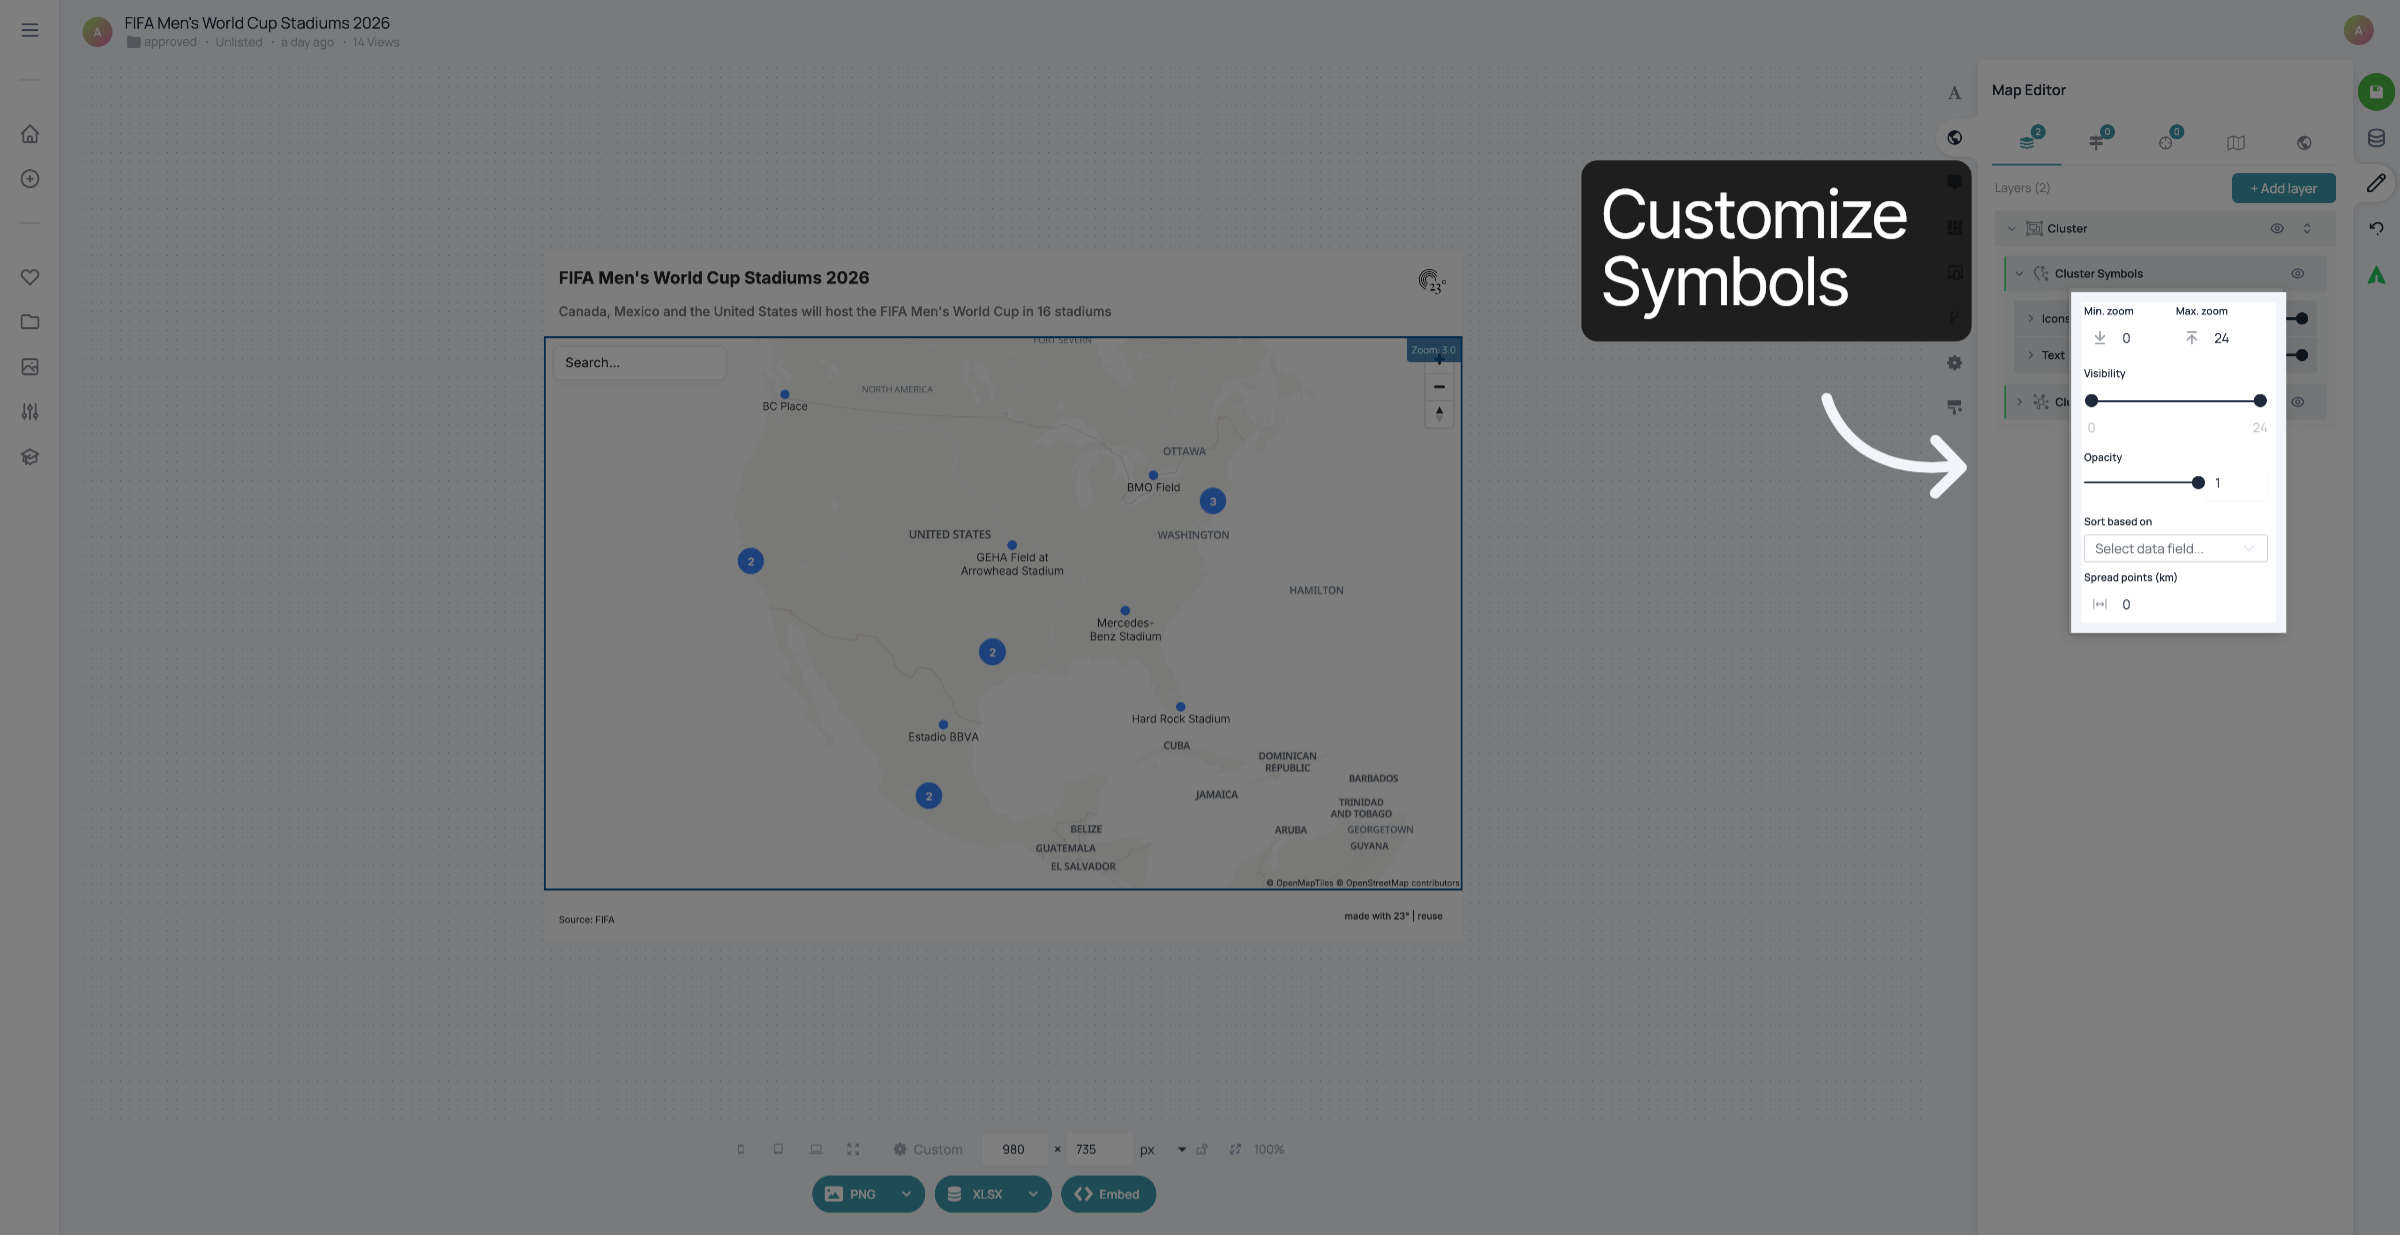
Click the desired color to apply it to your clusters.
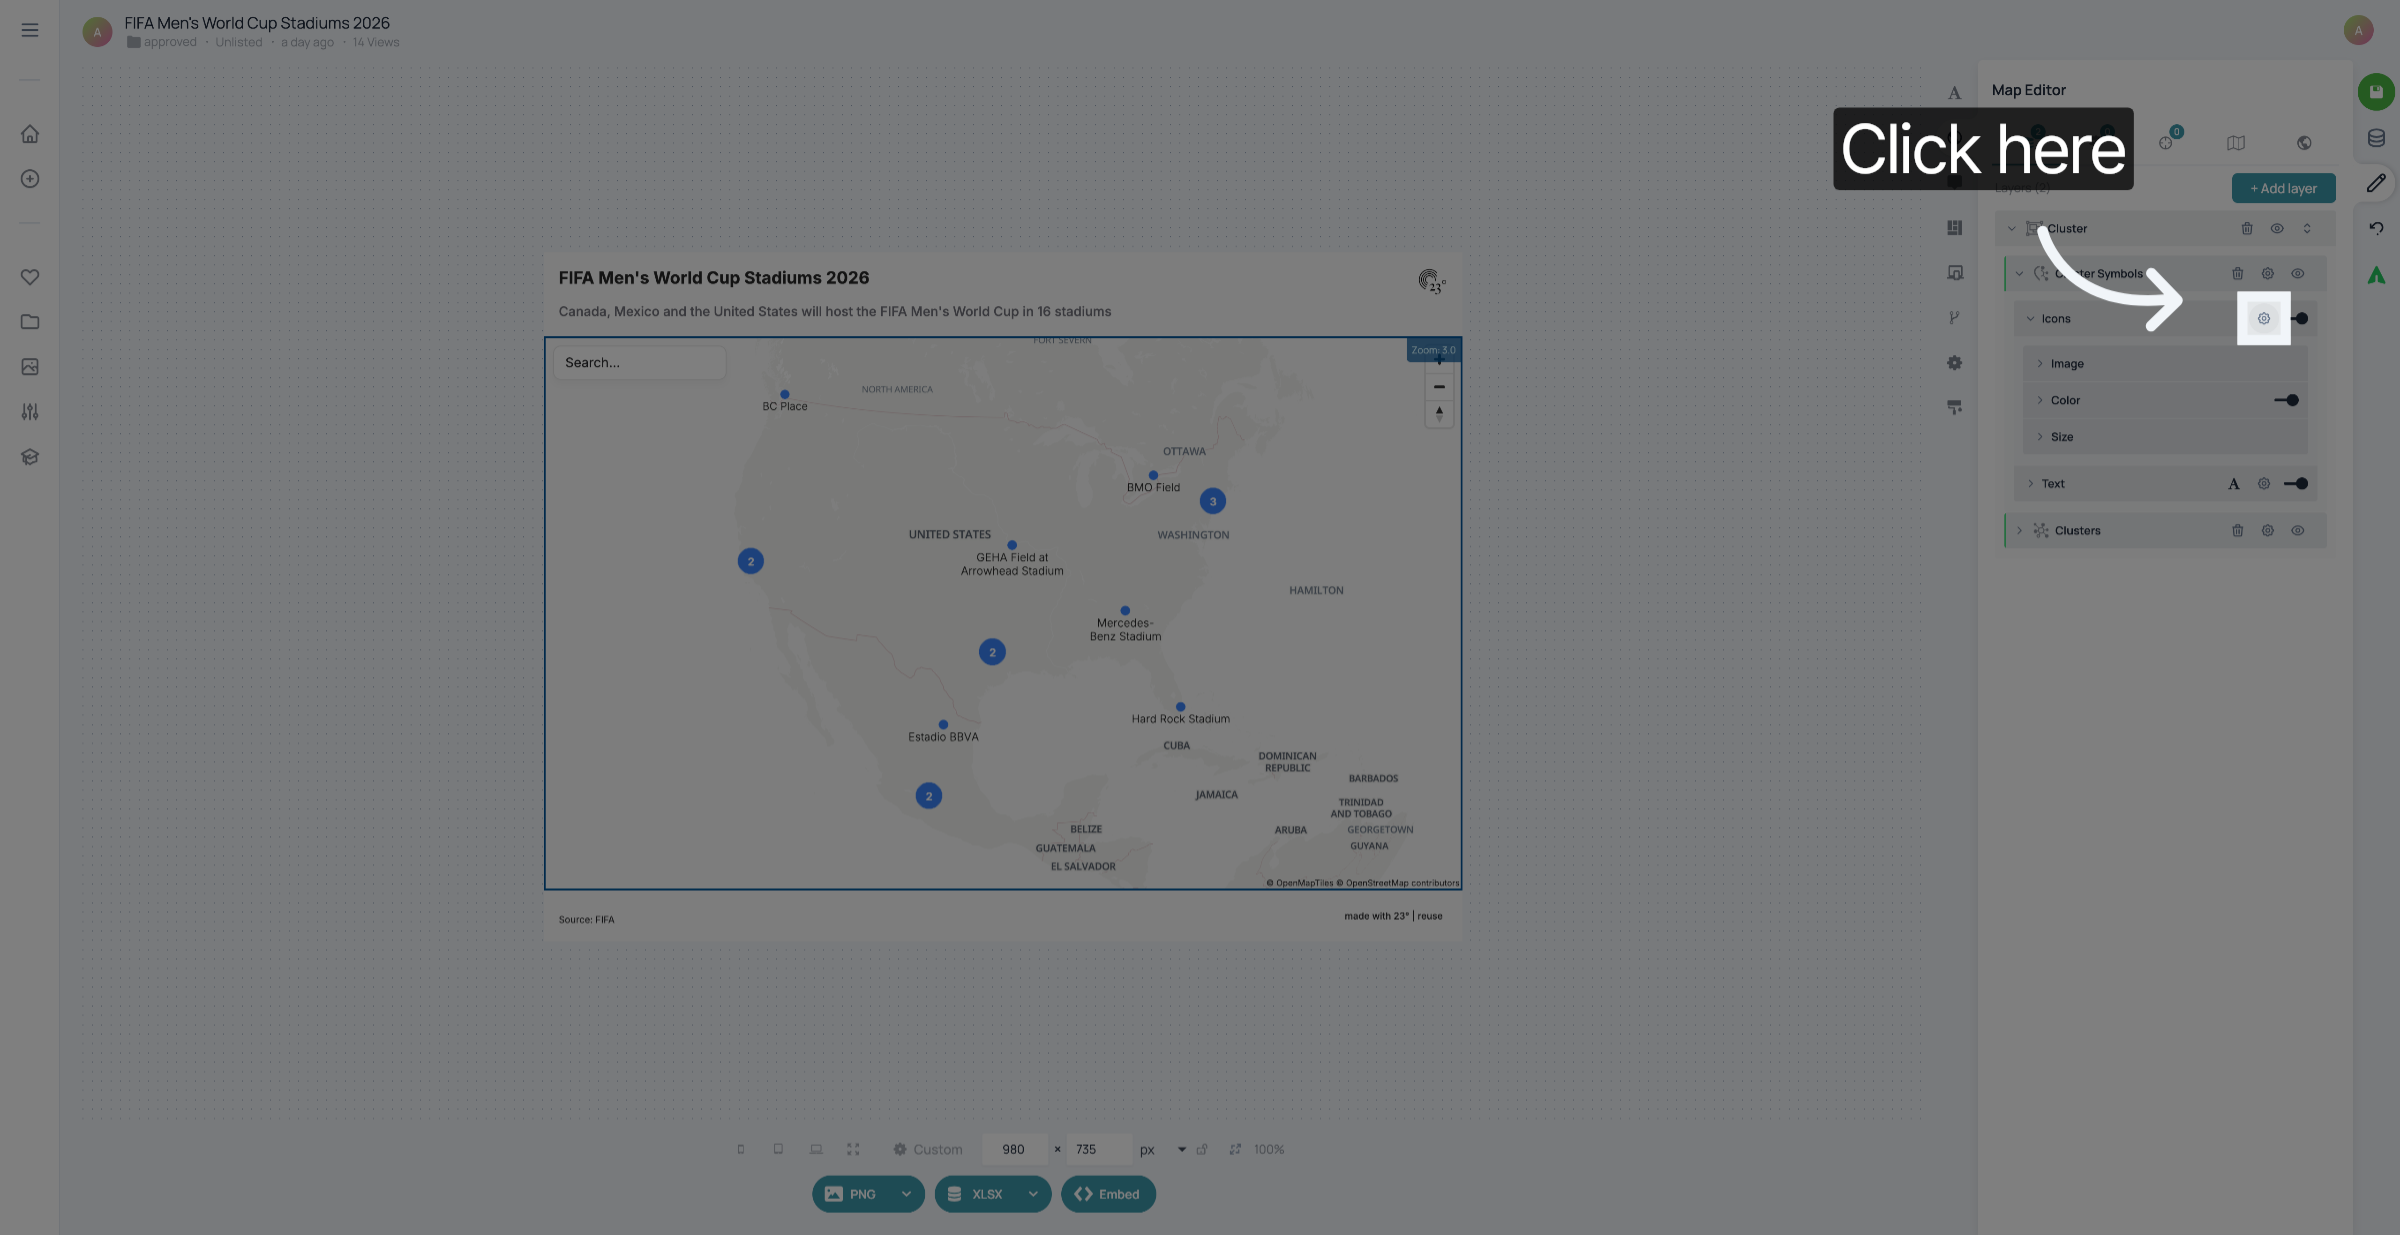
Click confirm to save the selected cluster color.
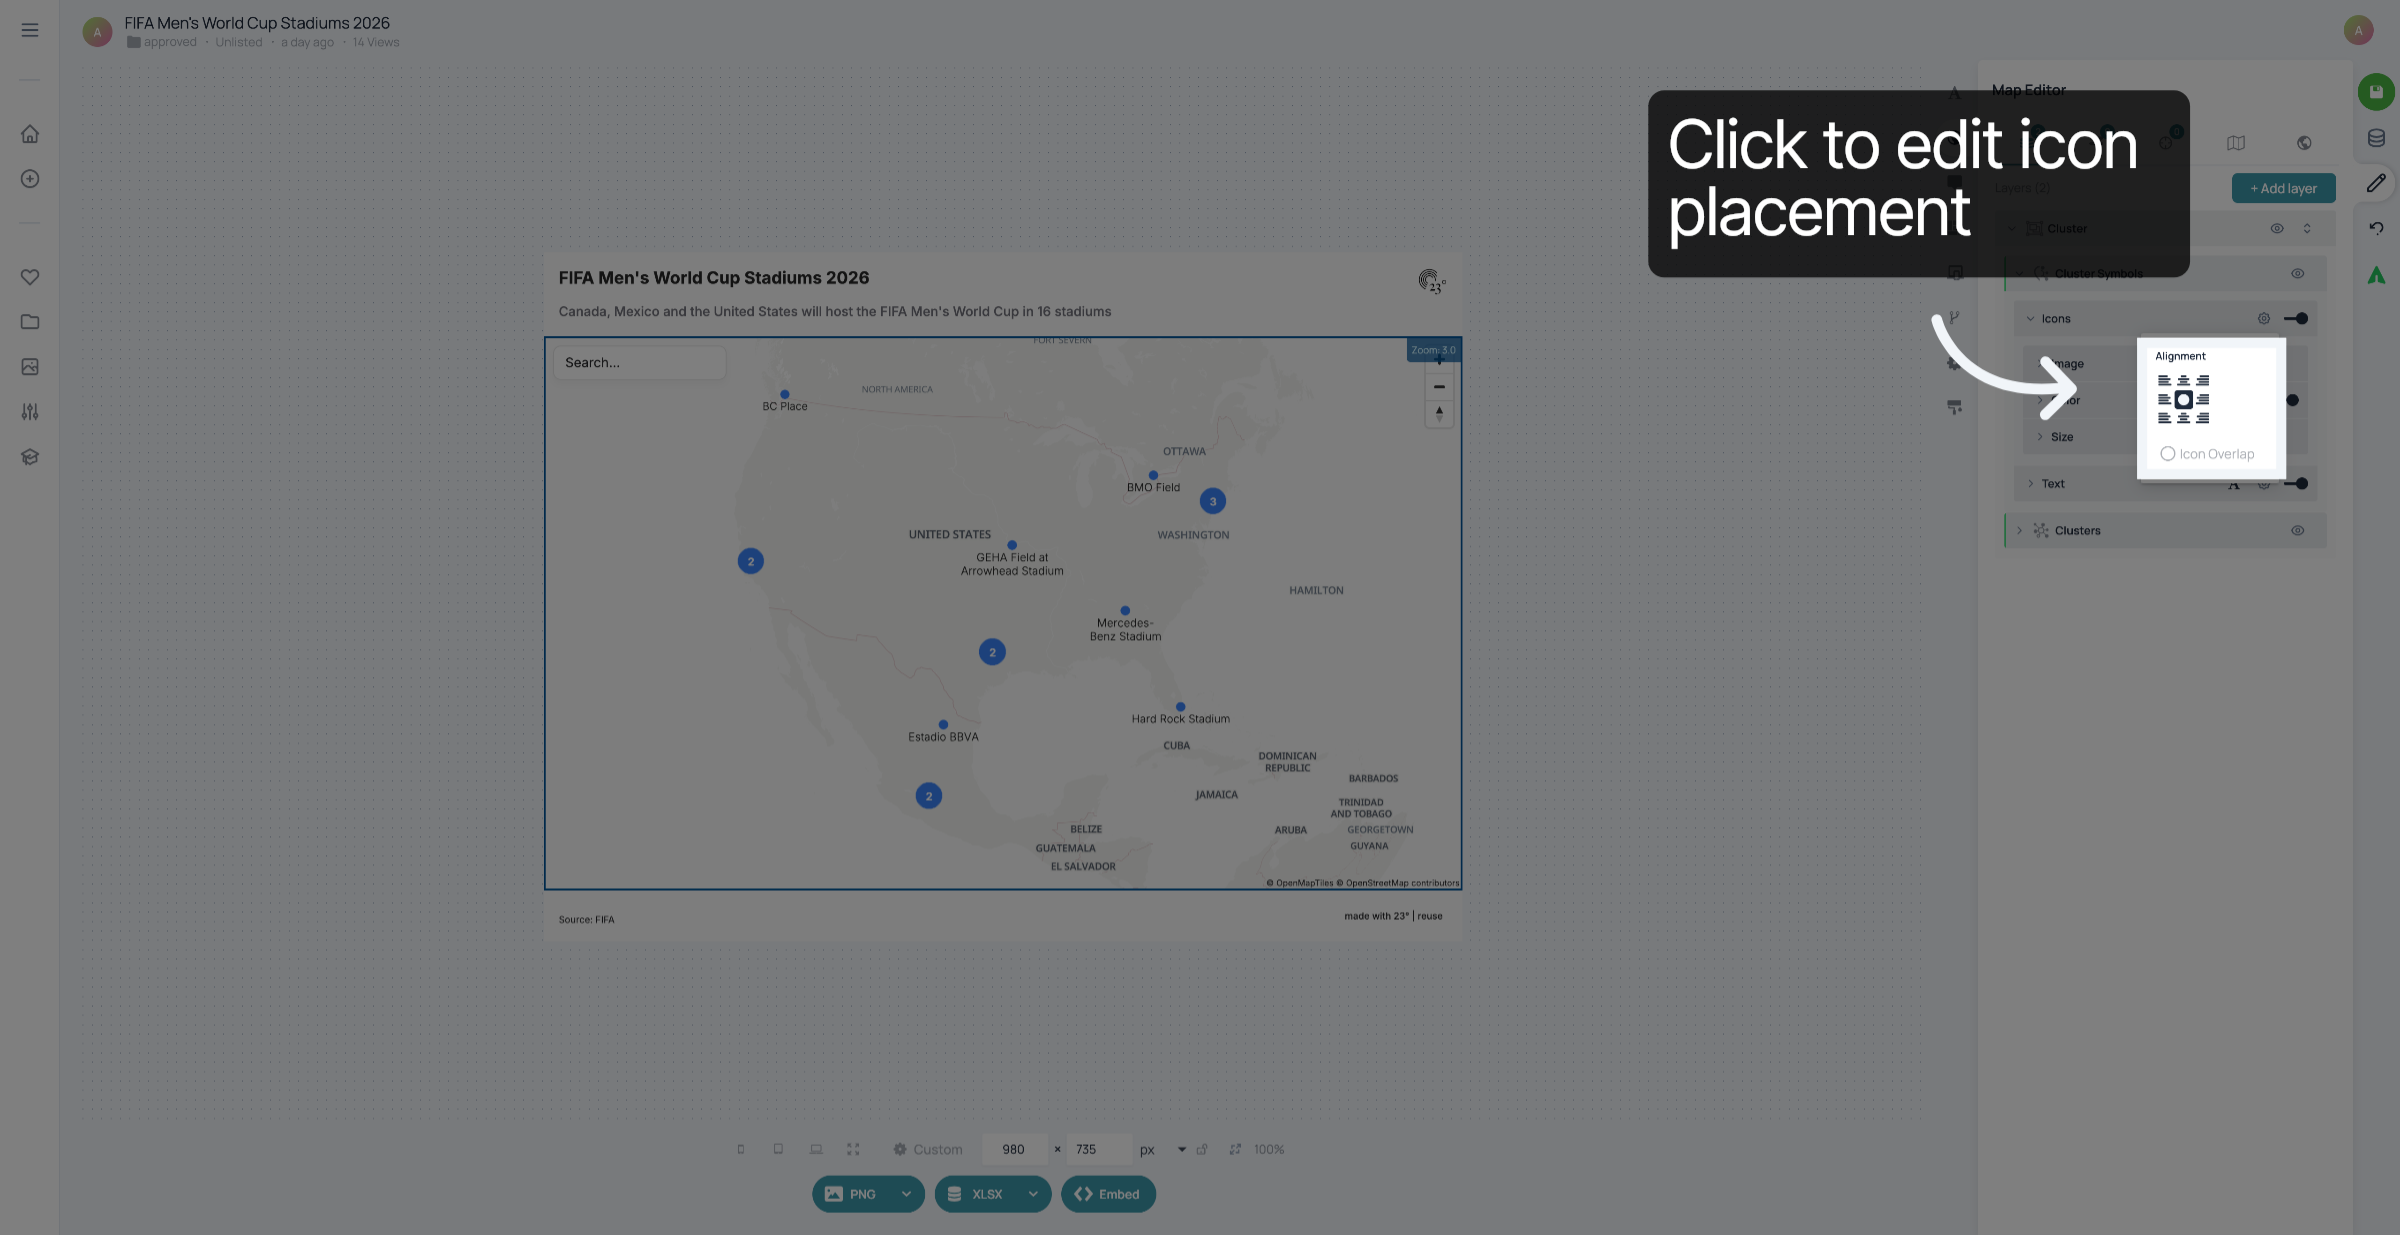
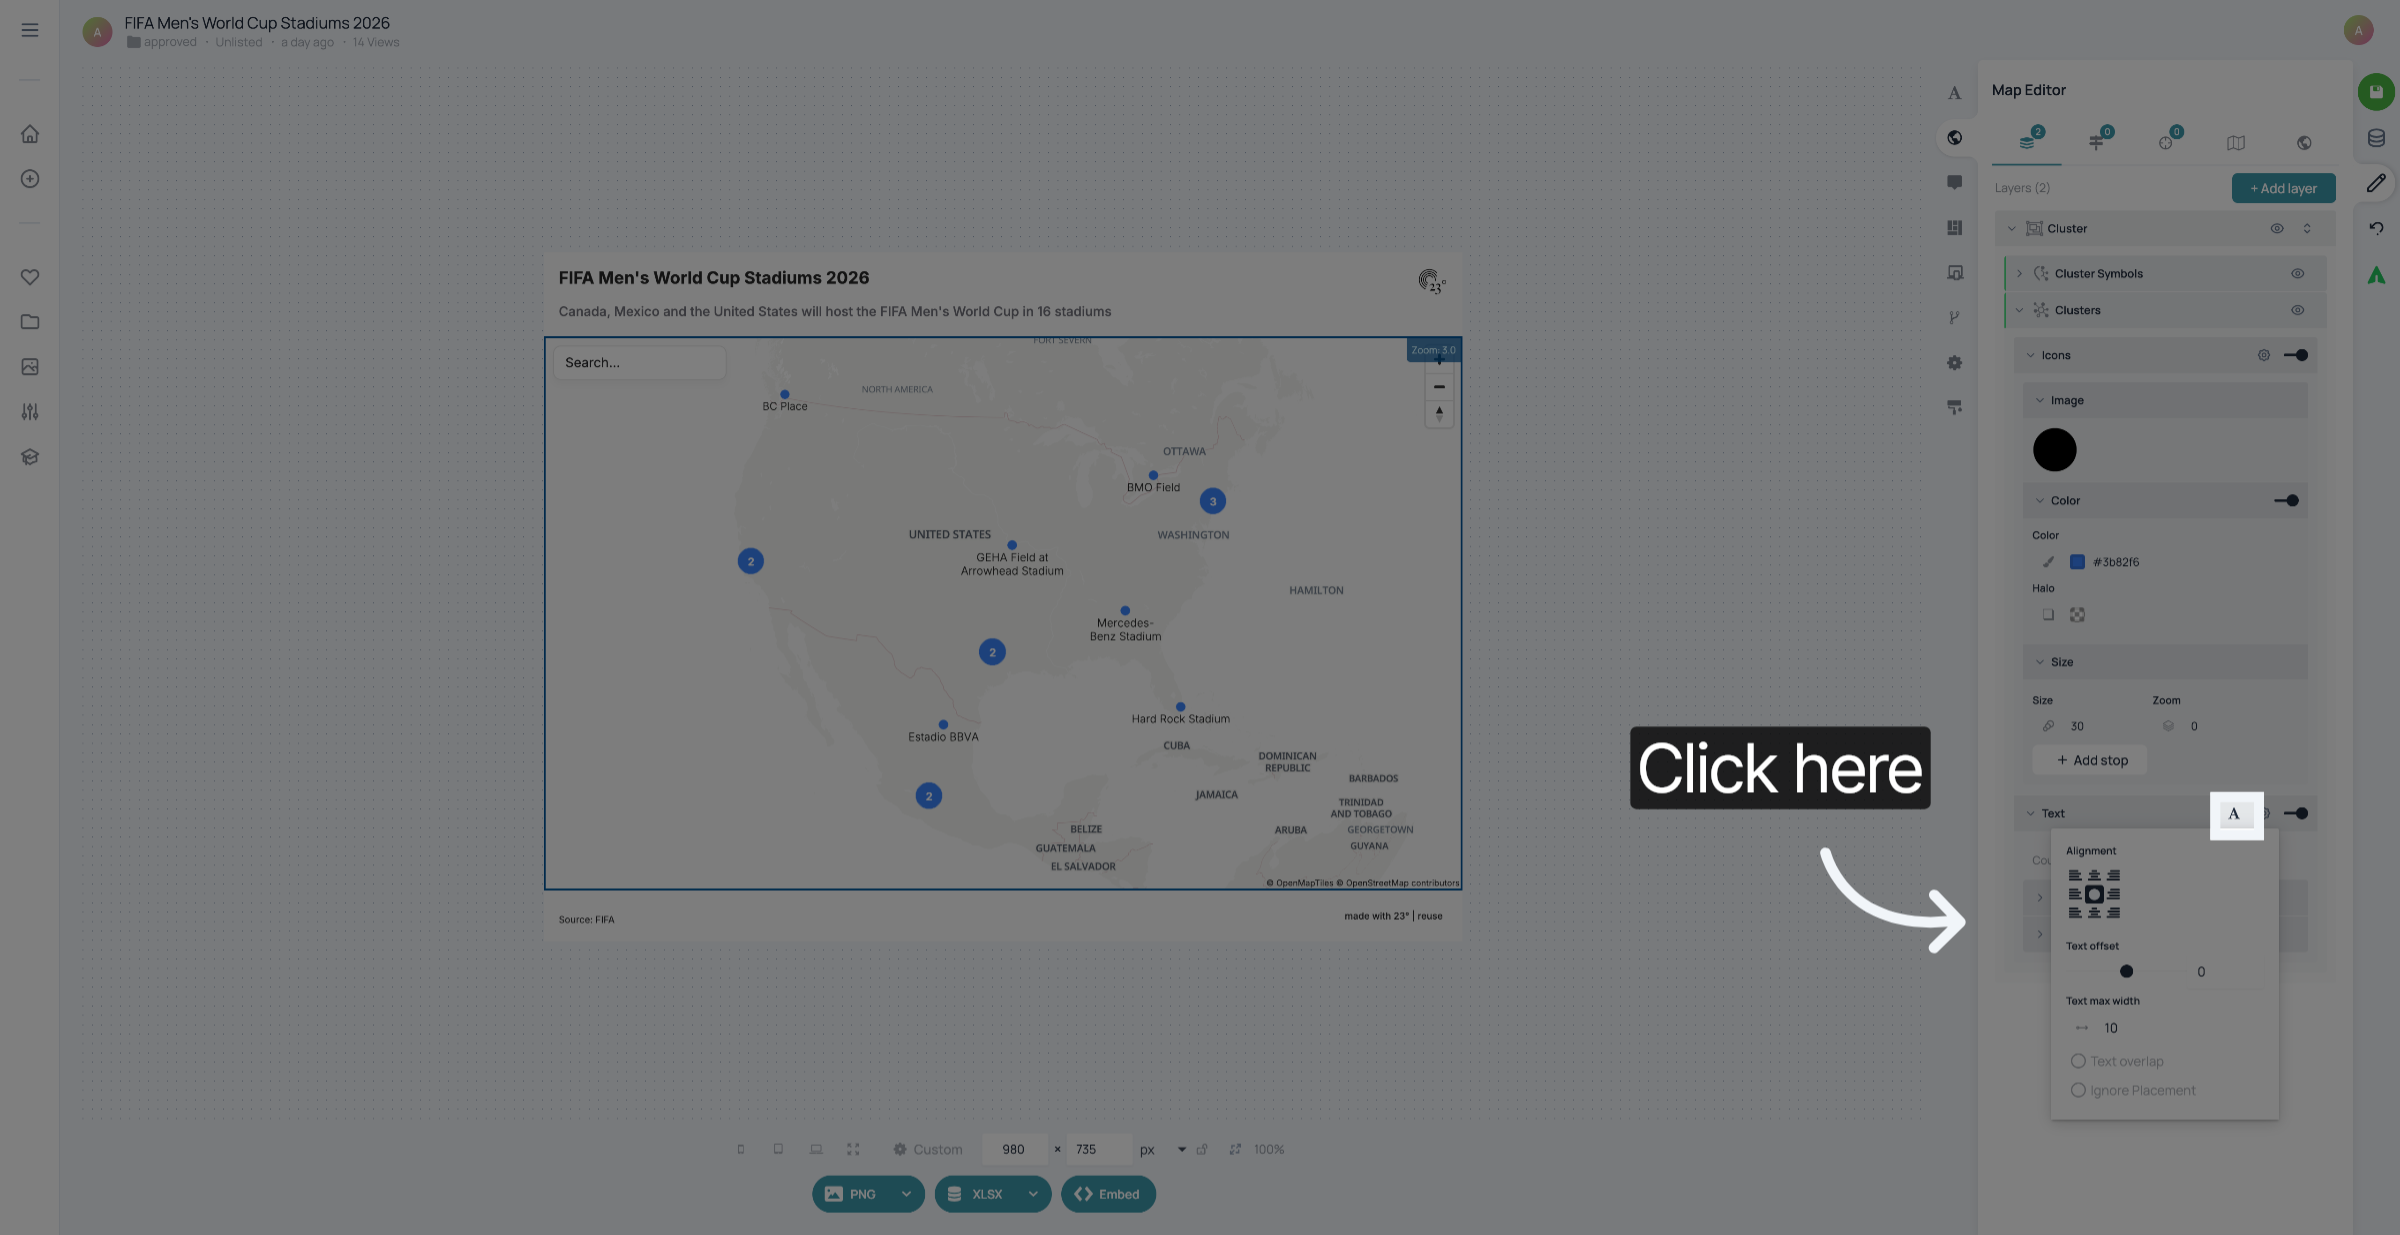
Click the text settings to change cluster label appearance.
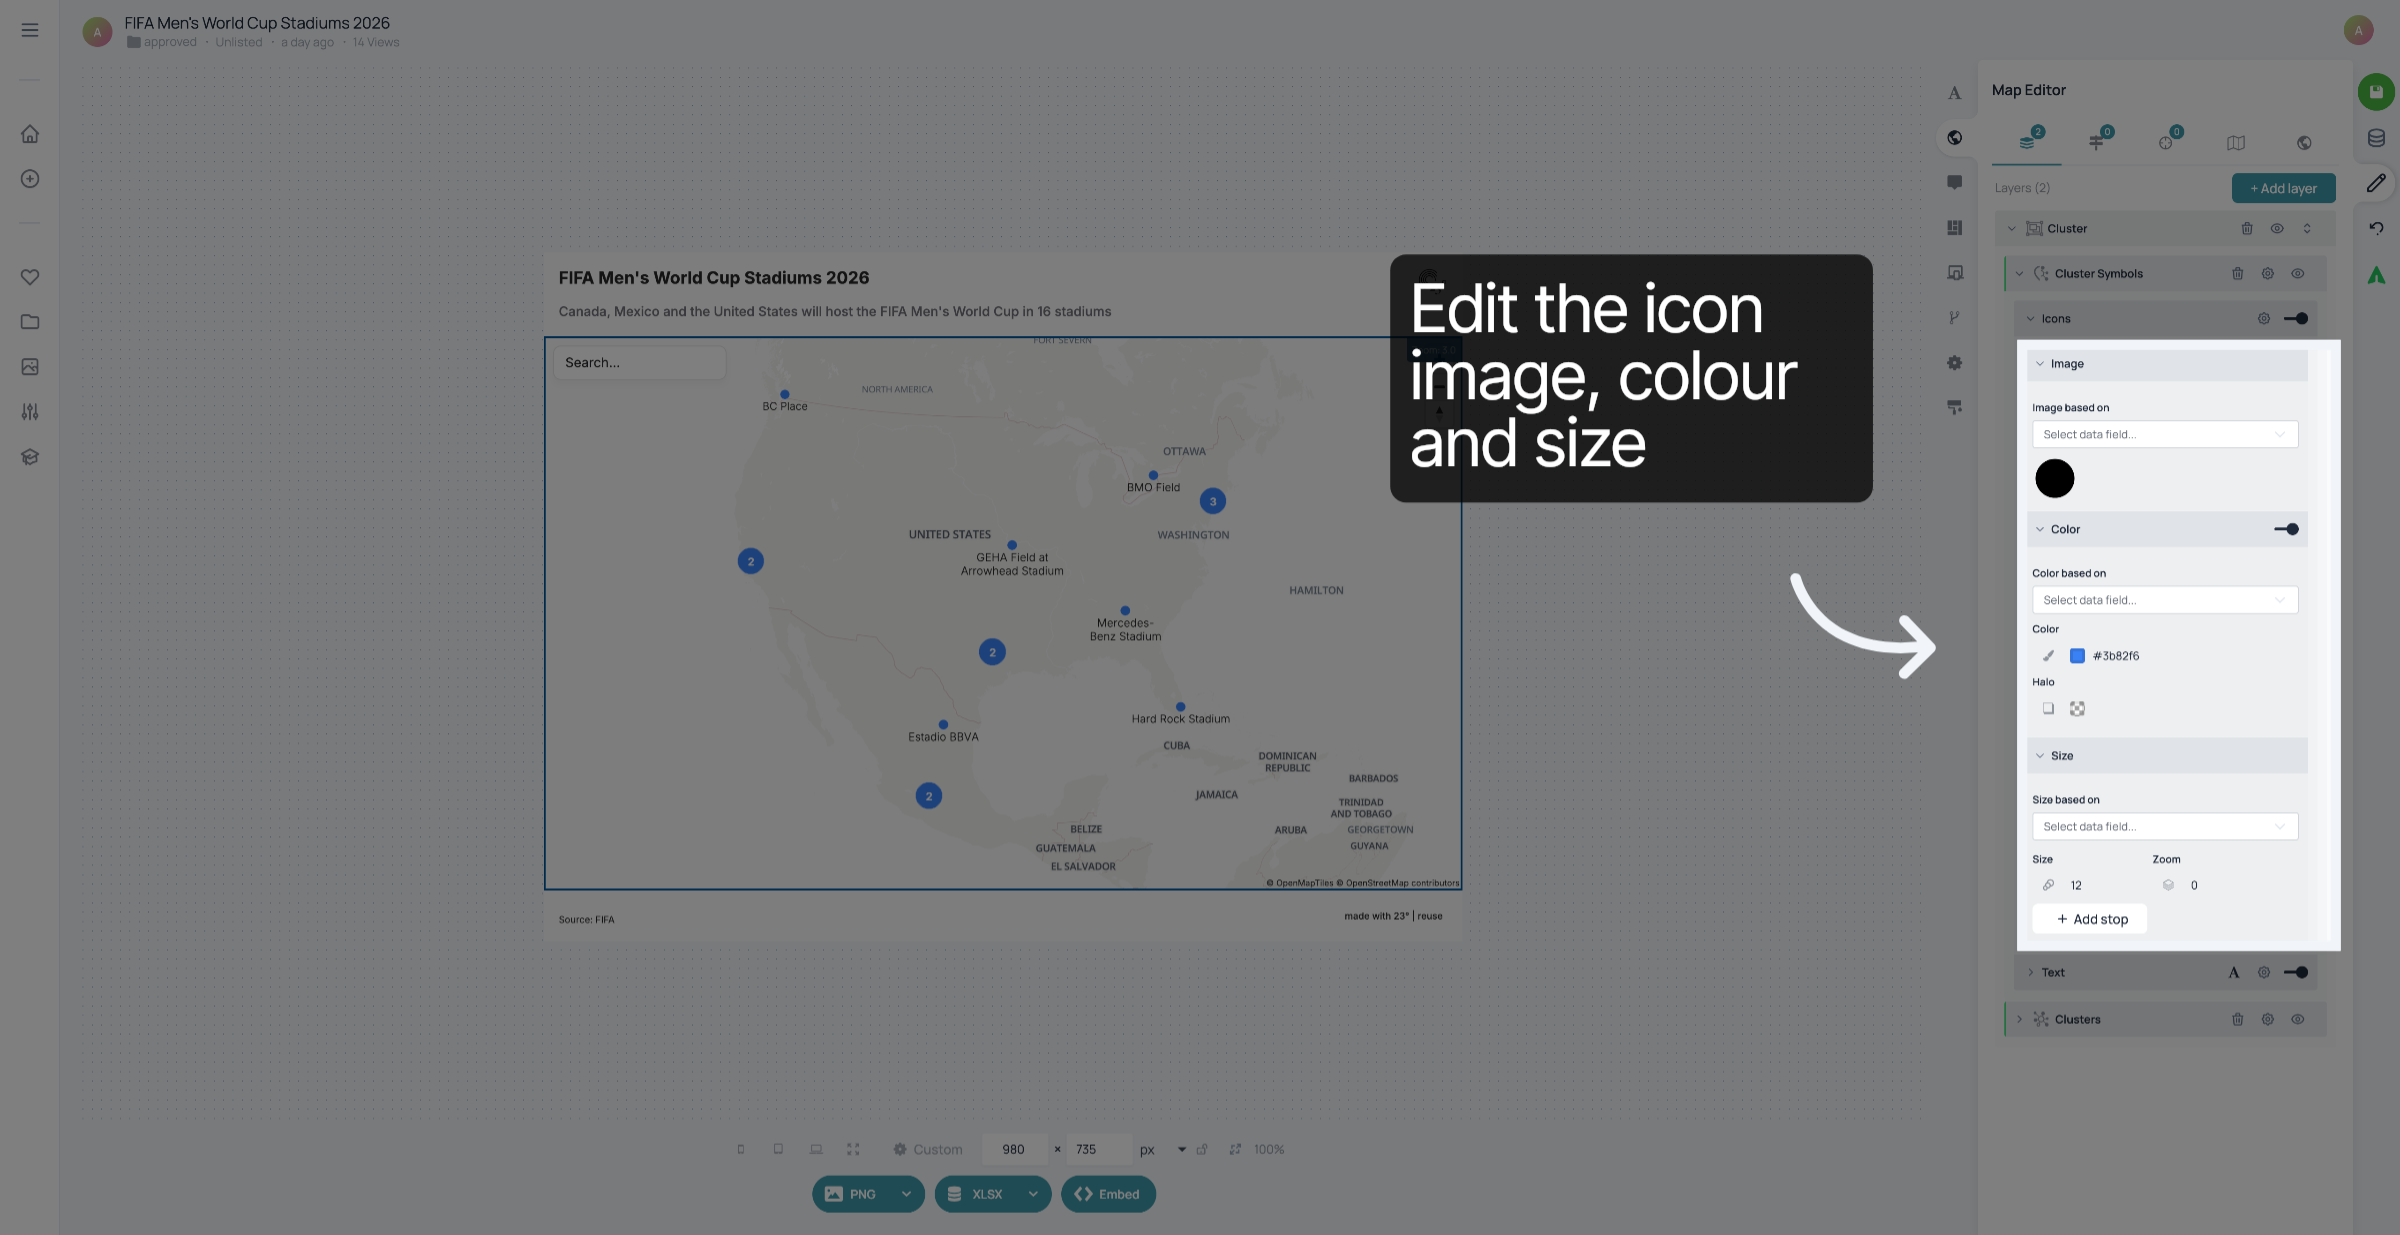
Click the font selection to choose a label font style.
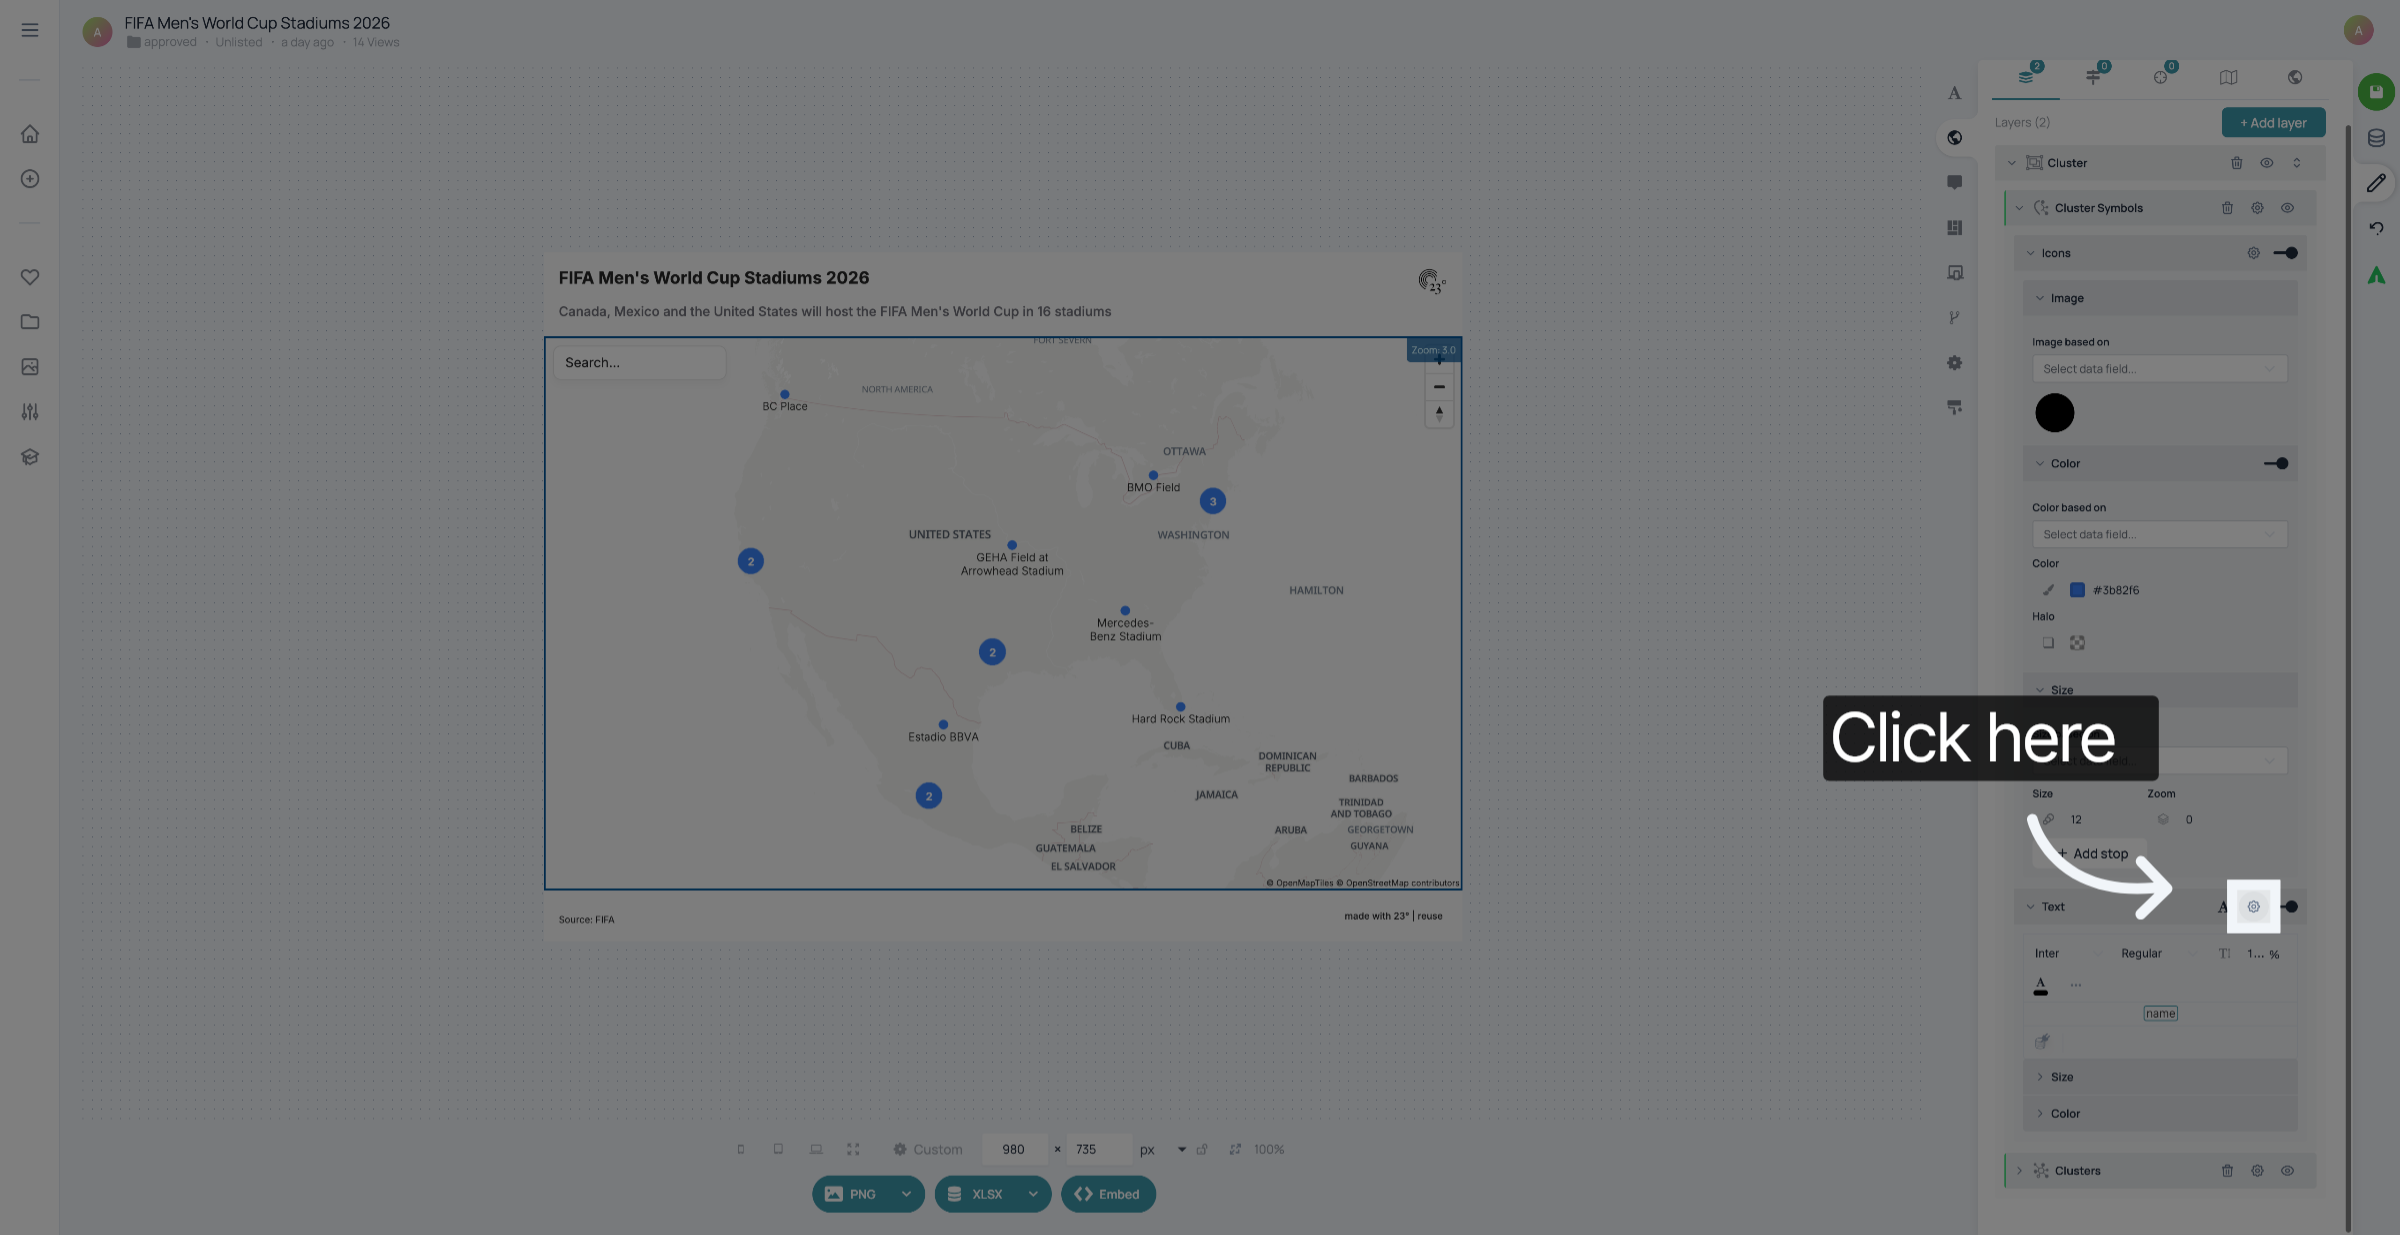
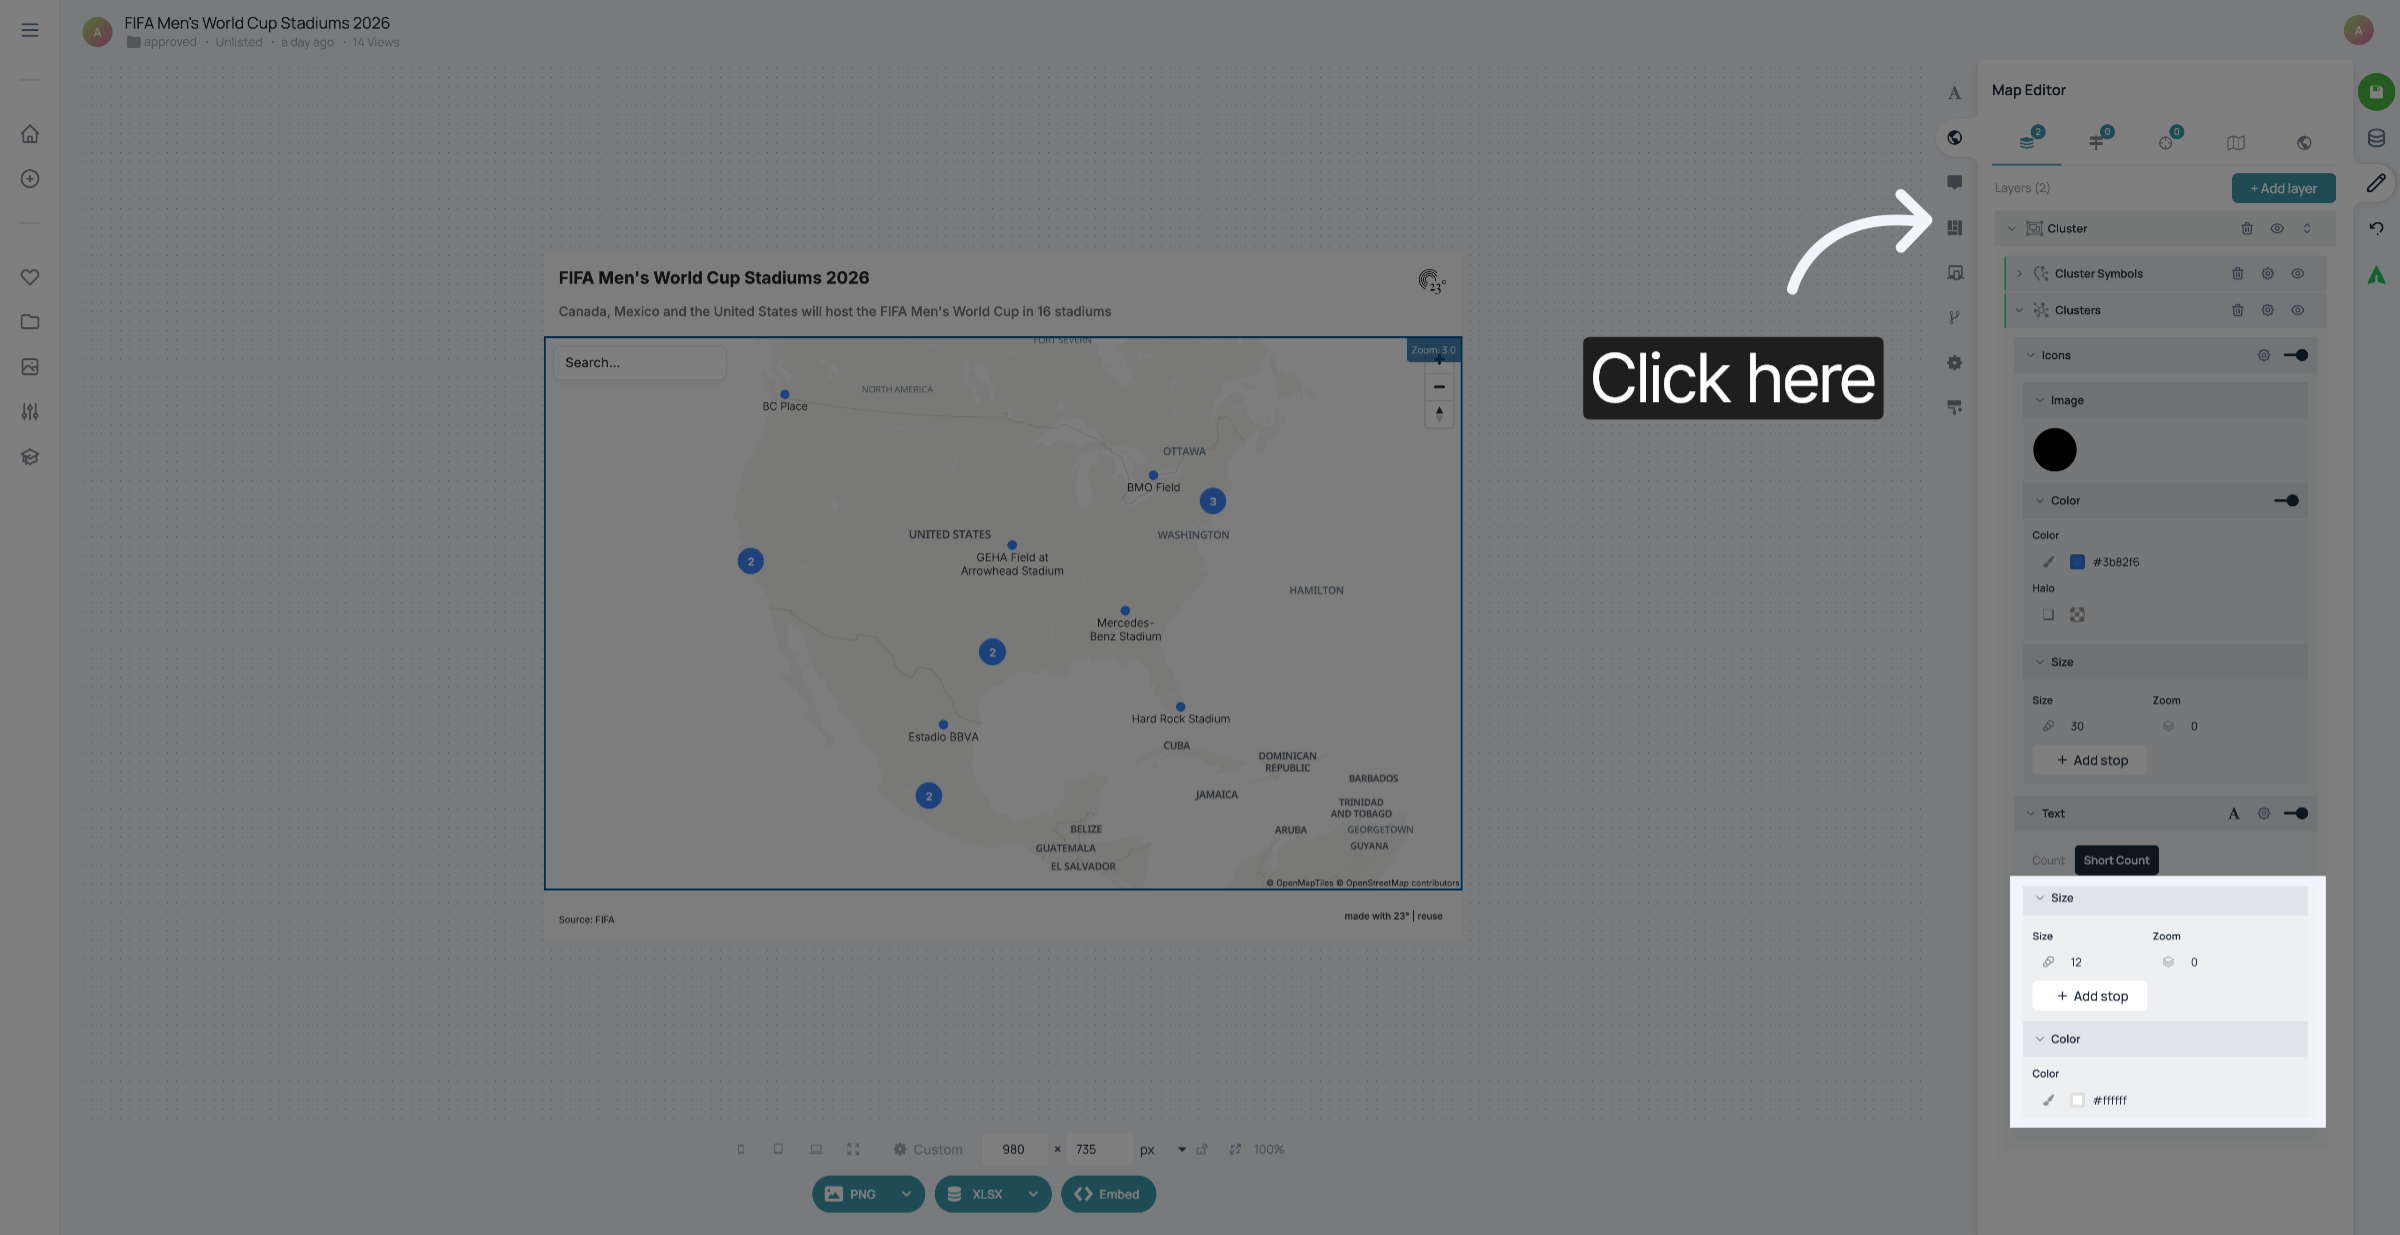
Click the label size option to set the font size for cluster labels.
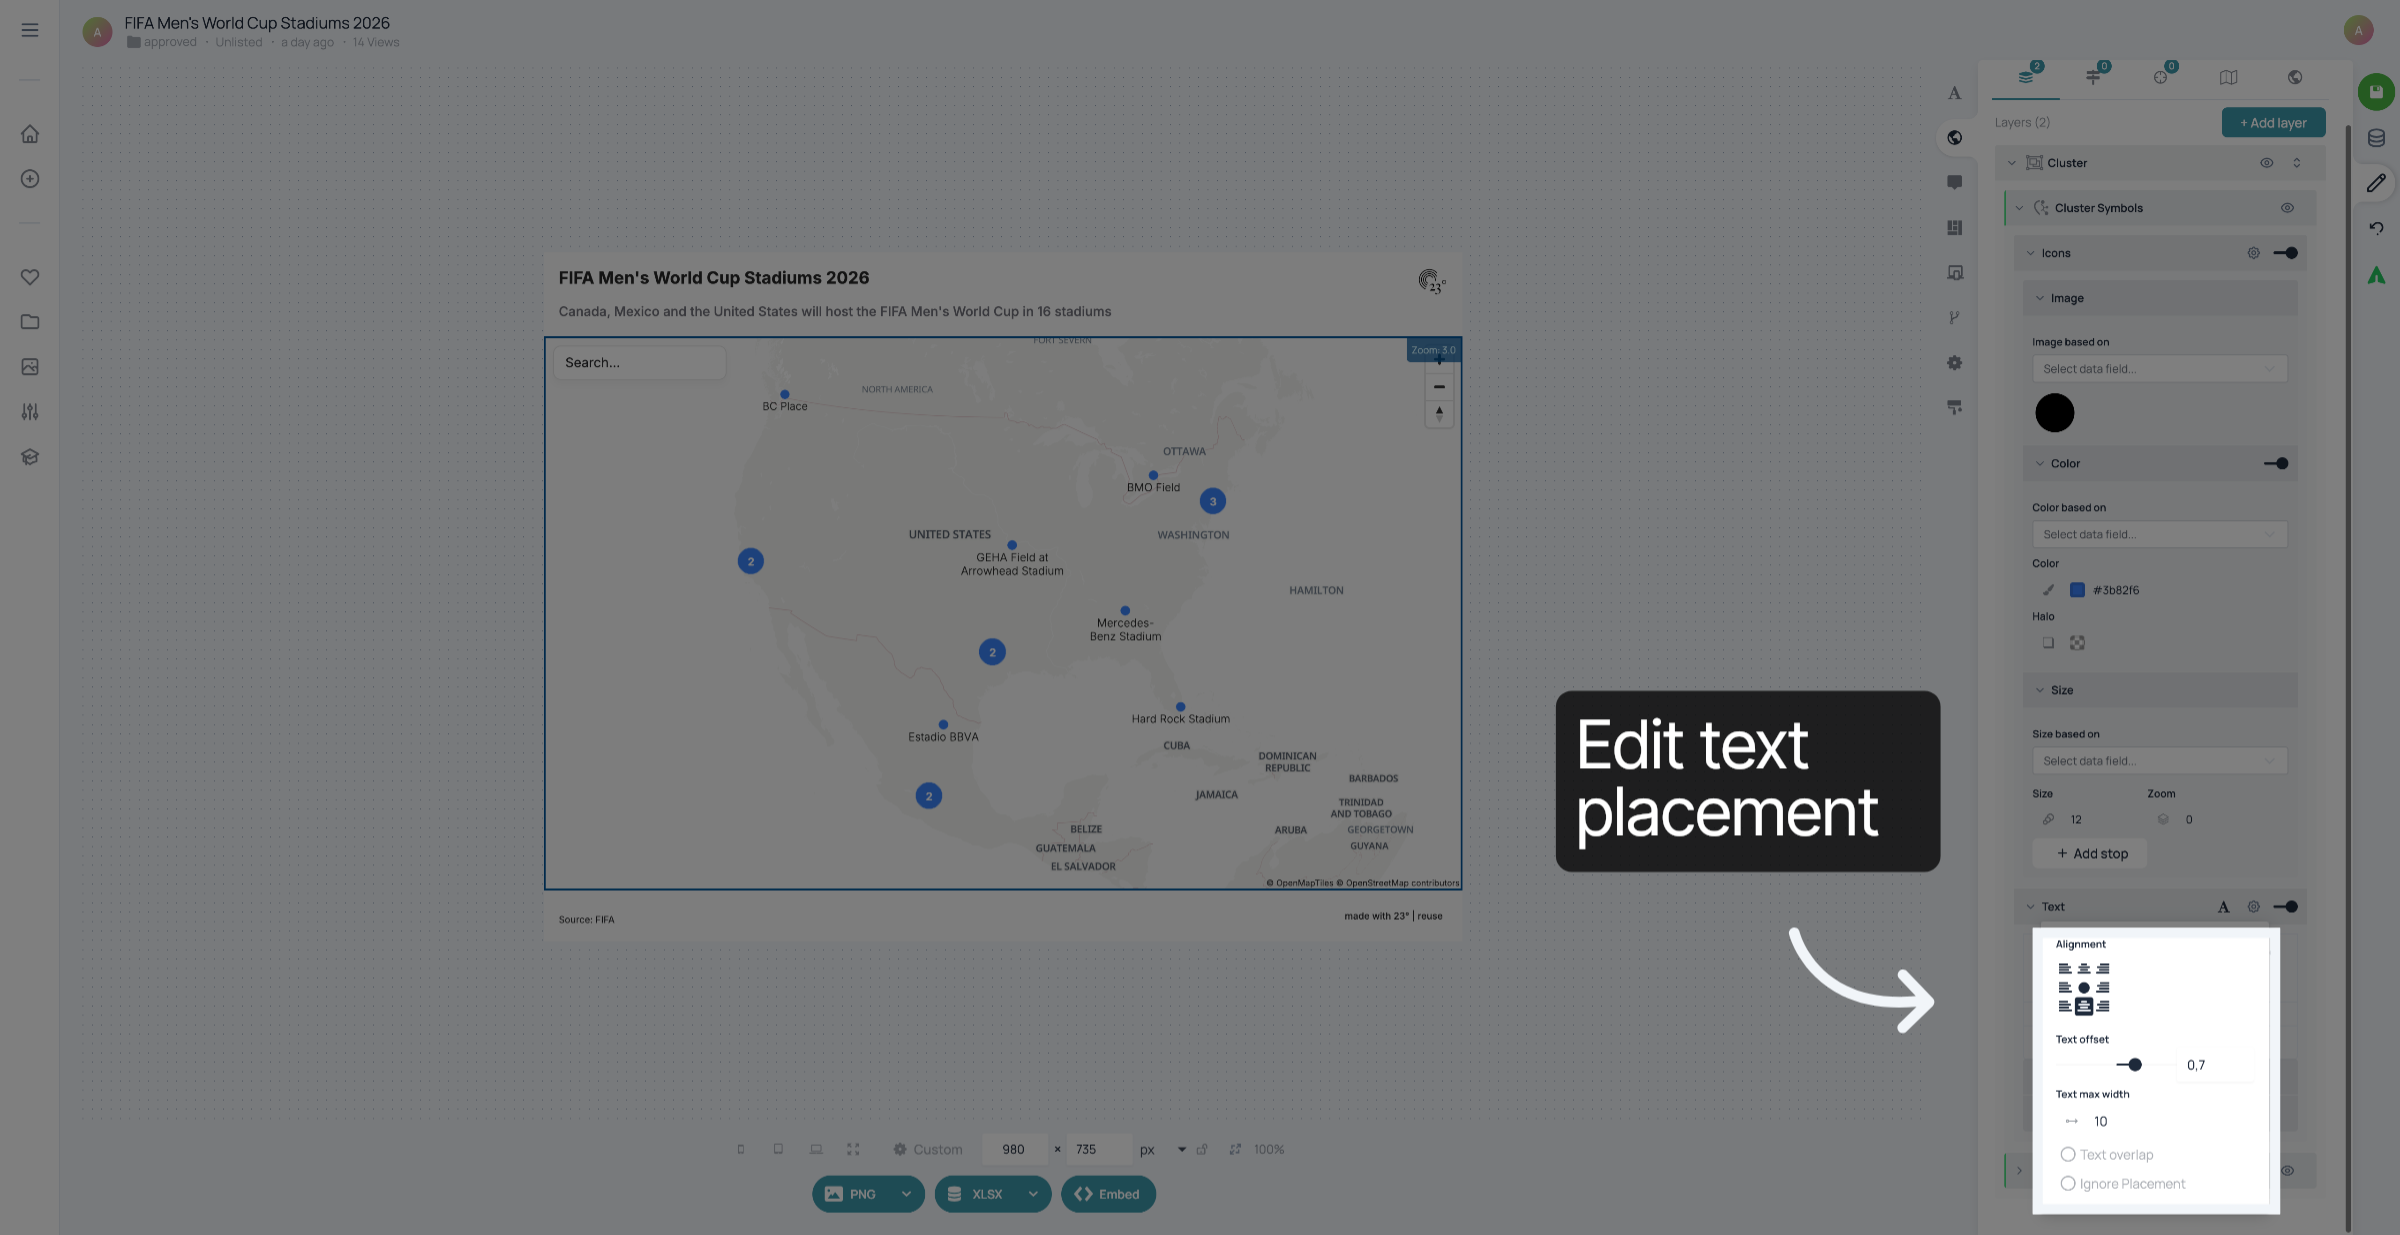
In the Text settings, you can change the
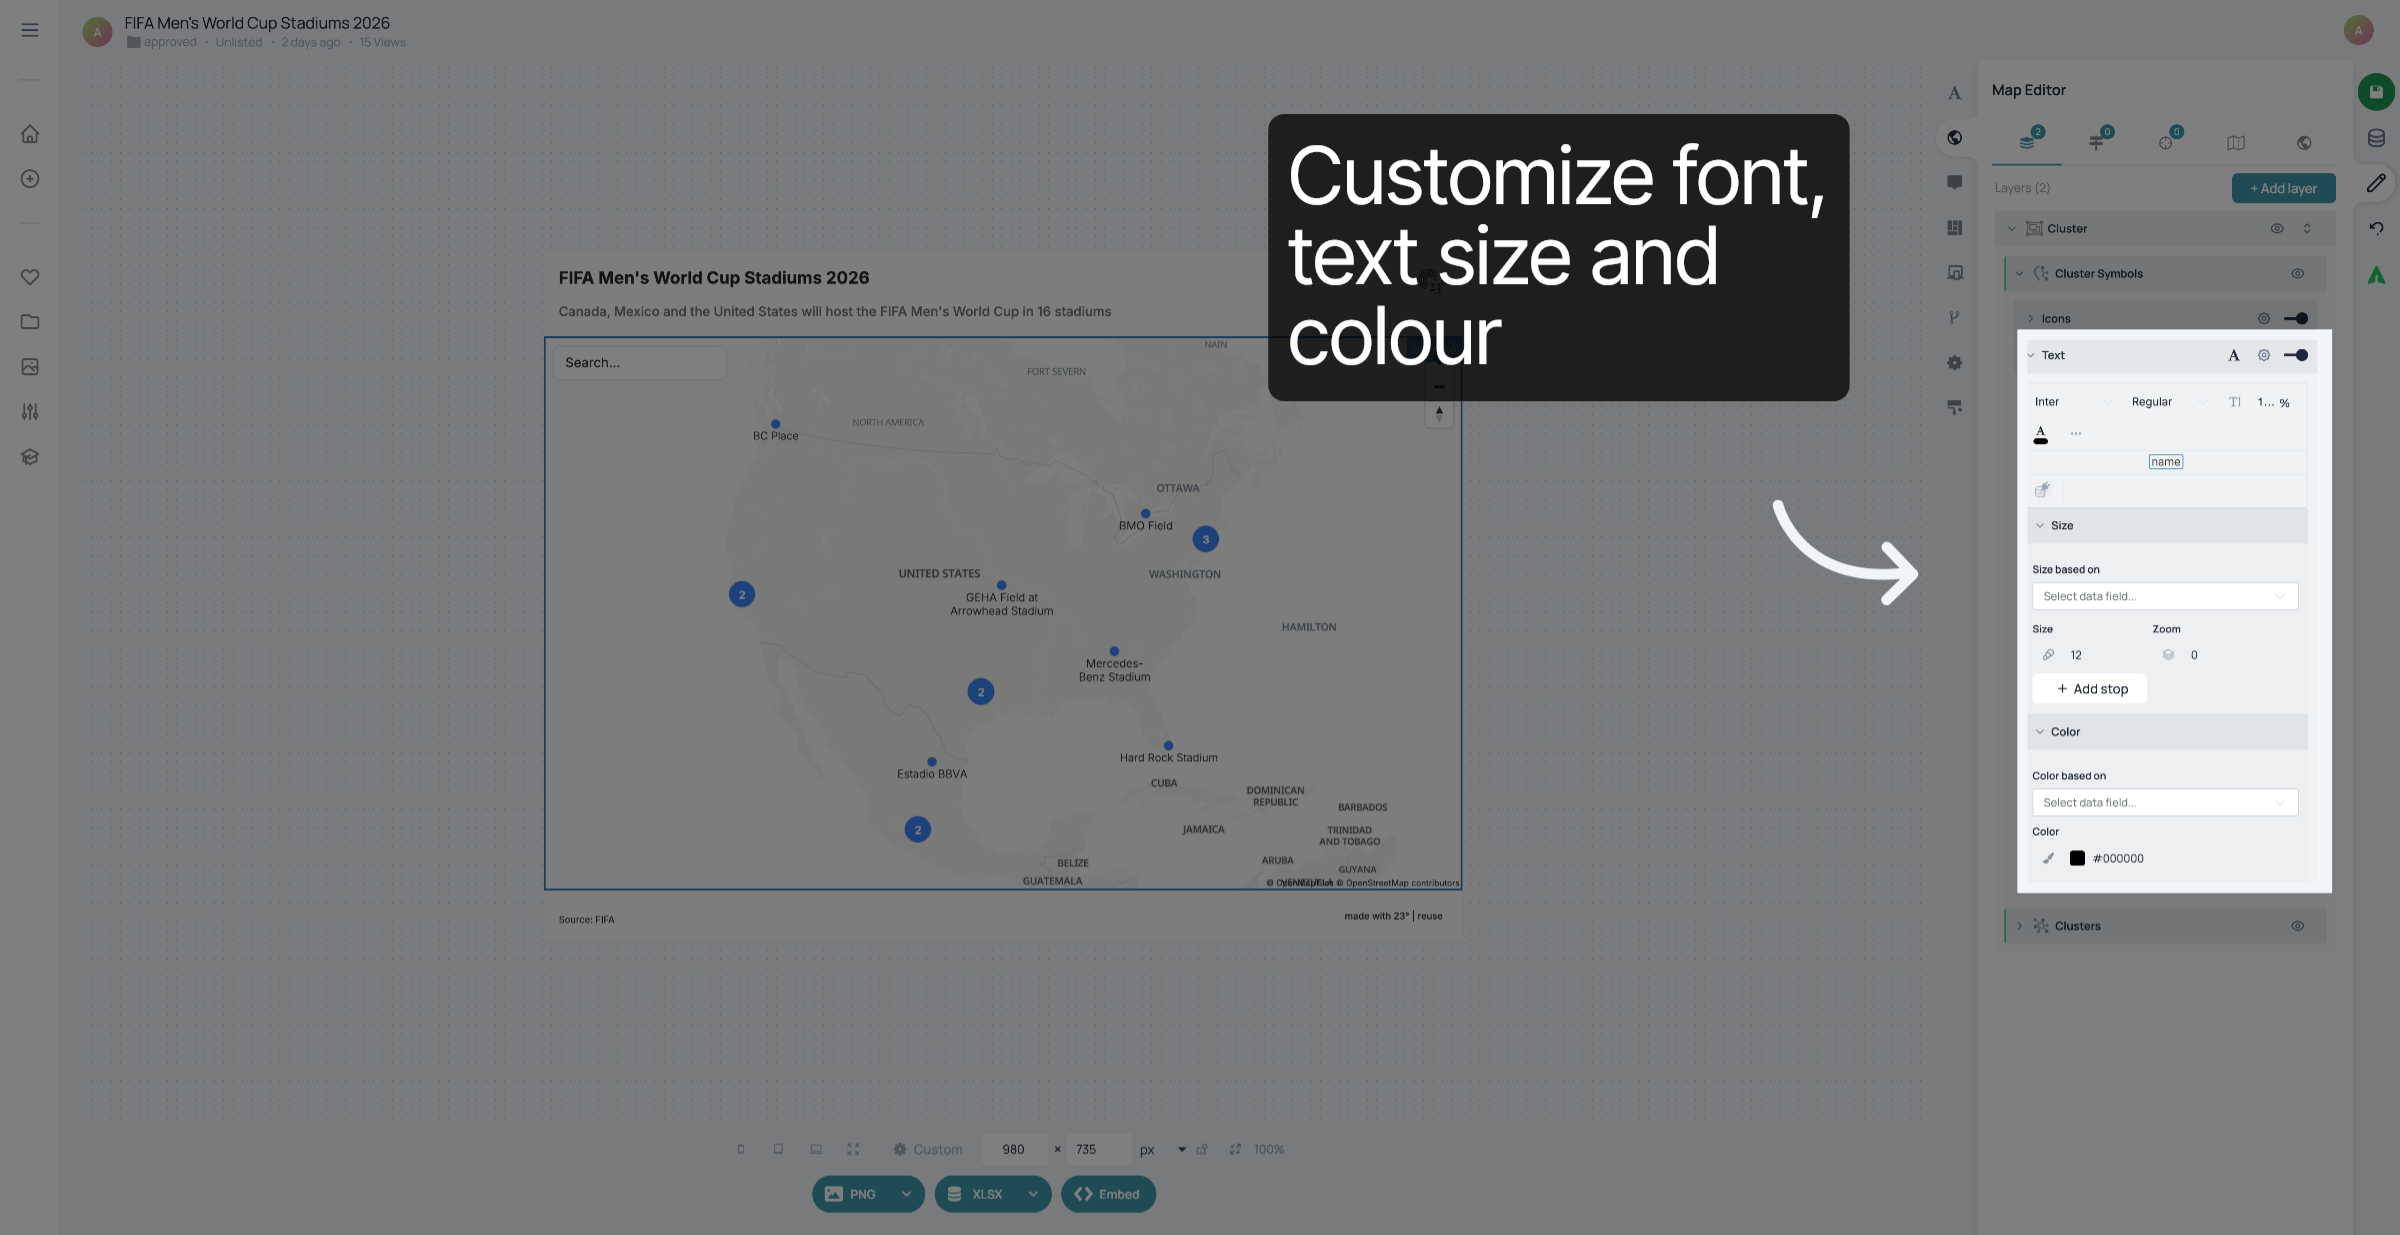
Click the visibility toggle to show or hide cluster labels.
Click the border settings to customize cluster borders.
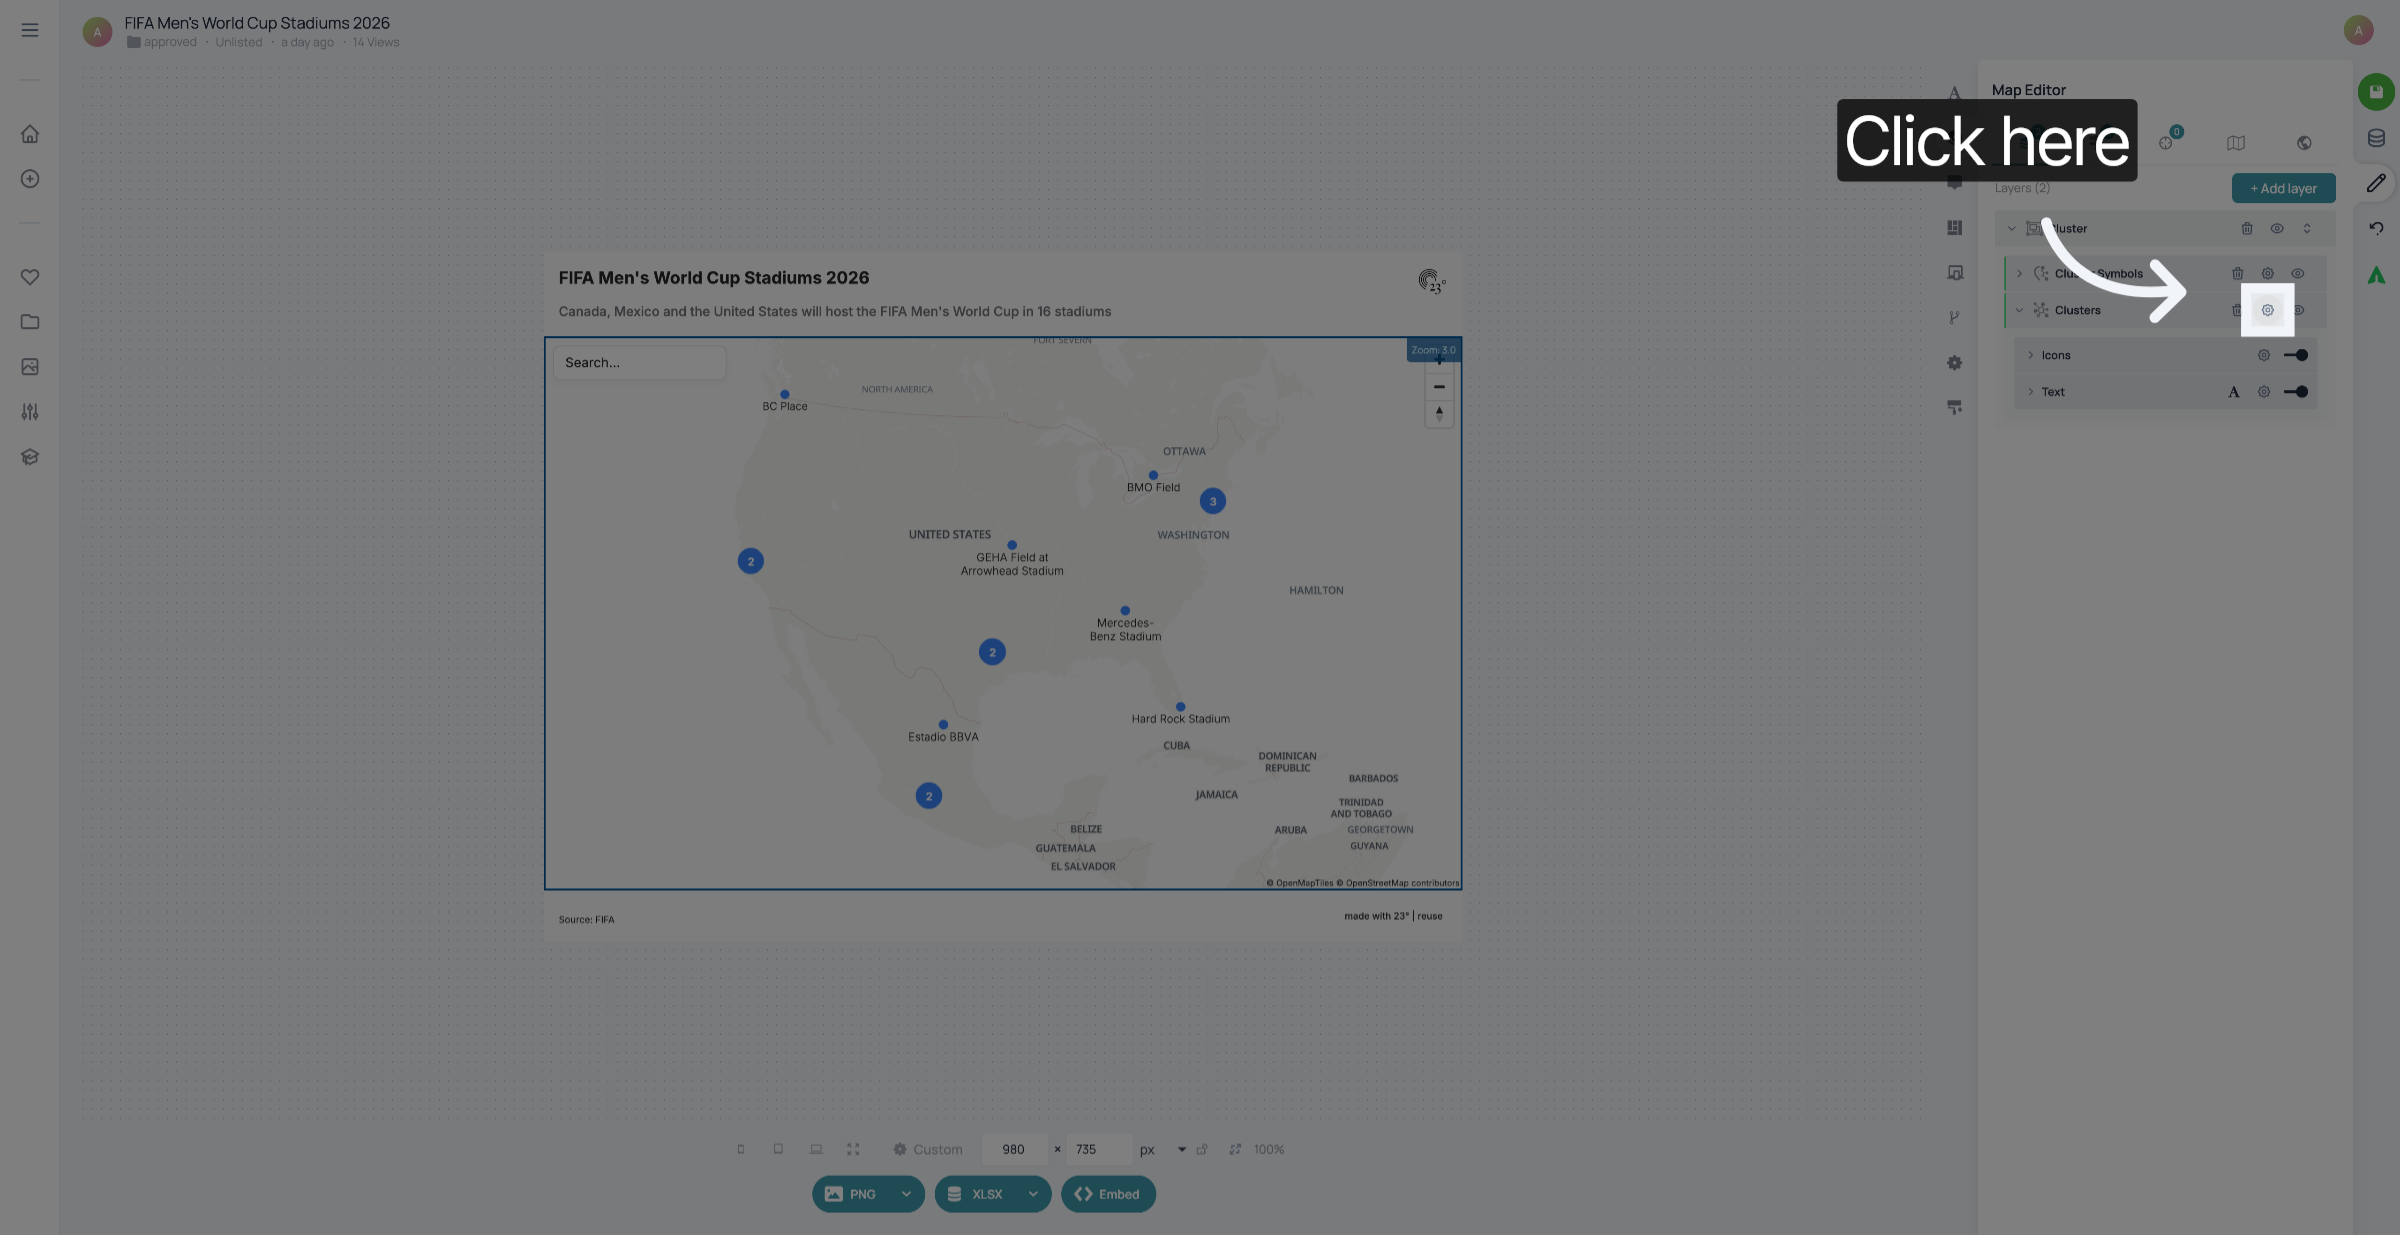
Click the border color option to choose a color for cluster borders.
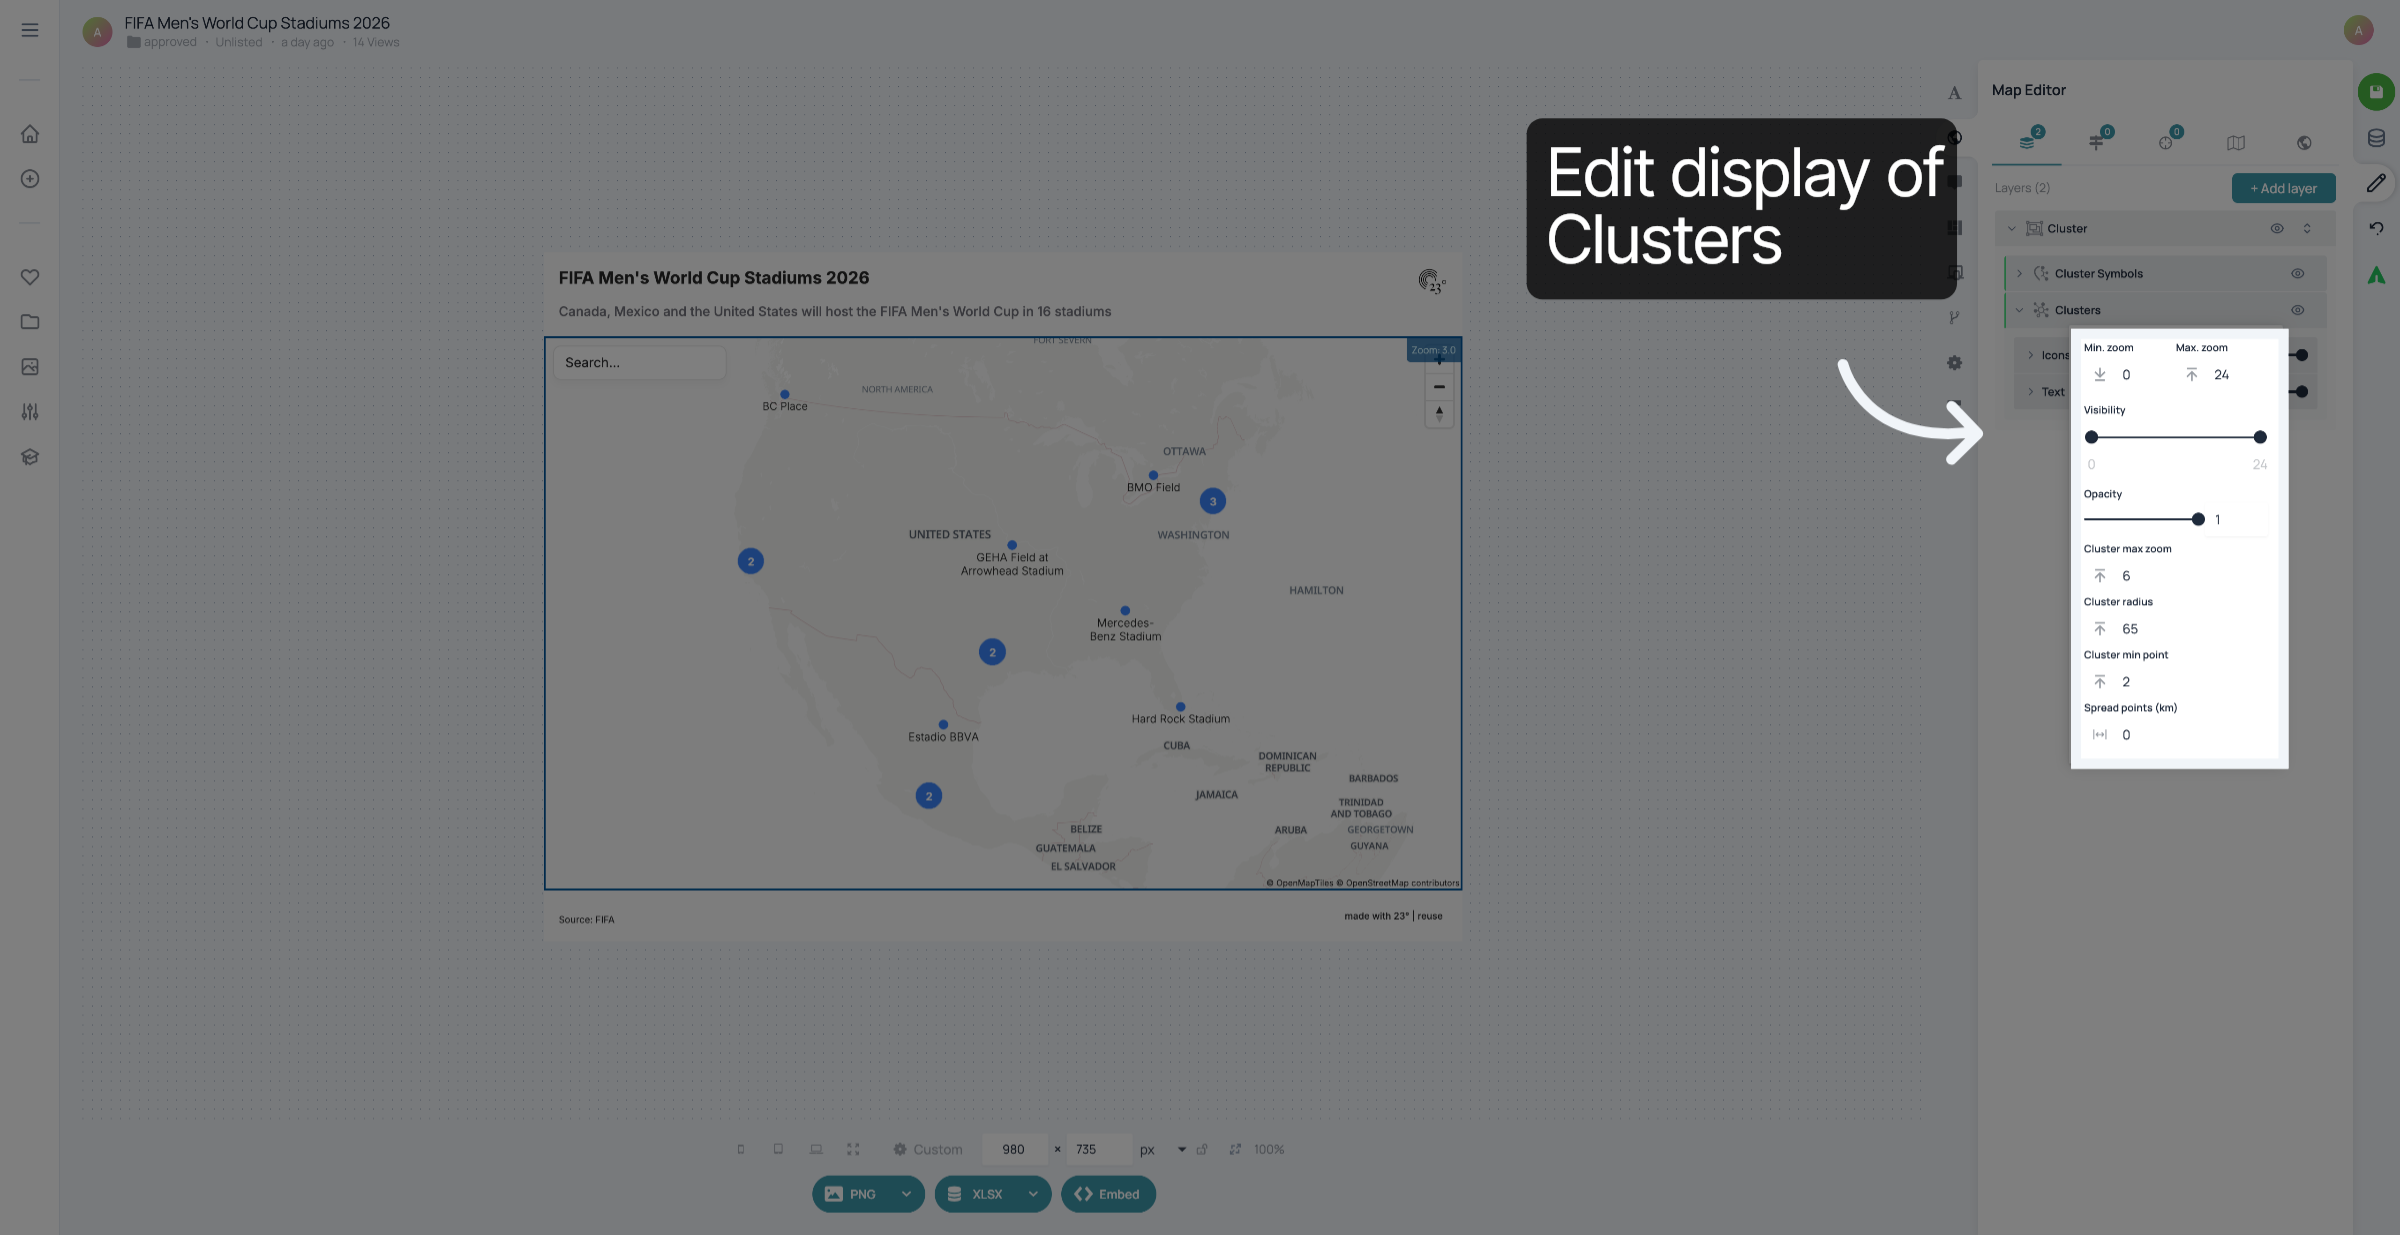
Click the border style option to select a style for cluster borders.
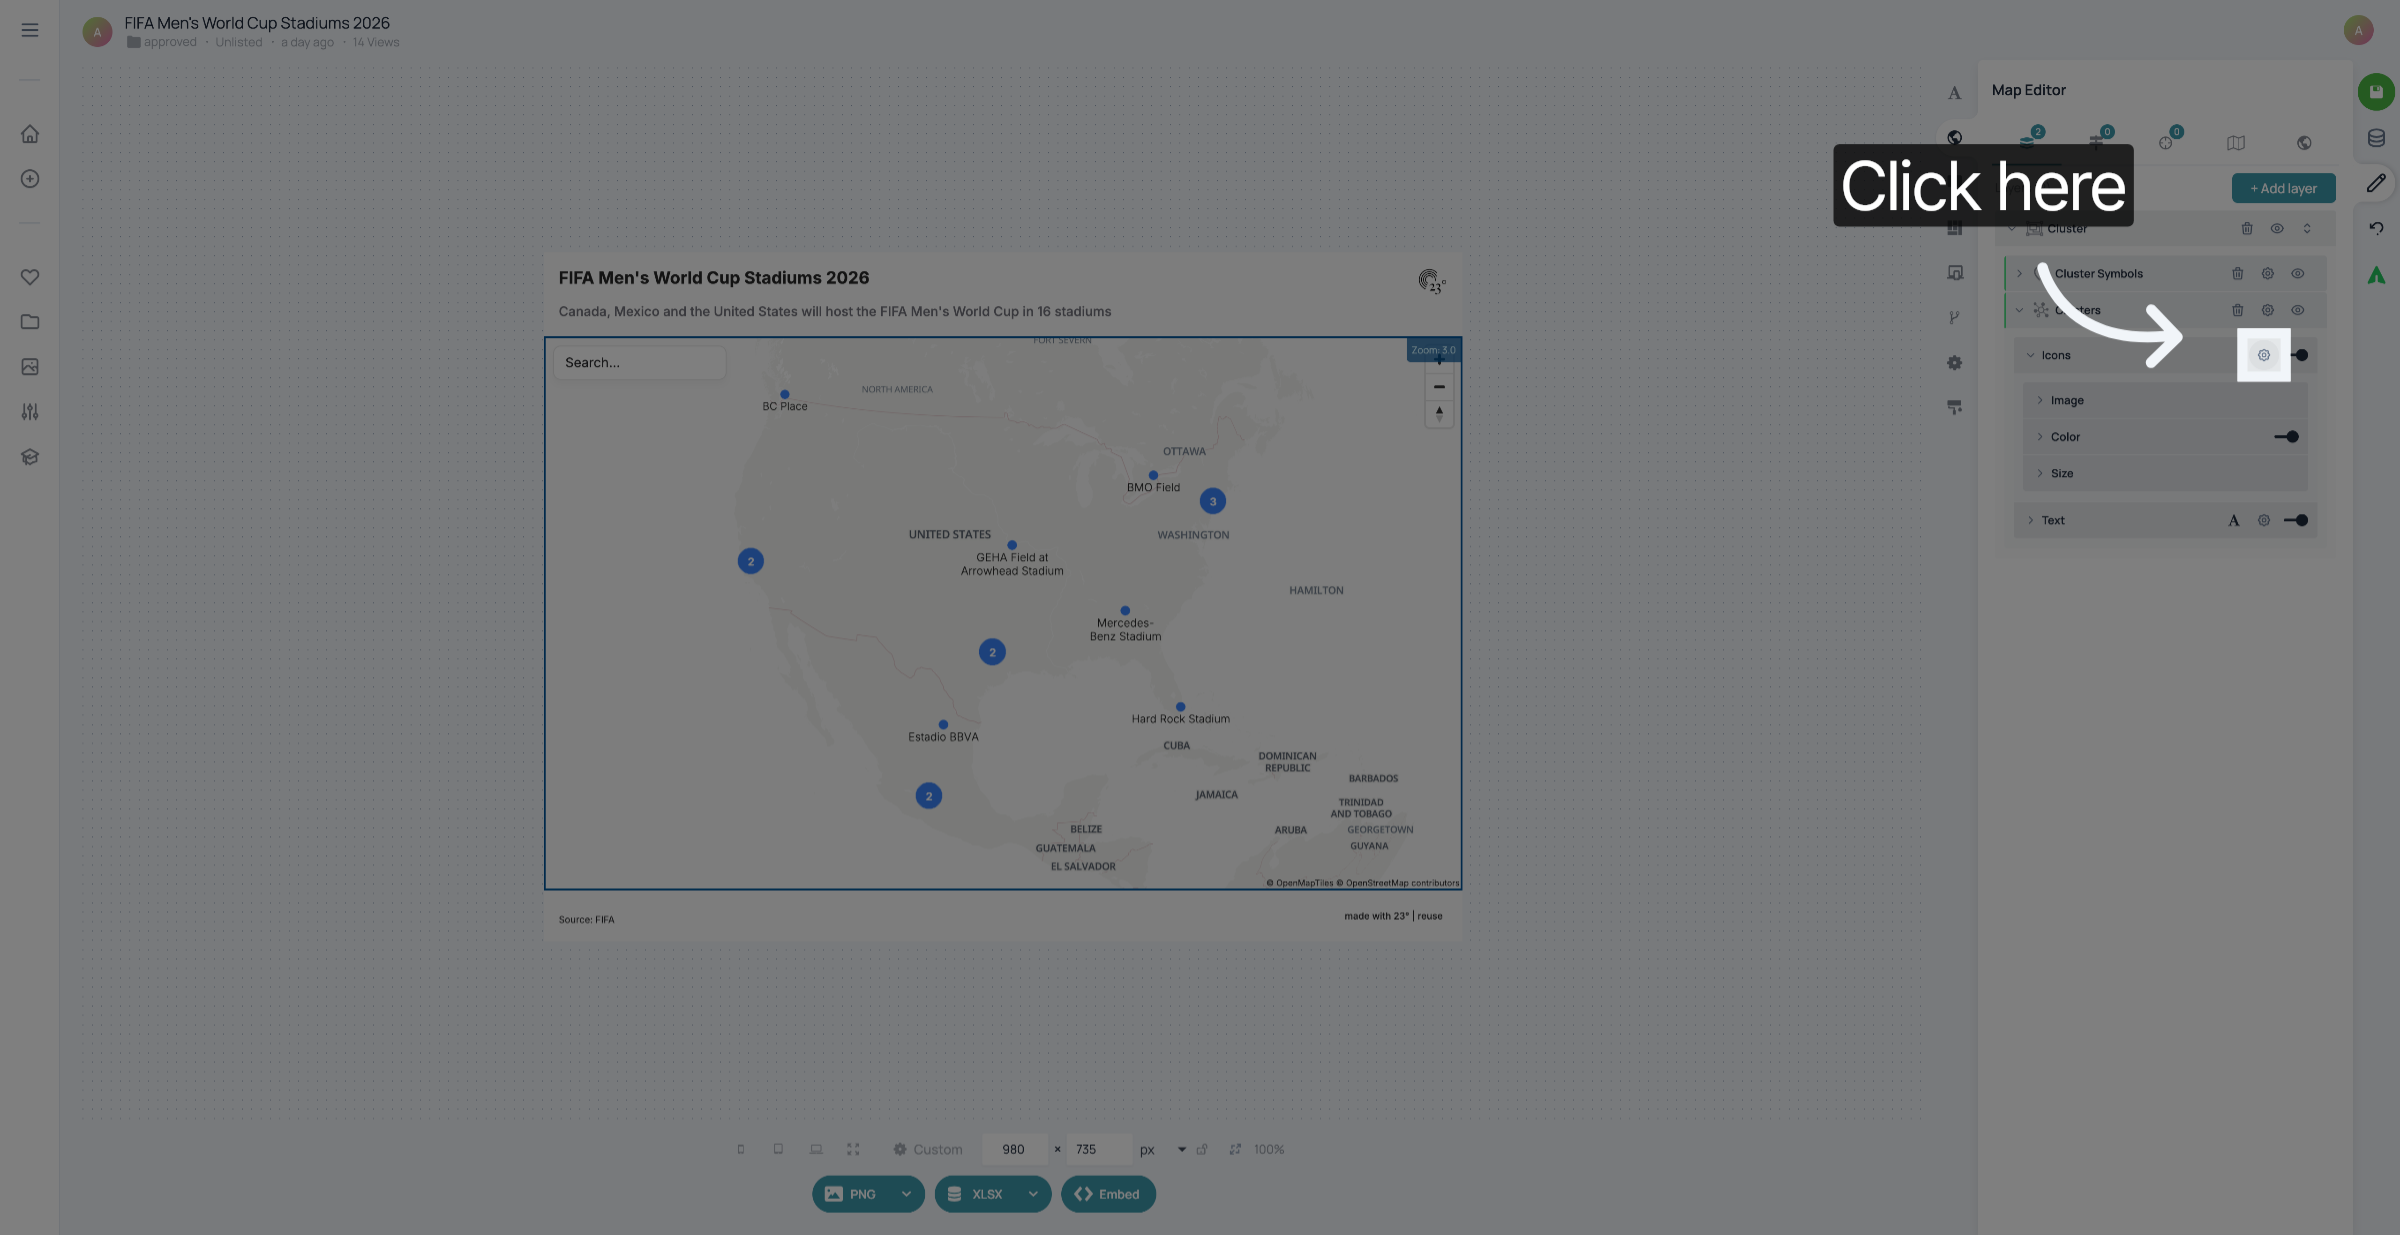
Click the advanced settings to access more cluster customization options.
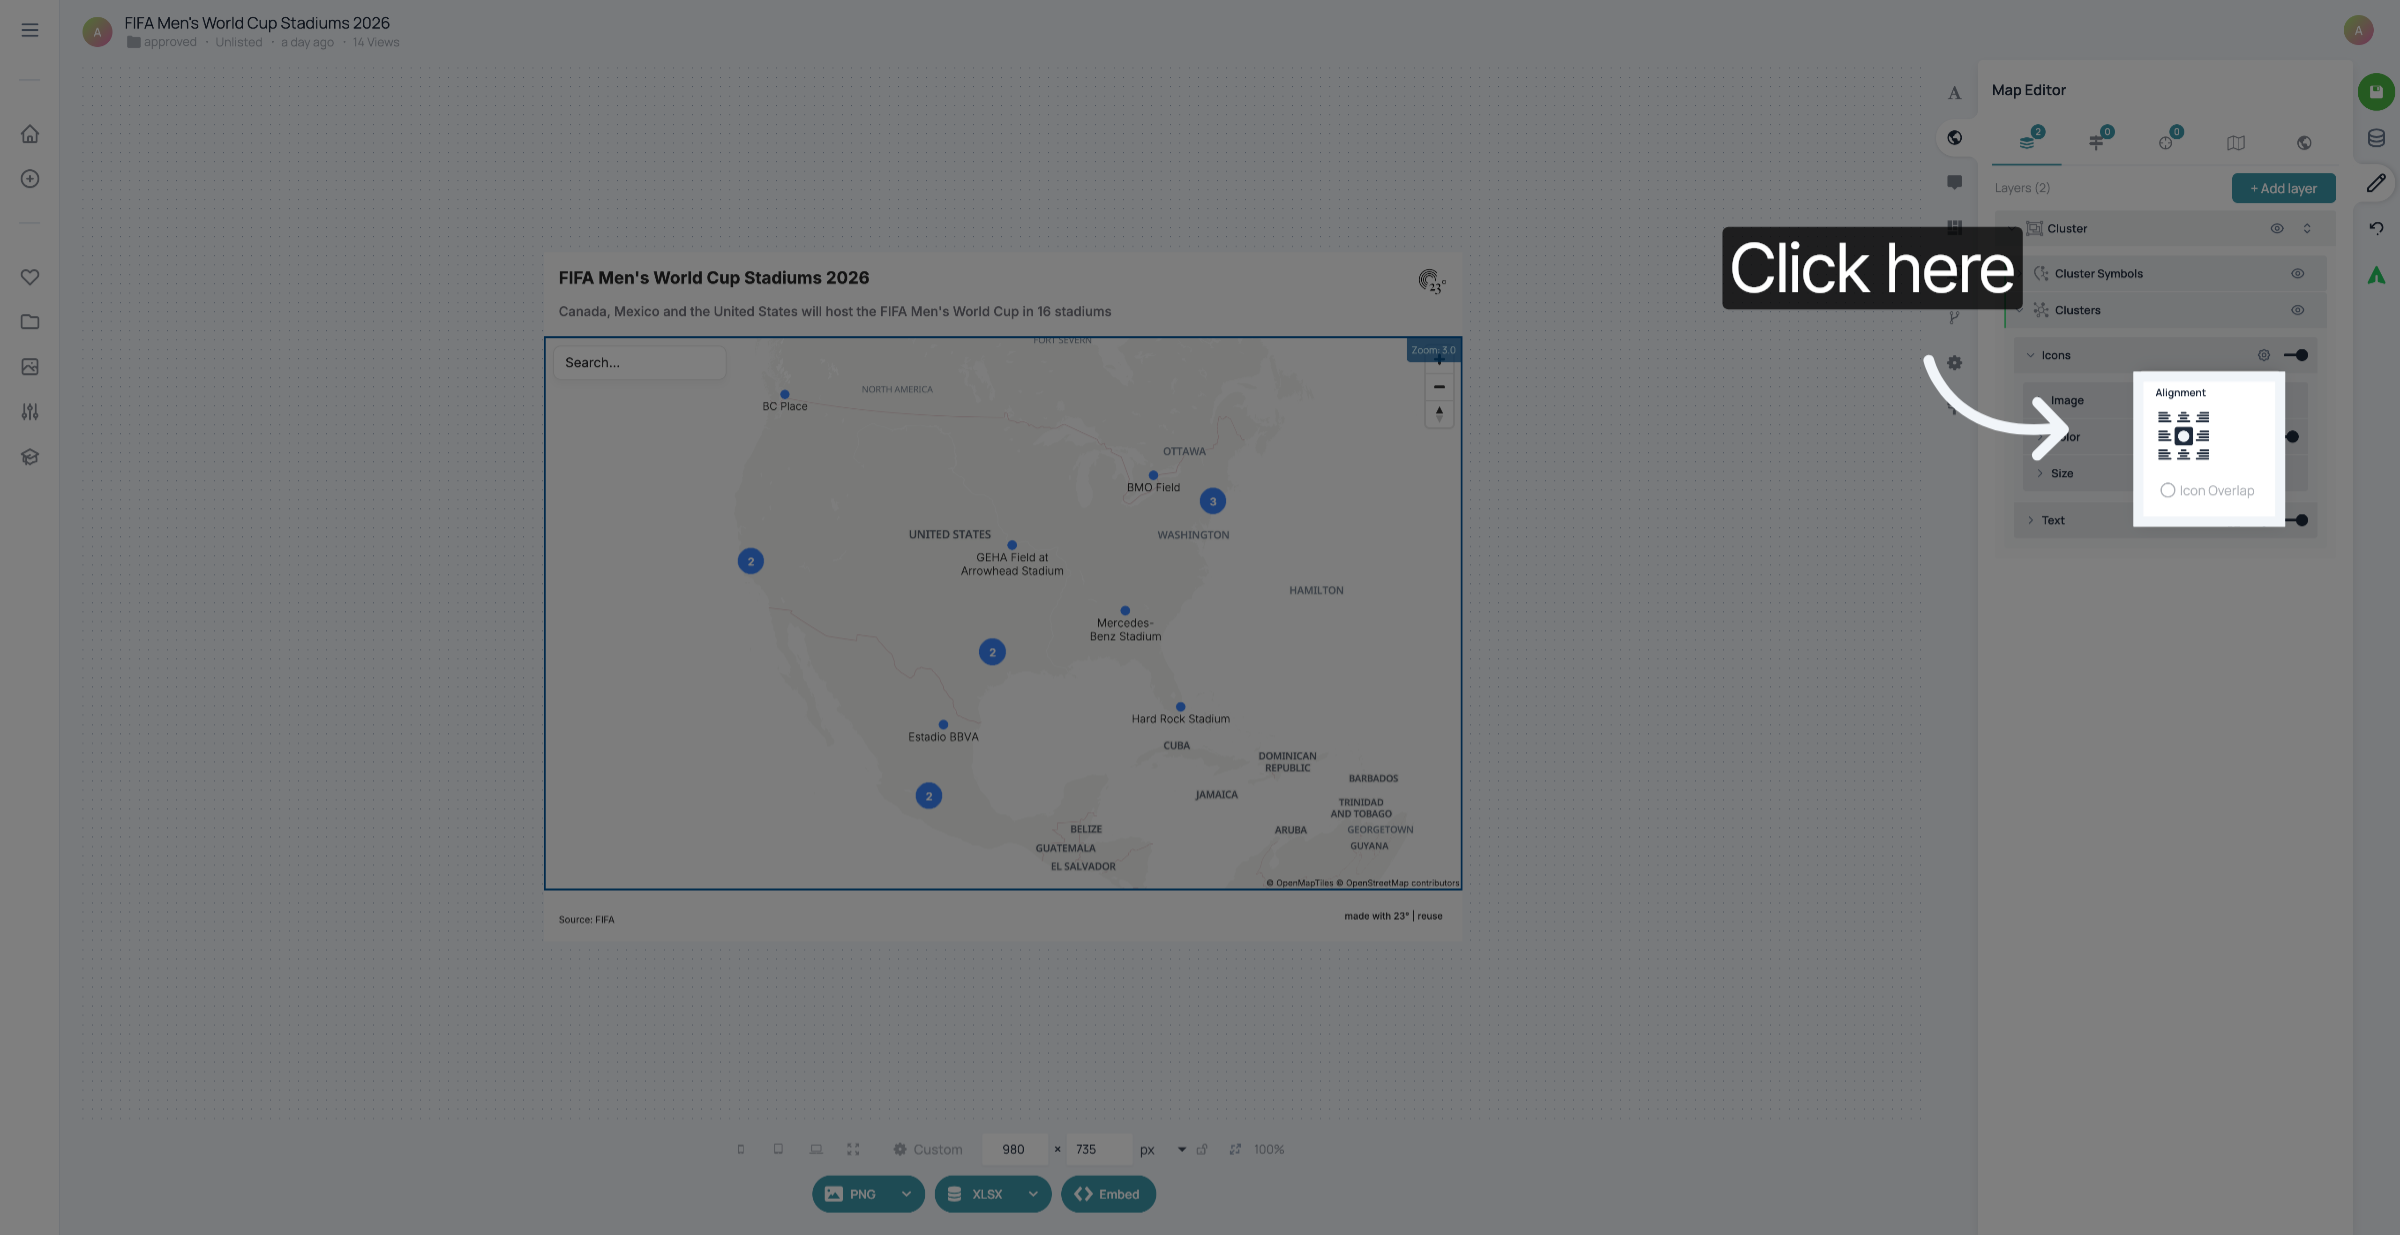
Click Text to adjust the text attribute in advanced settings.
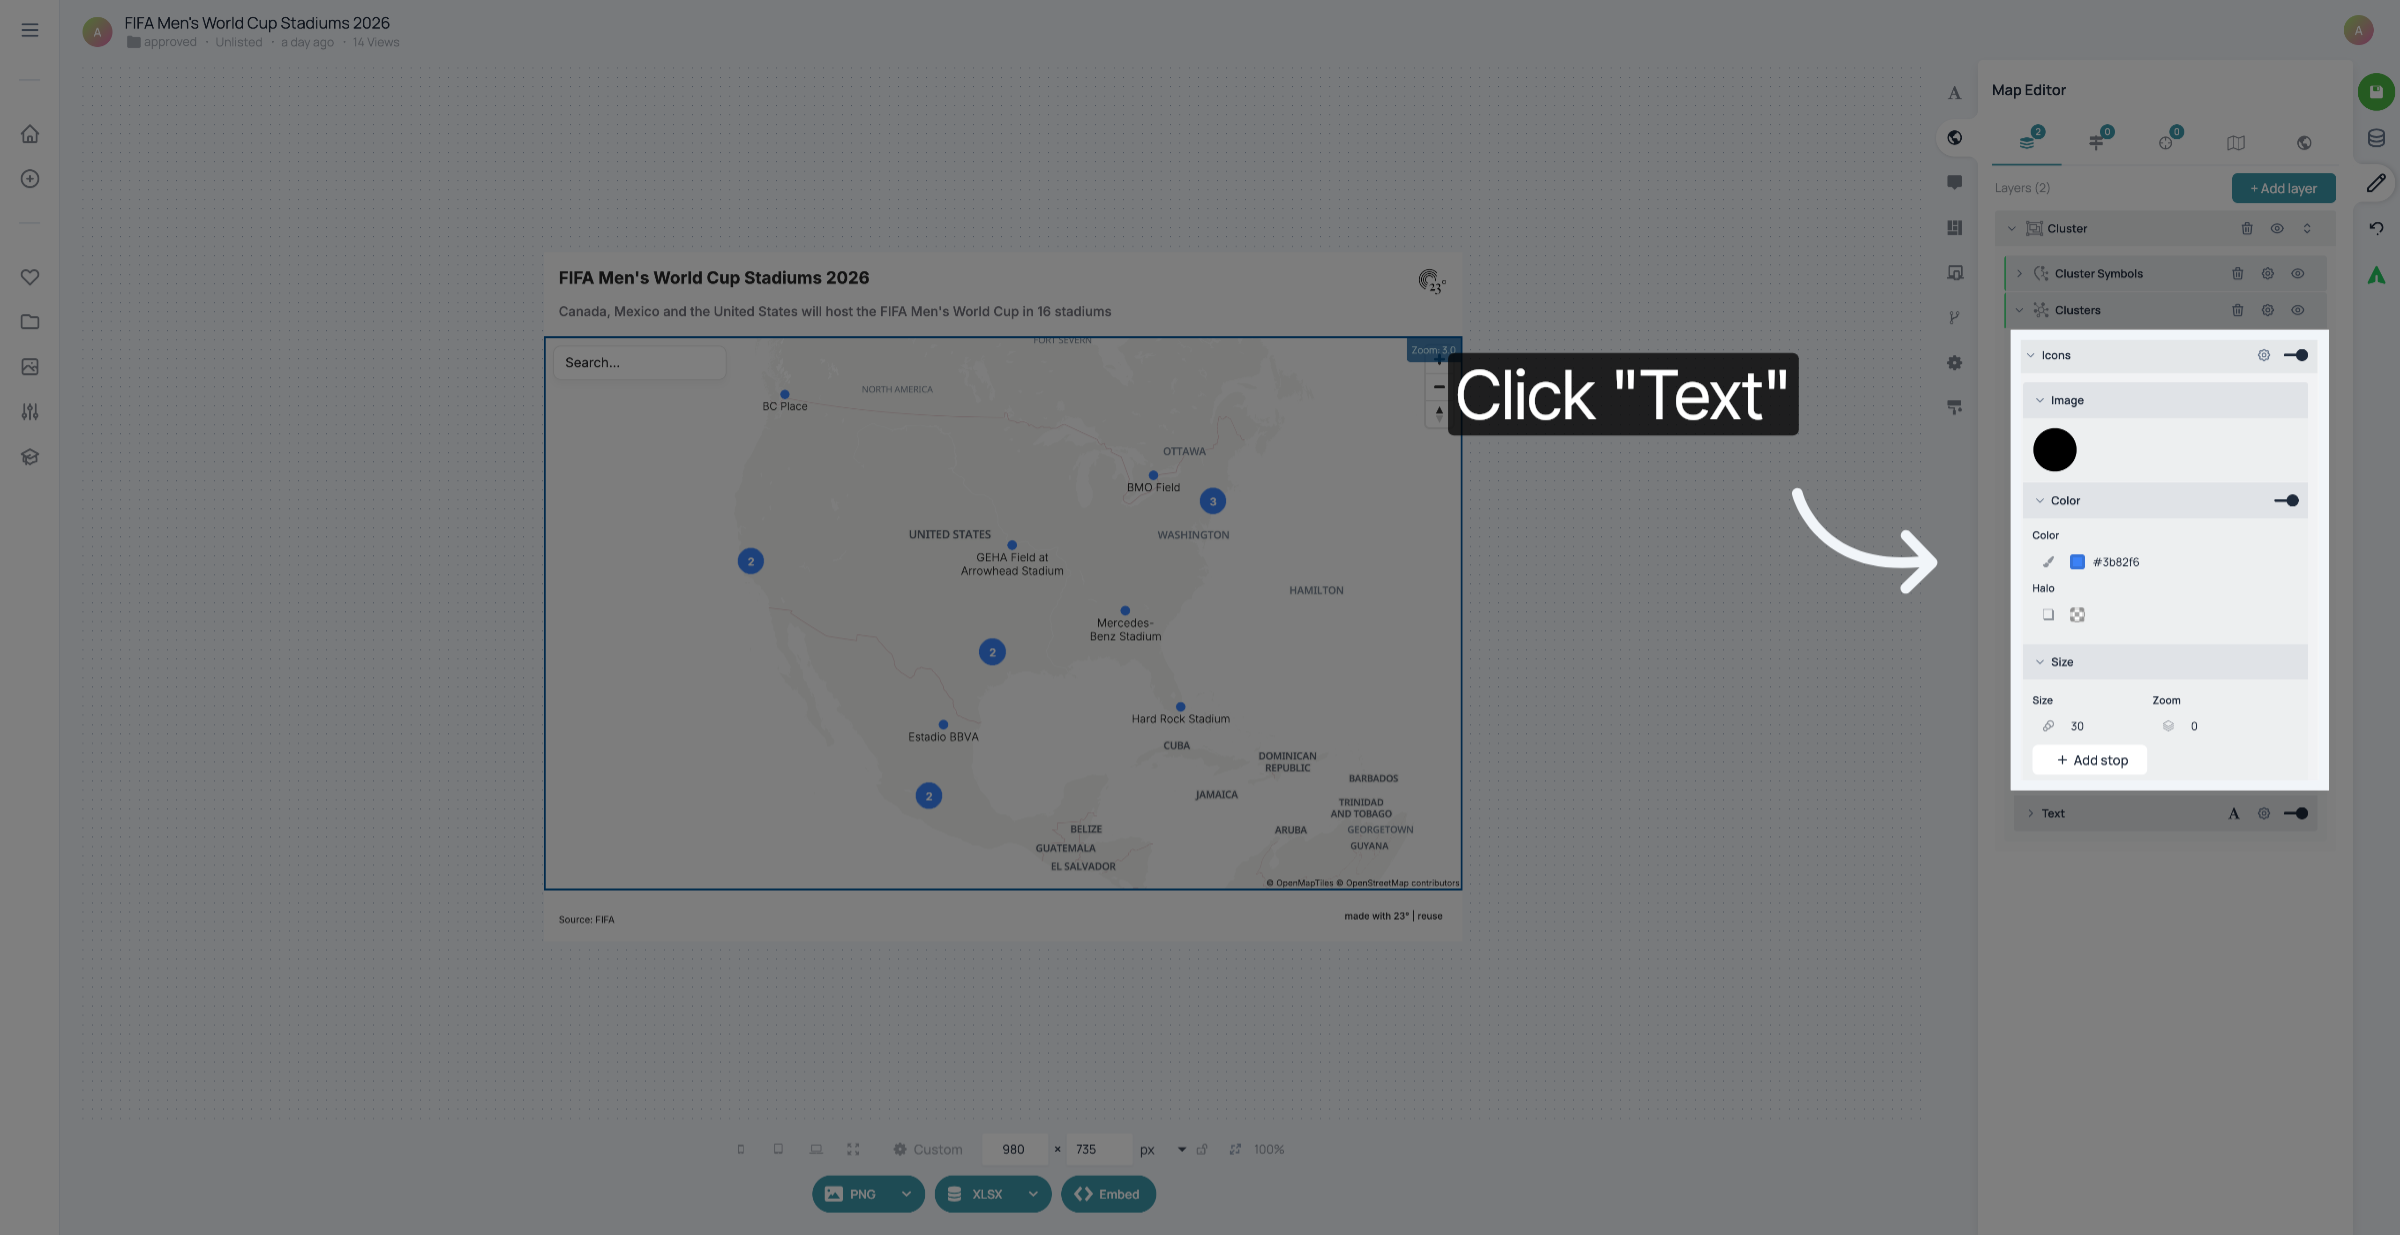
Click the label options to further customize cluster labels.
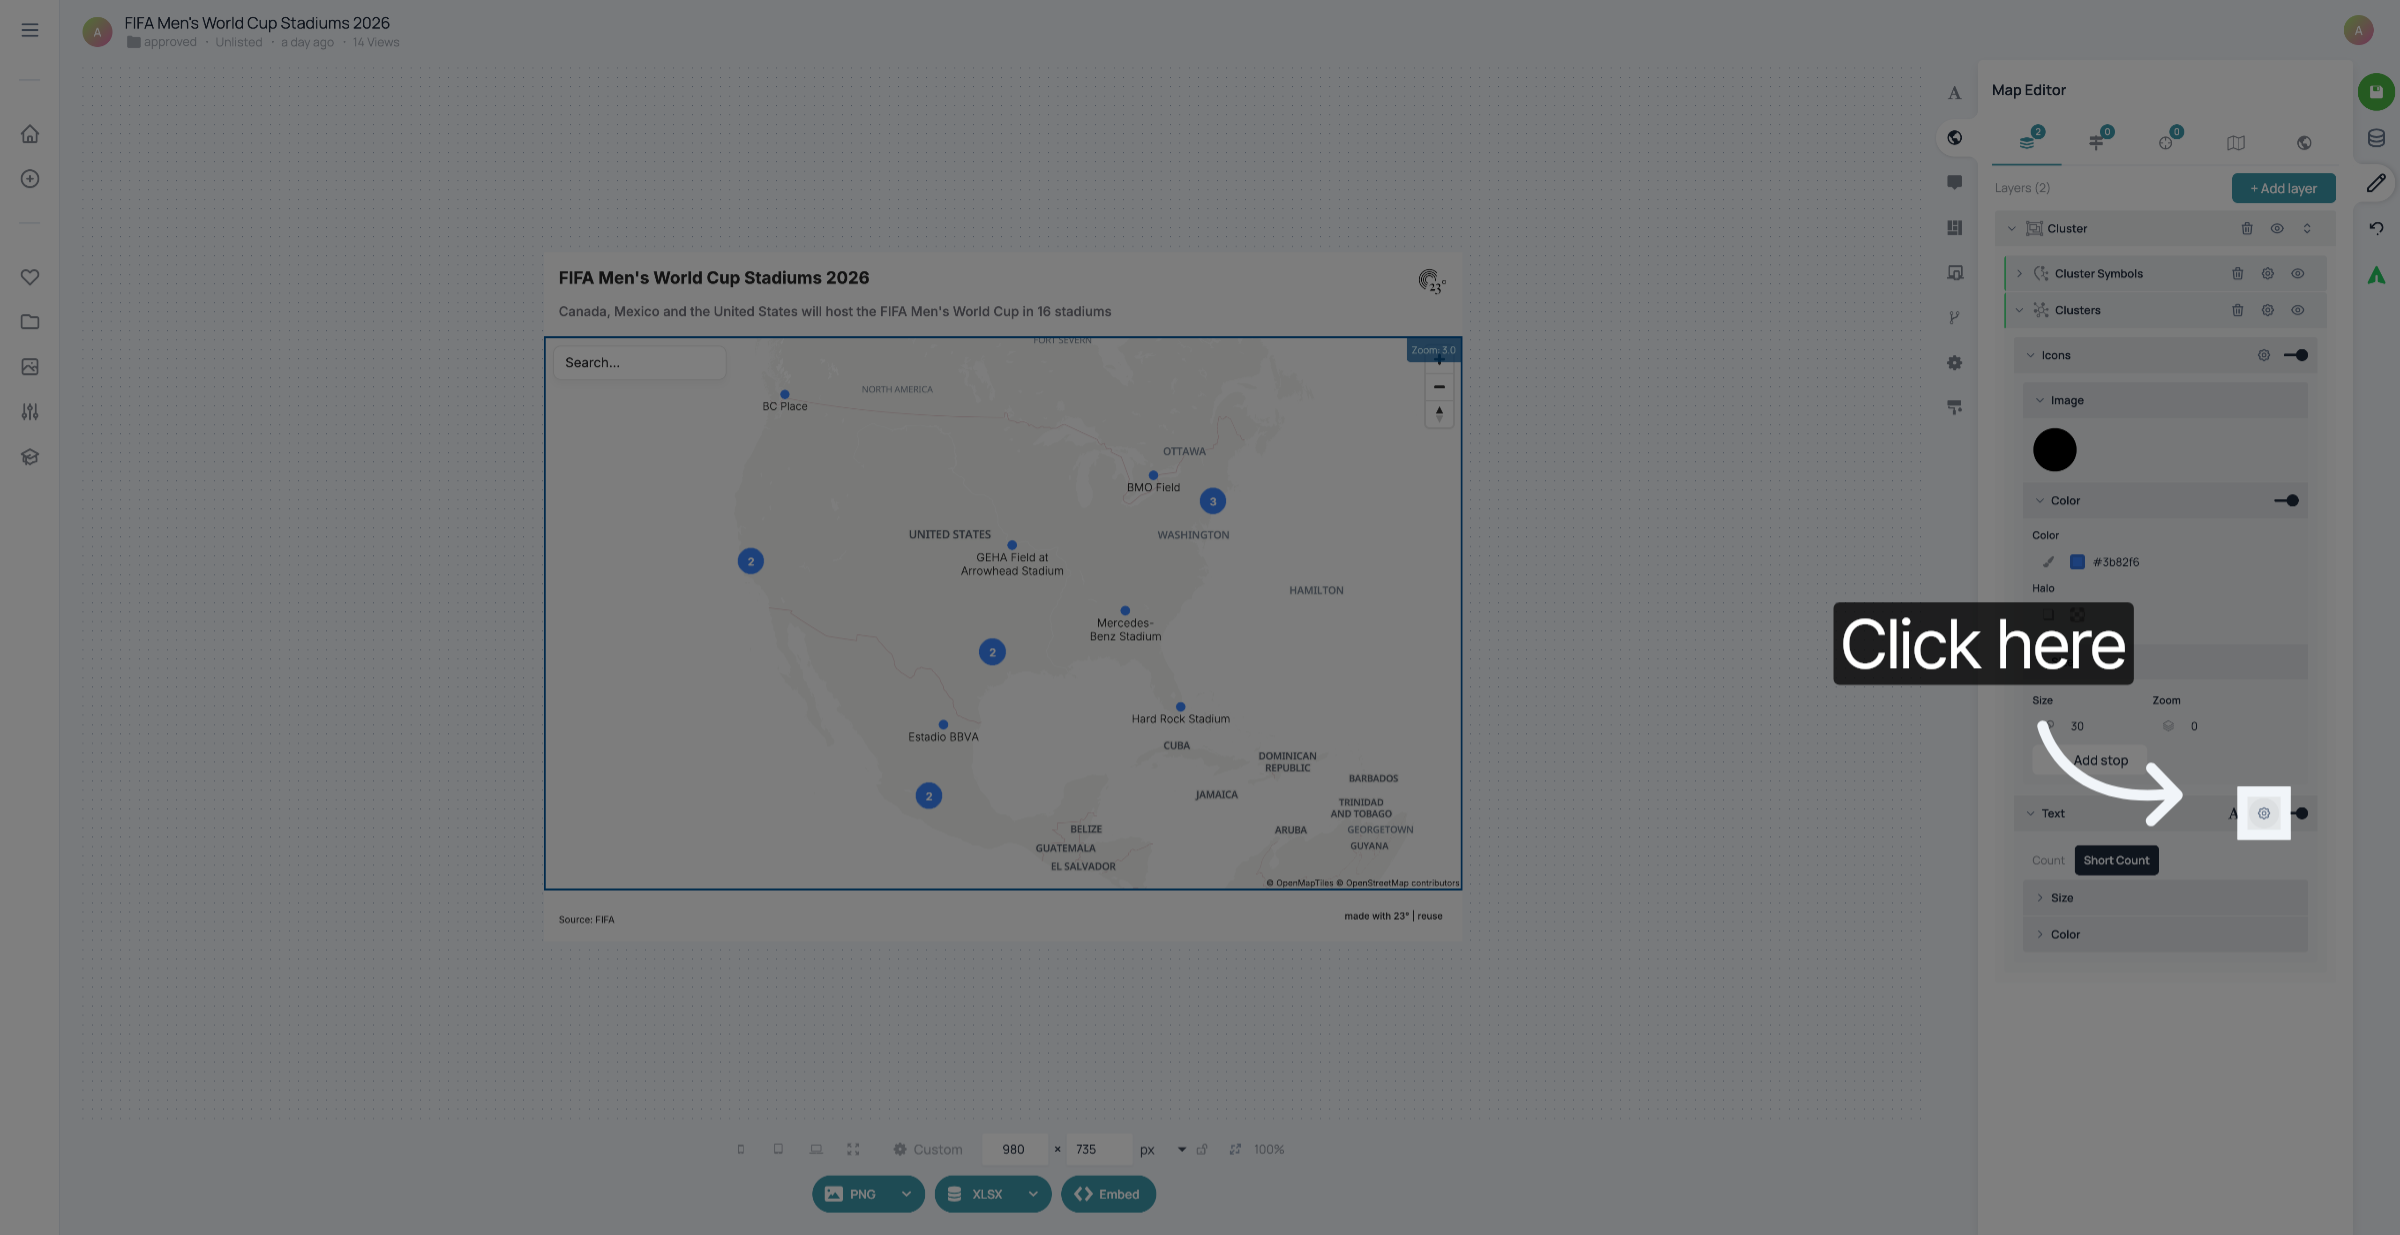
Click the label options to further customize cluster labels.
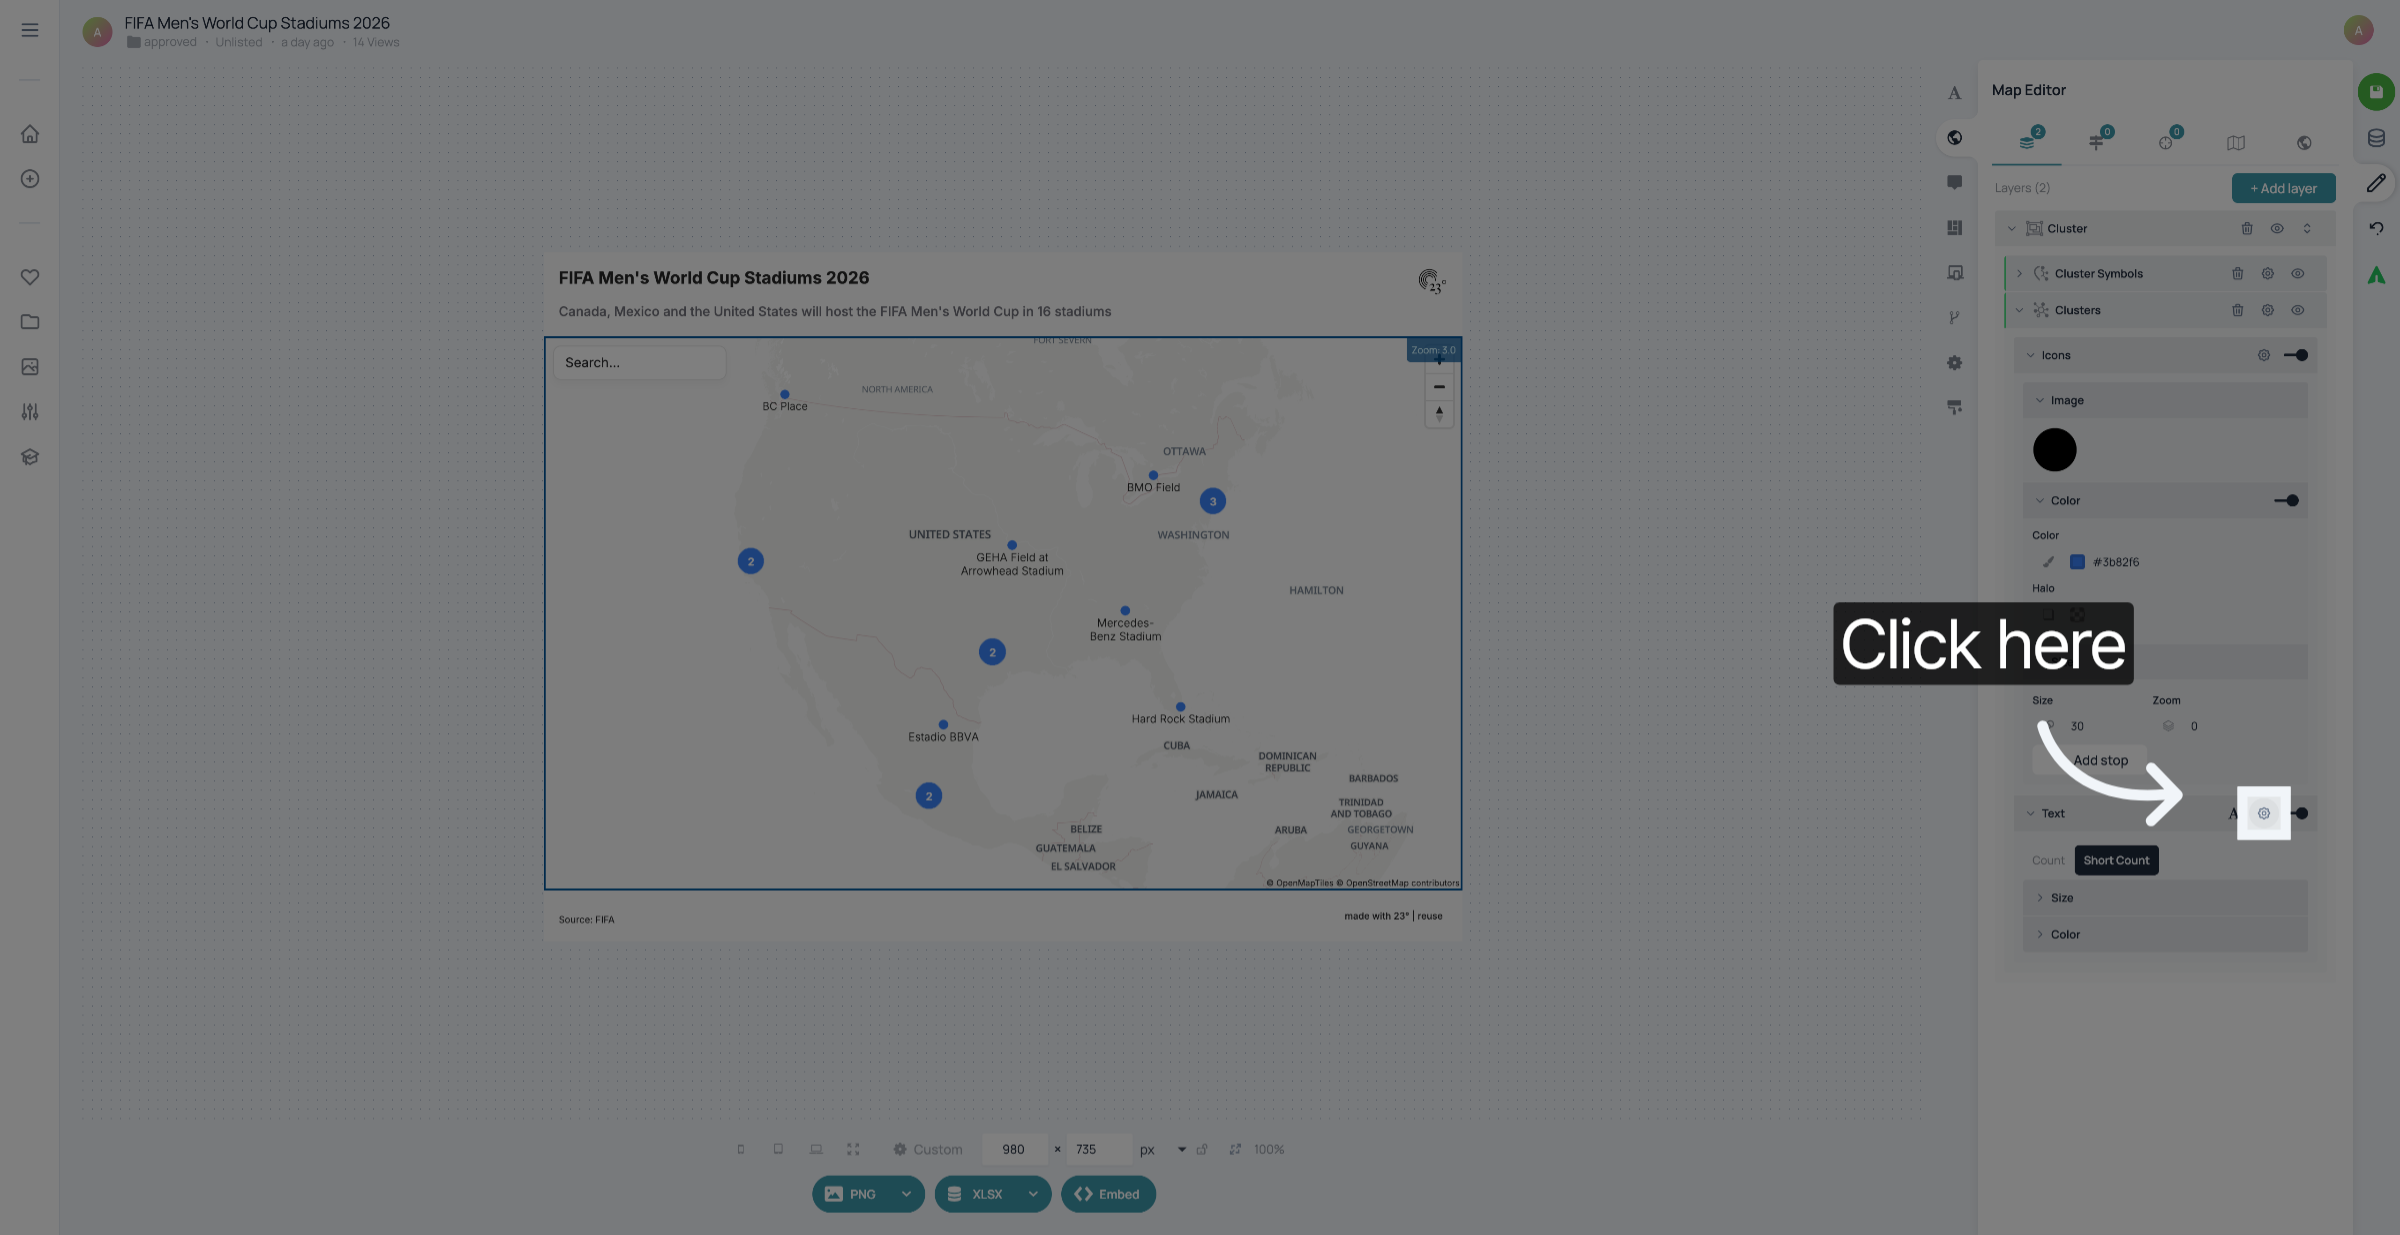
Click the font style option to change the label font.
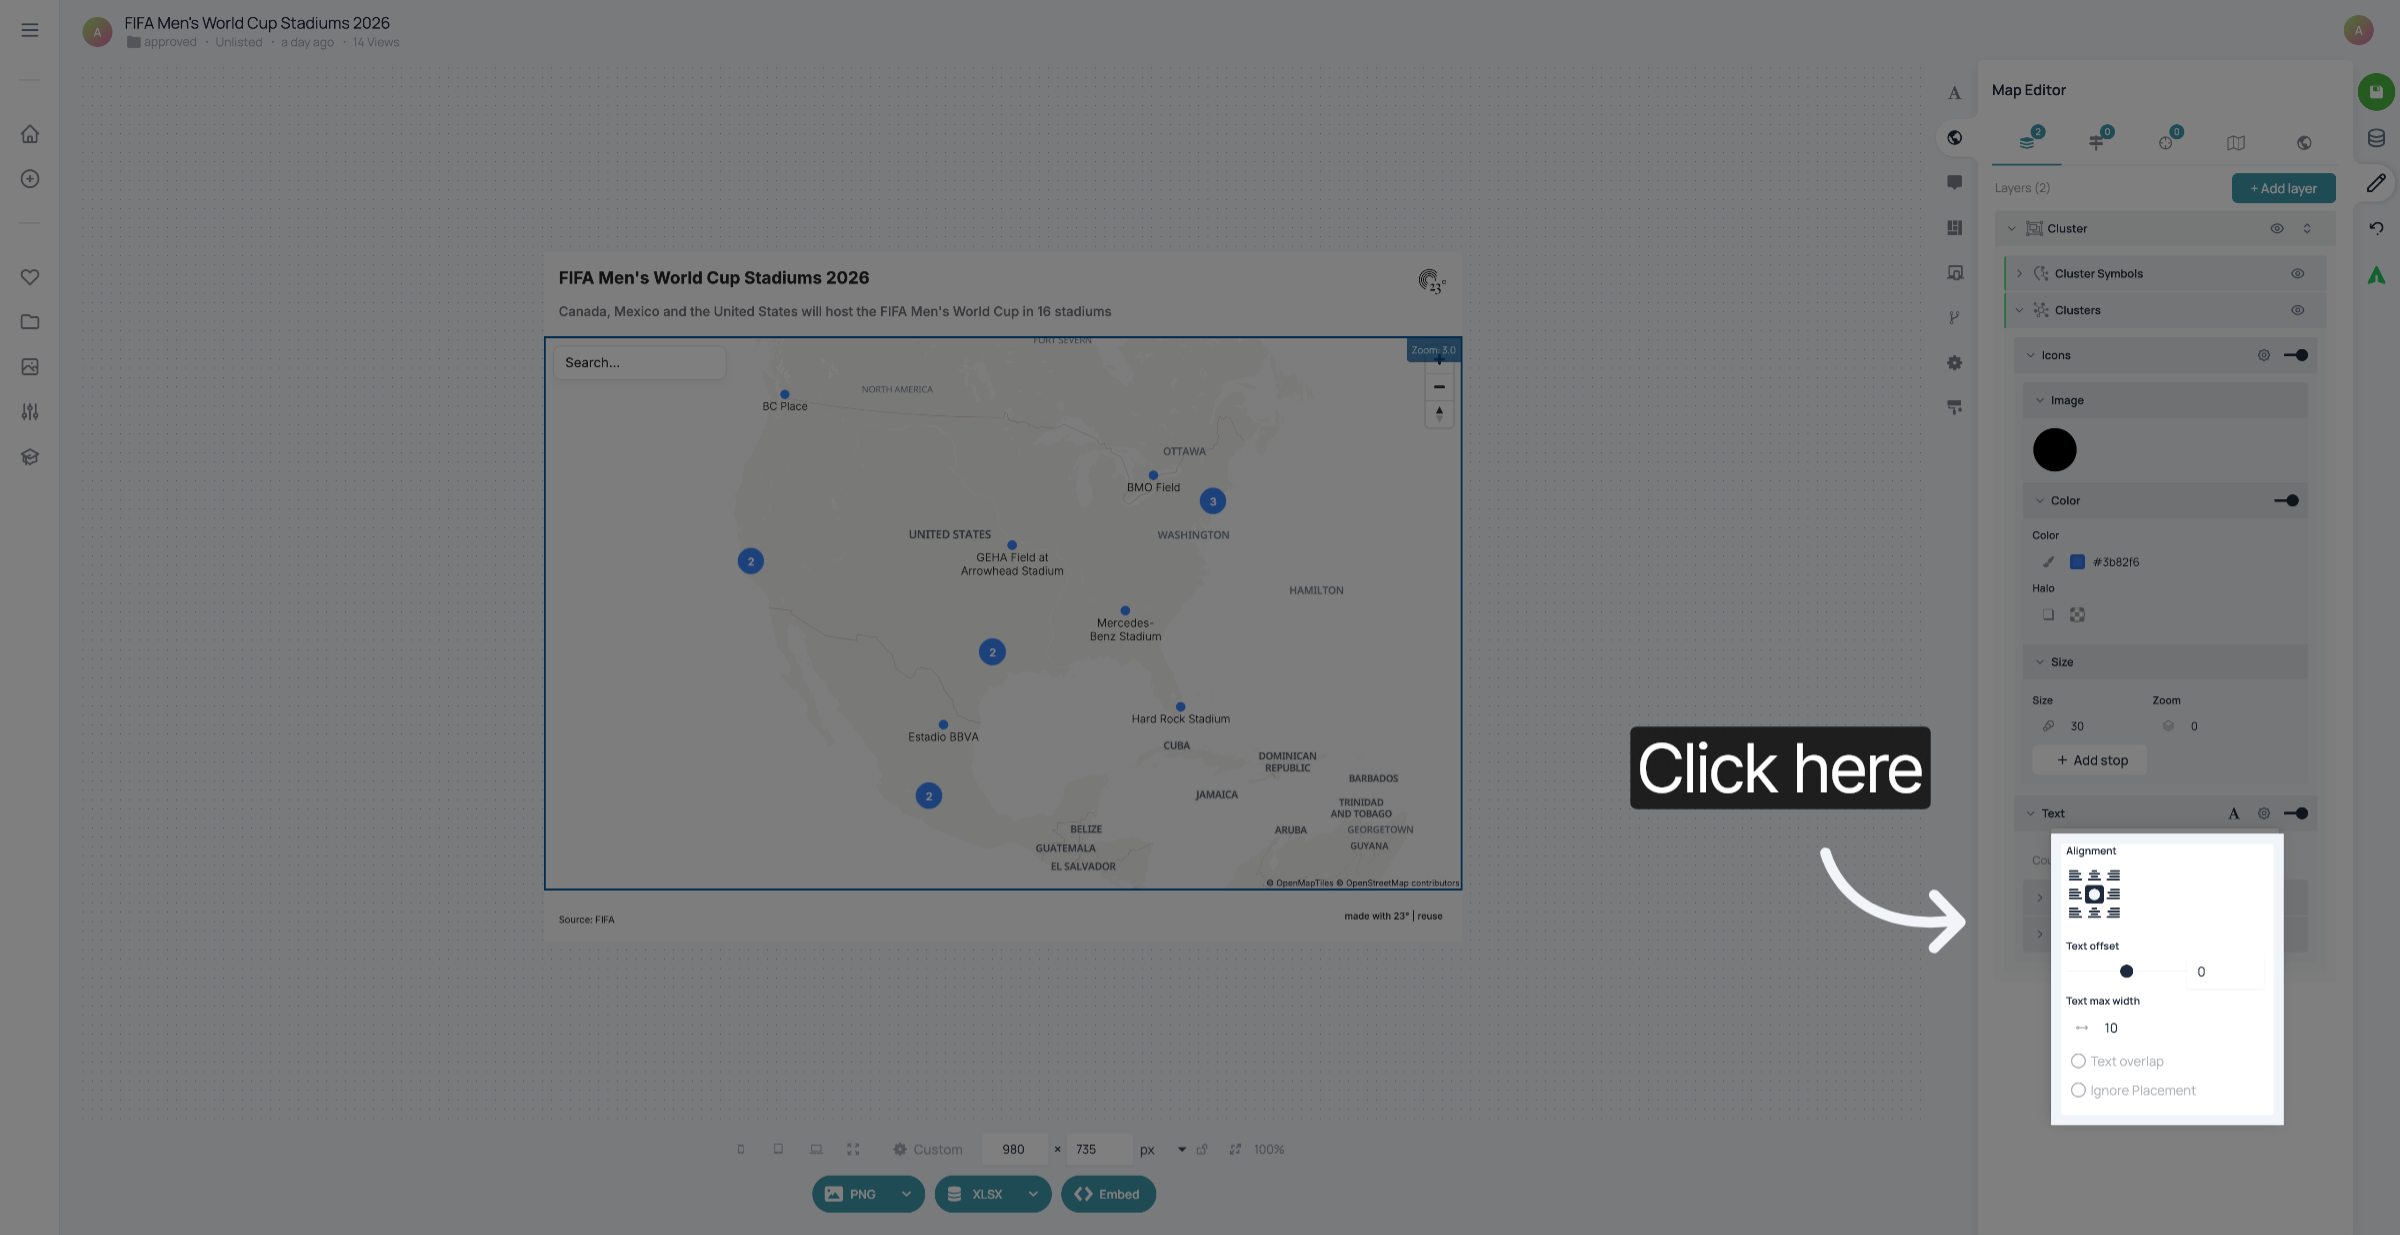
Click the font style option to change the label font.
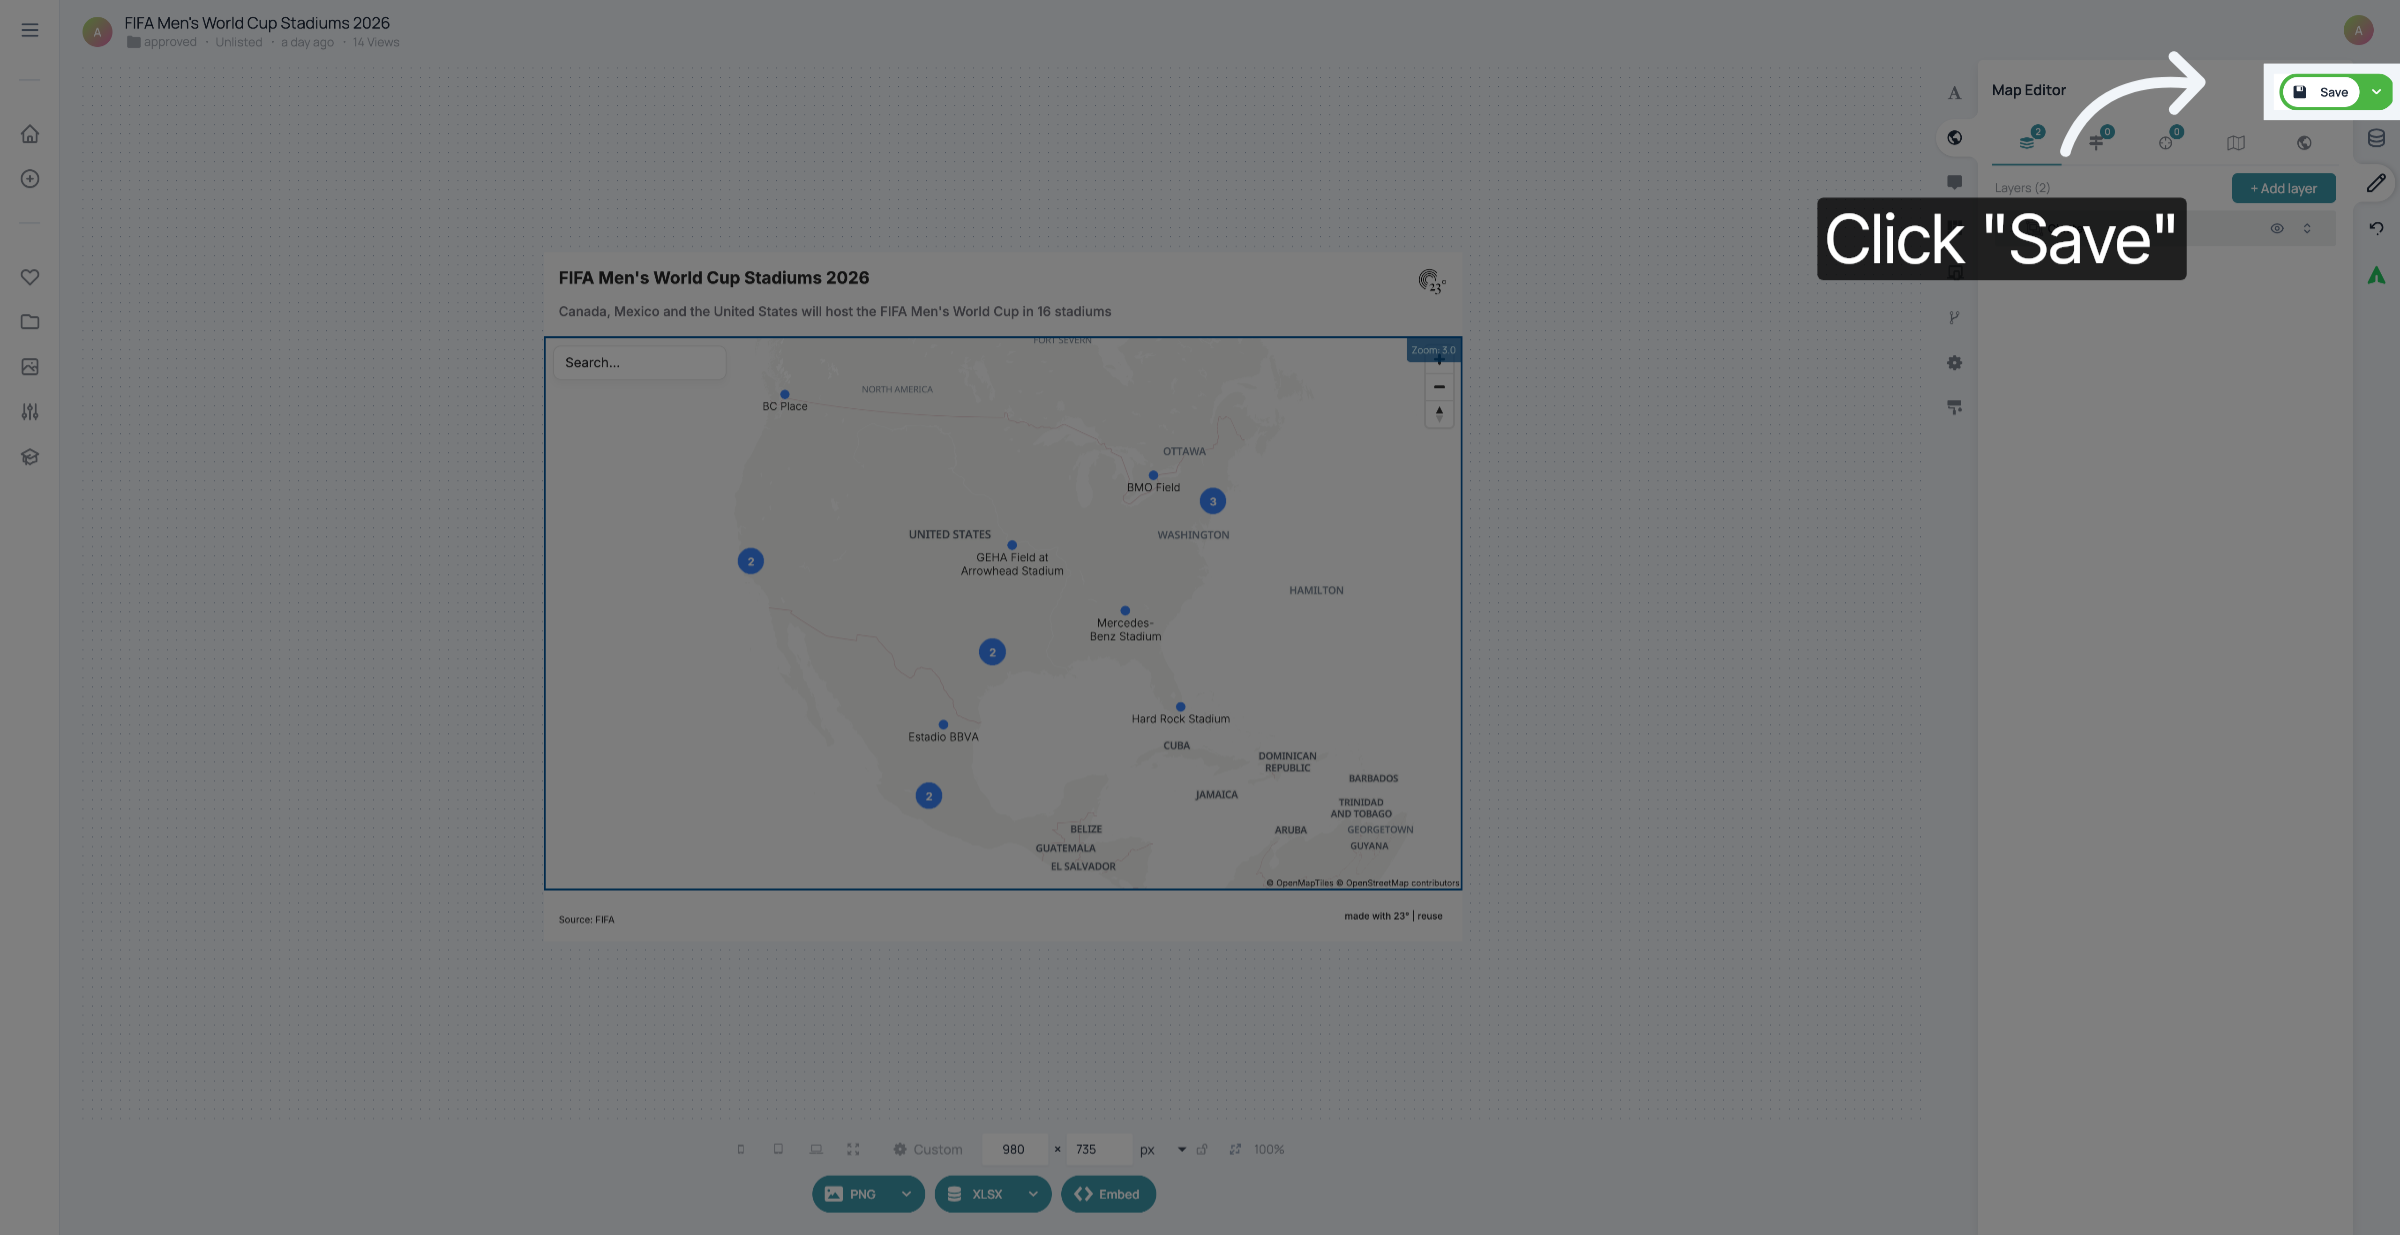
Click Save to apply all your cluster customization changes.
Don't forget to save your changes.
You have successfully customized the clusters in your cluster map.