Create Raster Maps Using Layer Configuration in 23degrees
This tutorial guides you through creating a raster map using the 23degrees application.
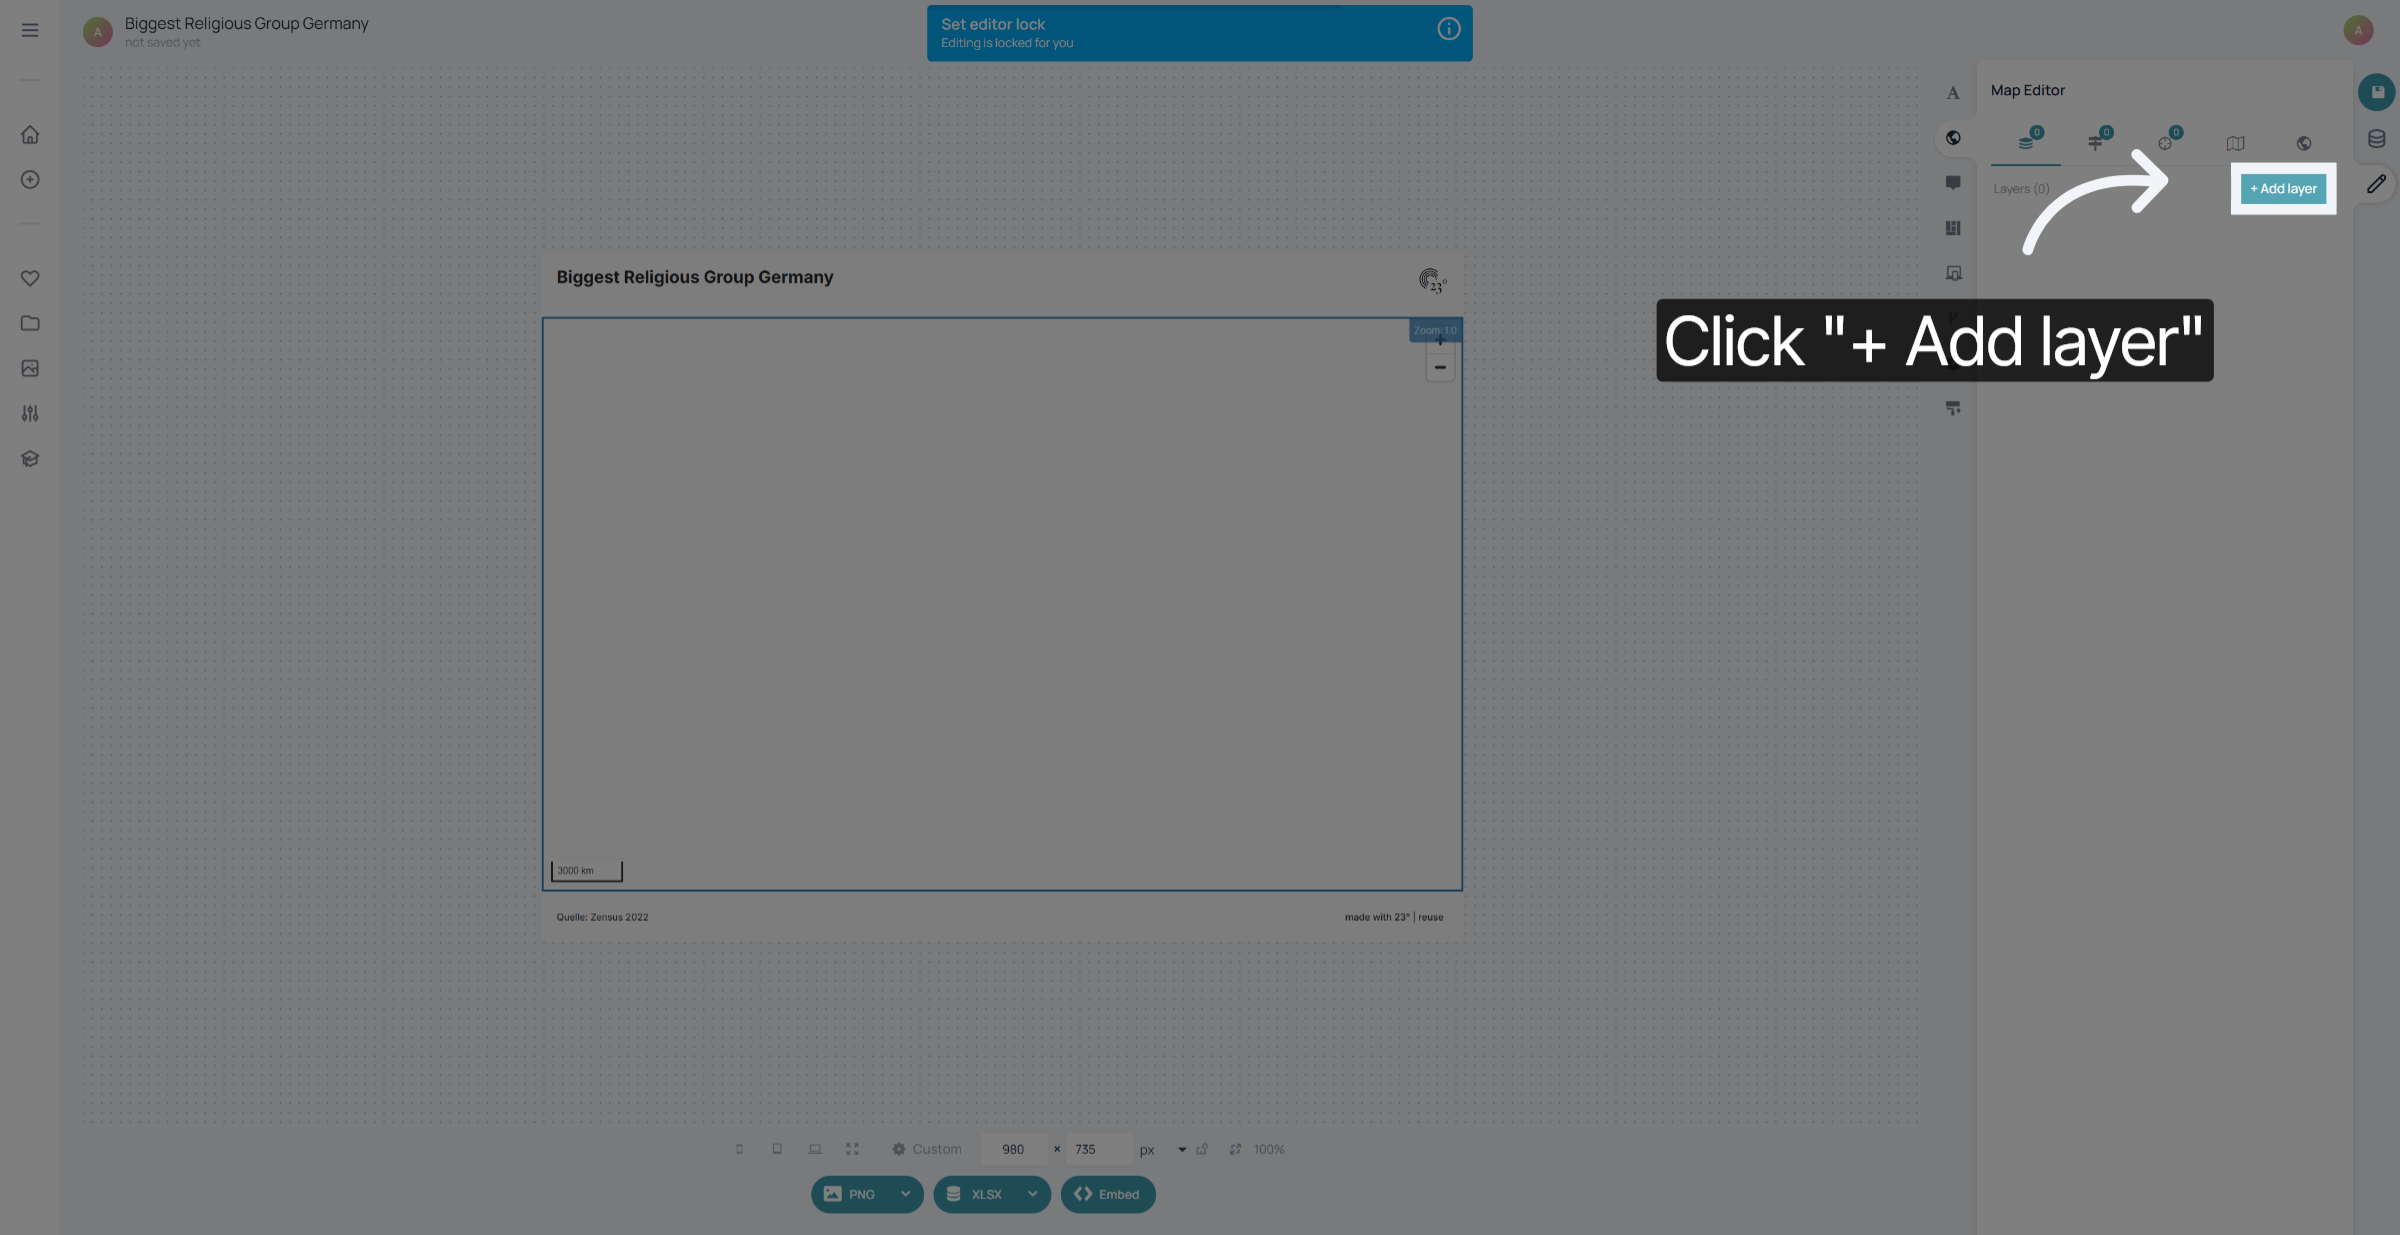
To add your raster dataset into a multi map click on "add layer"
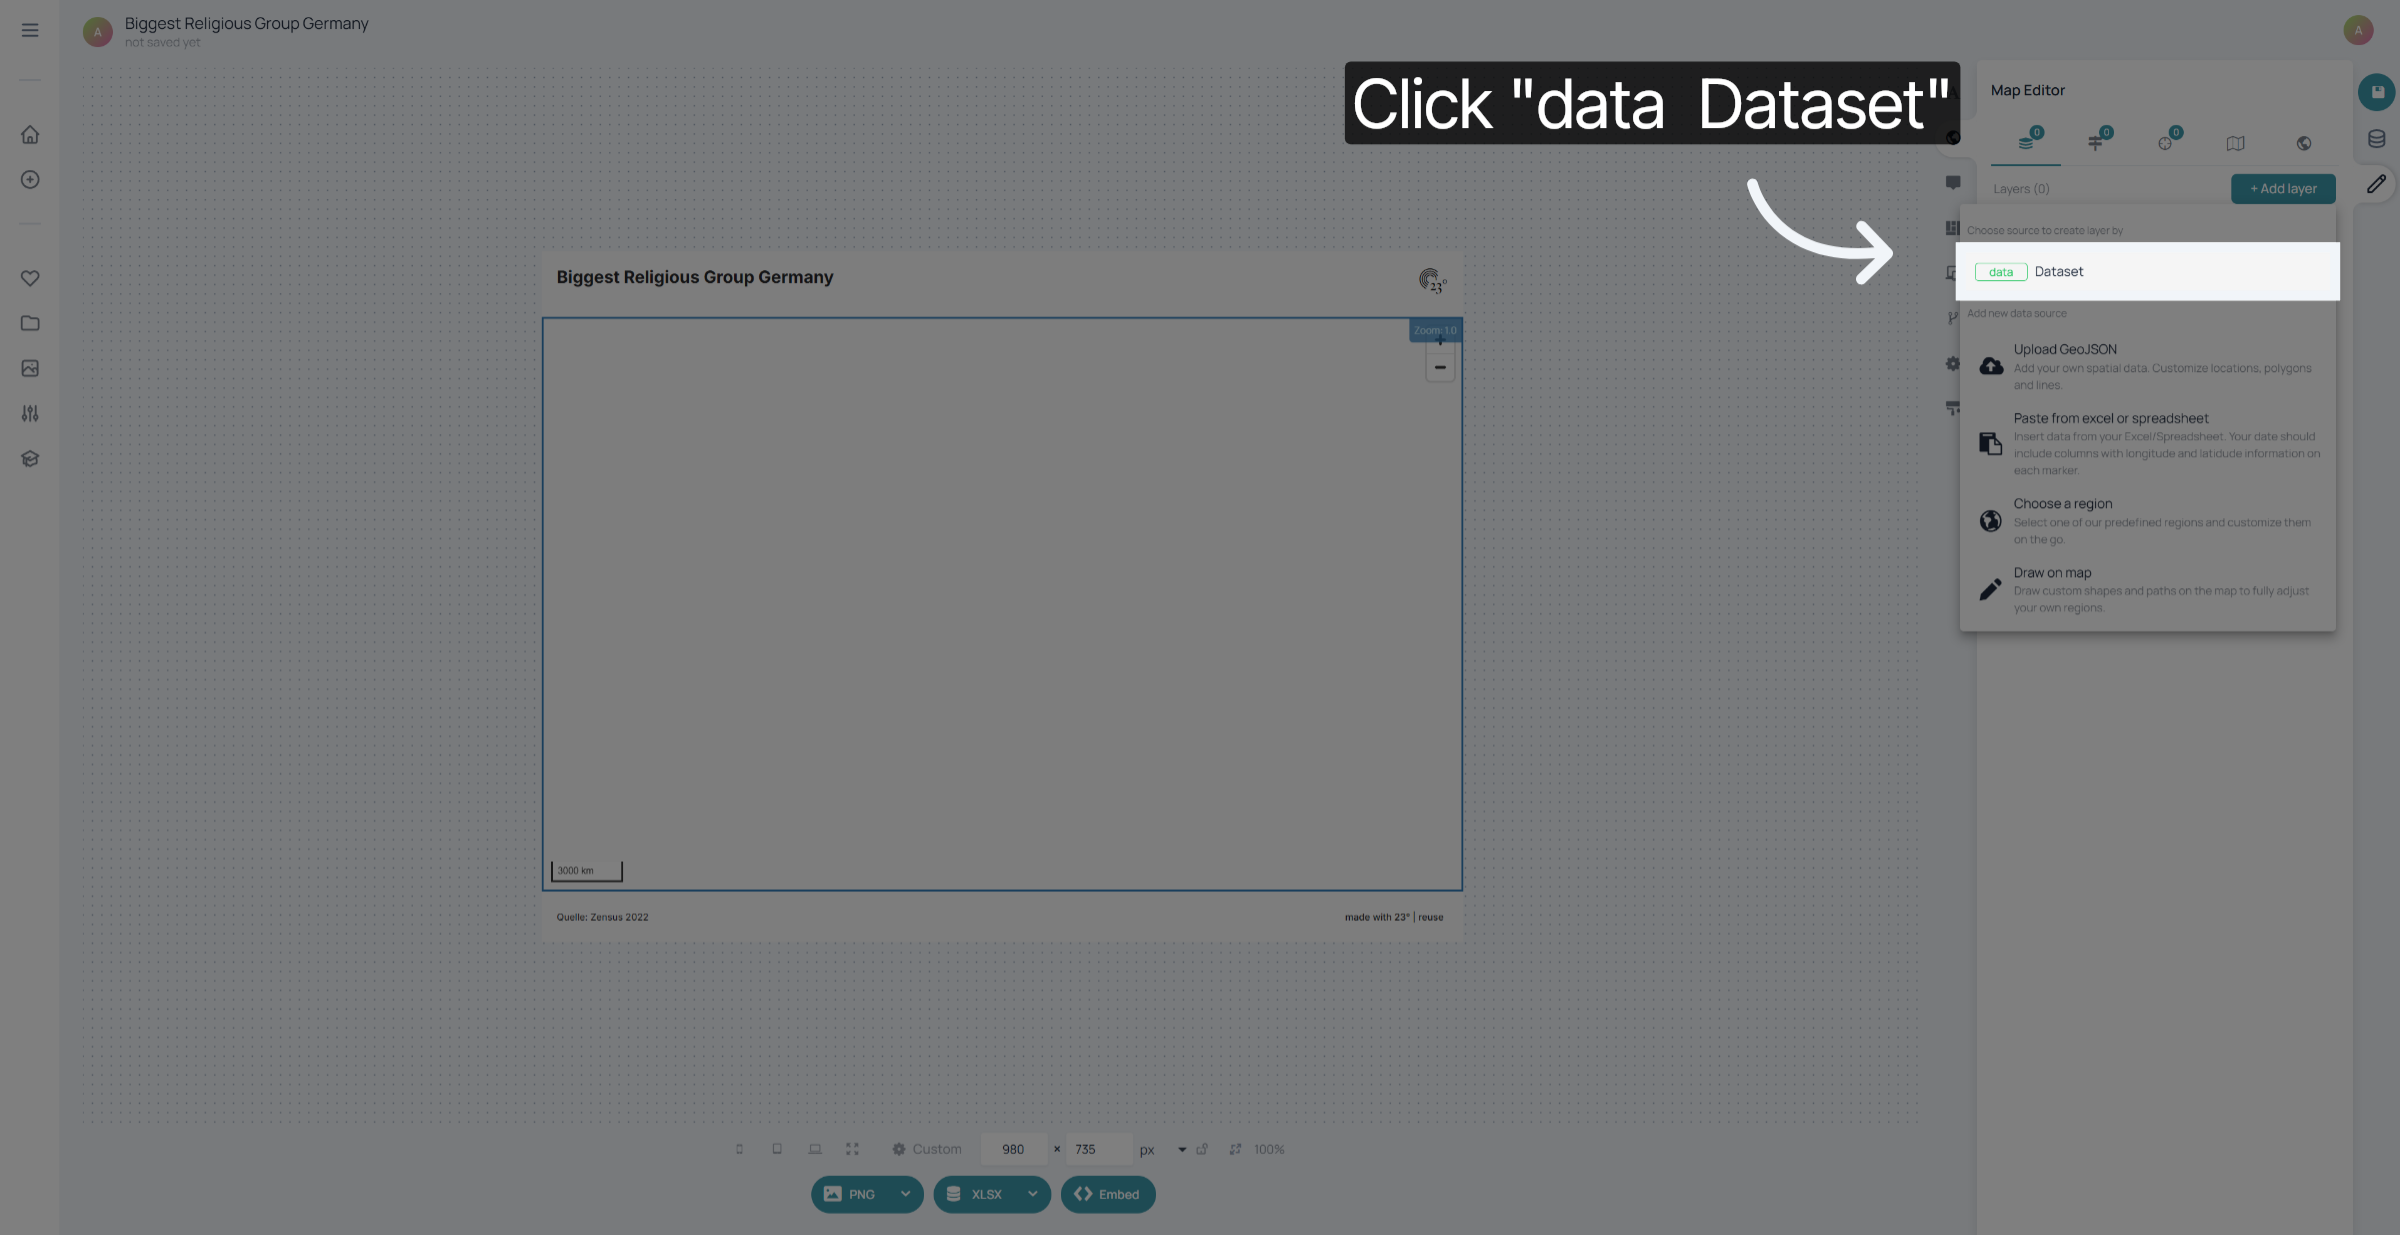
select the dataset
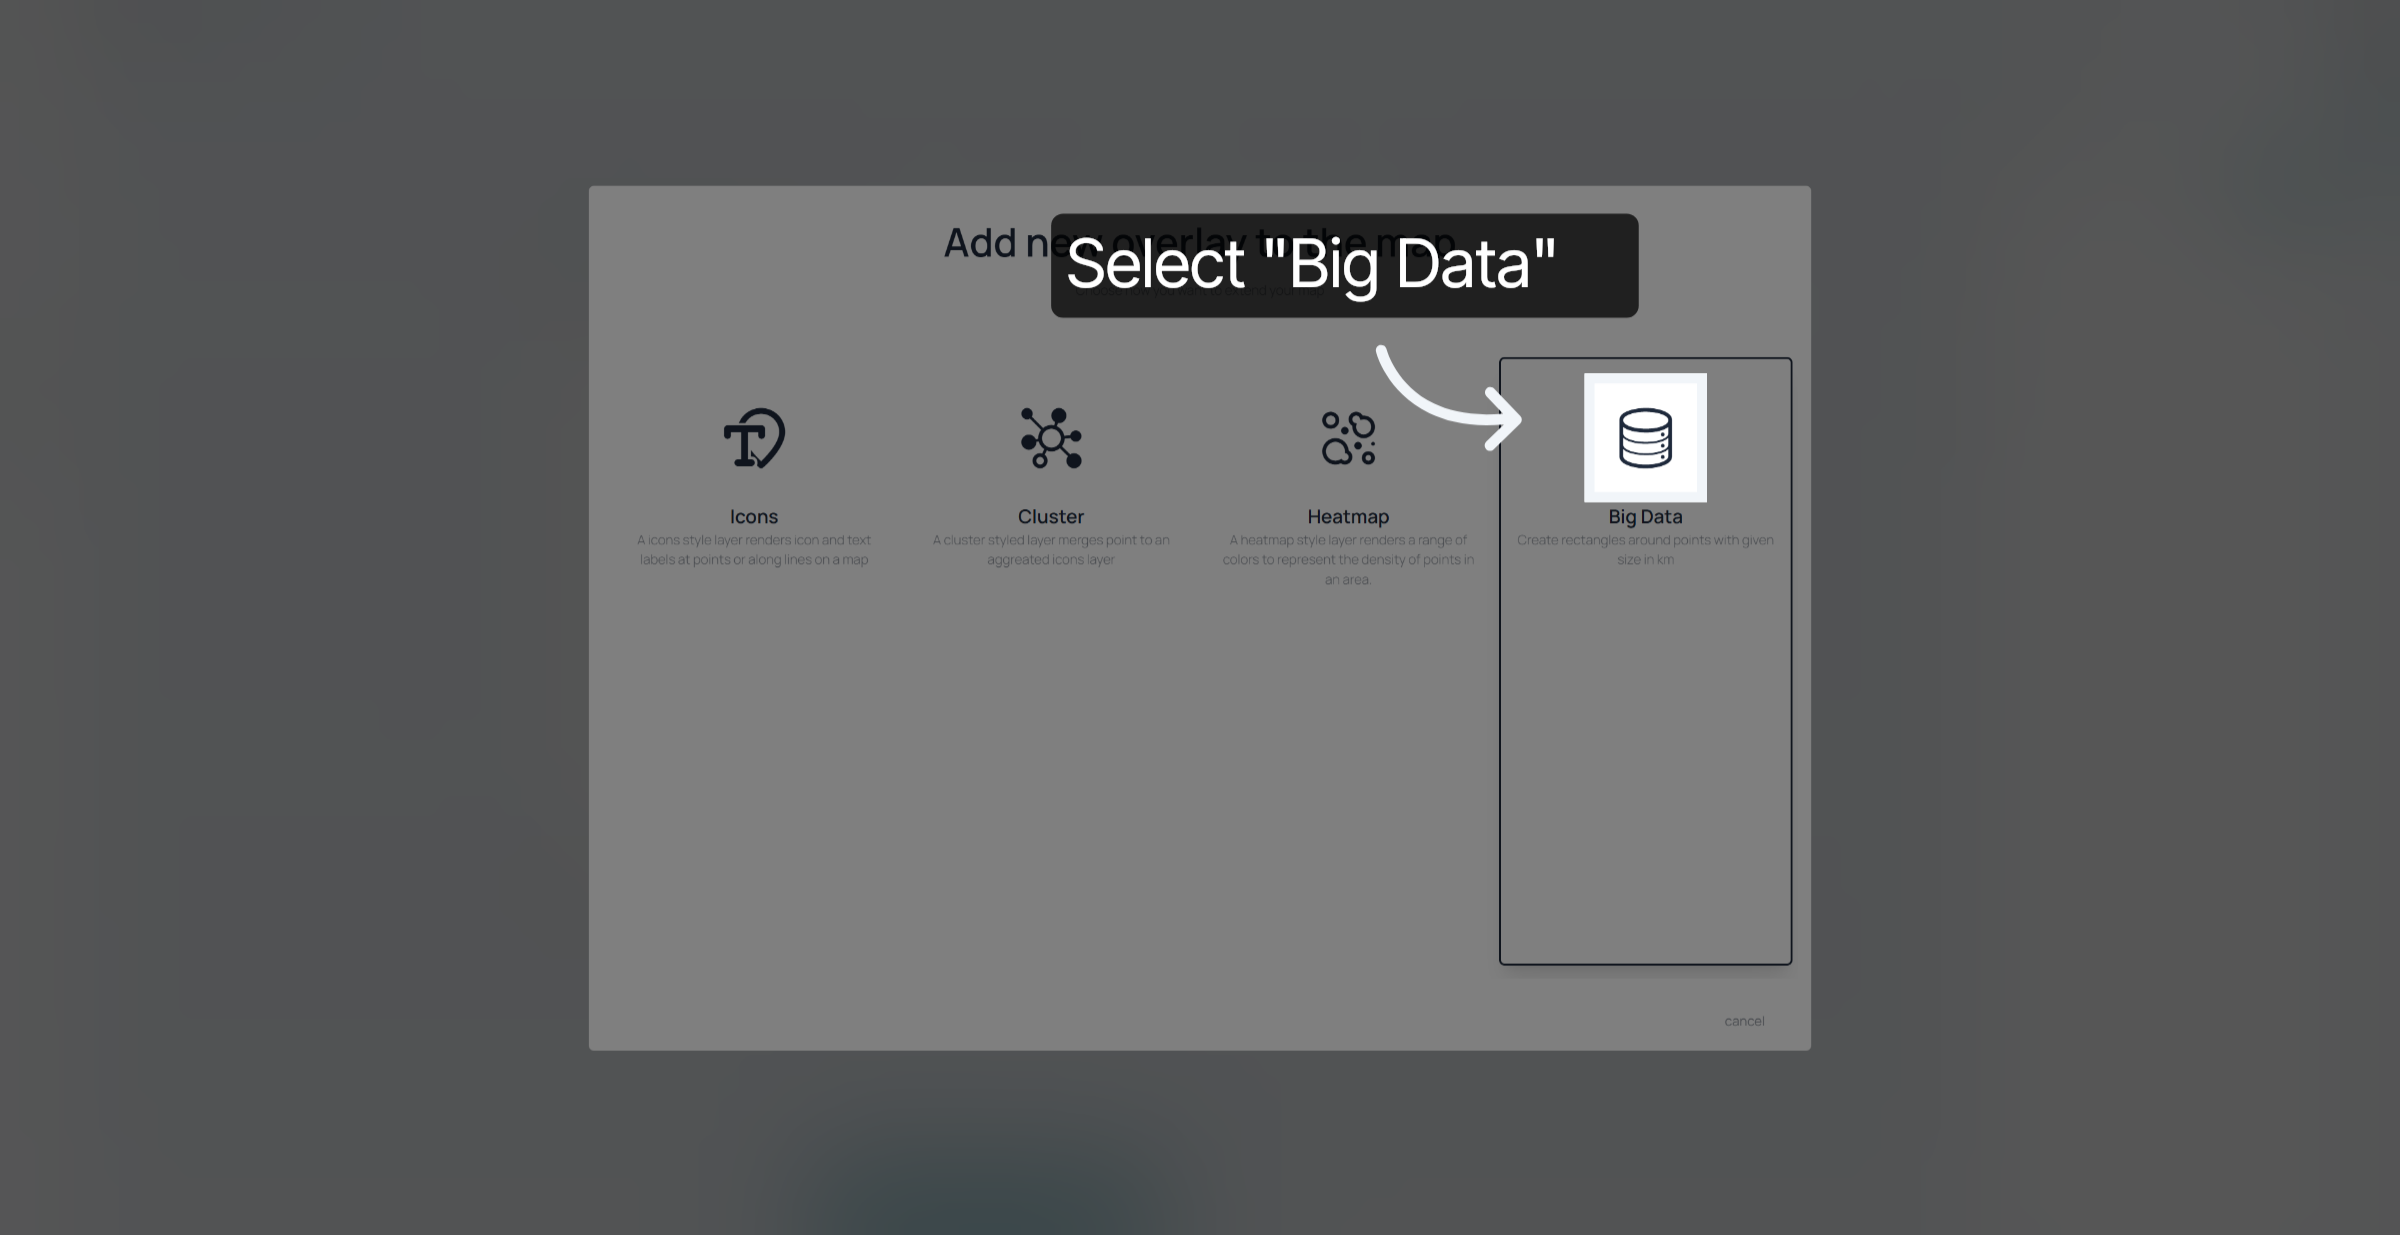
select "Big Data"
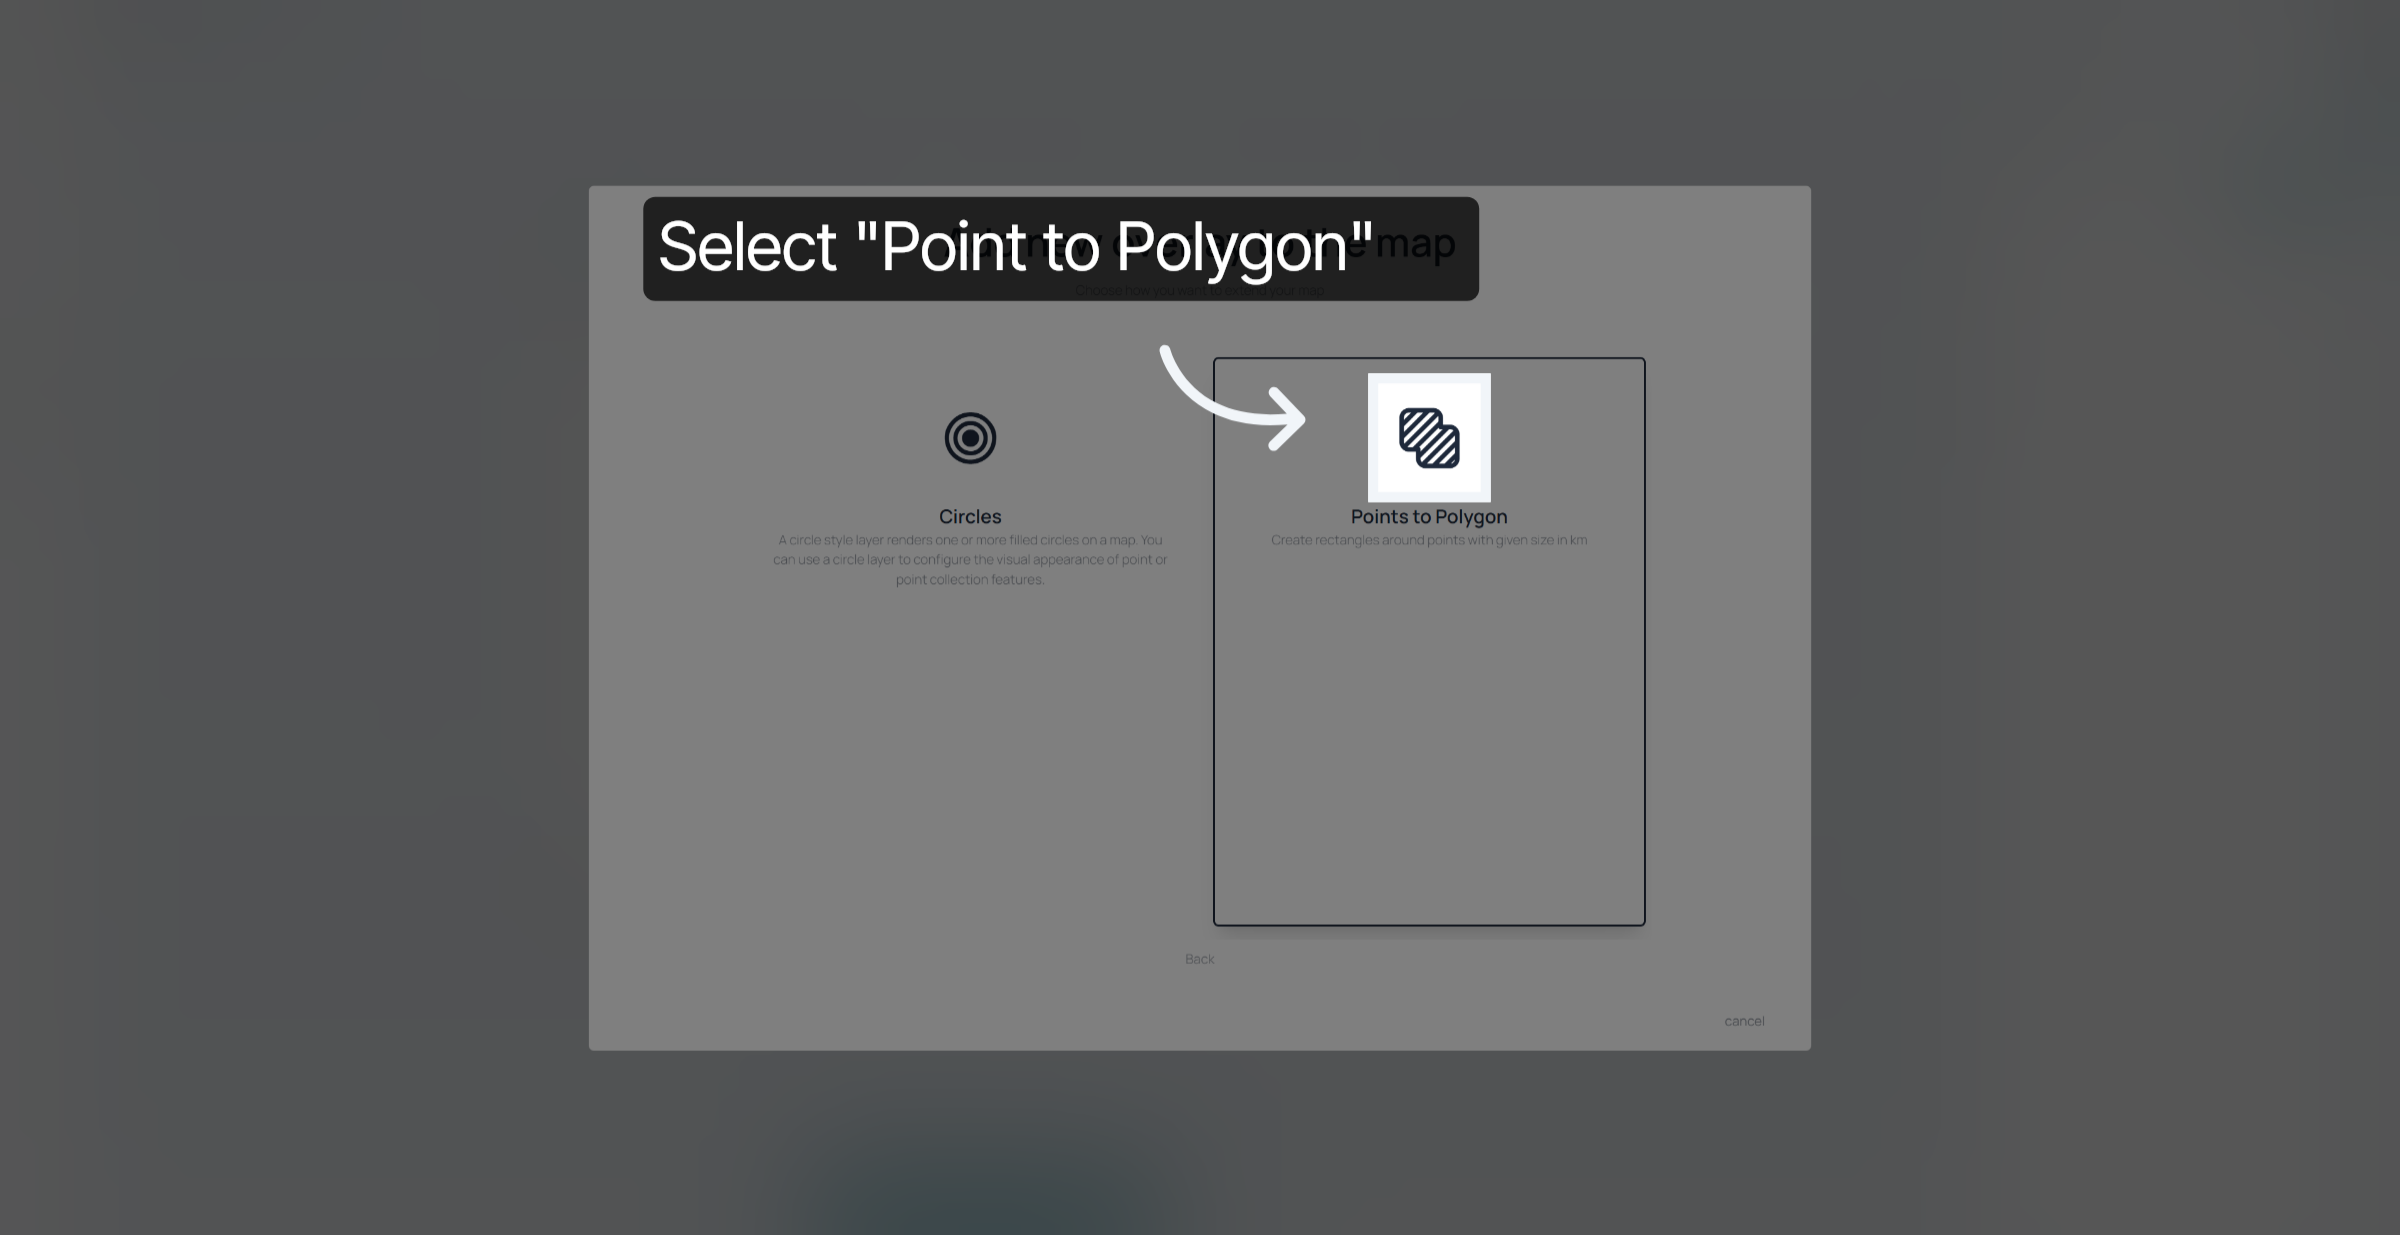
select "Points to Polygon"
bring the raster cells into your viewport
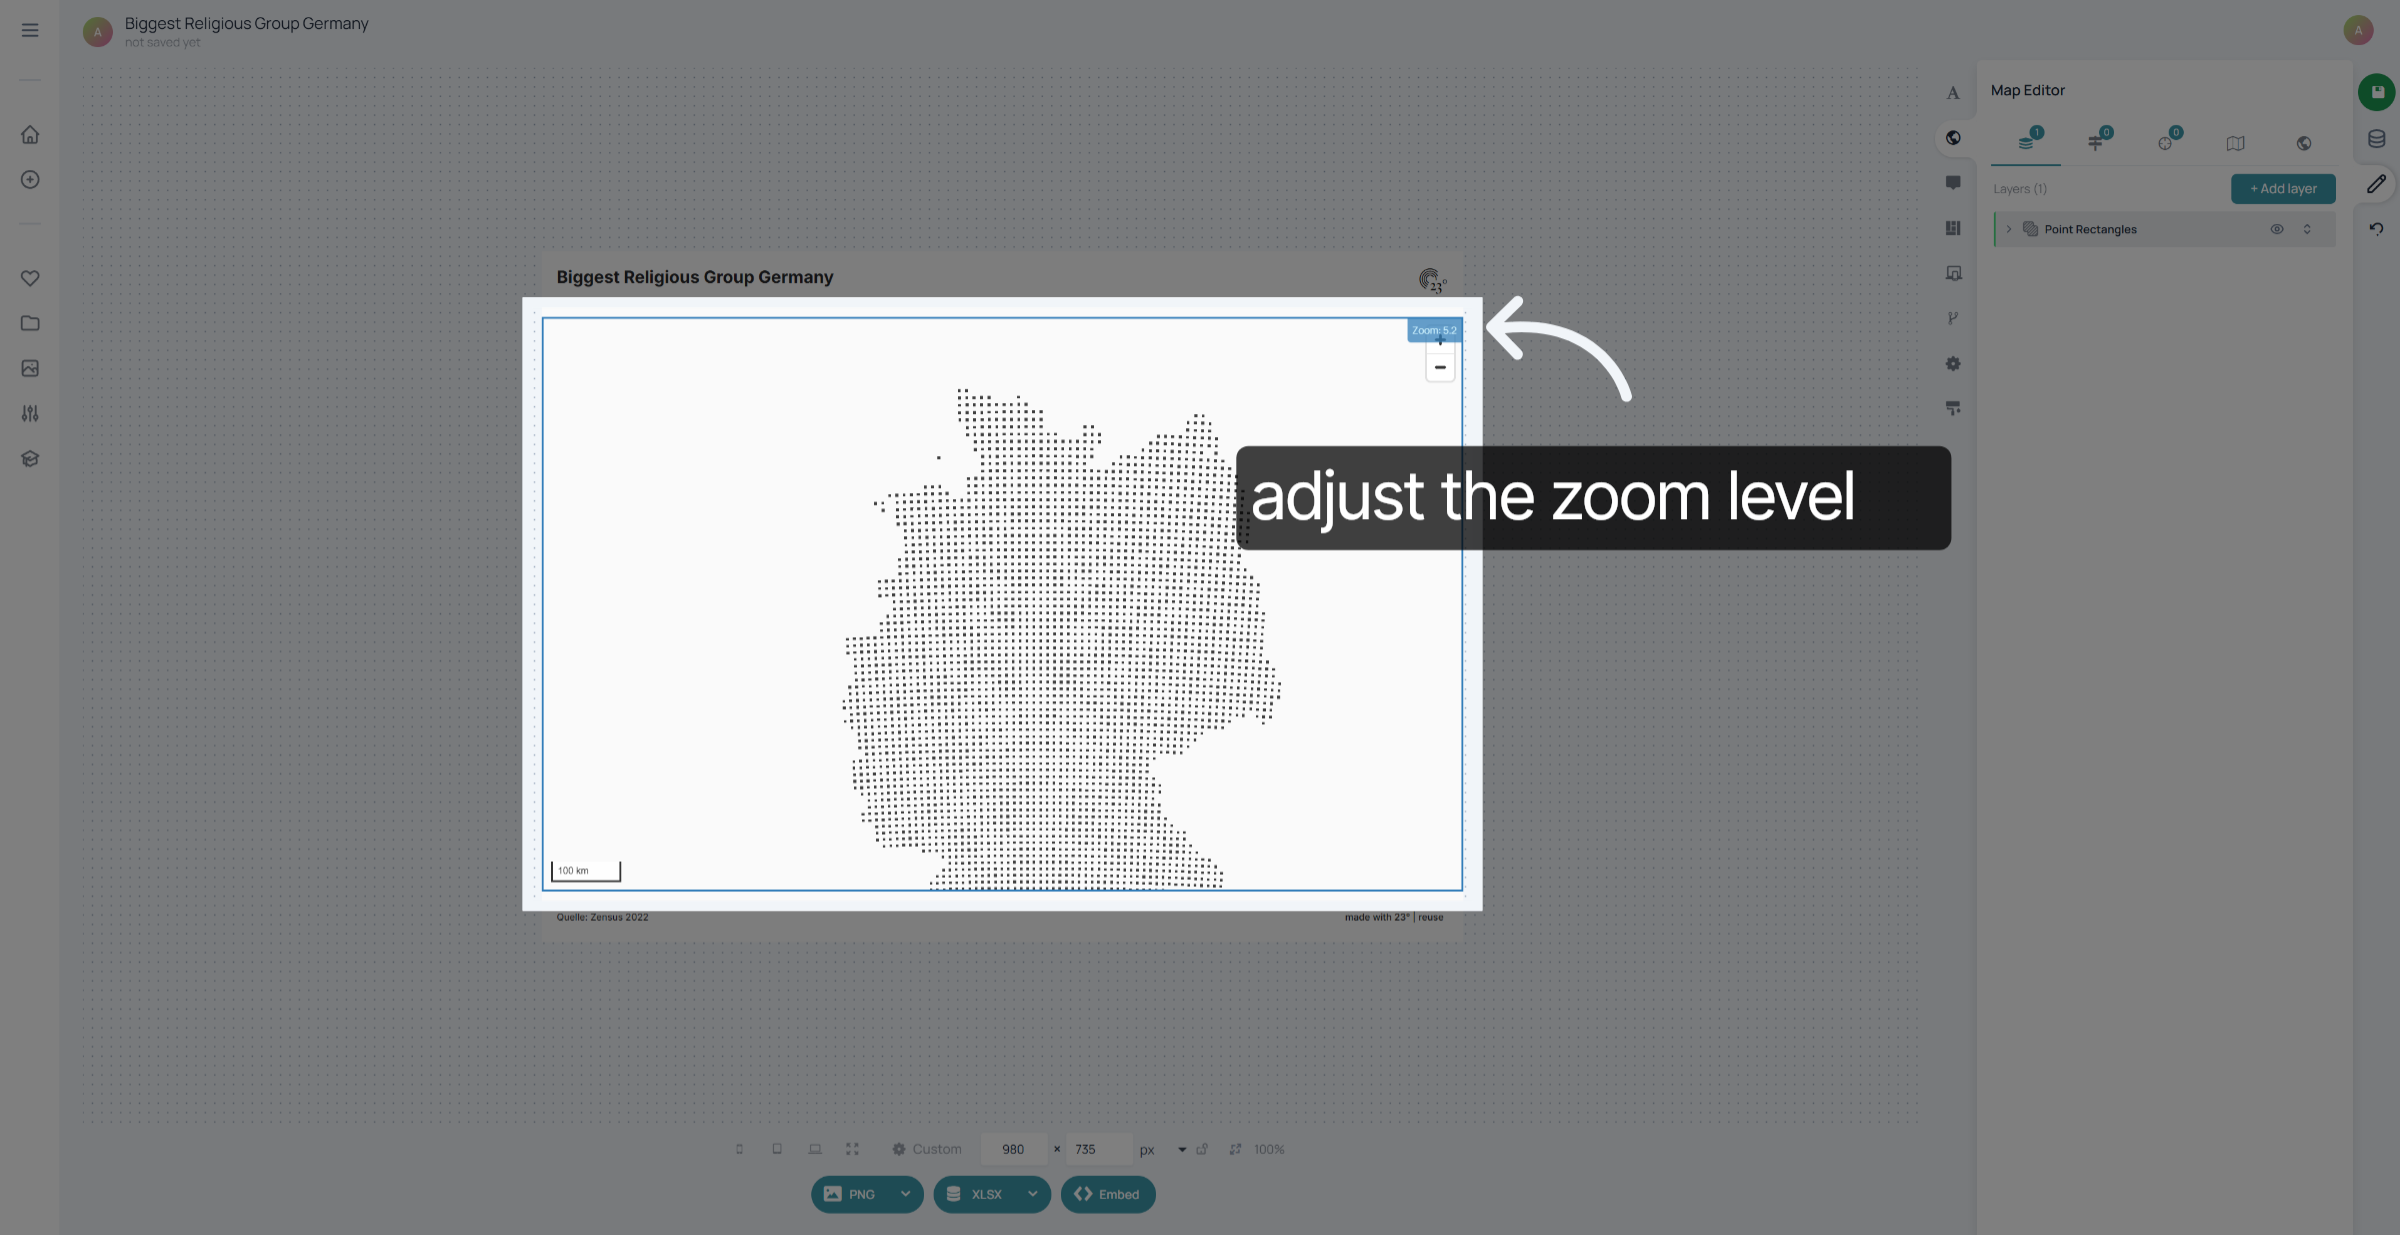
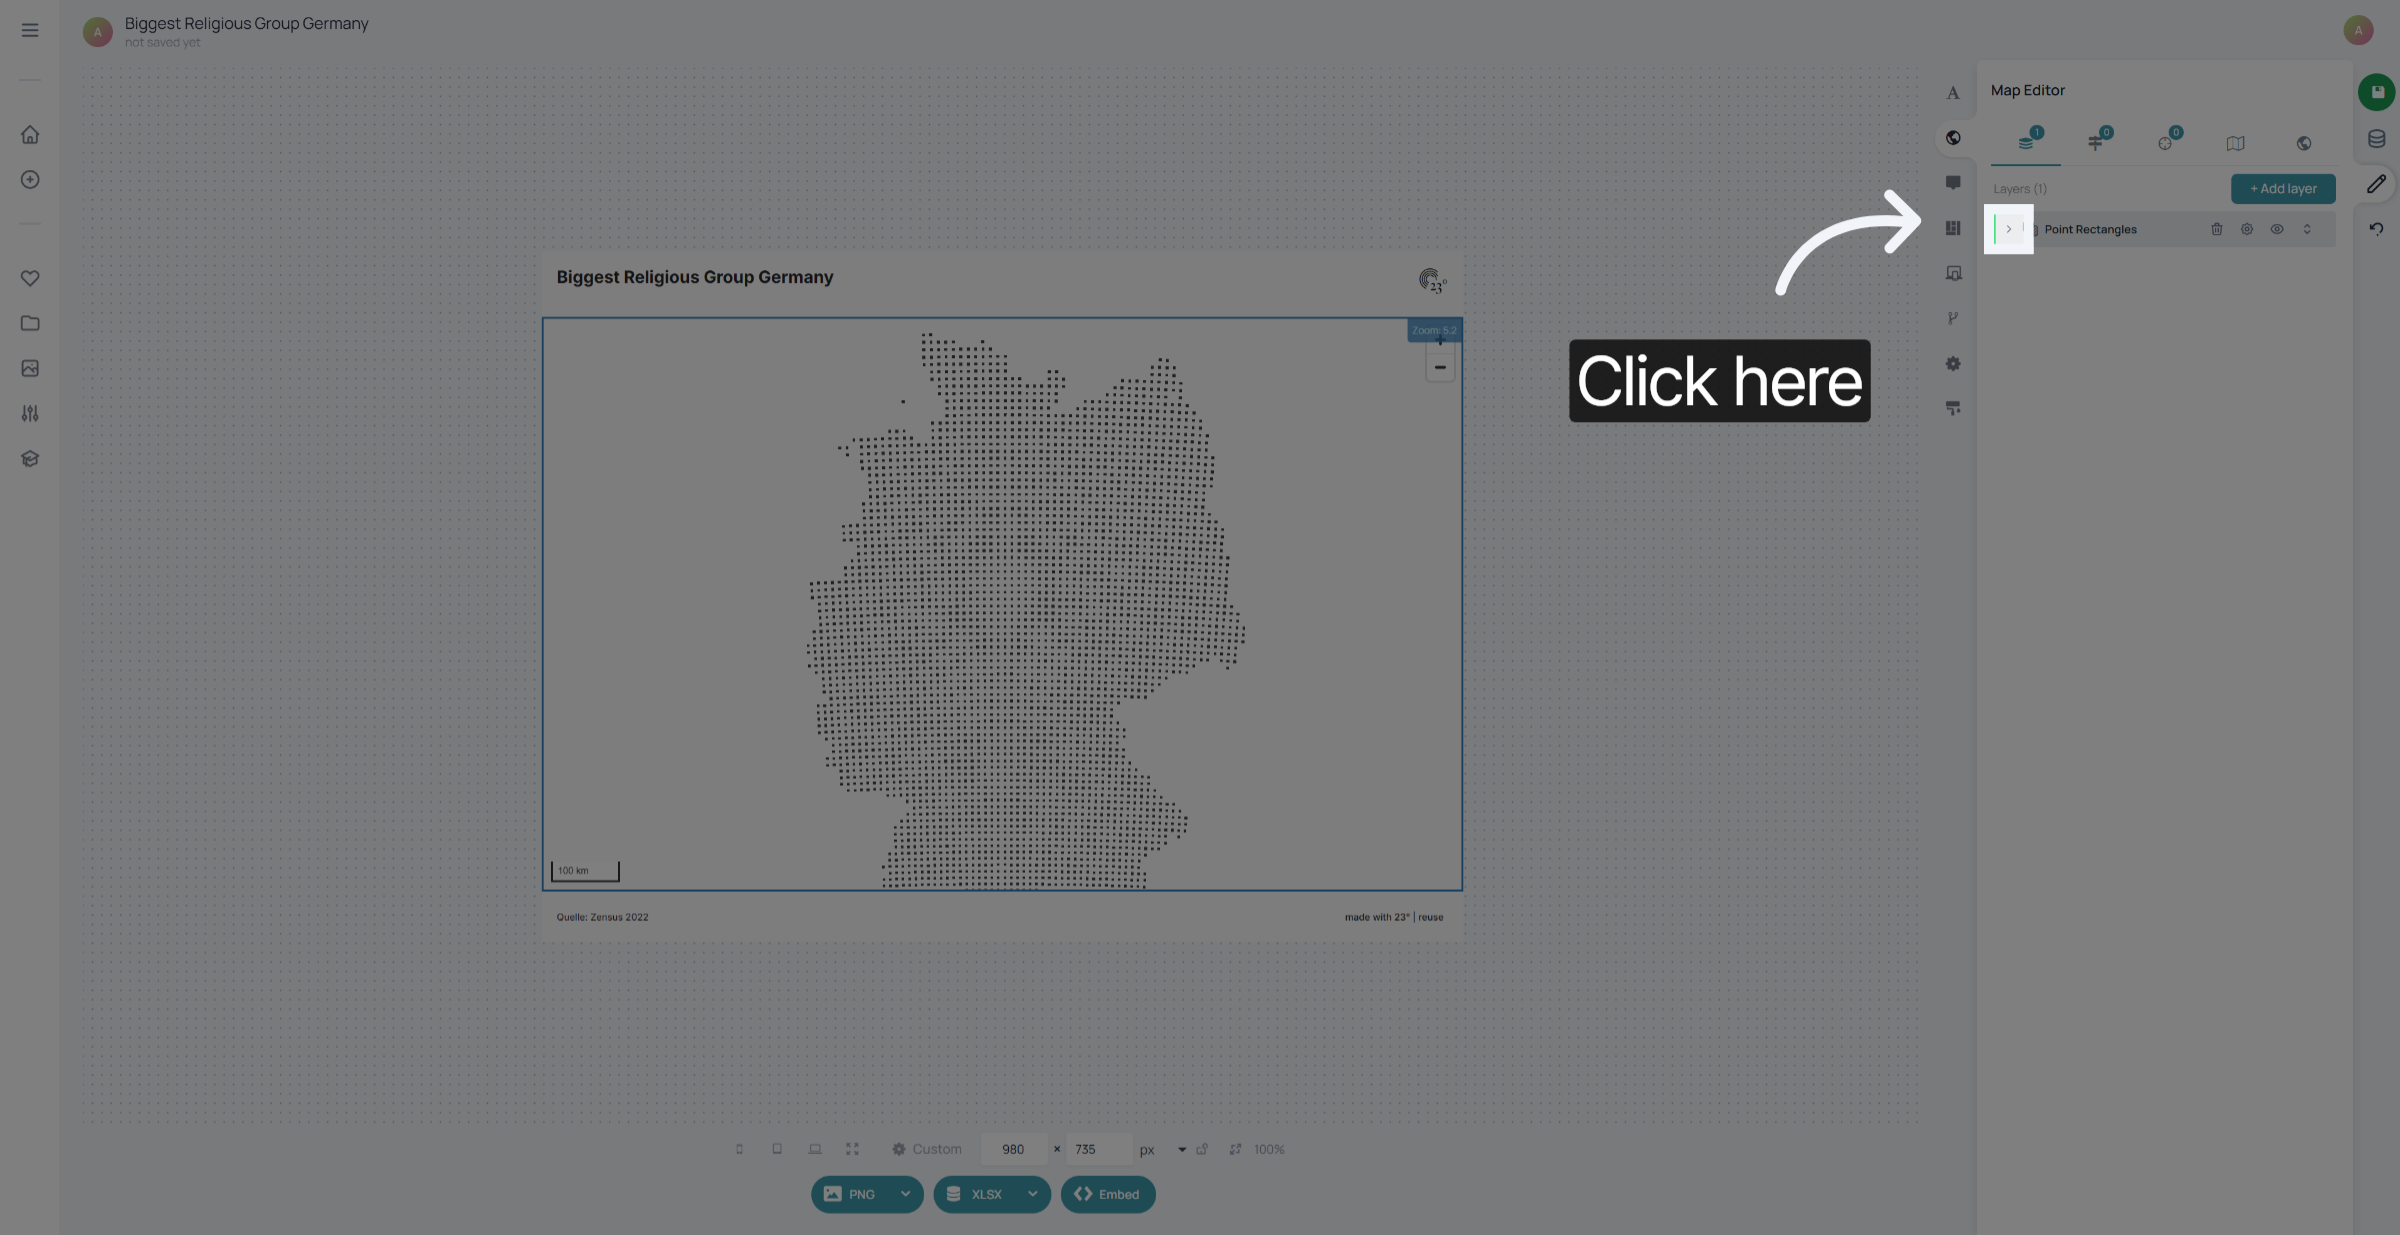
in this example we are using 10 times 10 km rasters. to depict the extend of the raster cells correctly click on "Point Rectangles" to access the styling settings.
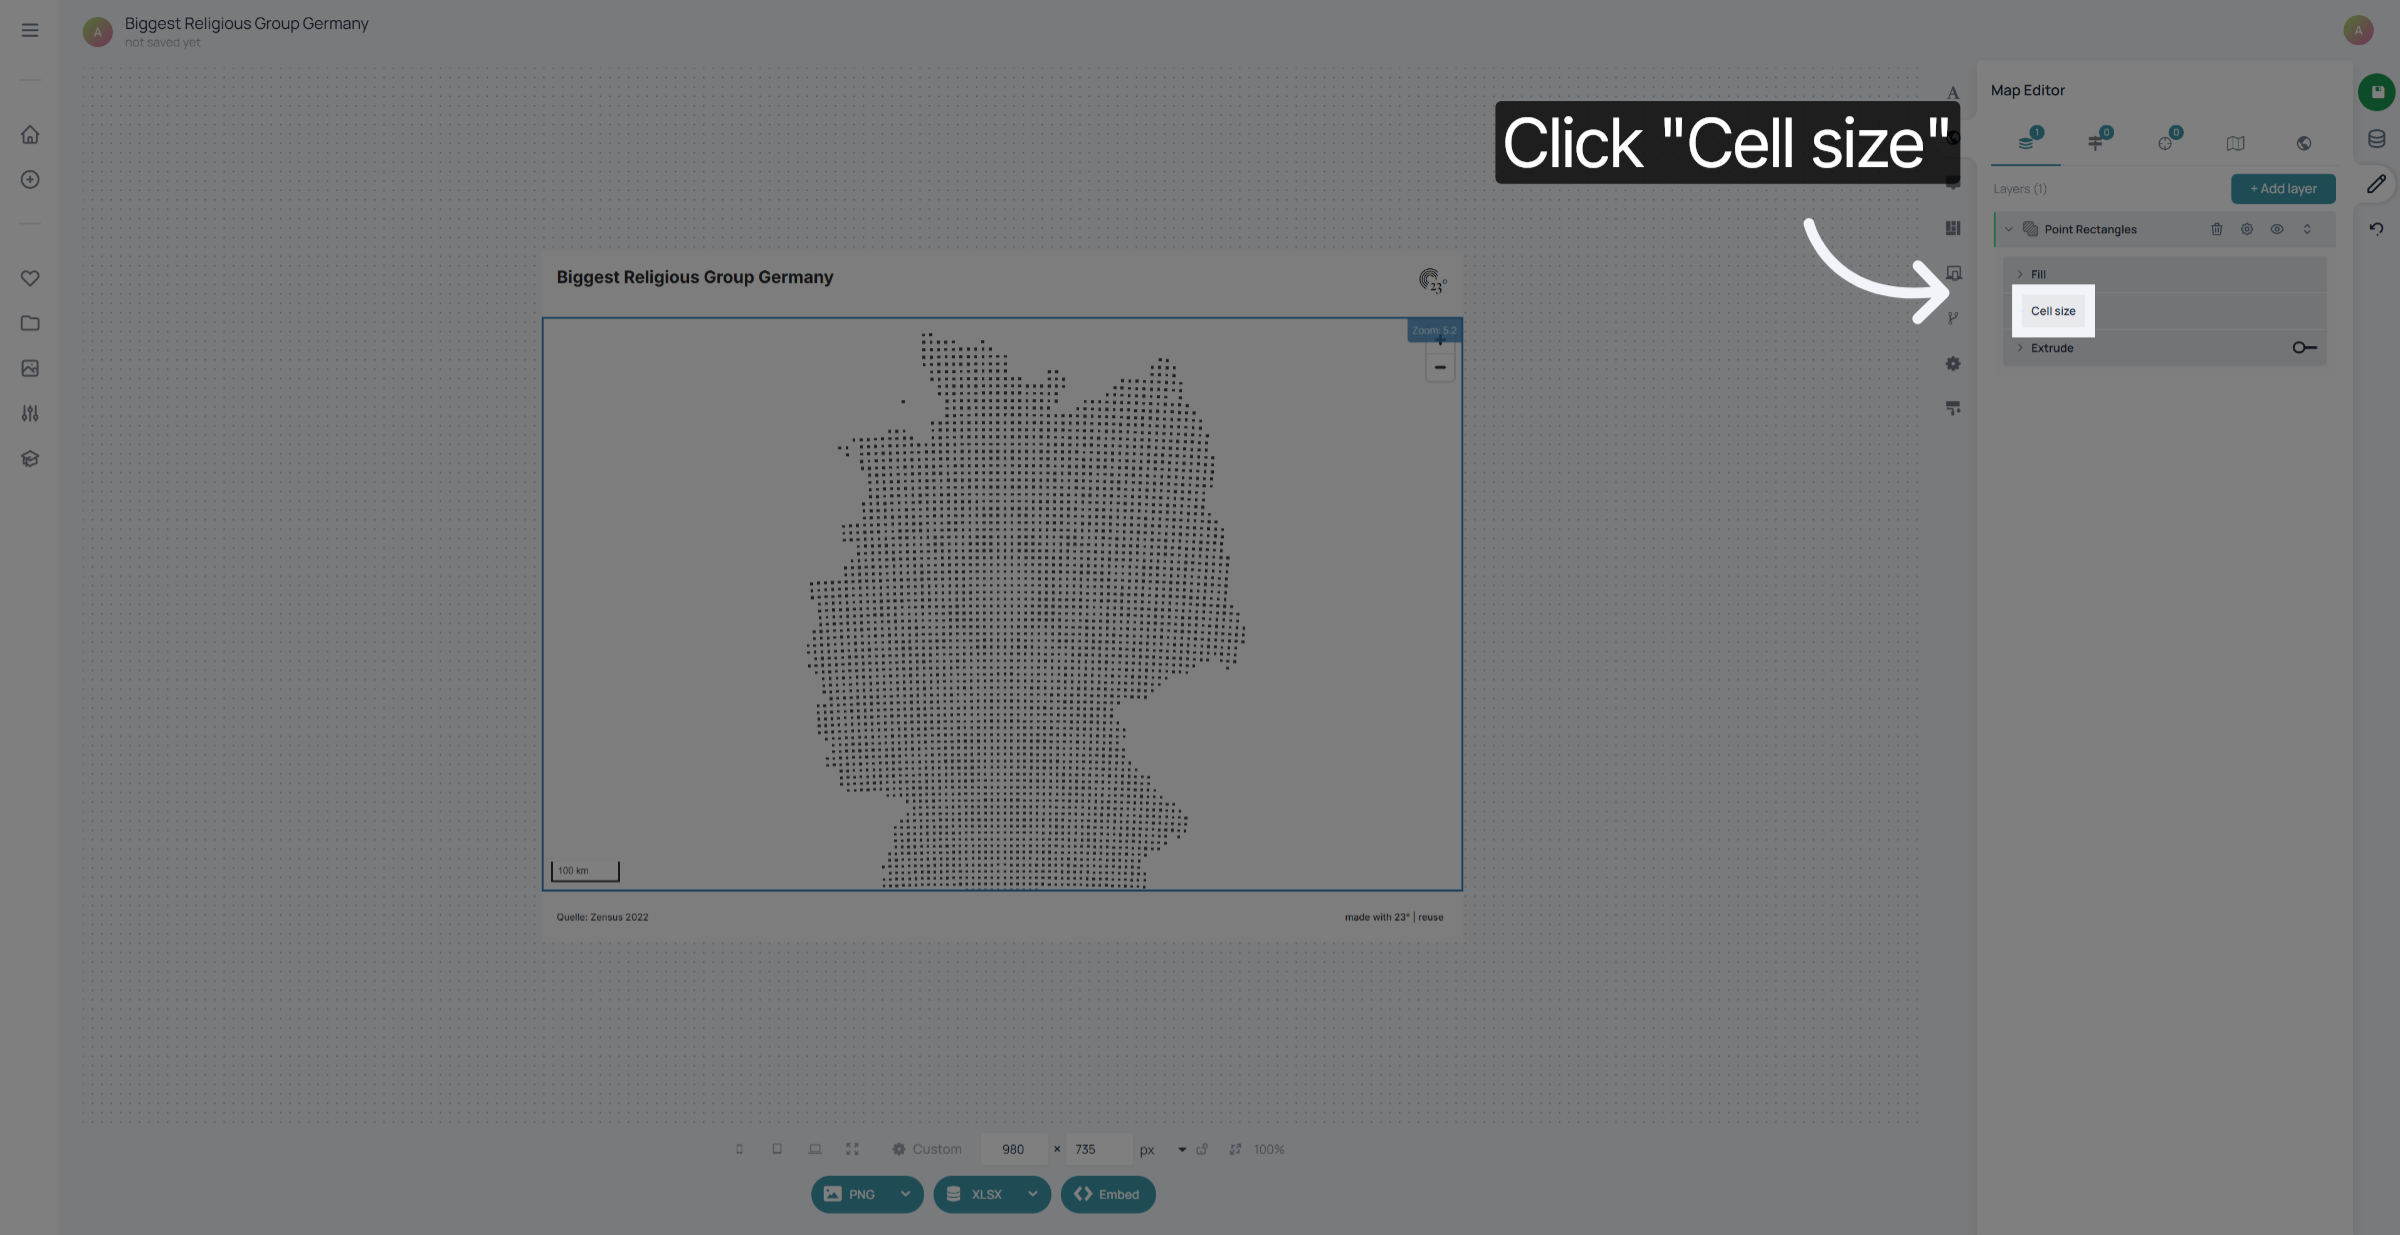
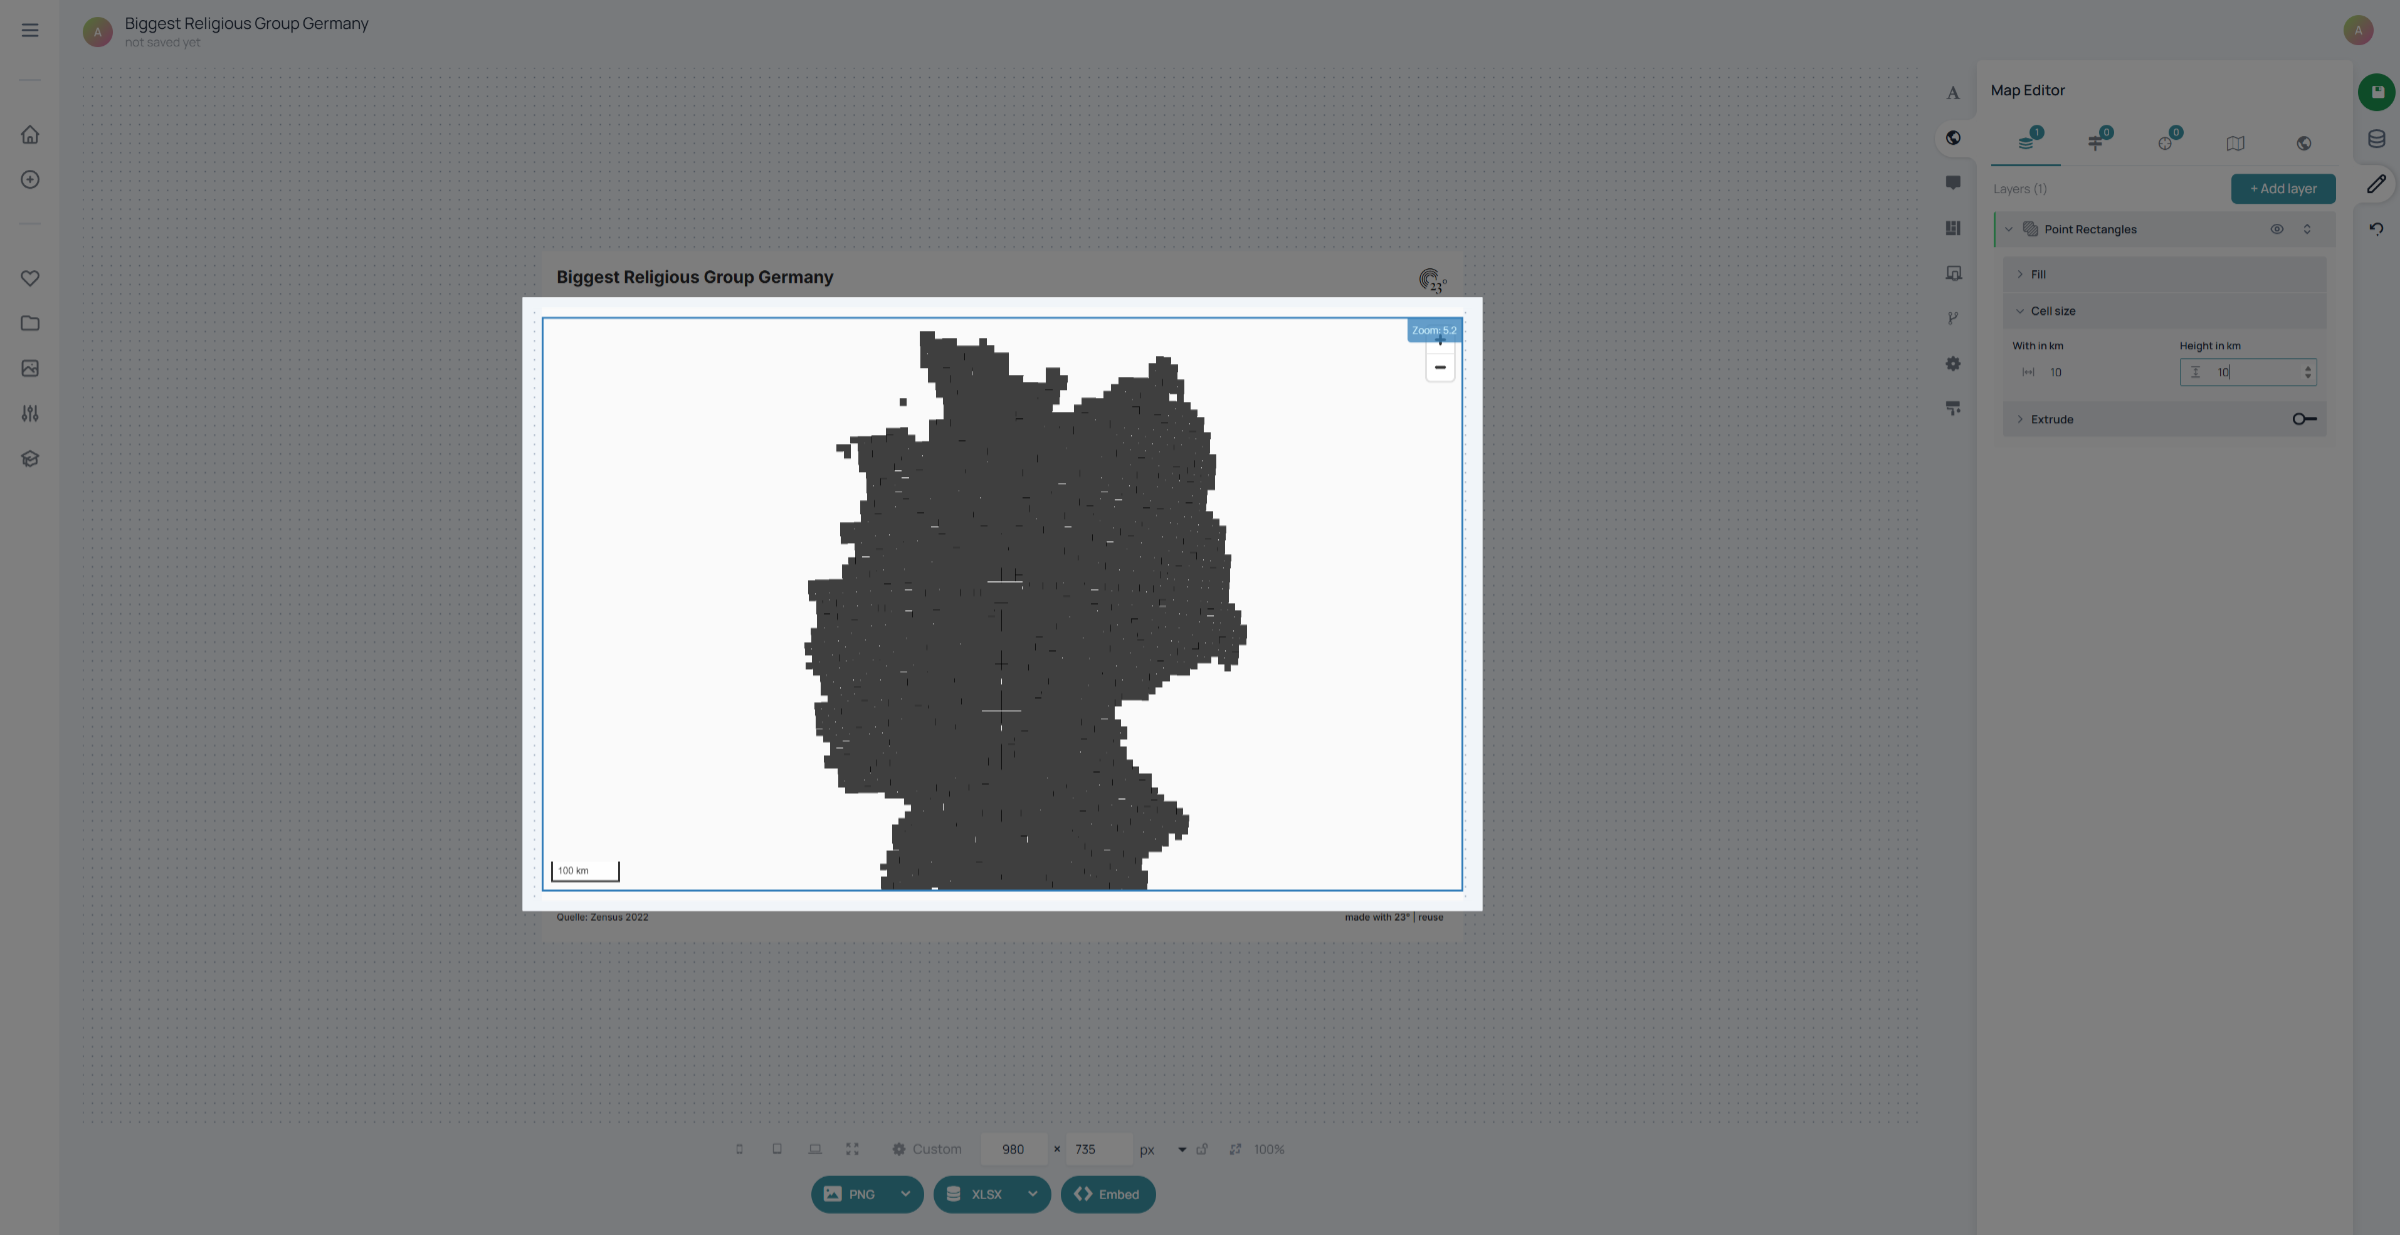
Click "Cell size" to specify the size of each cell in the raster.
adjust the height and width of the raster cells. the values are shown in kilometers.
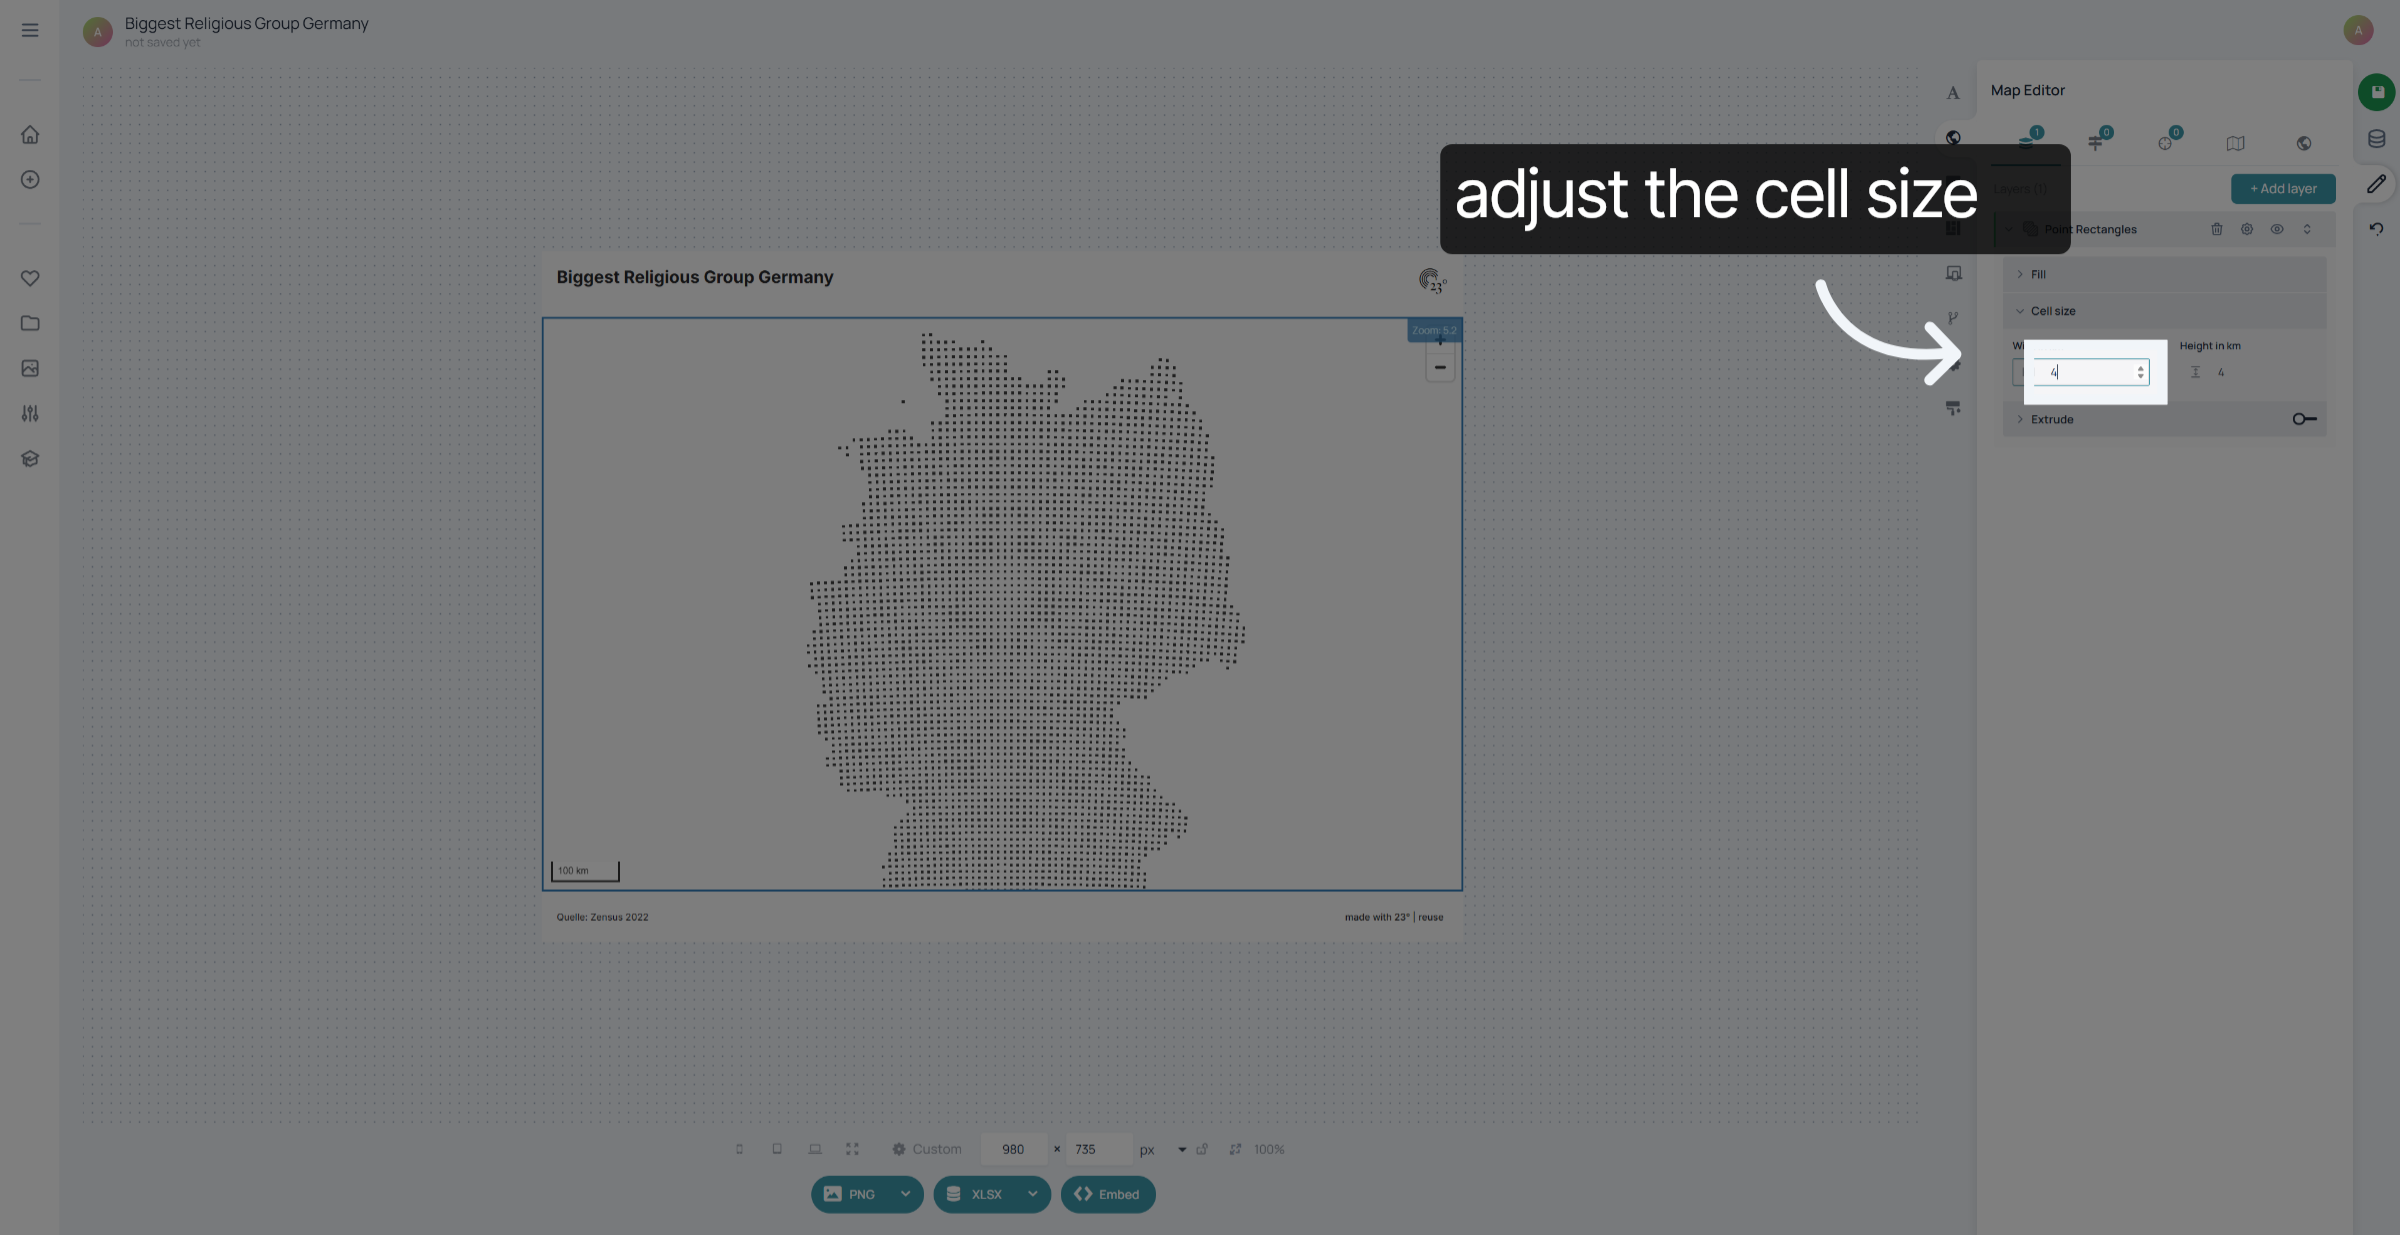
Now that we see that the raster cells cover the whole area of Germany nicely we can proceed to coloring the map. In this example we have a dataset with the biggest religious group per raster cell.
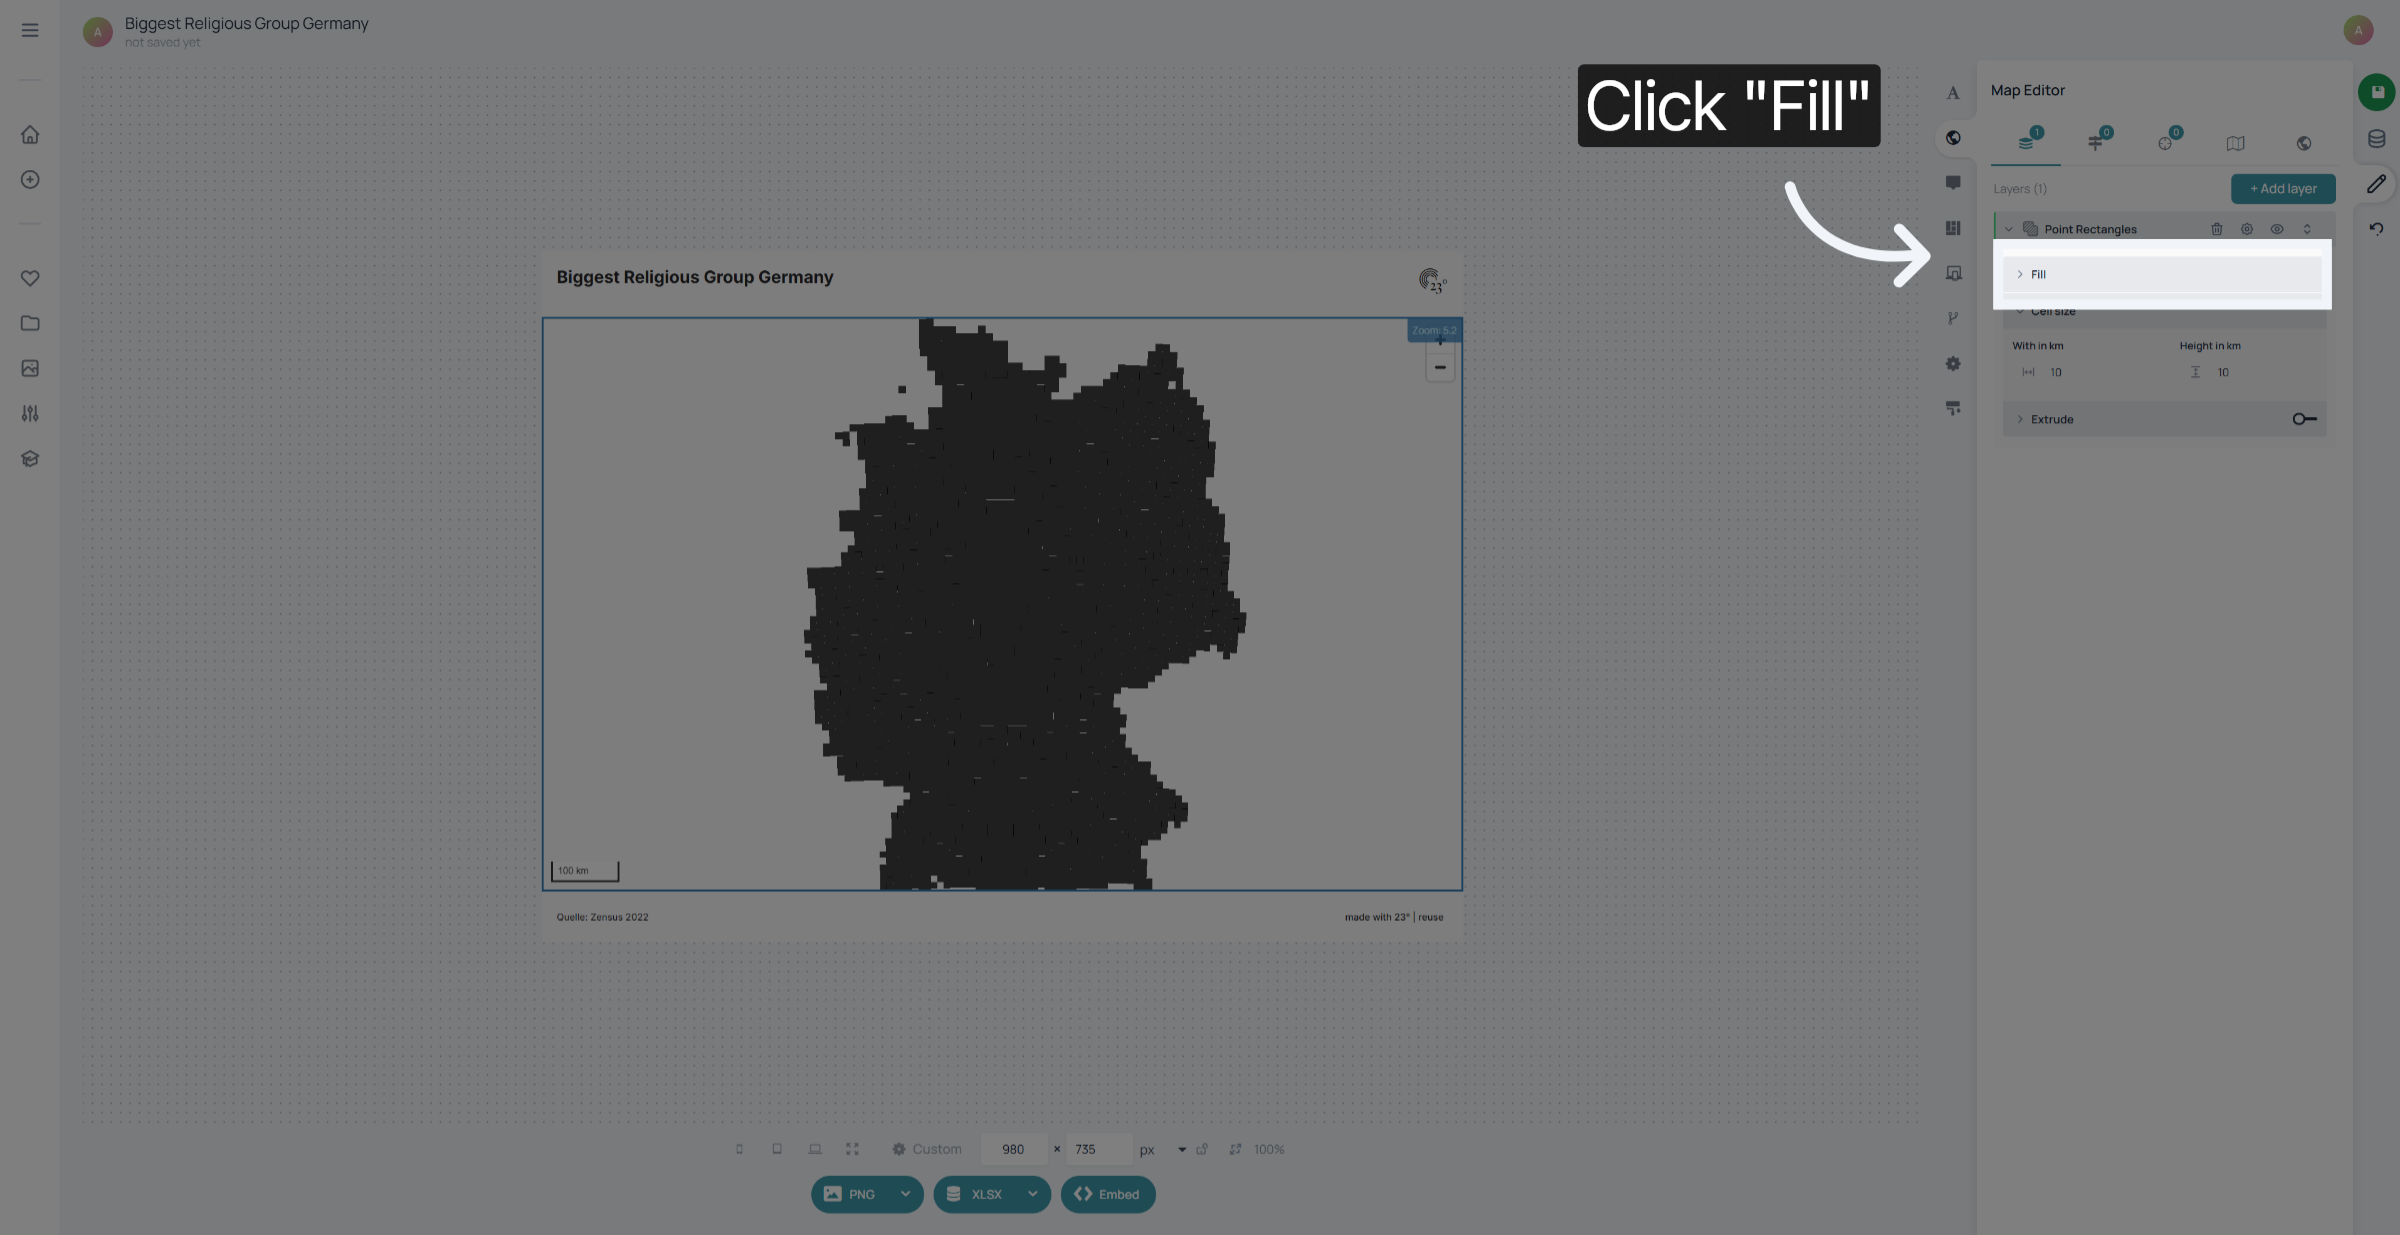
To colour the cells by the respective religious group we need to select "Fill" in the Point Rectangles Styling Options.
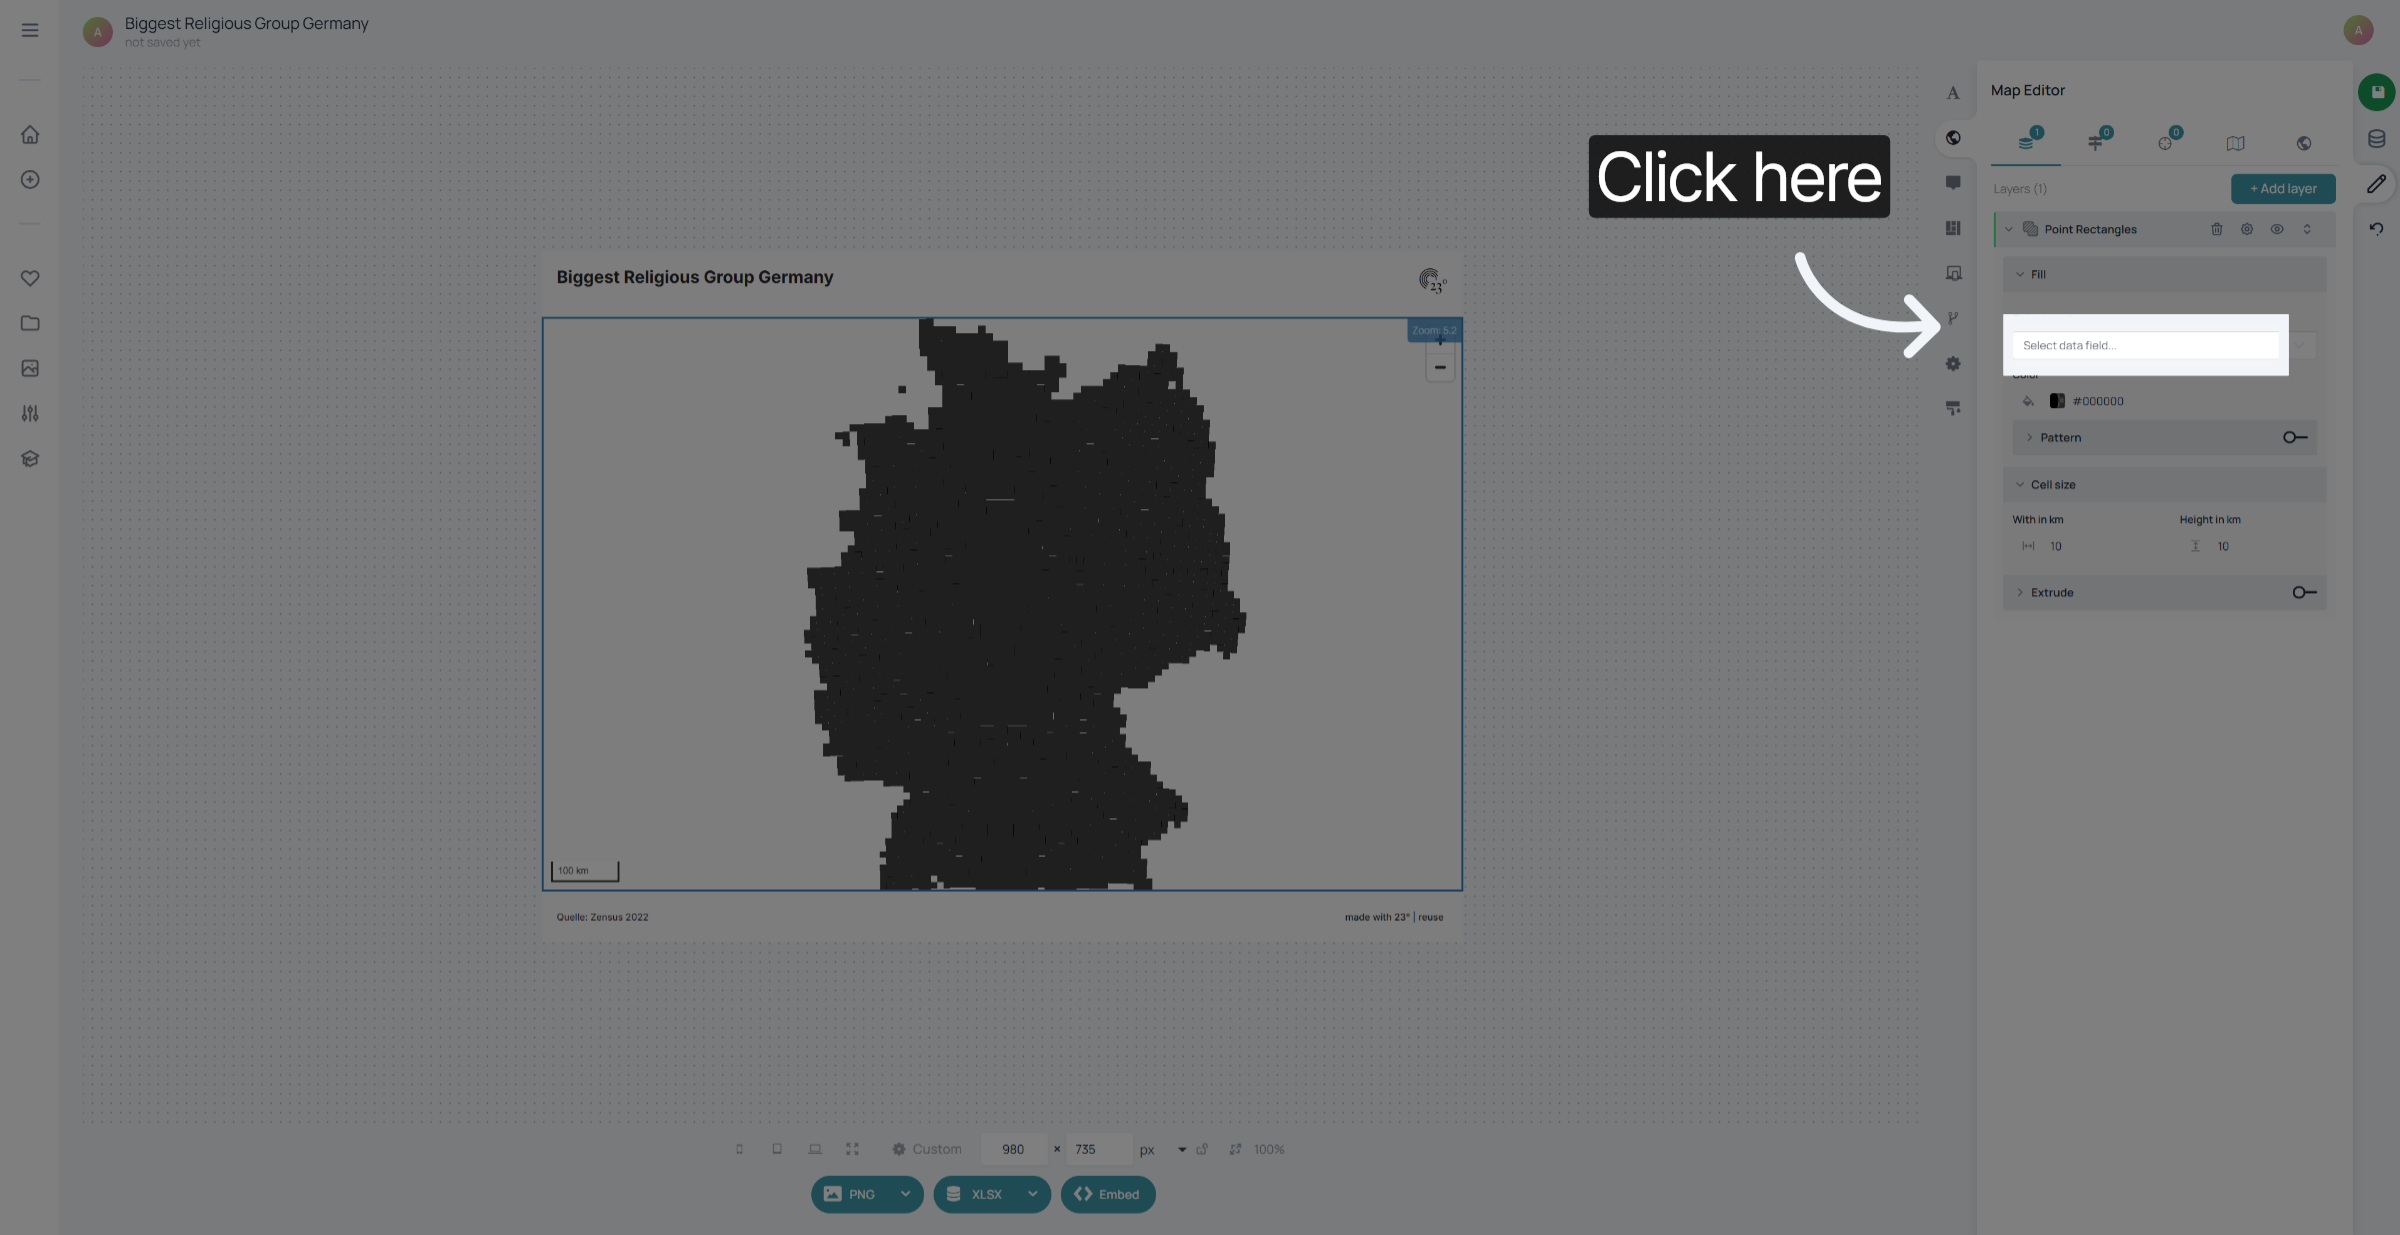
Here we need to select a column and label that we want to colour by
Click on the label that you want to colour by
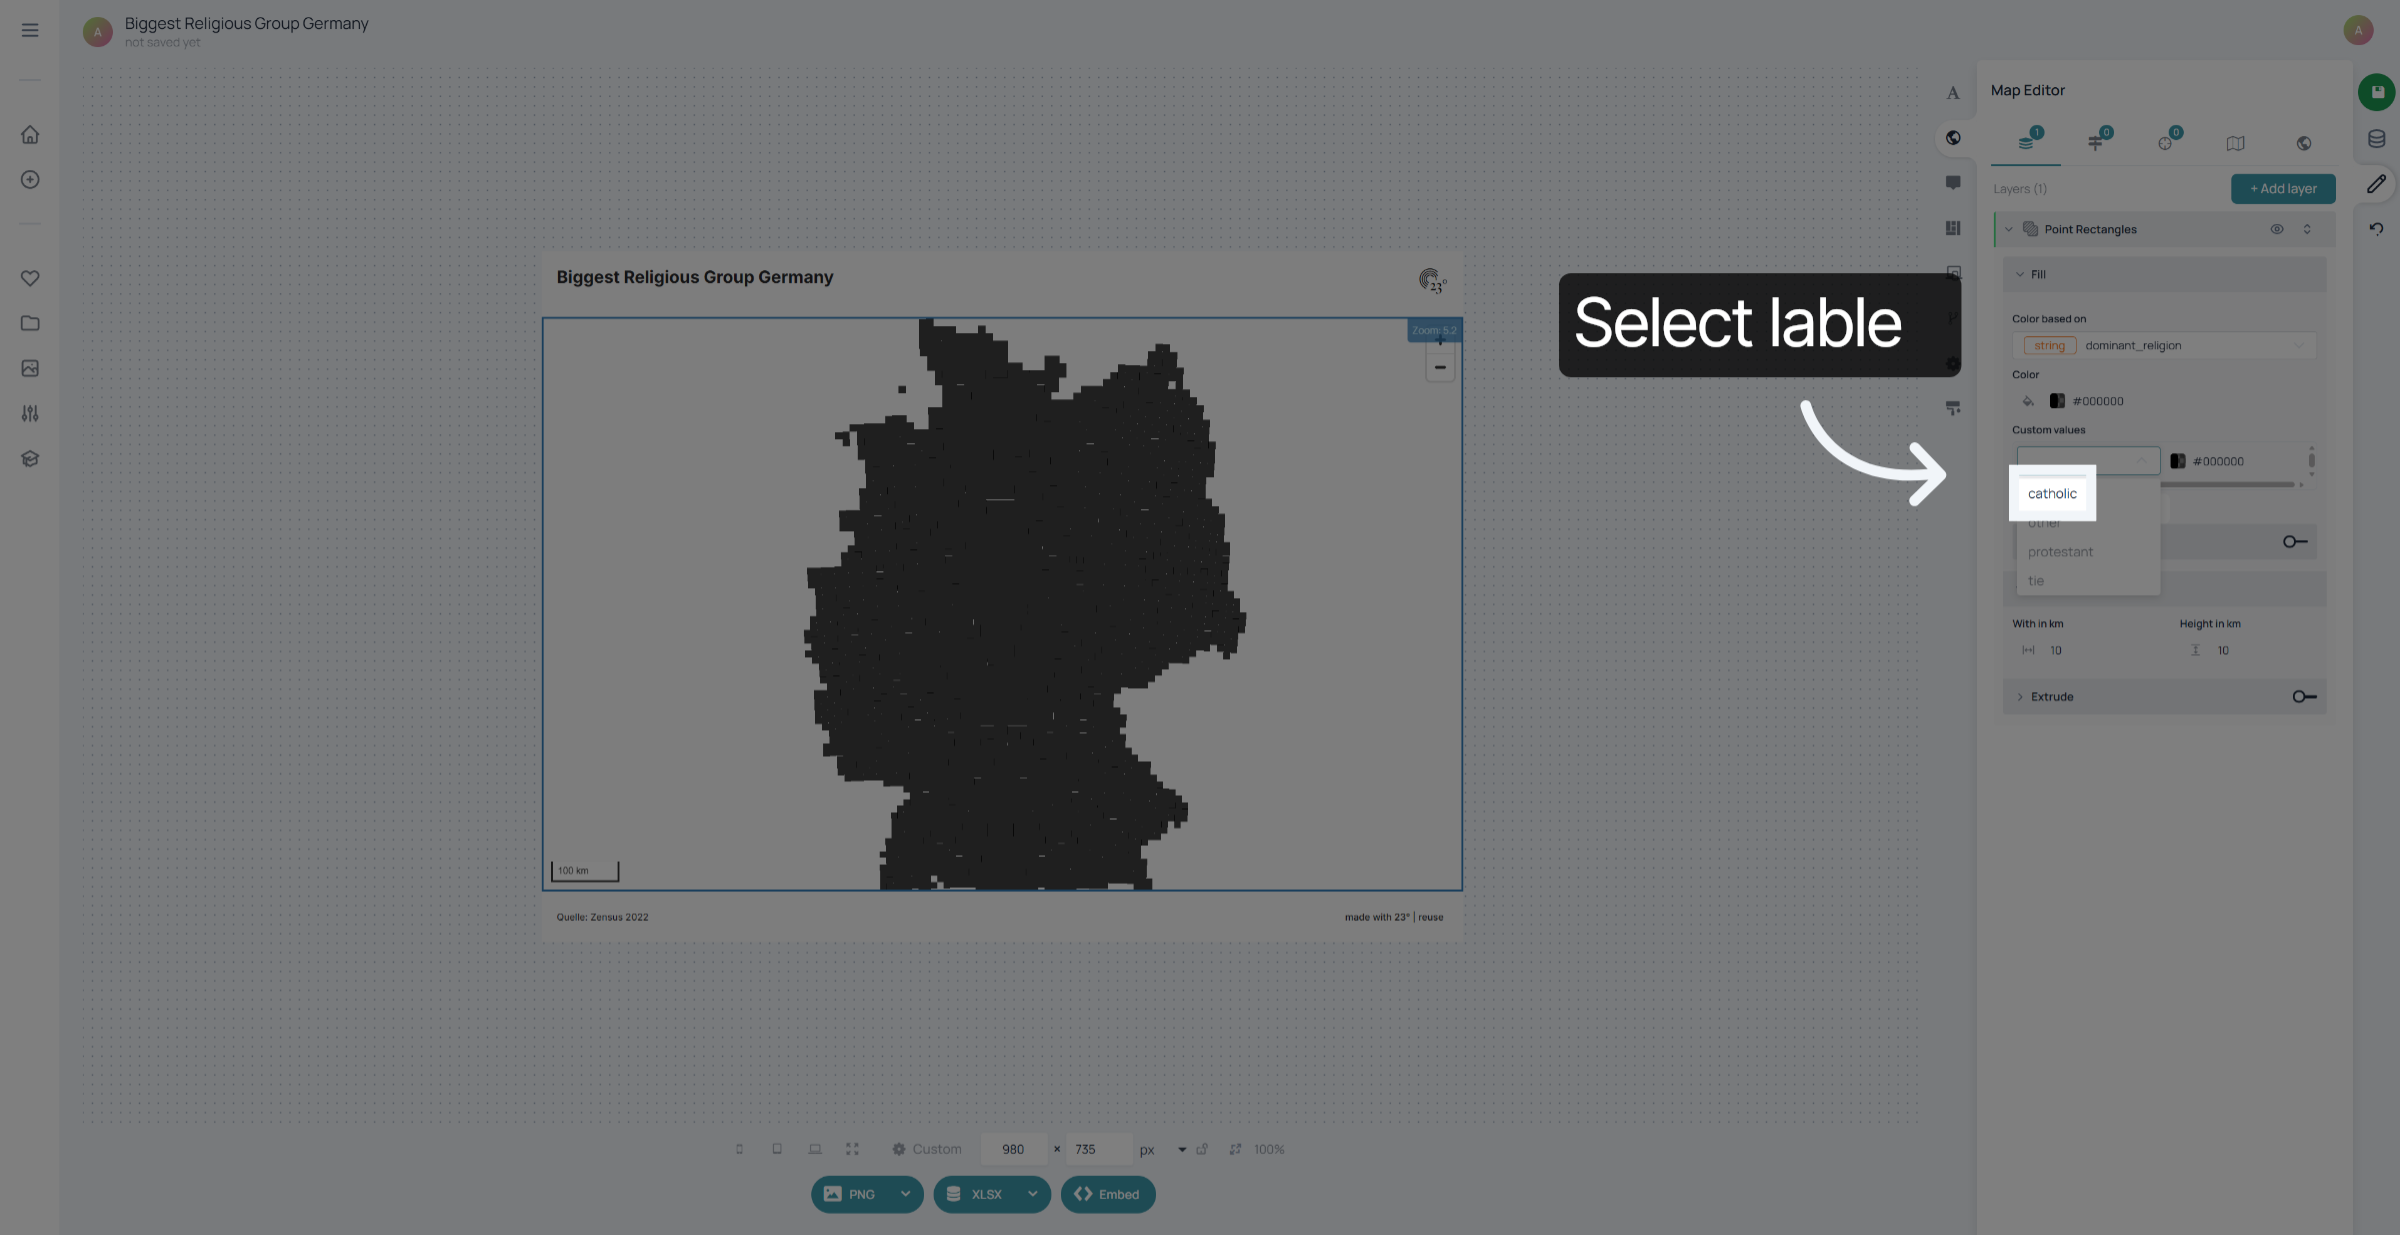
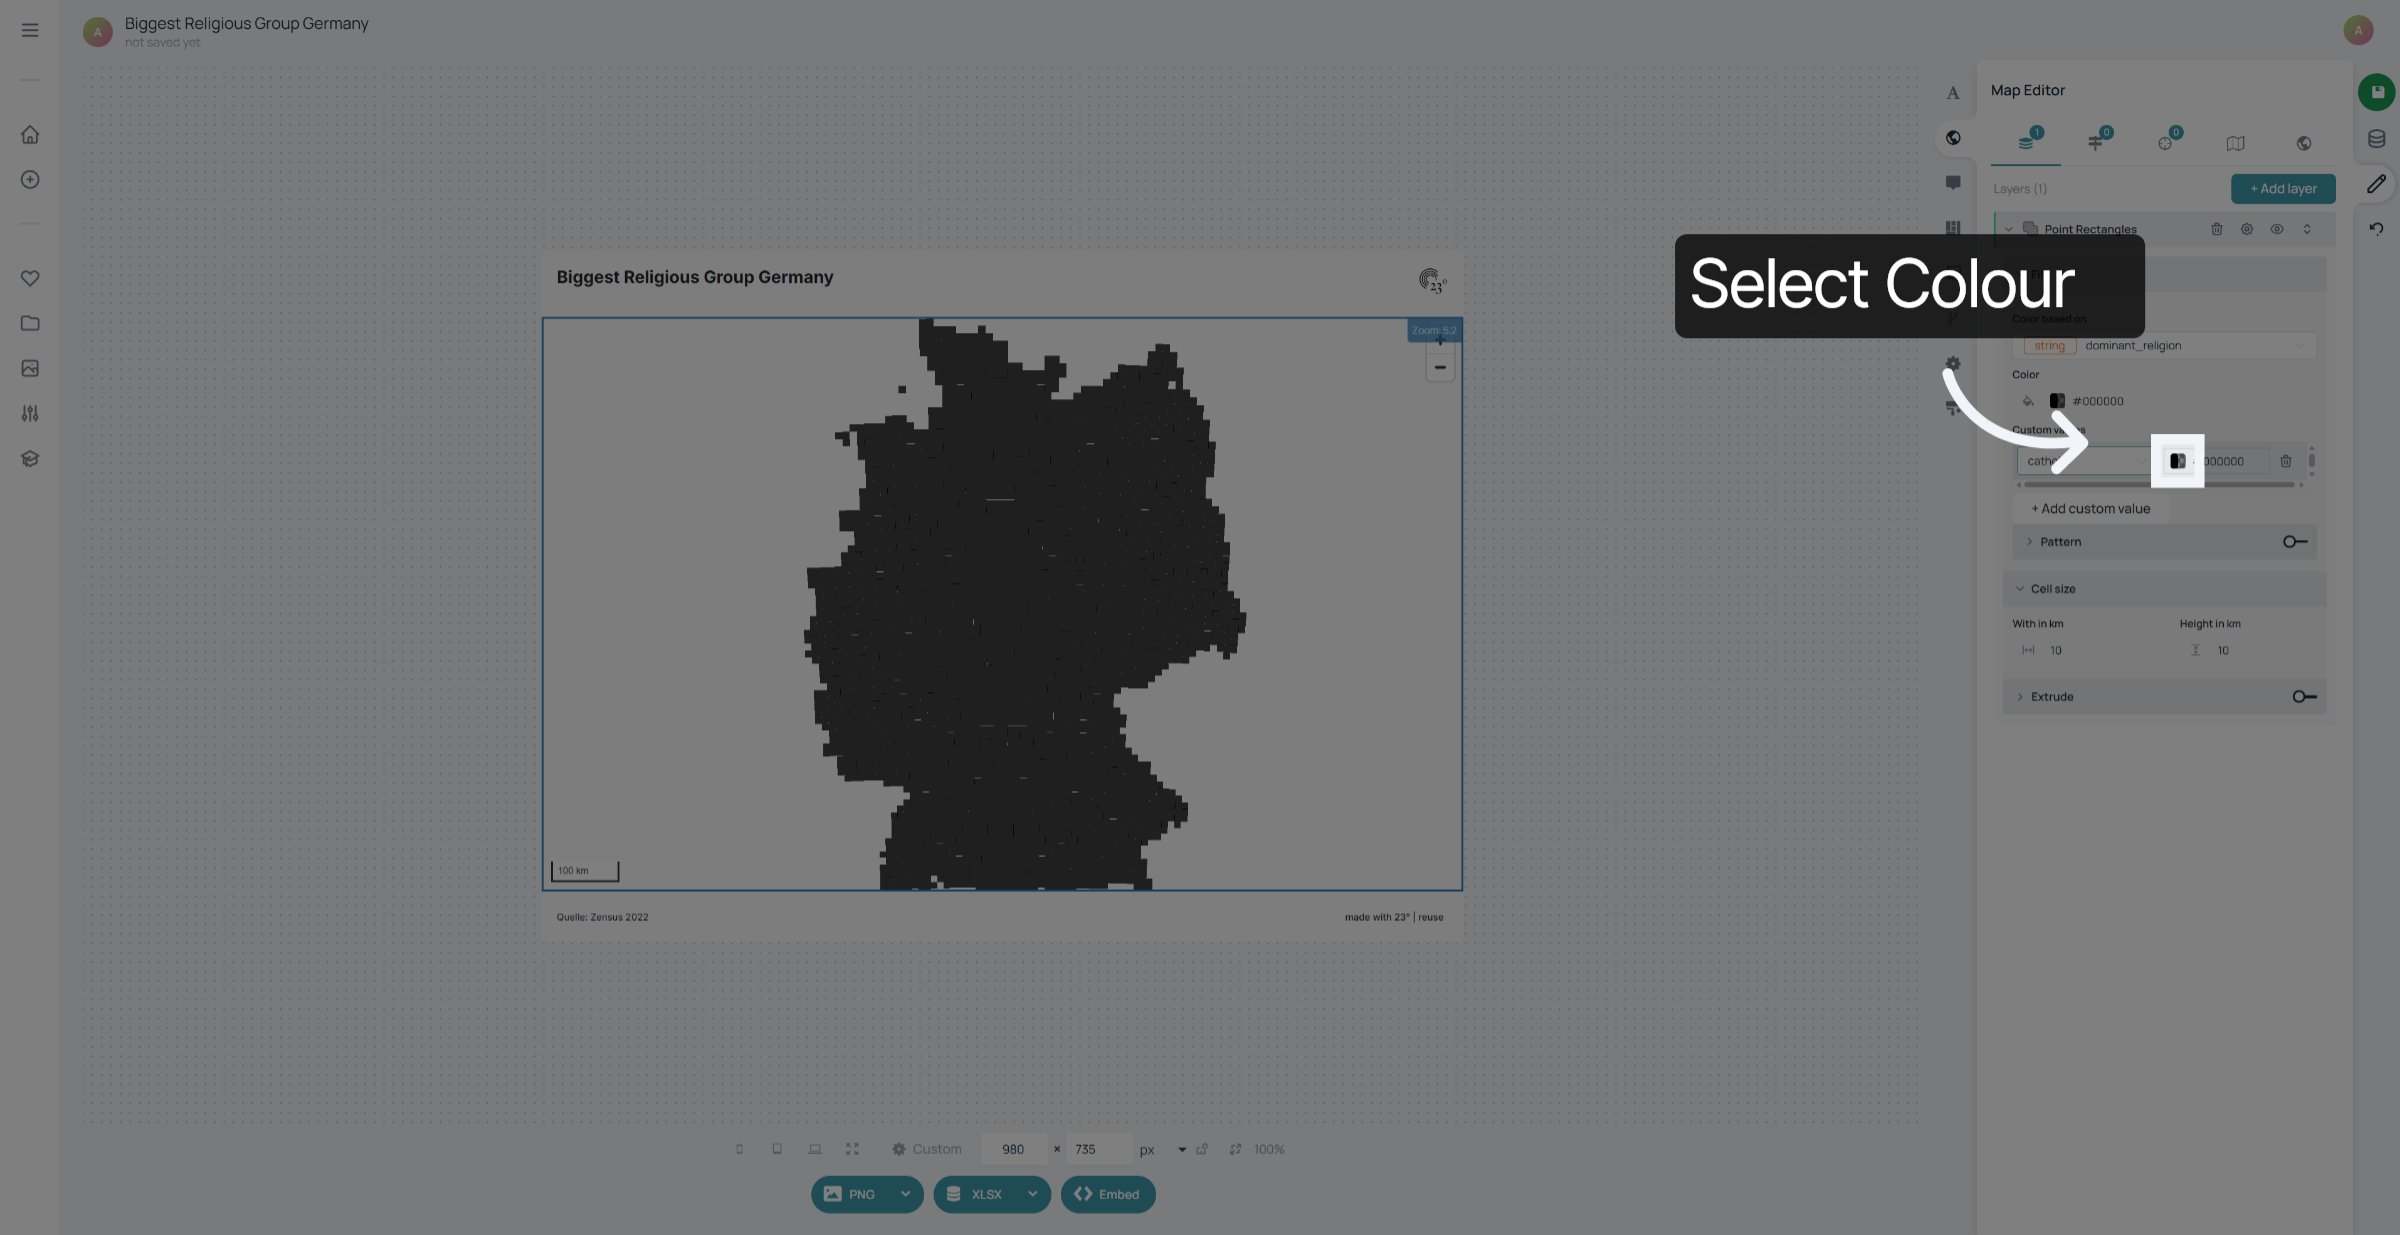
and choose a colour. make sure to repeat this step for every category you wish to colour.
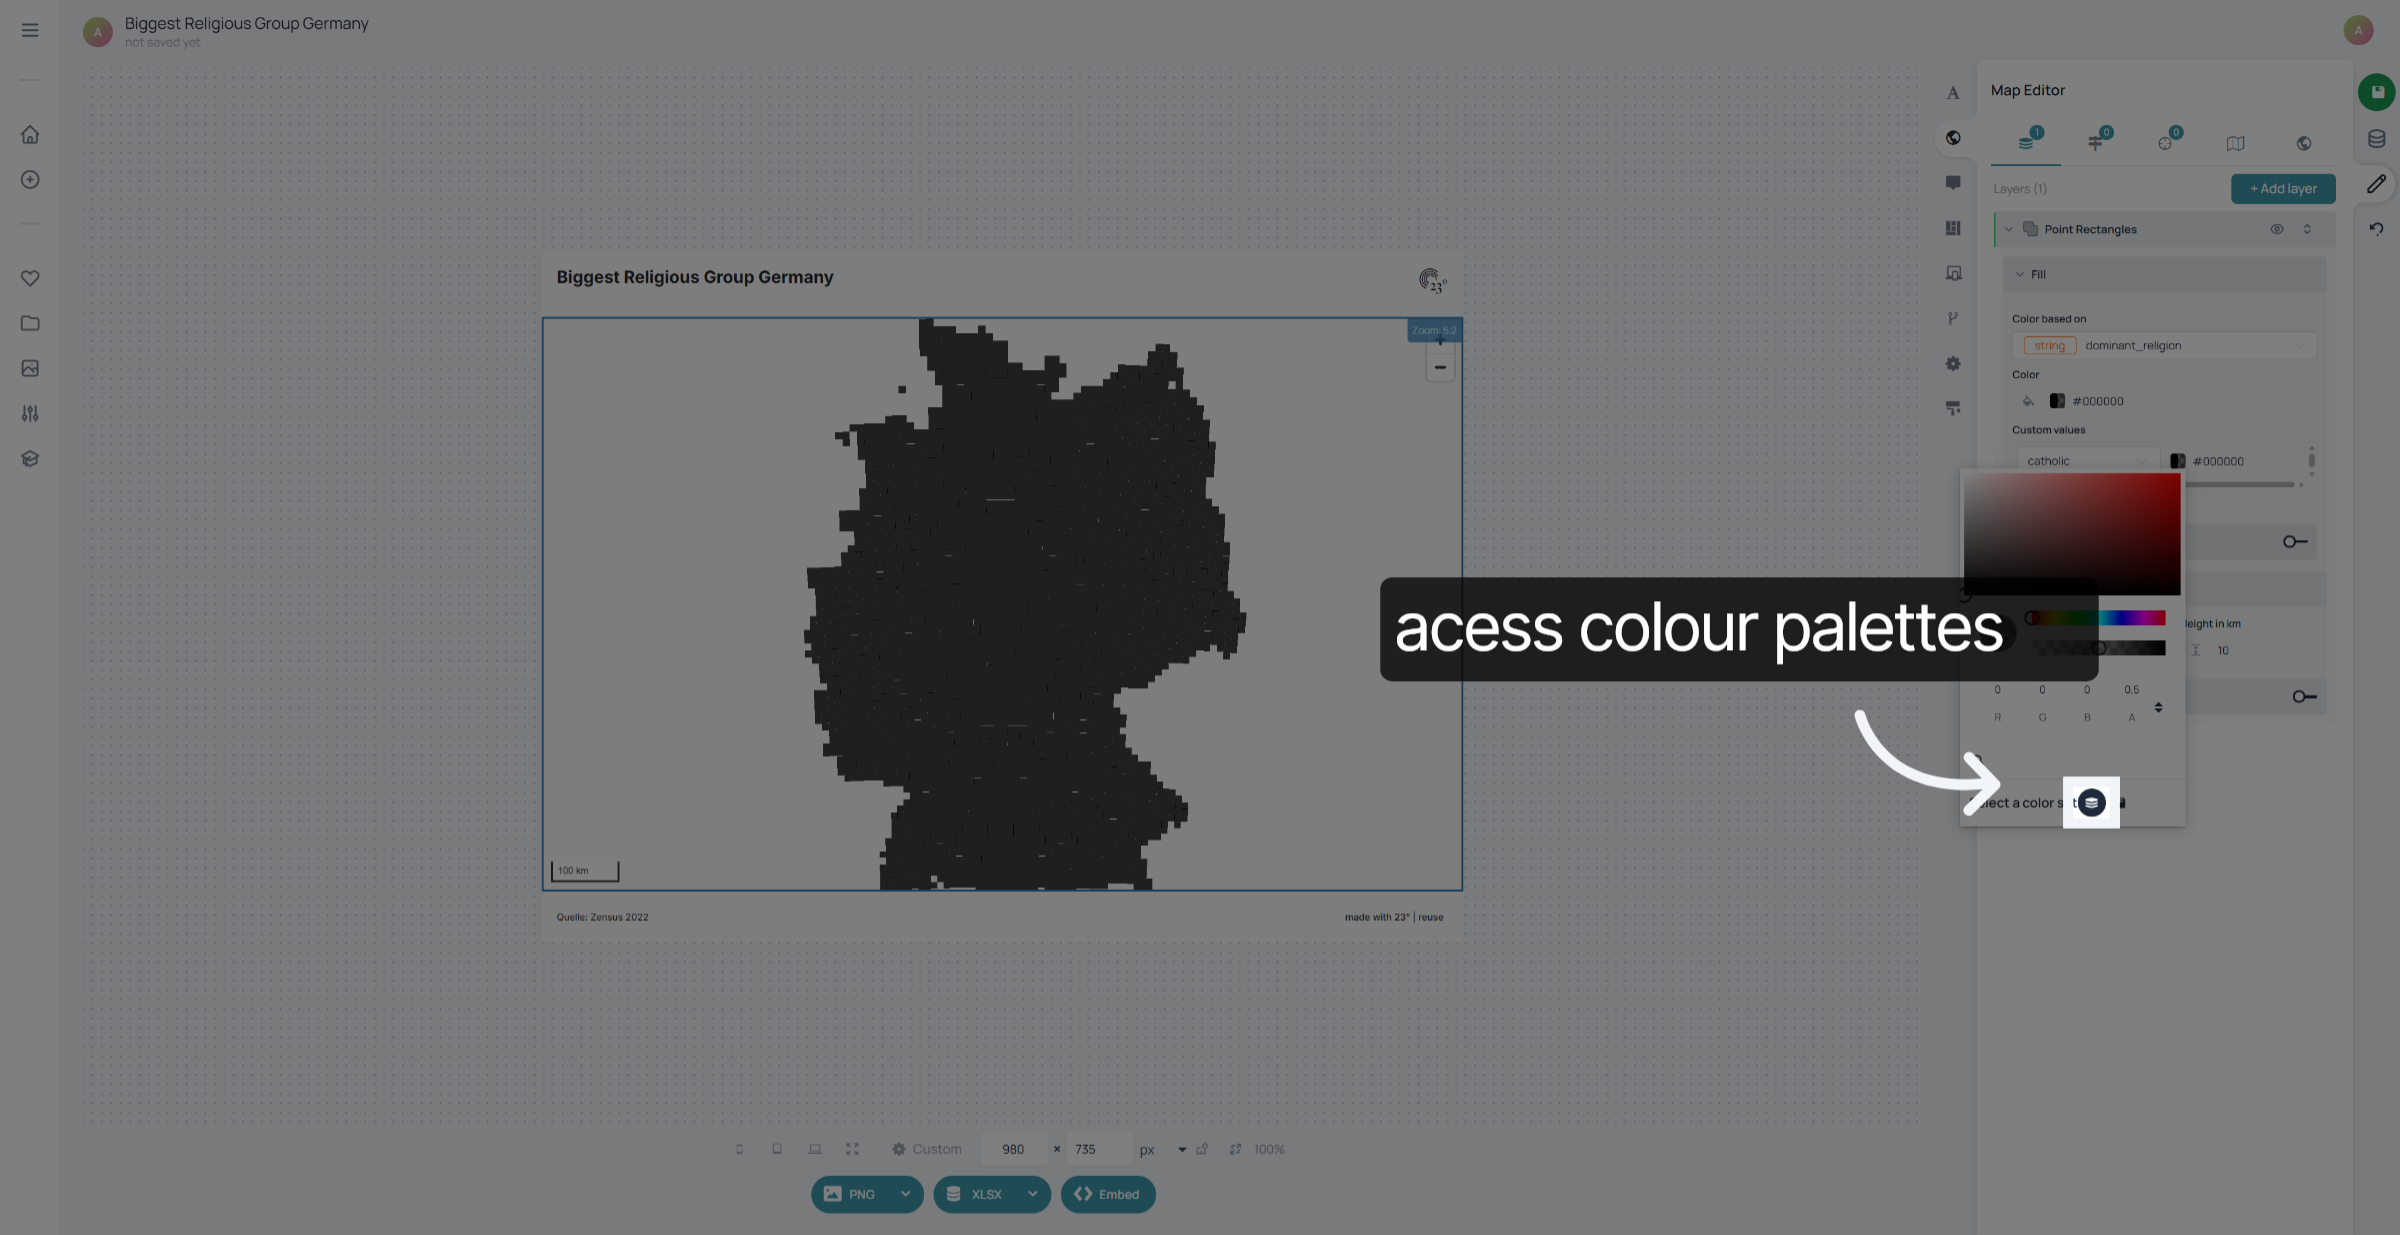
if you want to select an existing colour from your colour palletes you can do this here
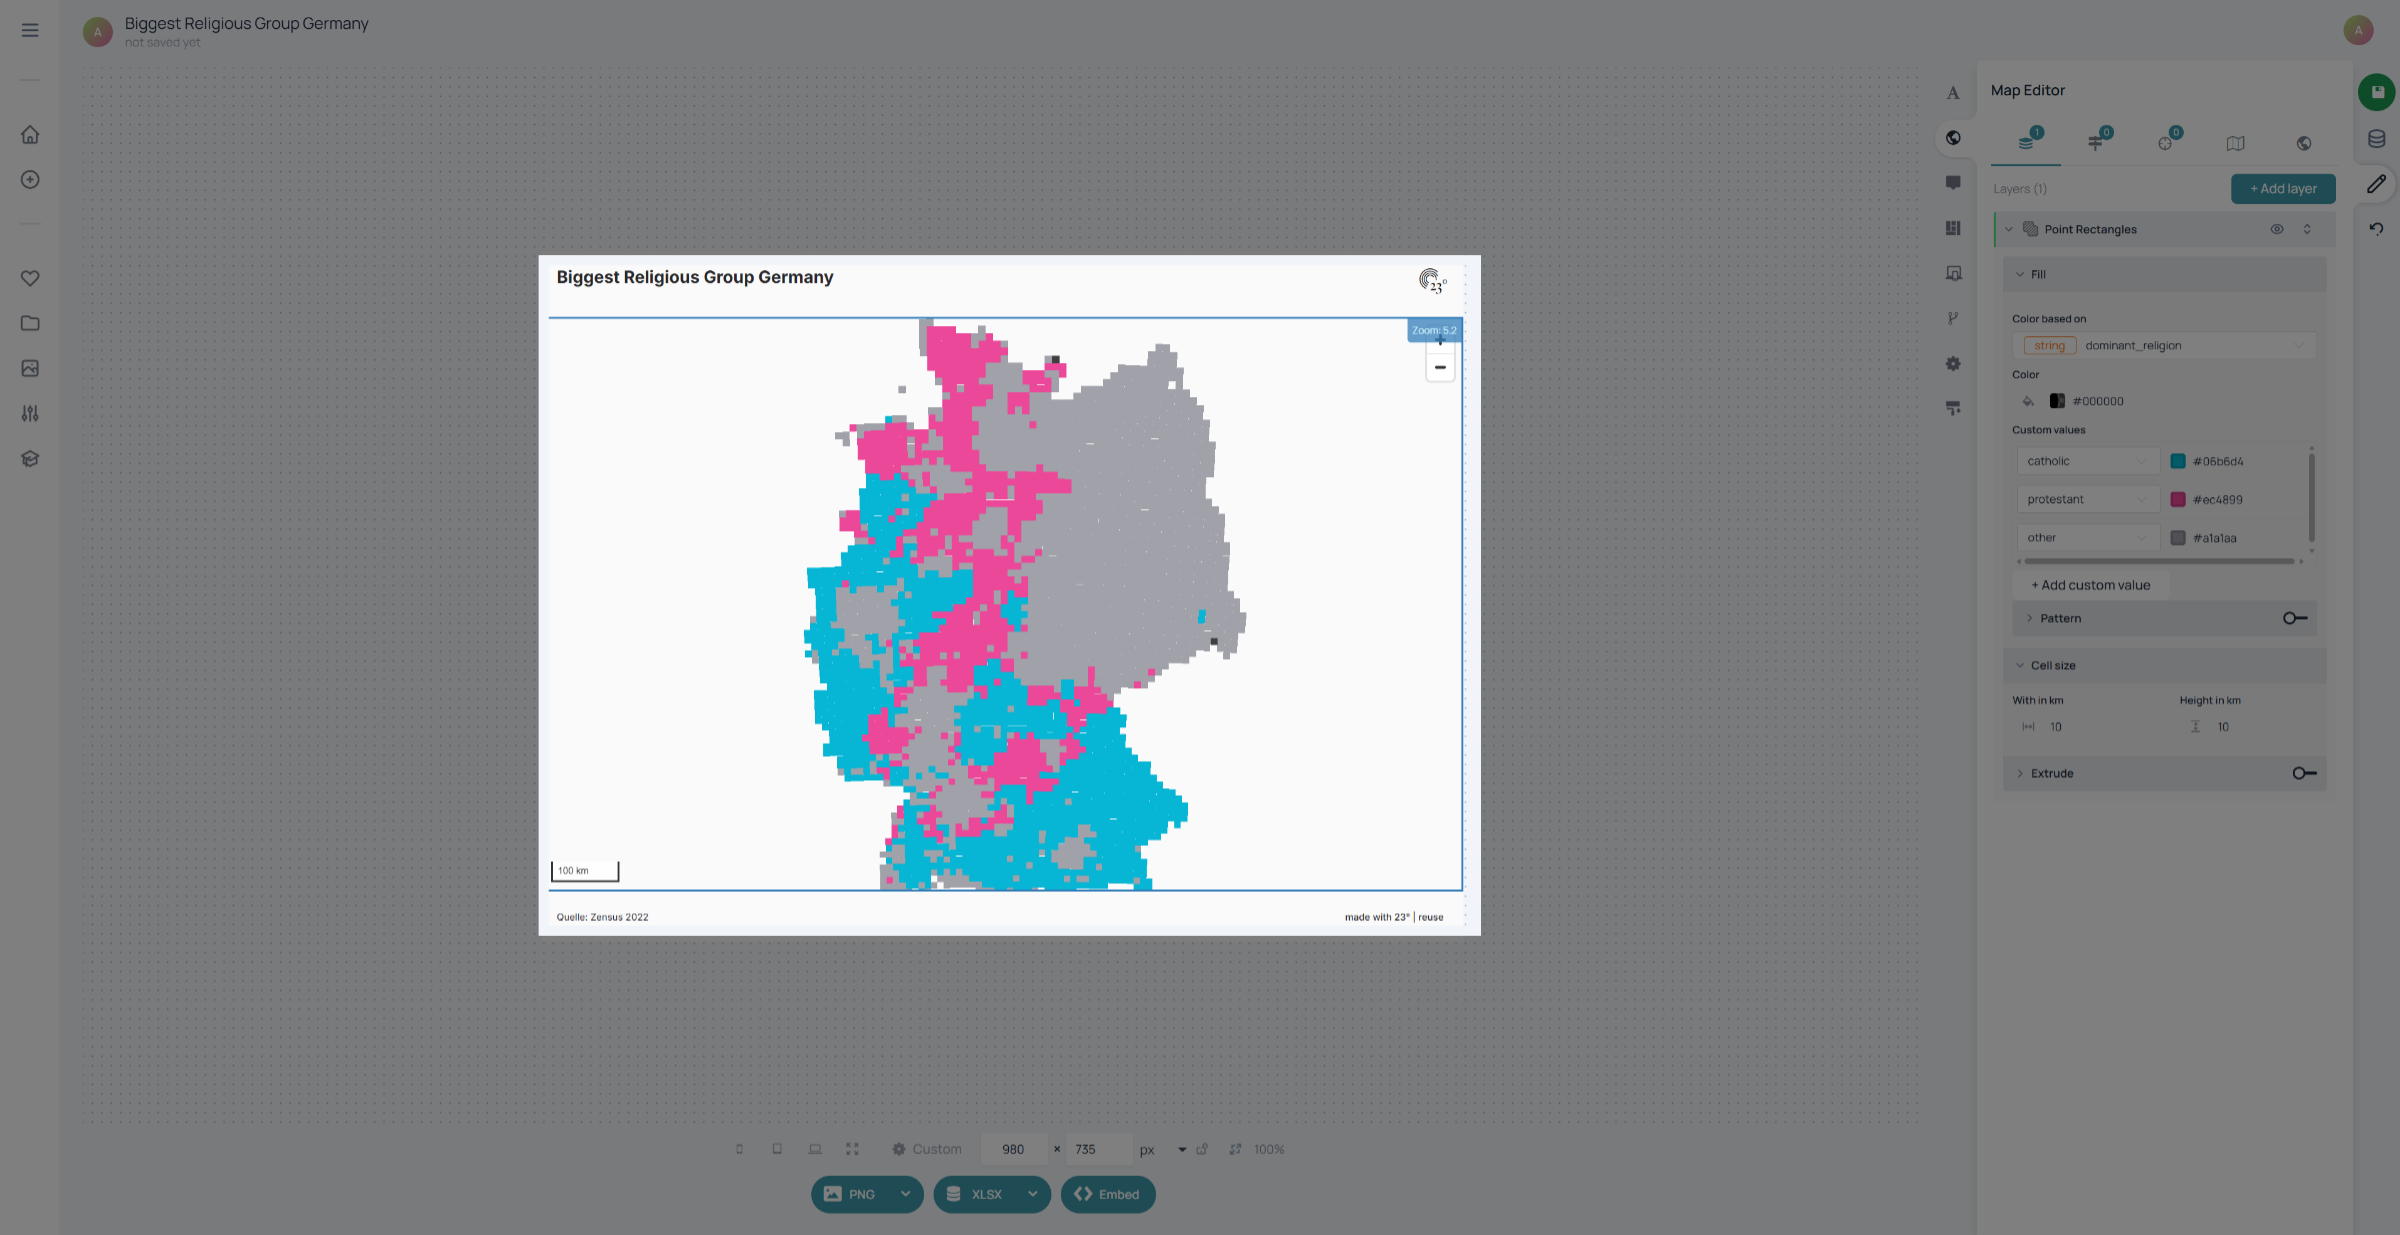
after selecting your colours your map should look like this.
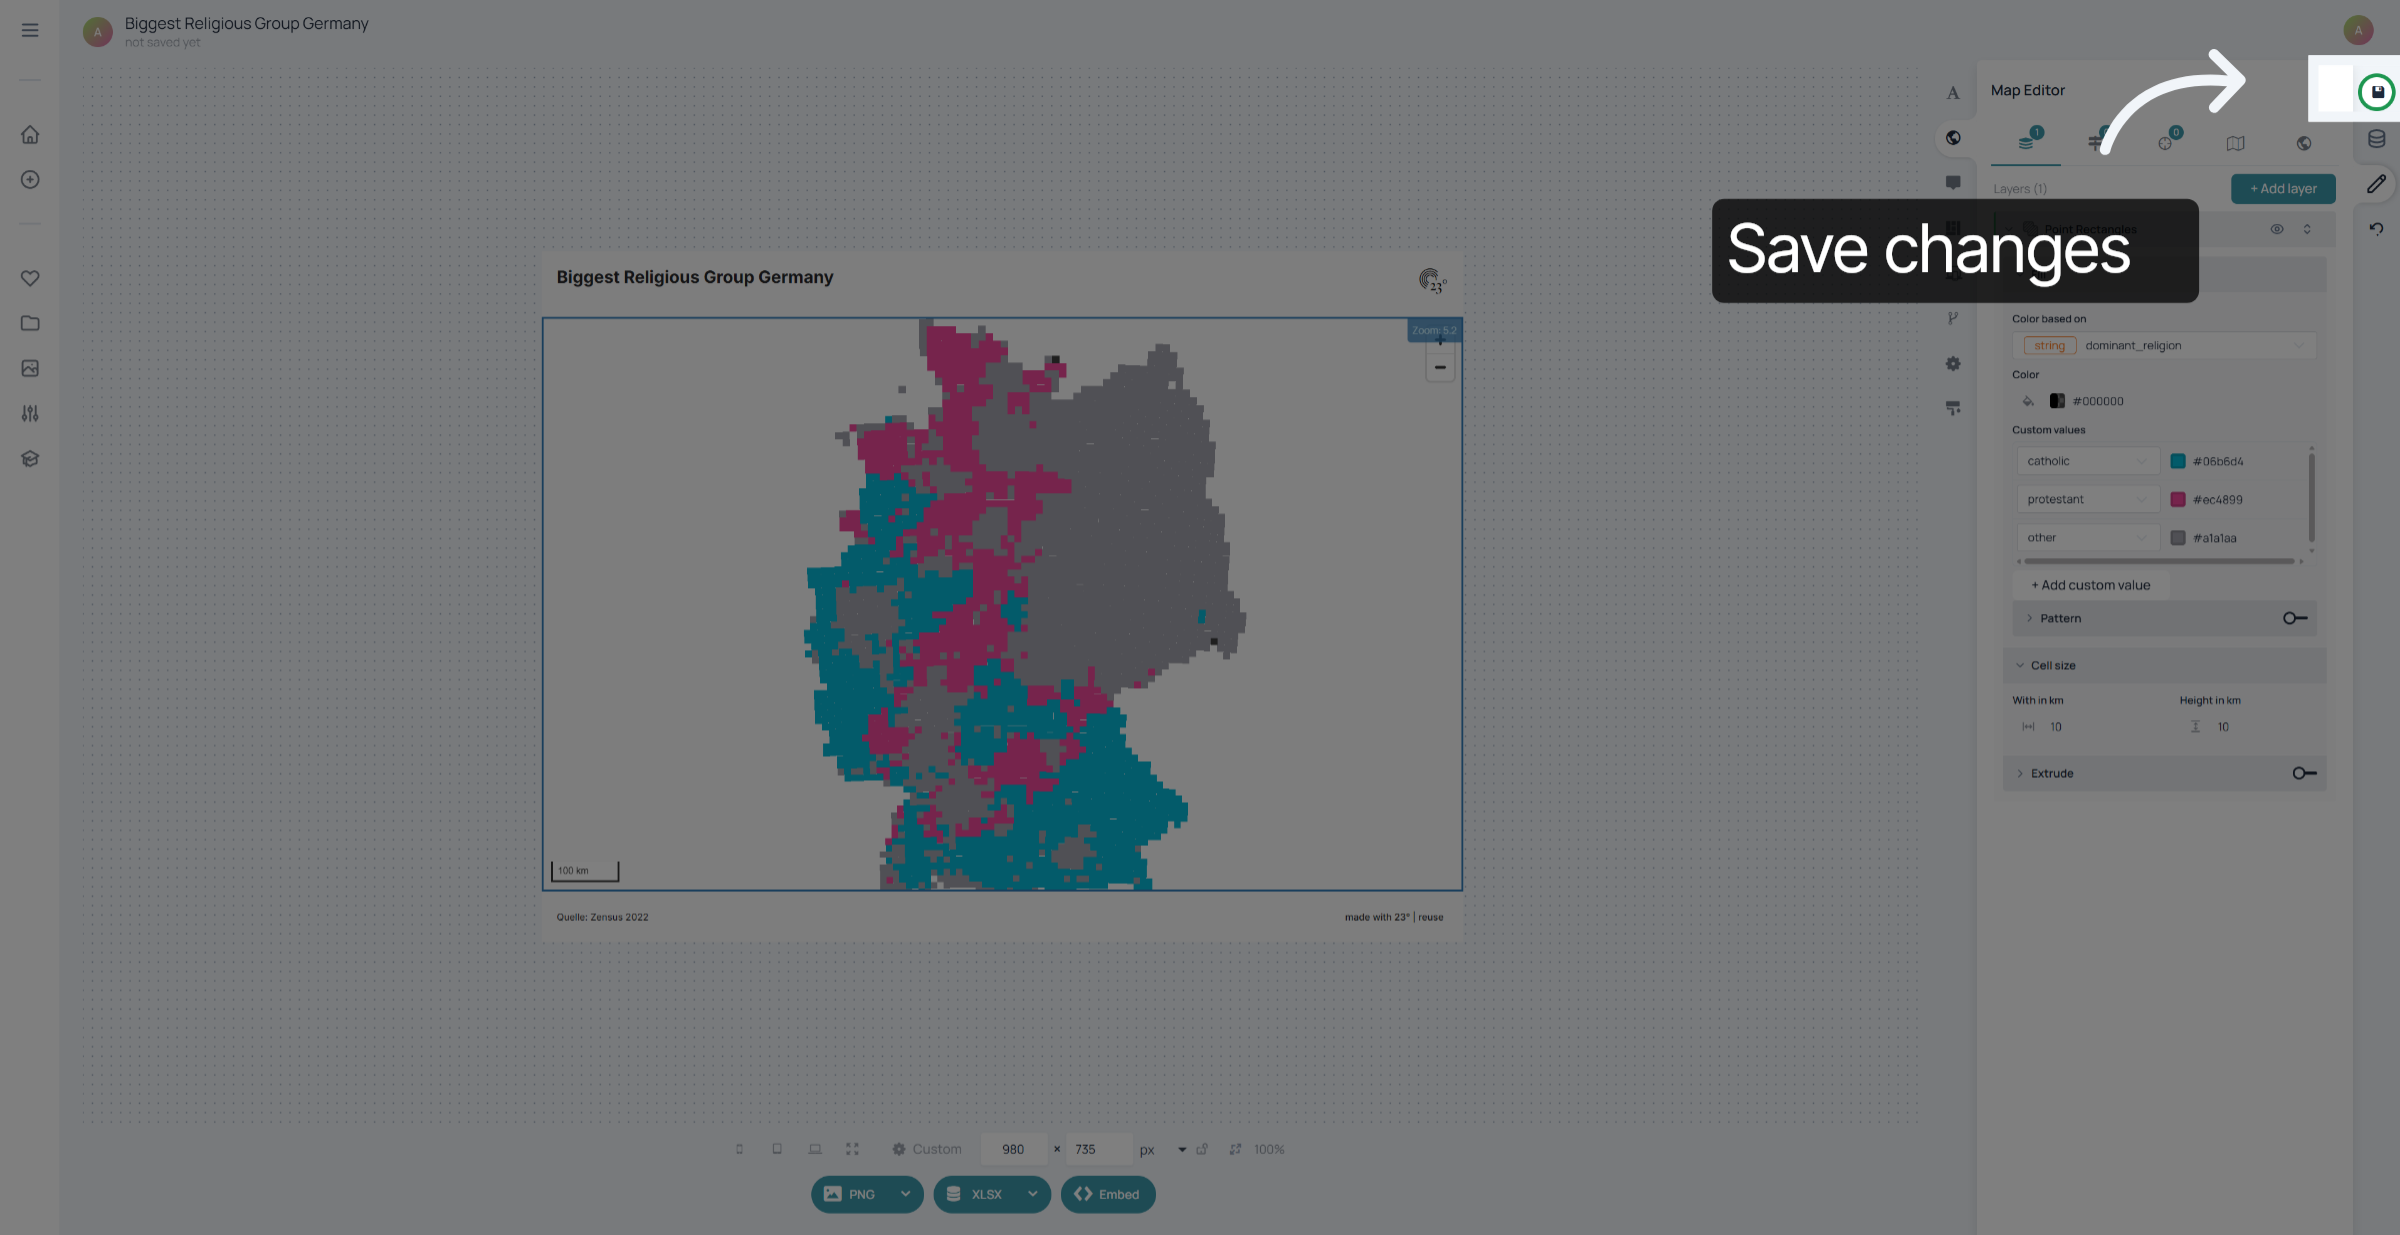
Dont forget to save your changes.
You have successfully created a coloured raster map. In another tutorial i will show you how to enhance a raster map with a custom legend.