Draw Lines on Maps
This tutorial guides you through drawing lines on maps using the 23degrees application.
You will learn how to add, configure, and customize map lines effectively.
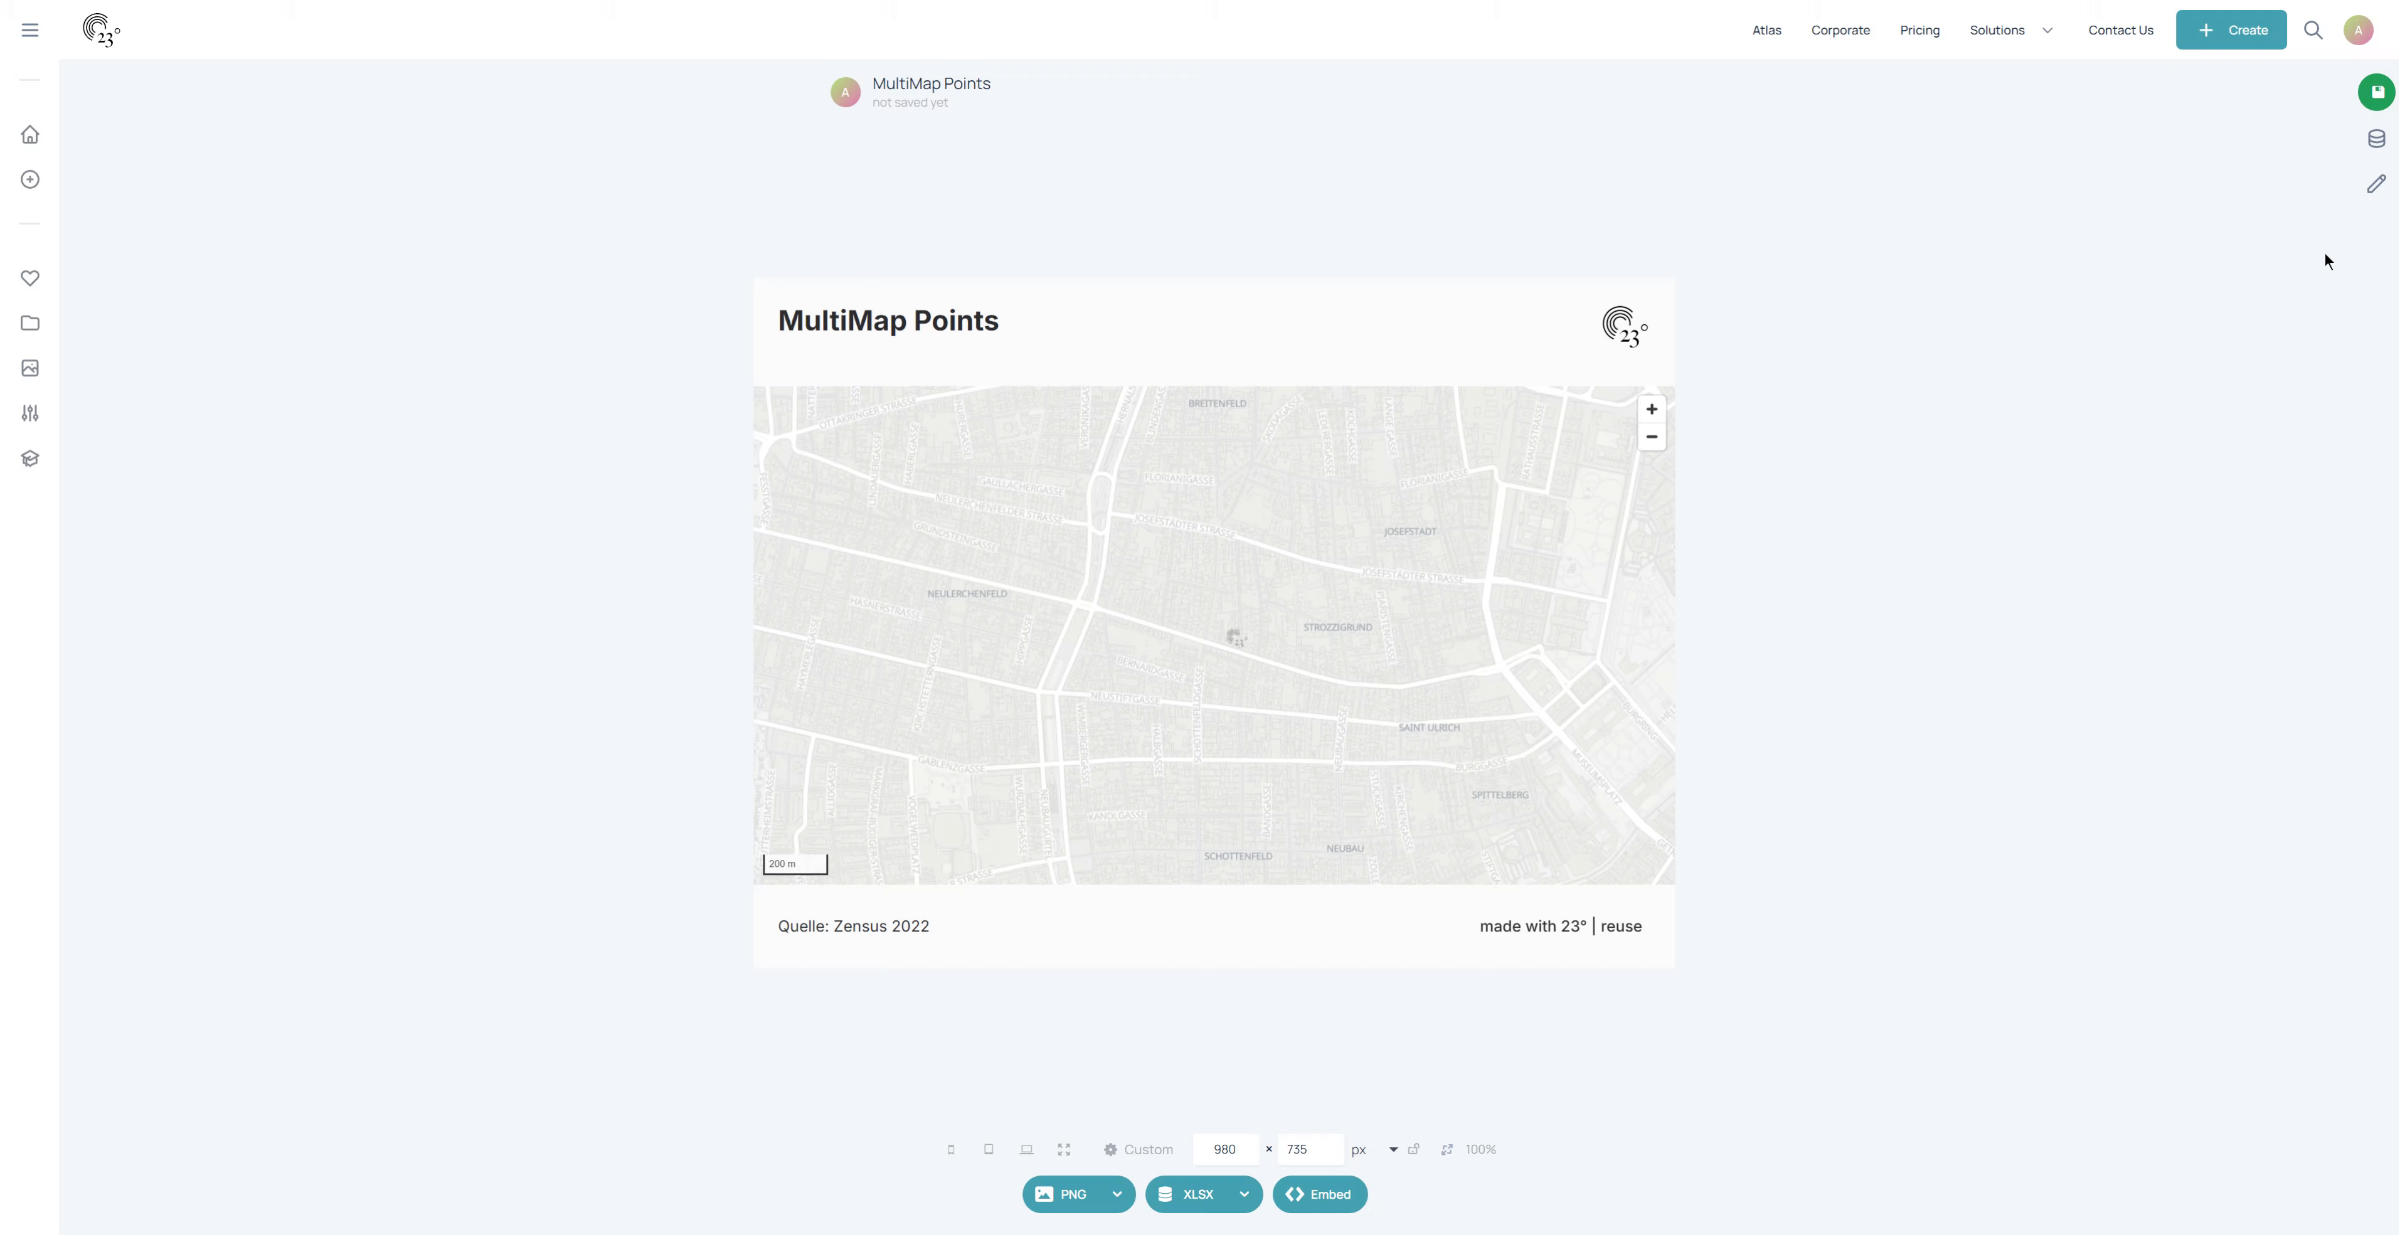
Click here to open the Chart Editor.
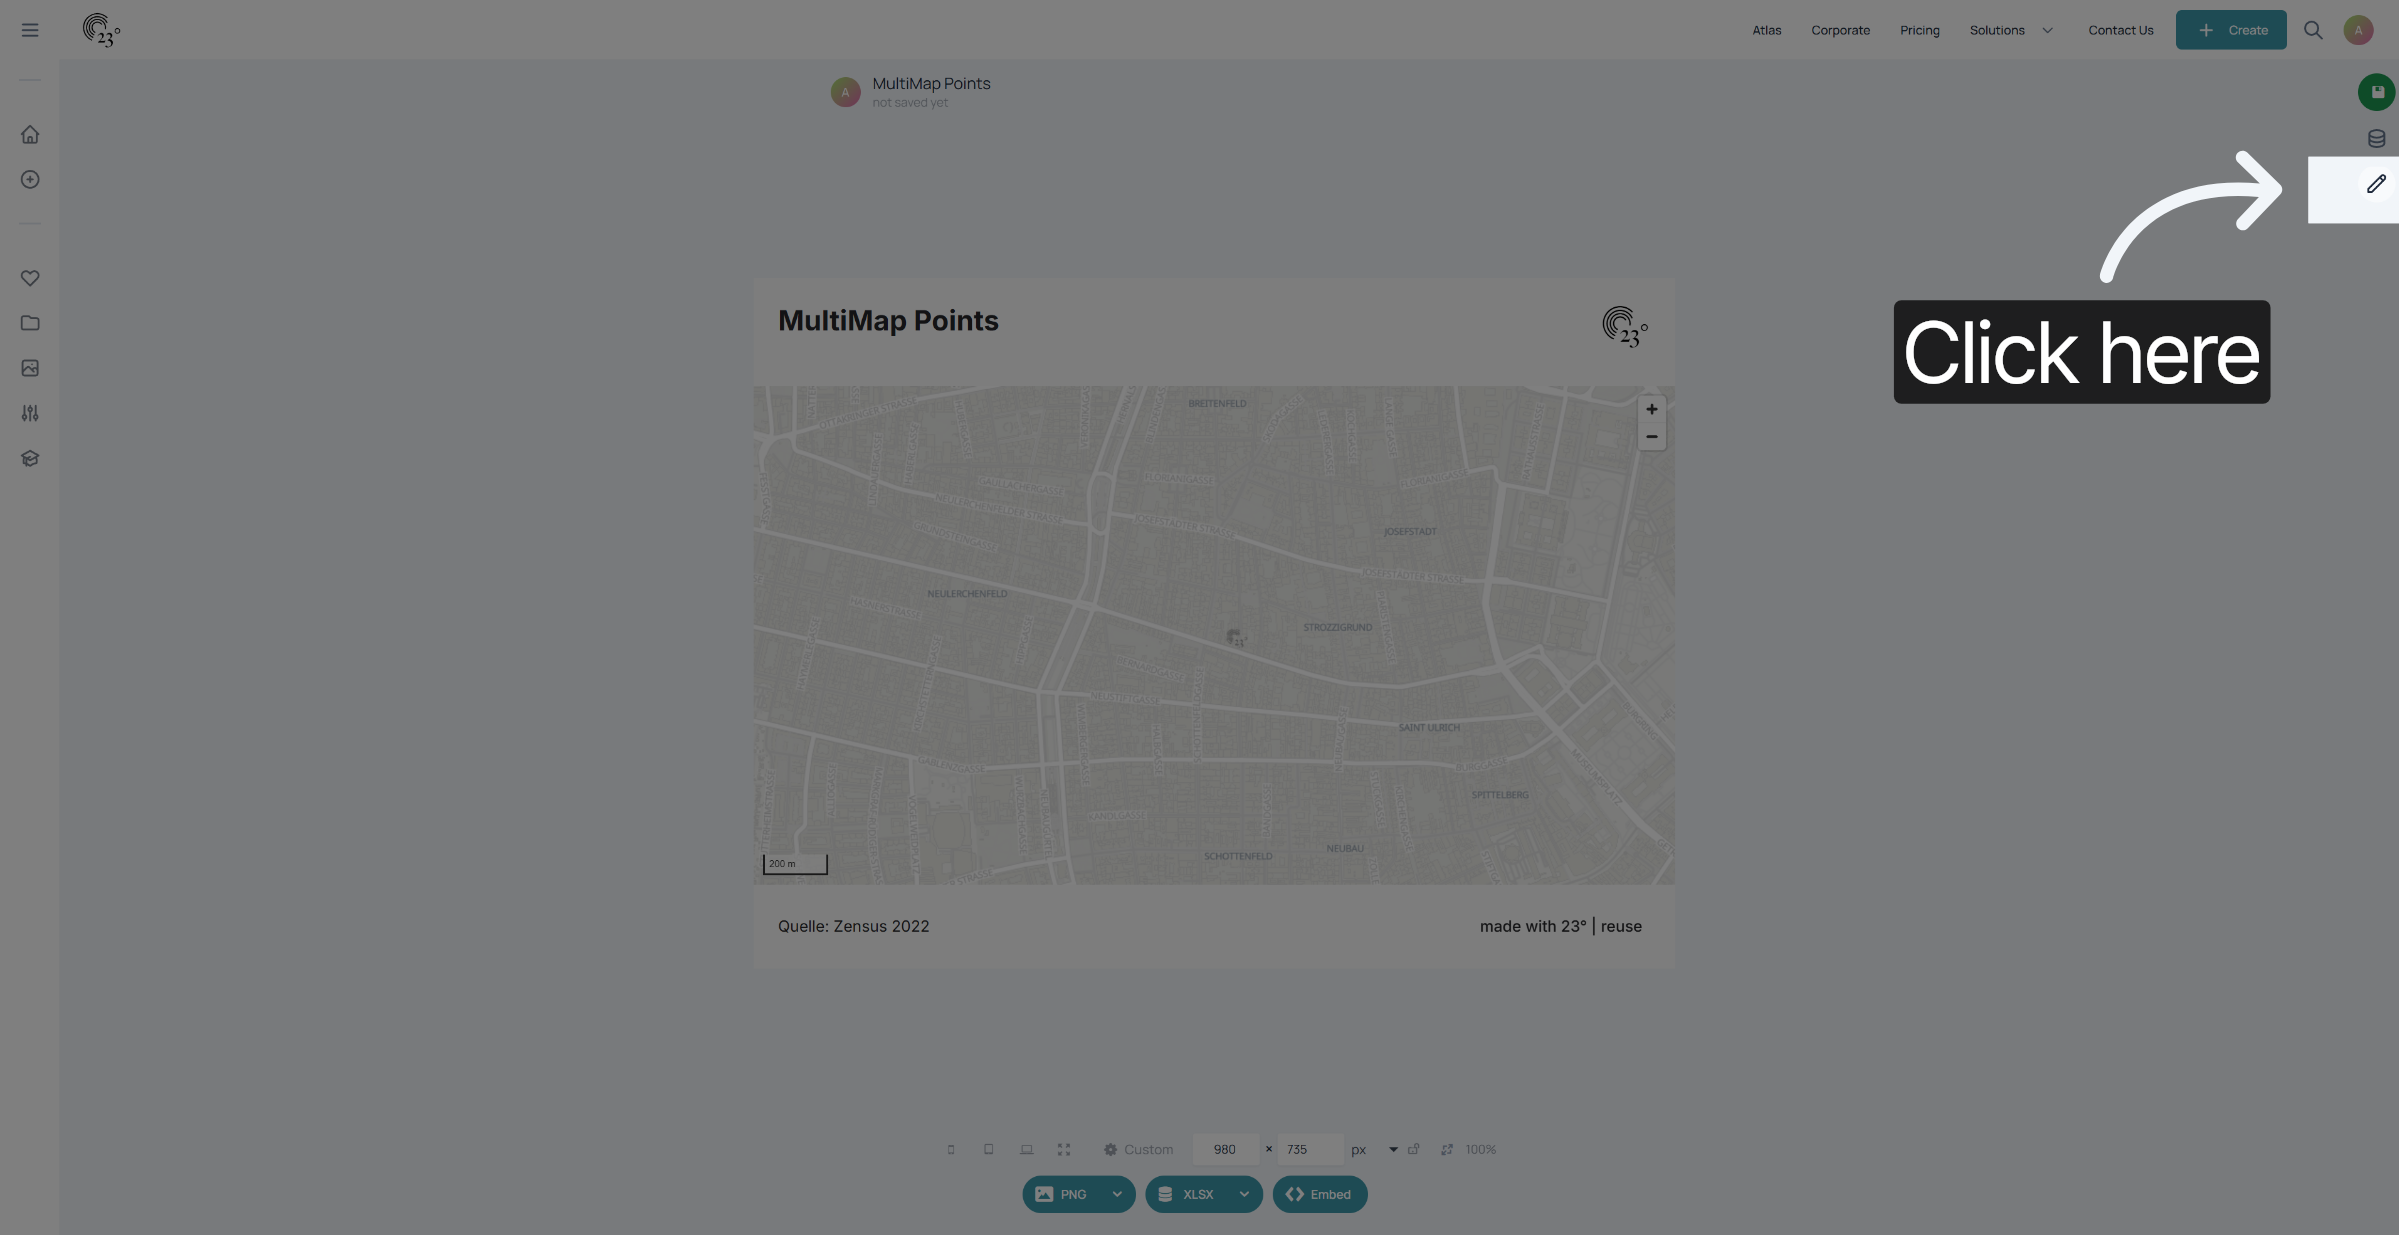
Go to the Map Settings.
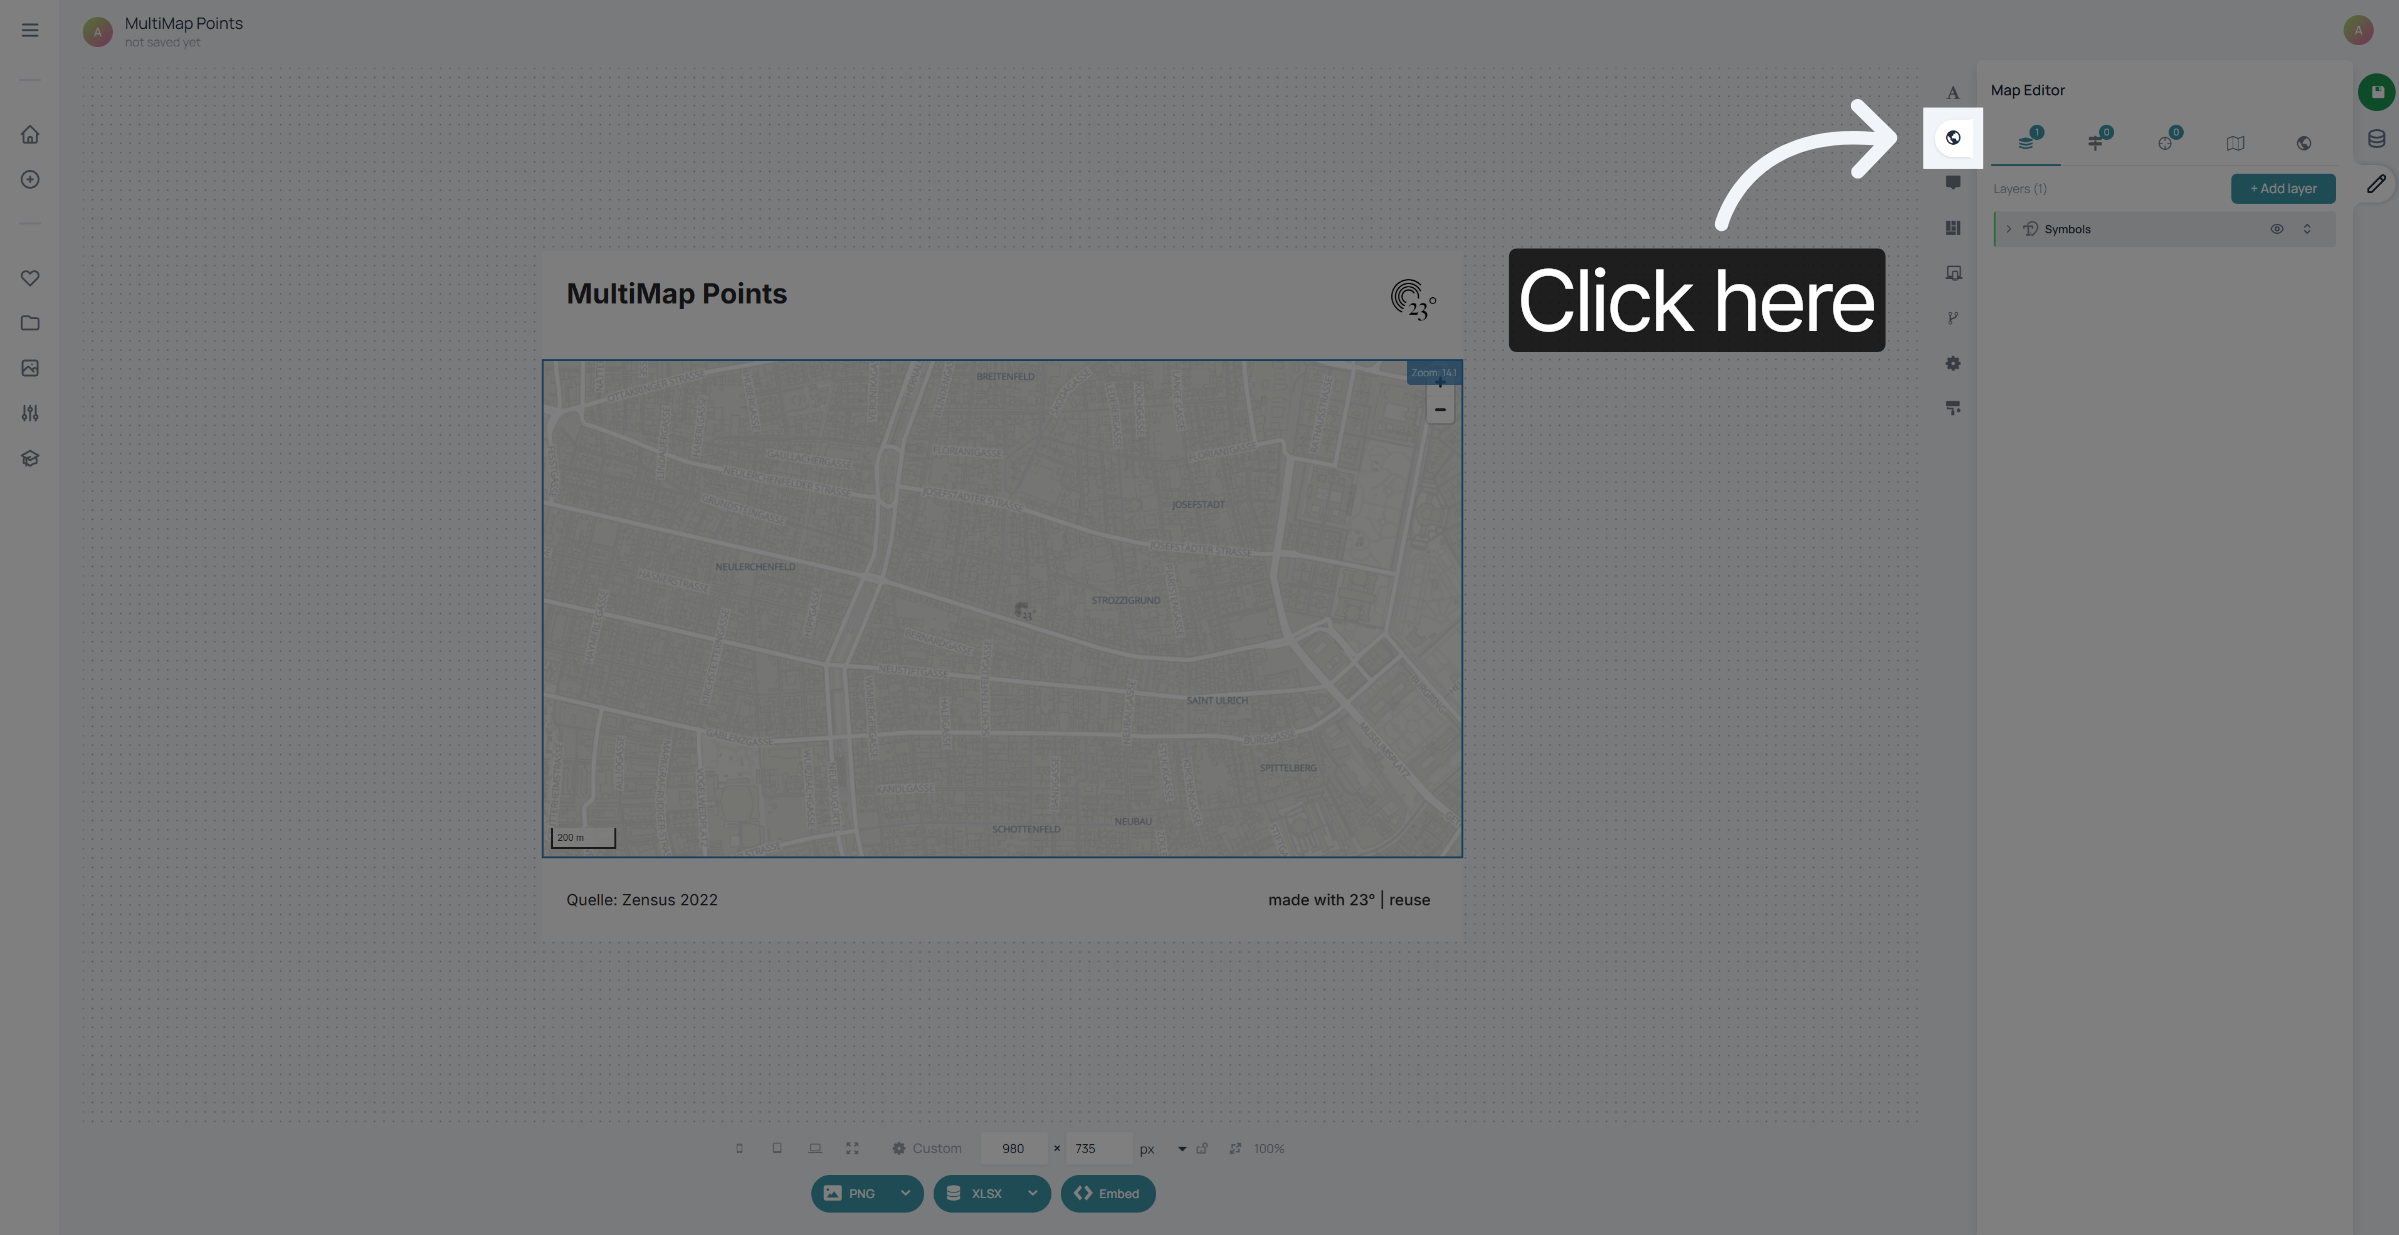
Select "Add Layer".
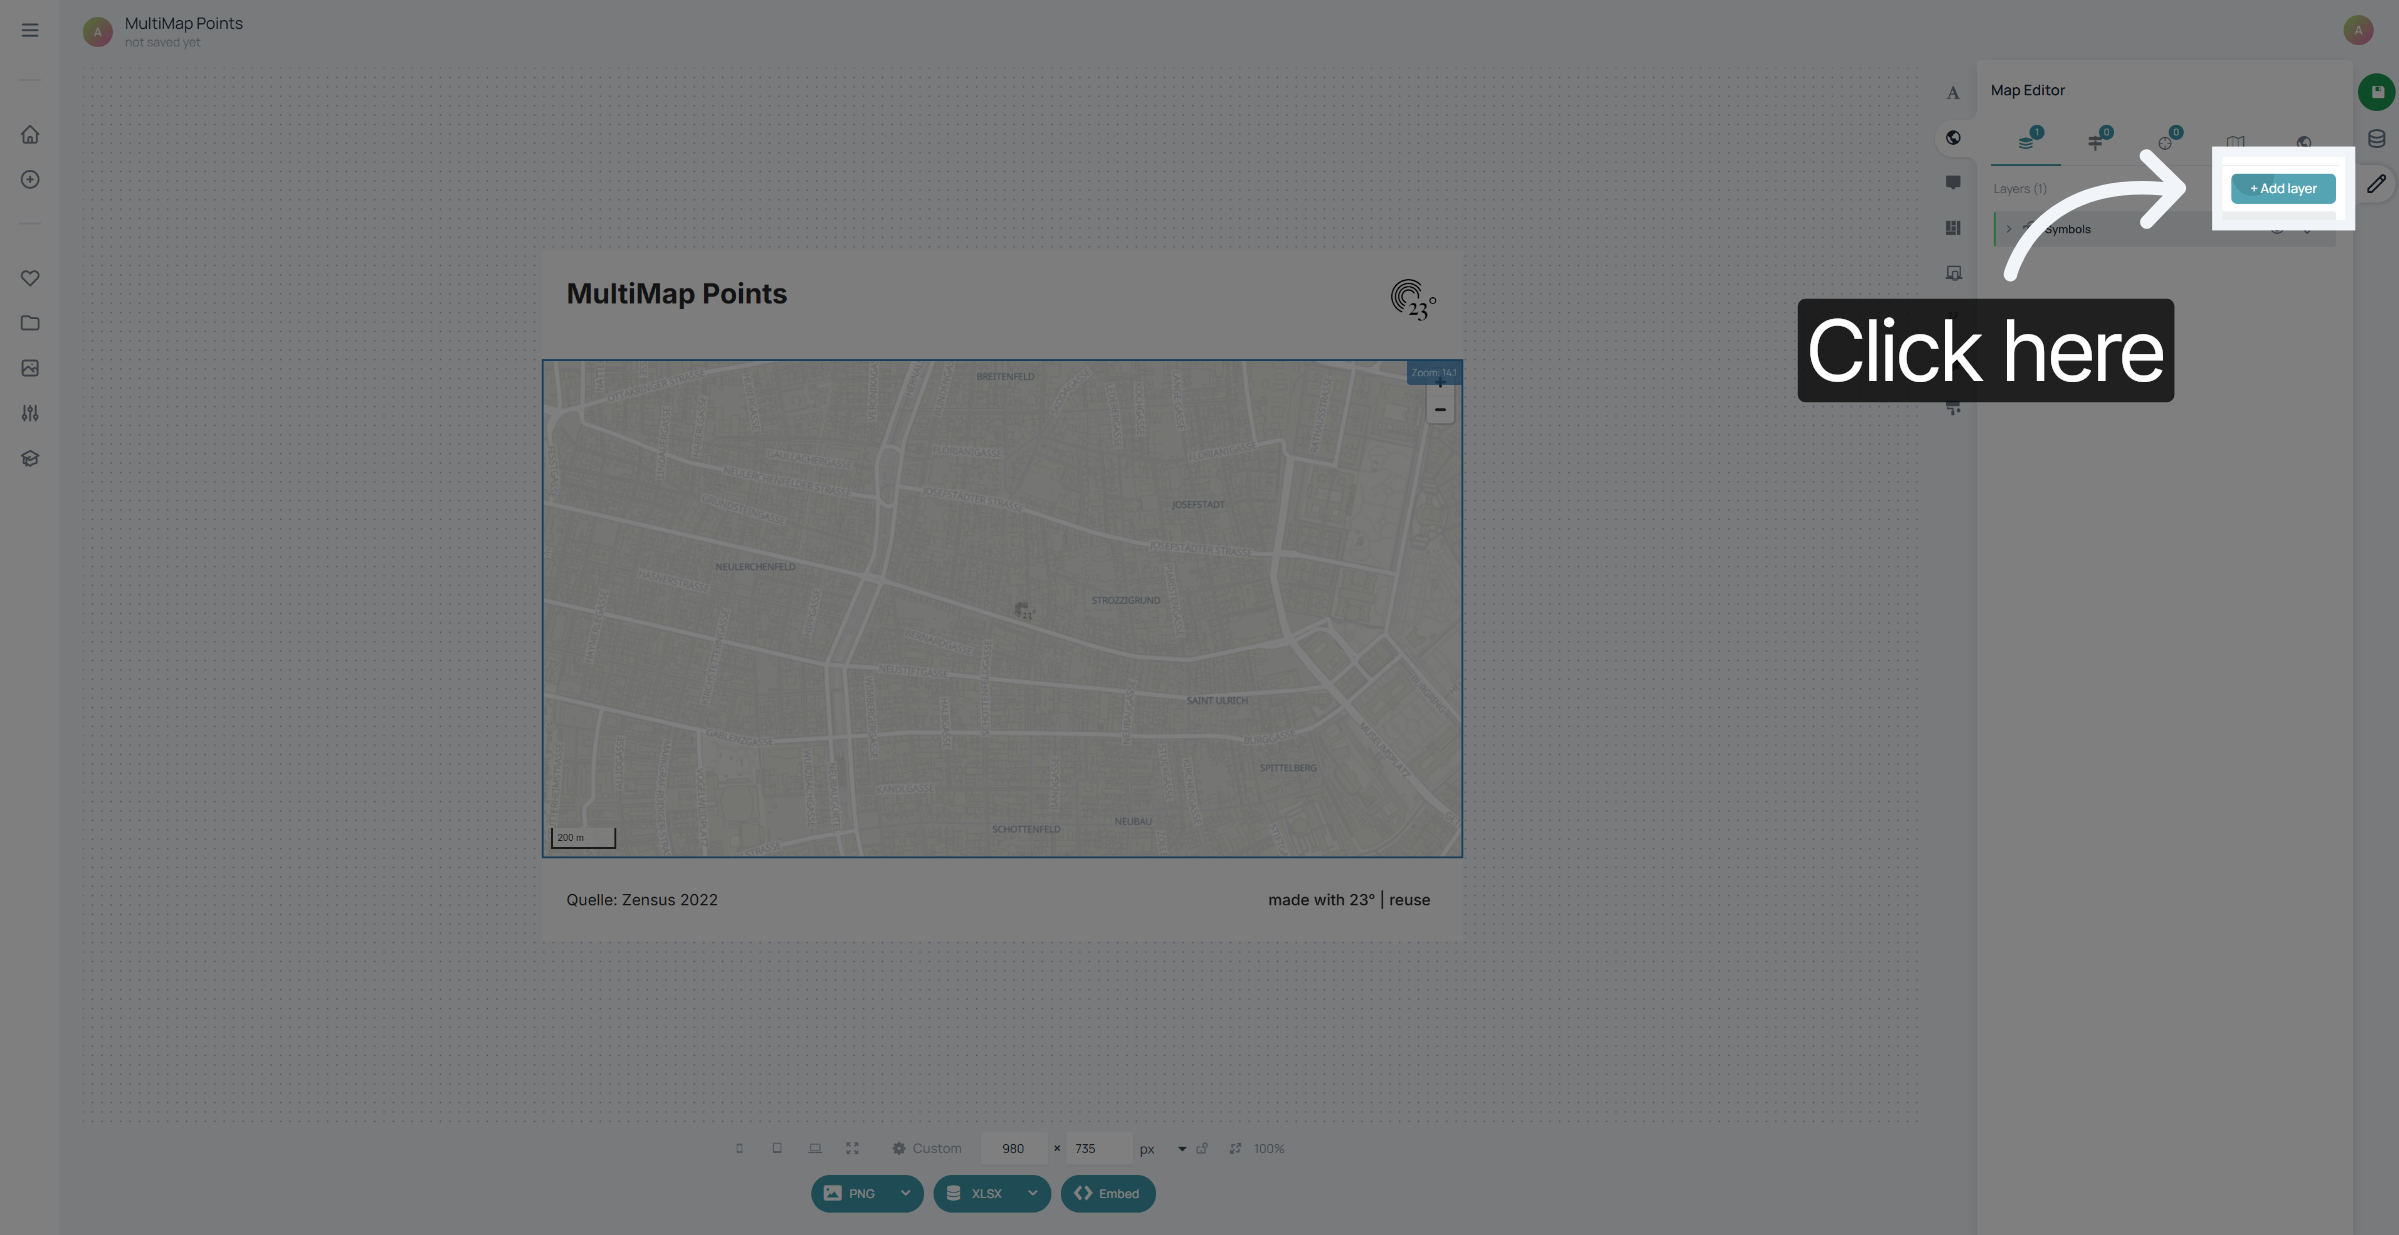
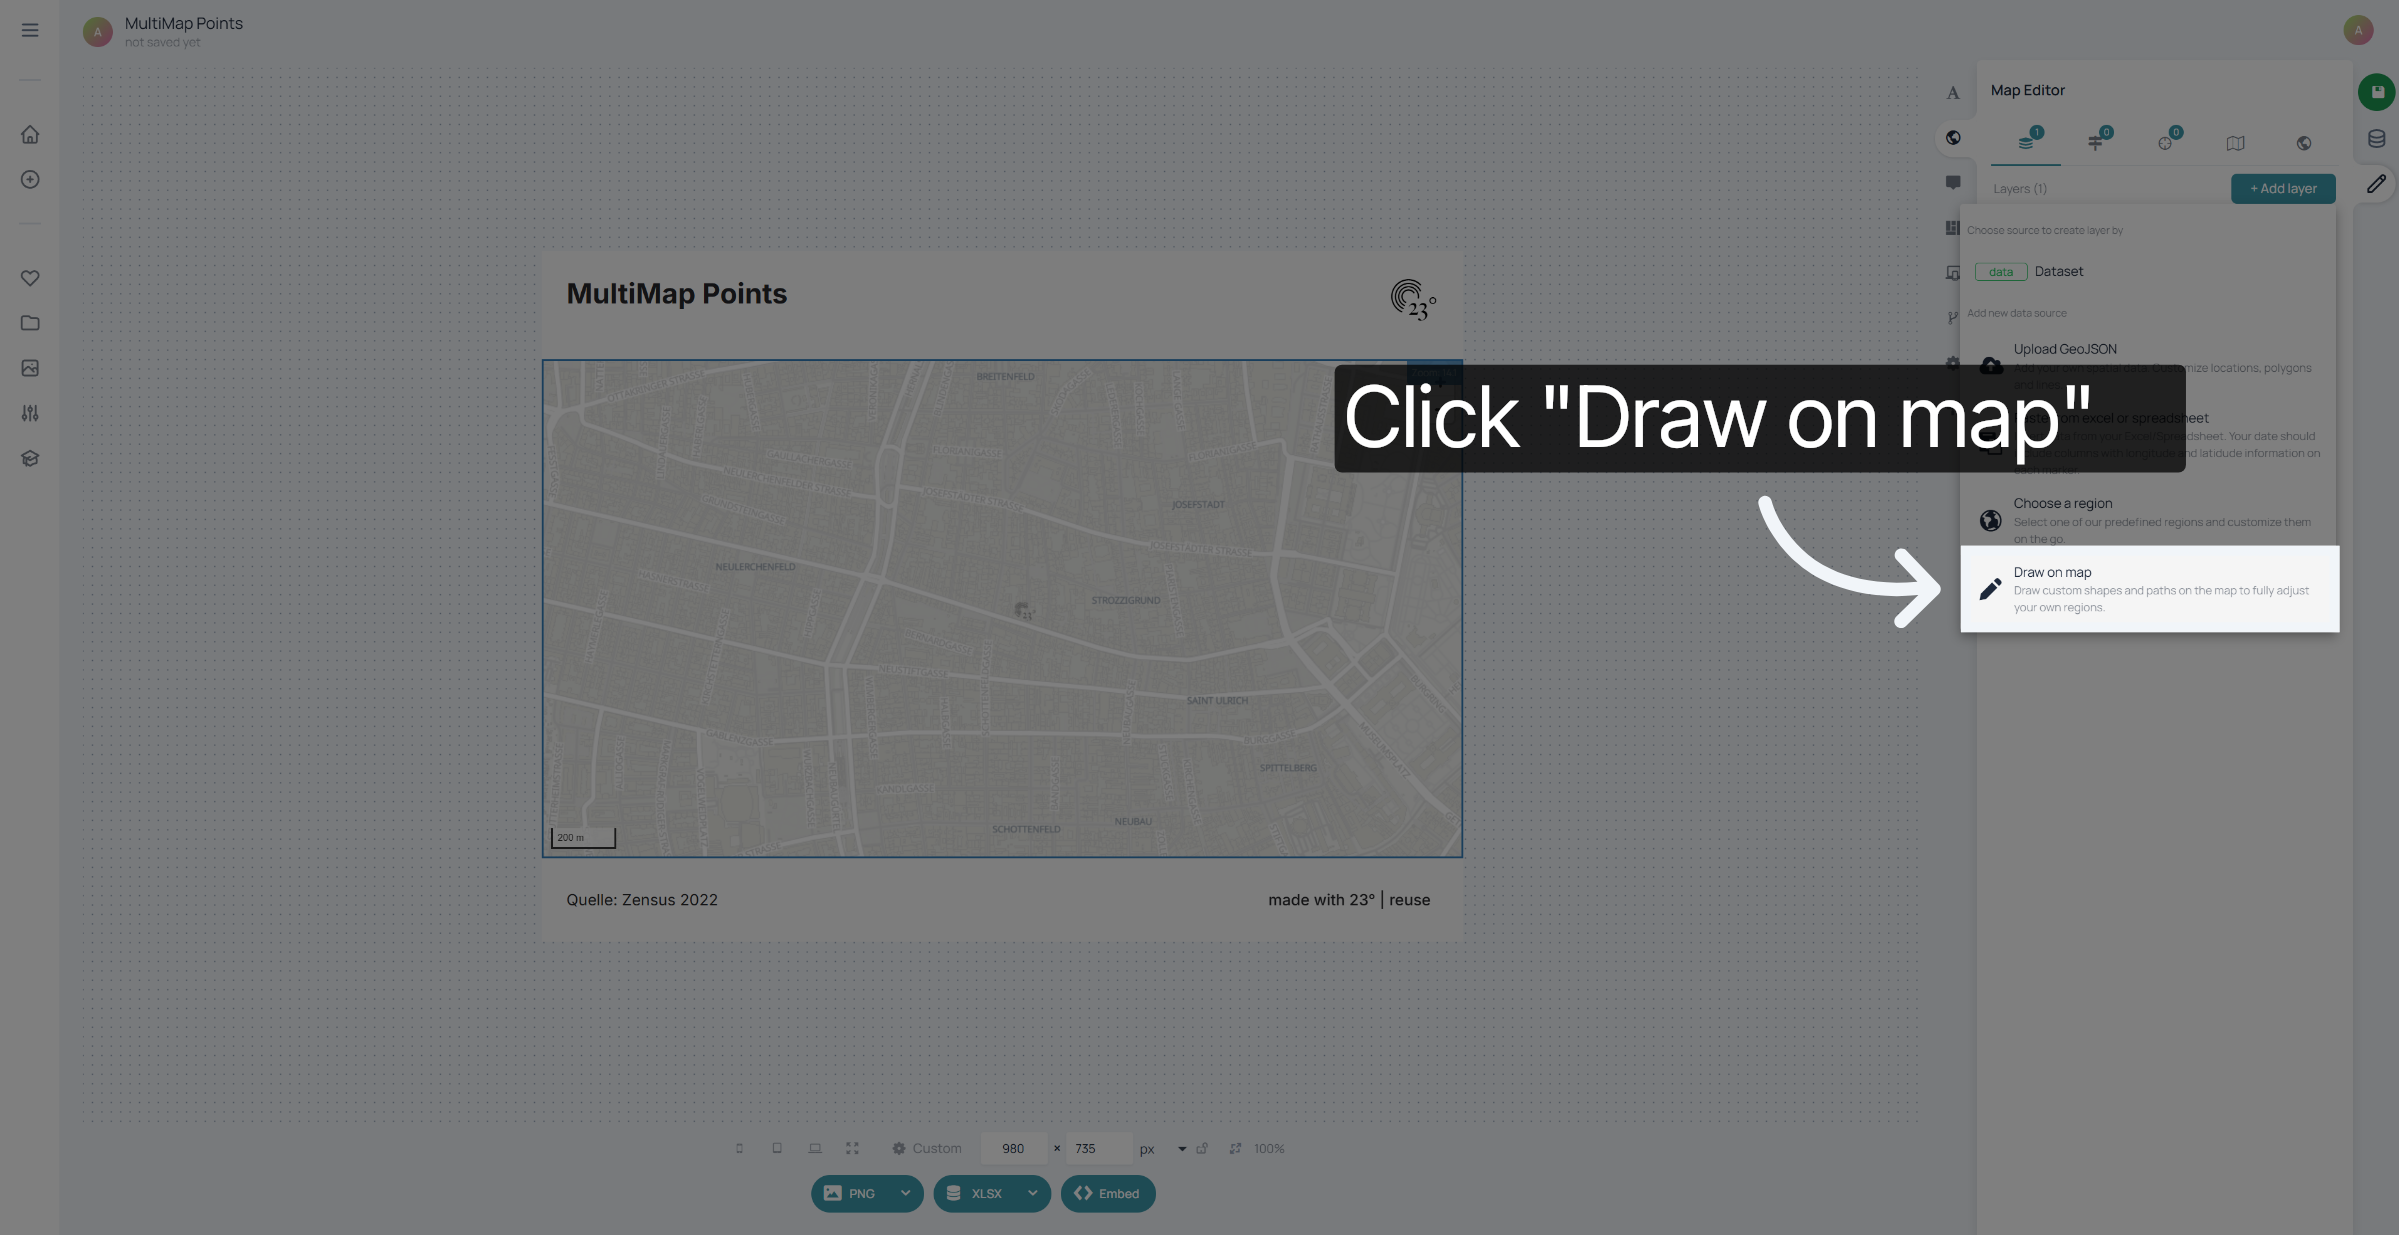
Click "Draw on map".
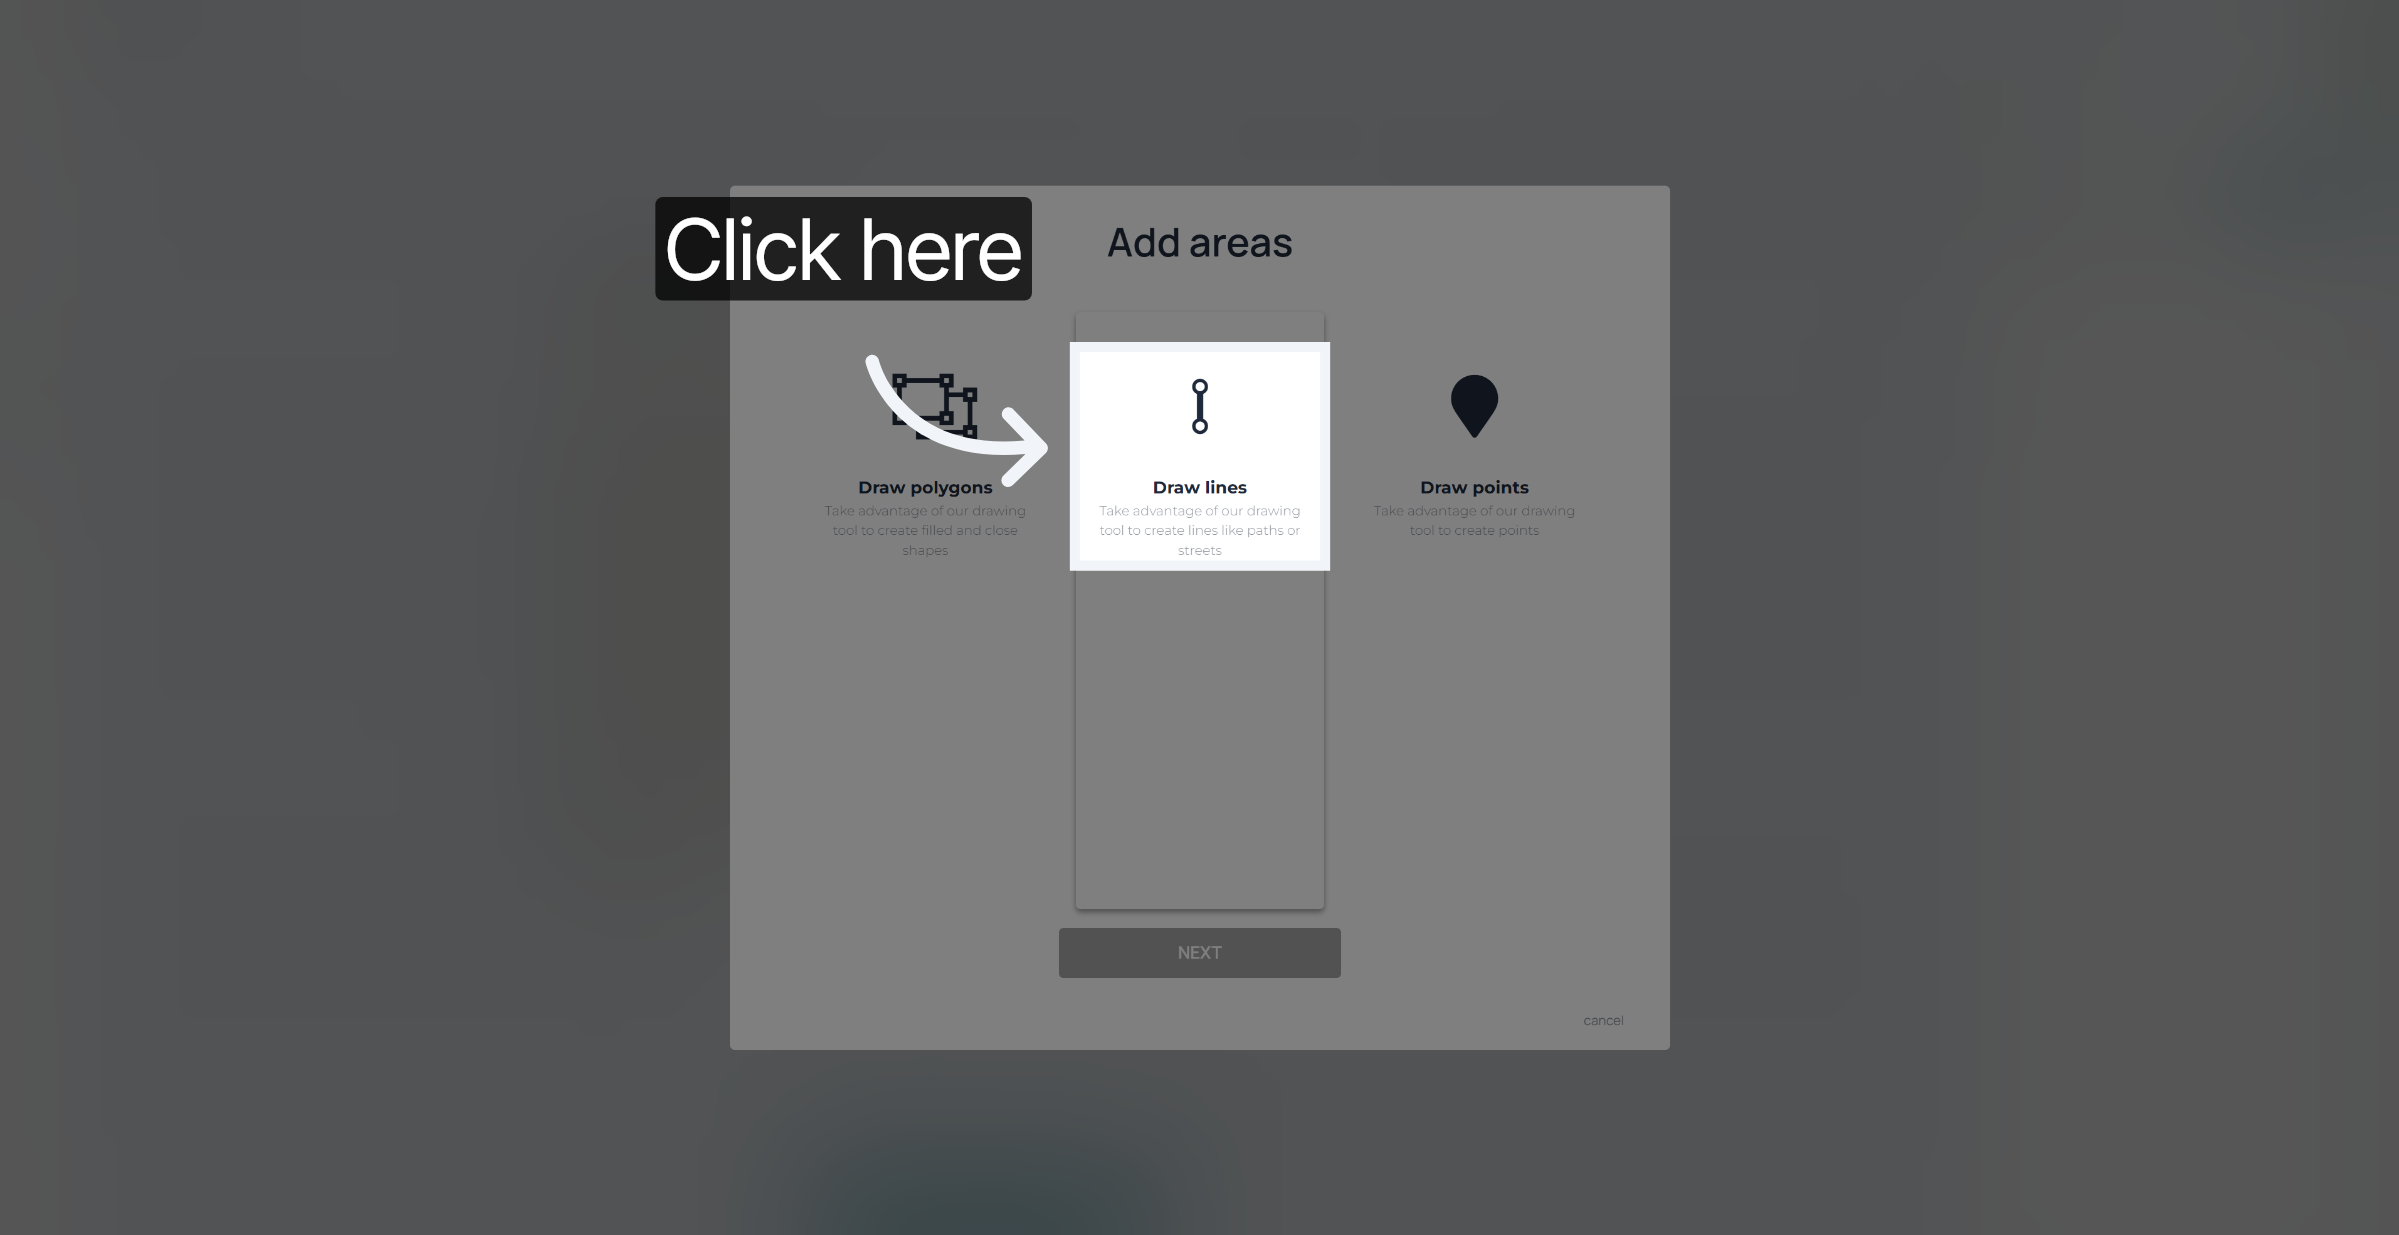
Select "Draw Lines".
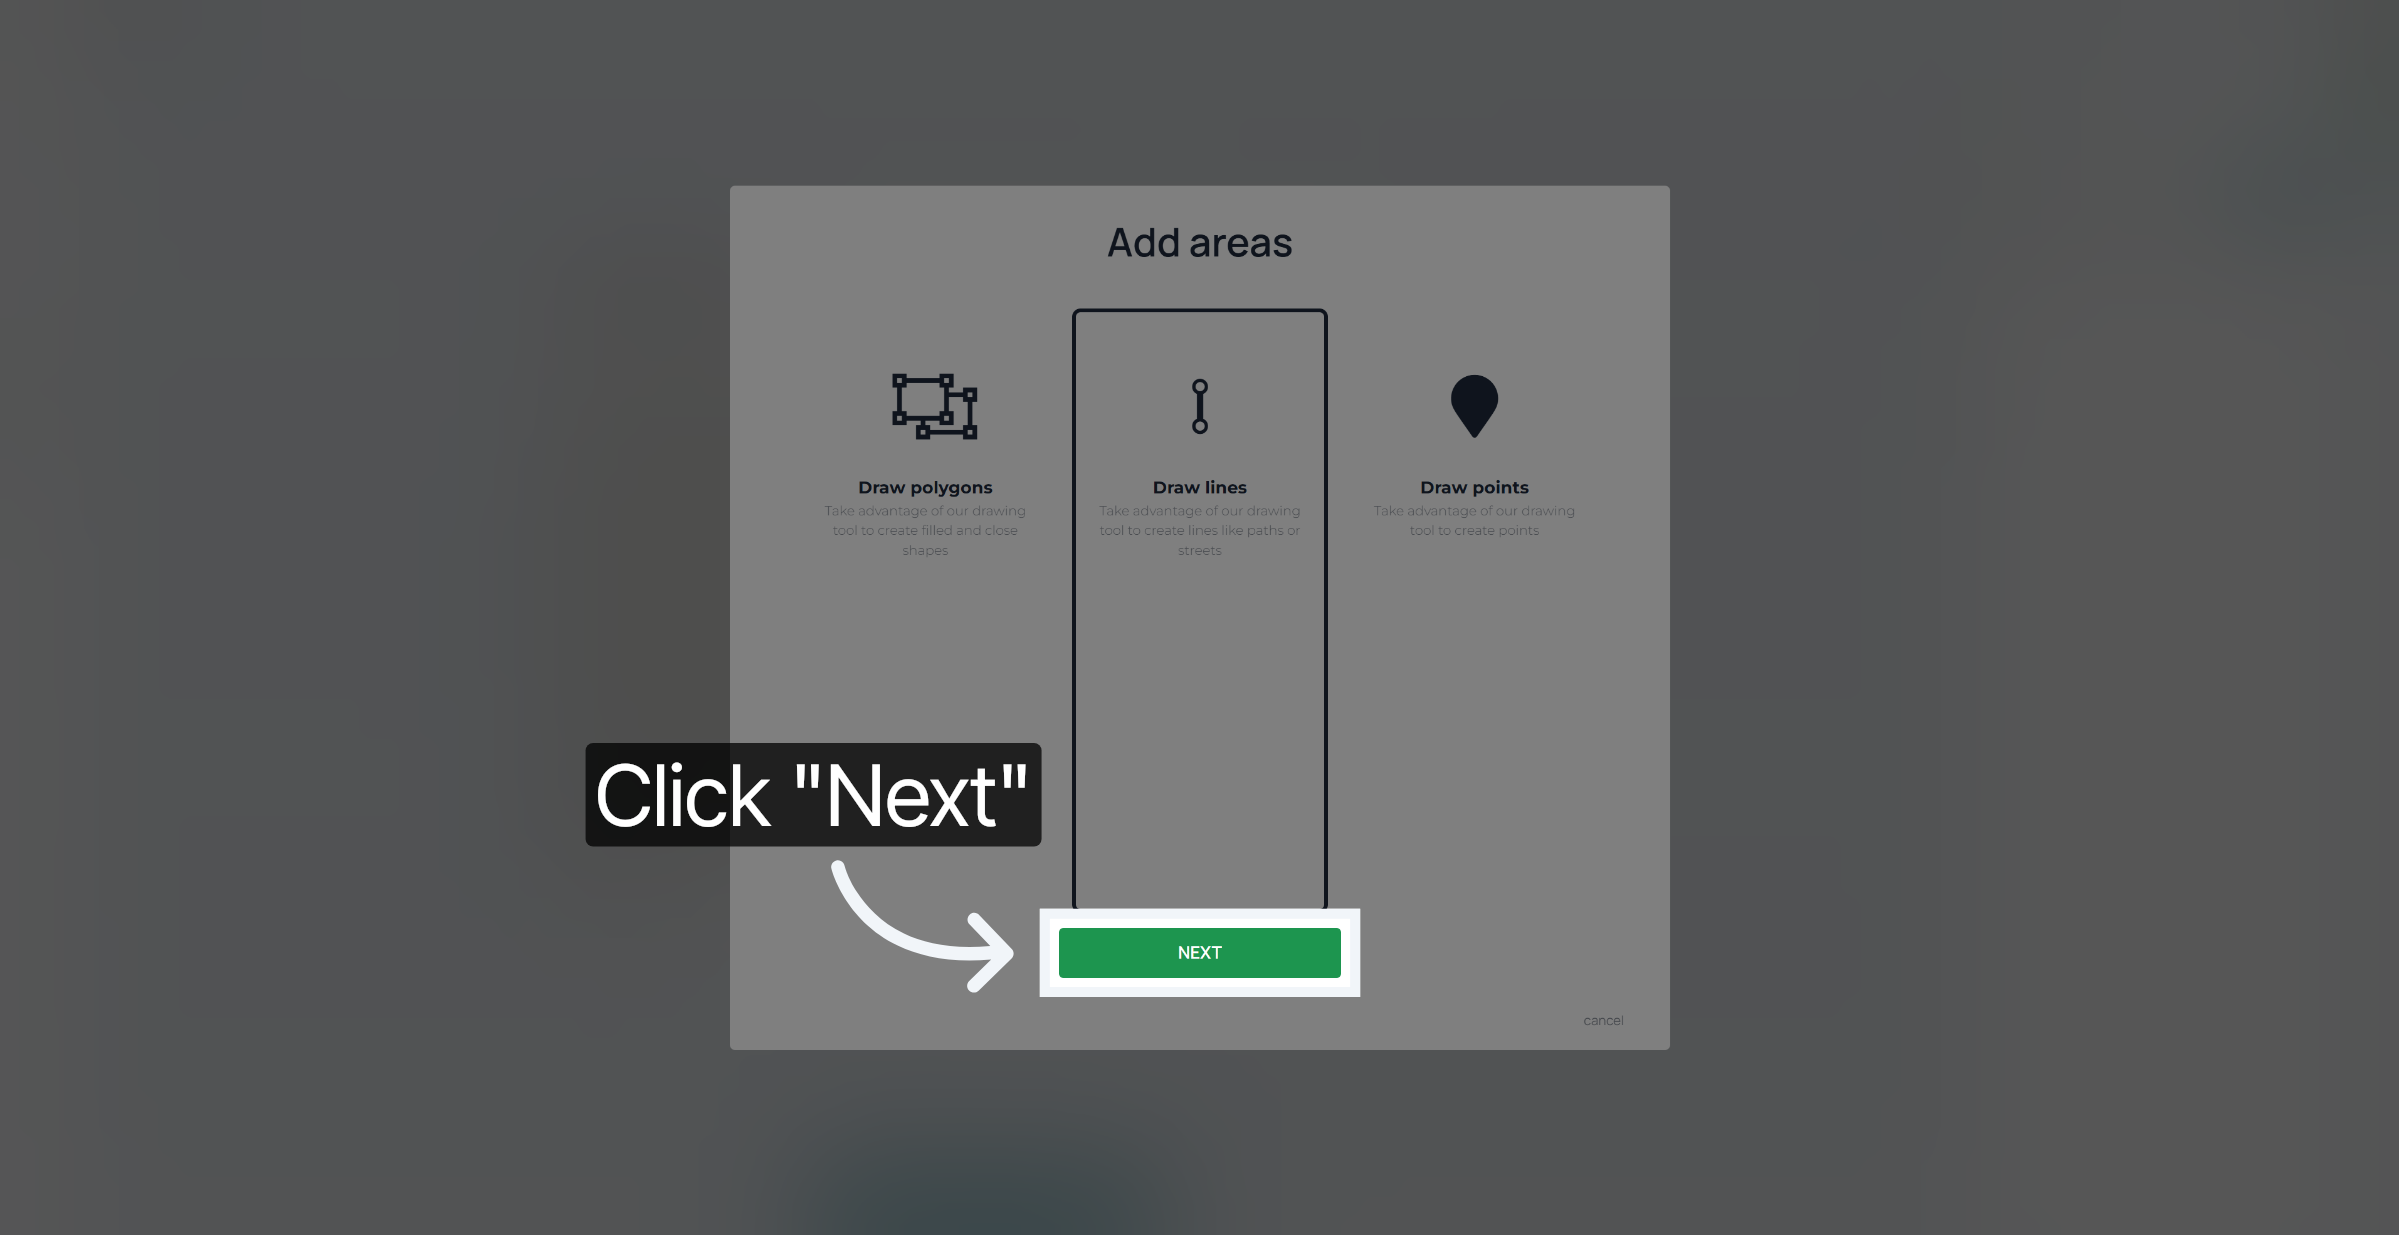
Confirm your selection.
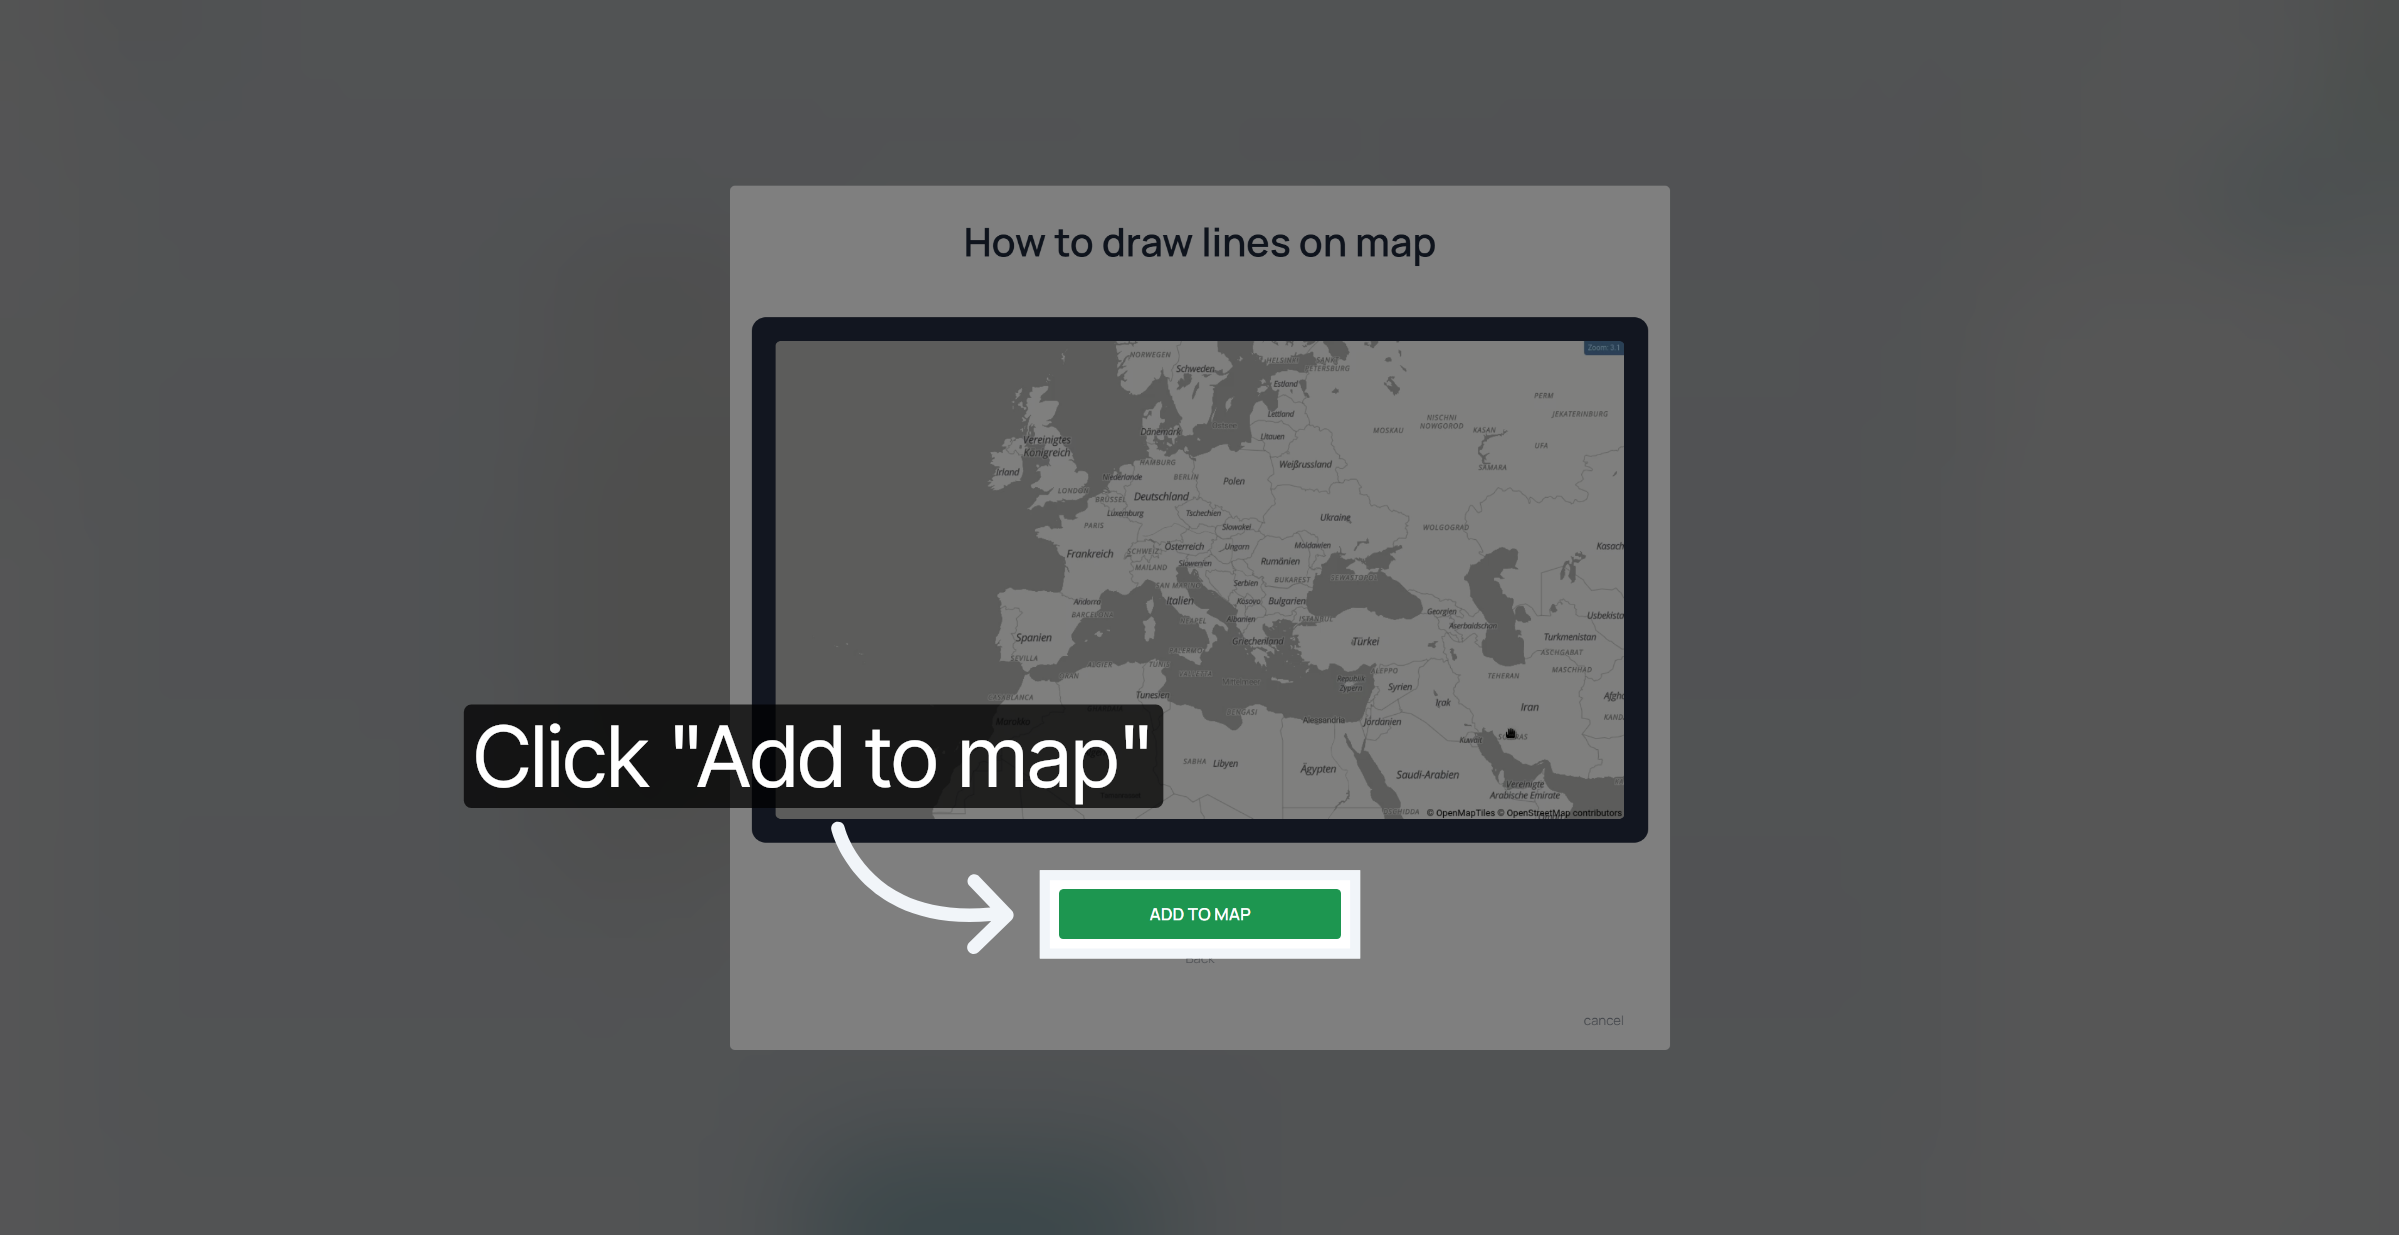
Add the new line layer to your map.
Click here to activate the drawing mode and begin plotting points on the map.
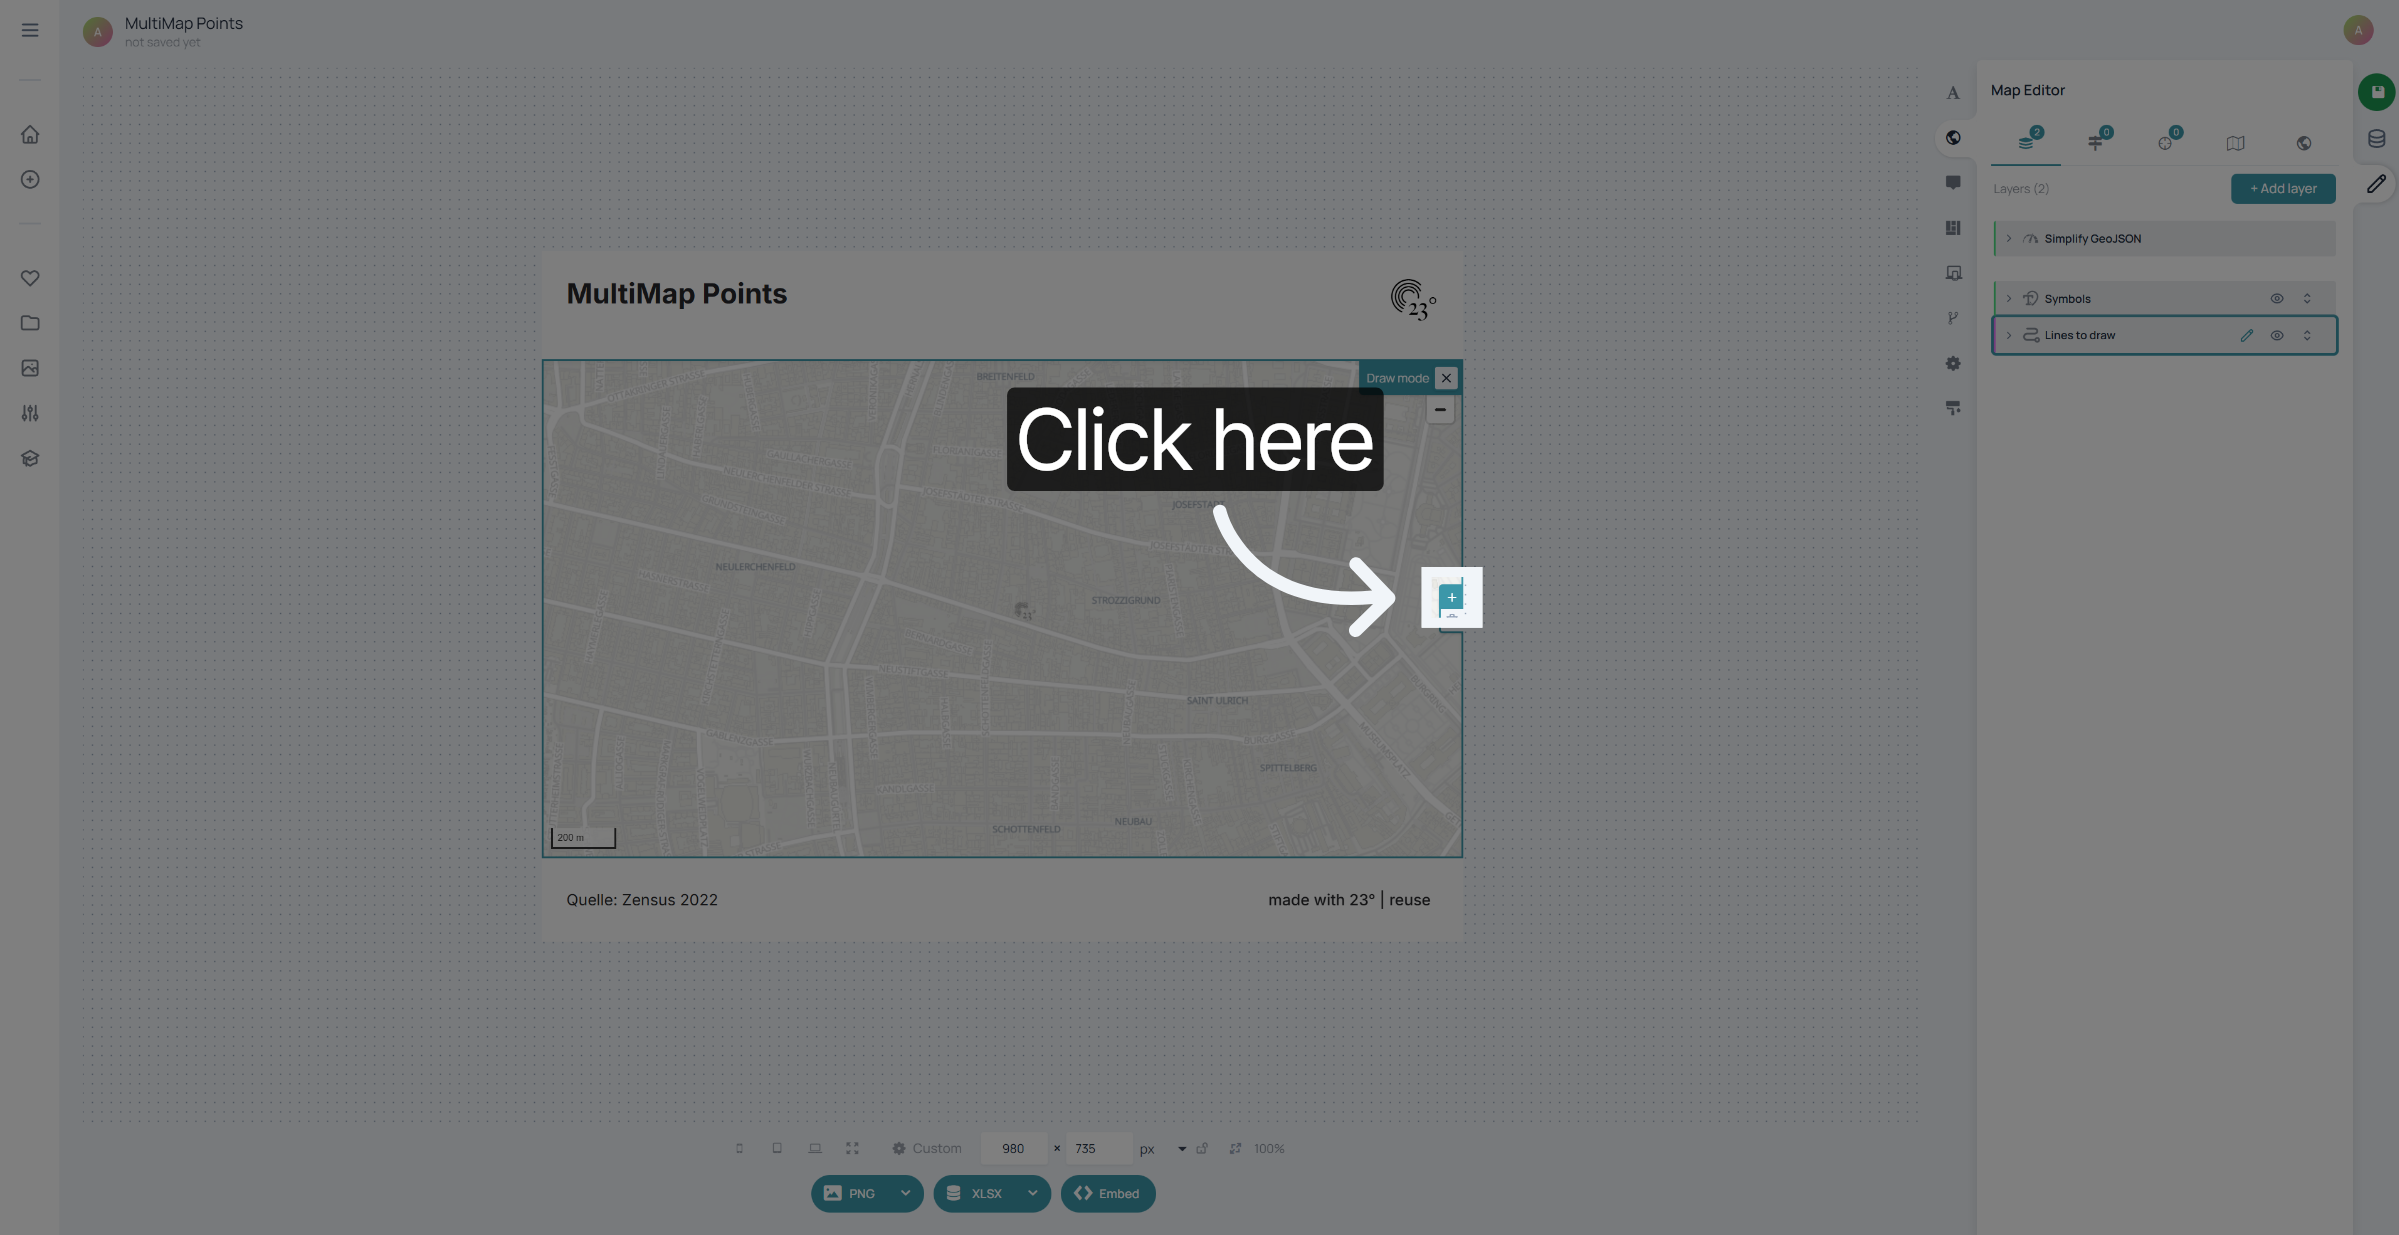
Click on your starting point to start drawing the line.
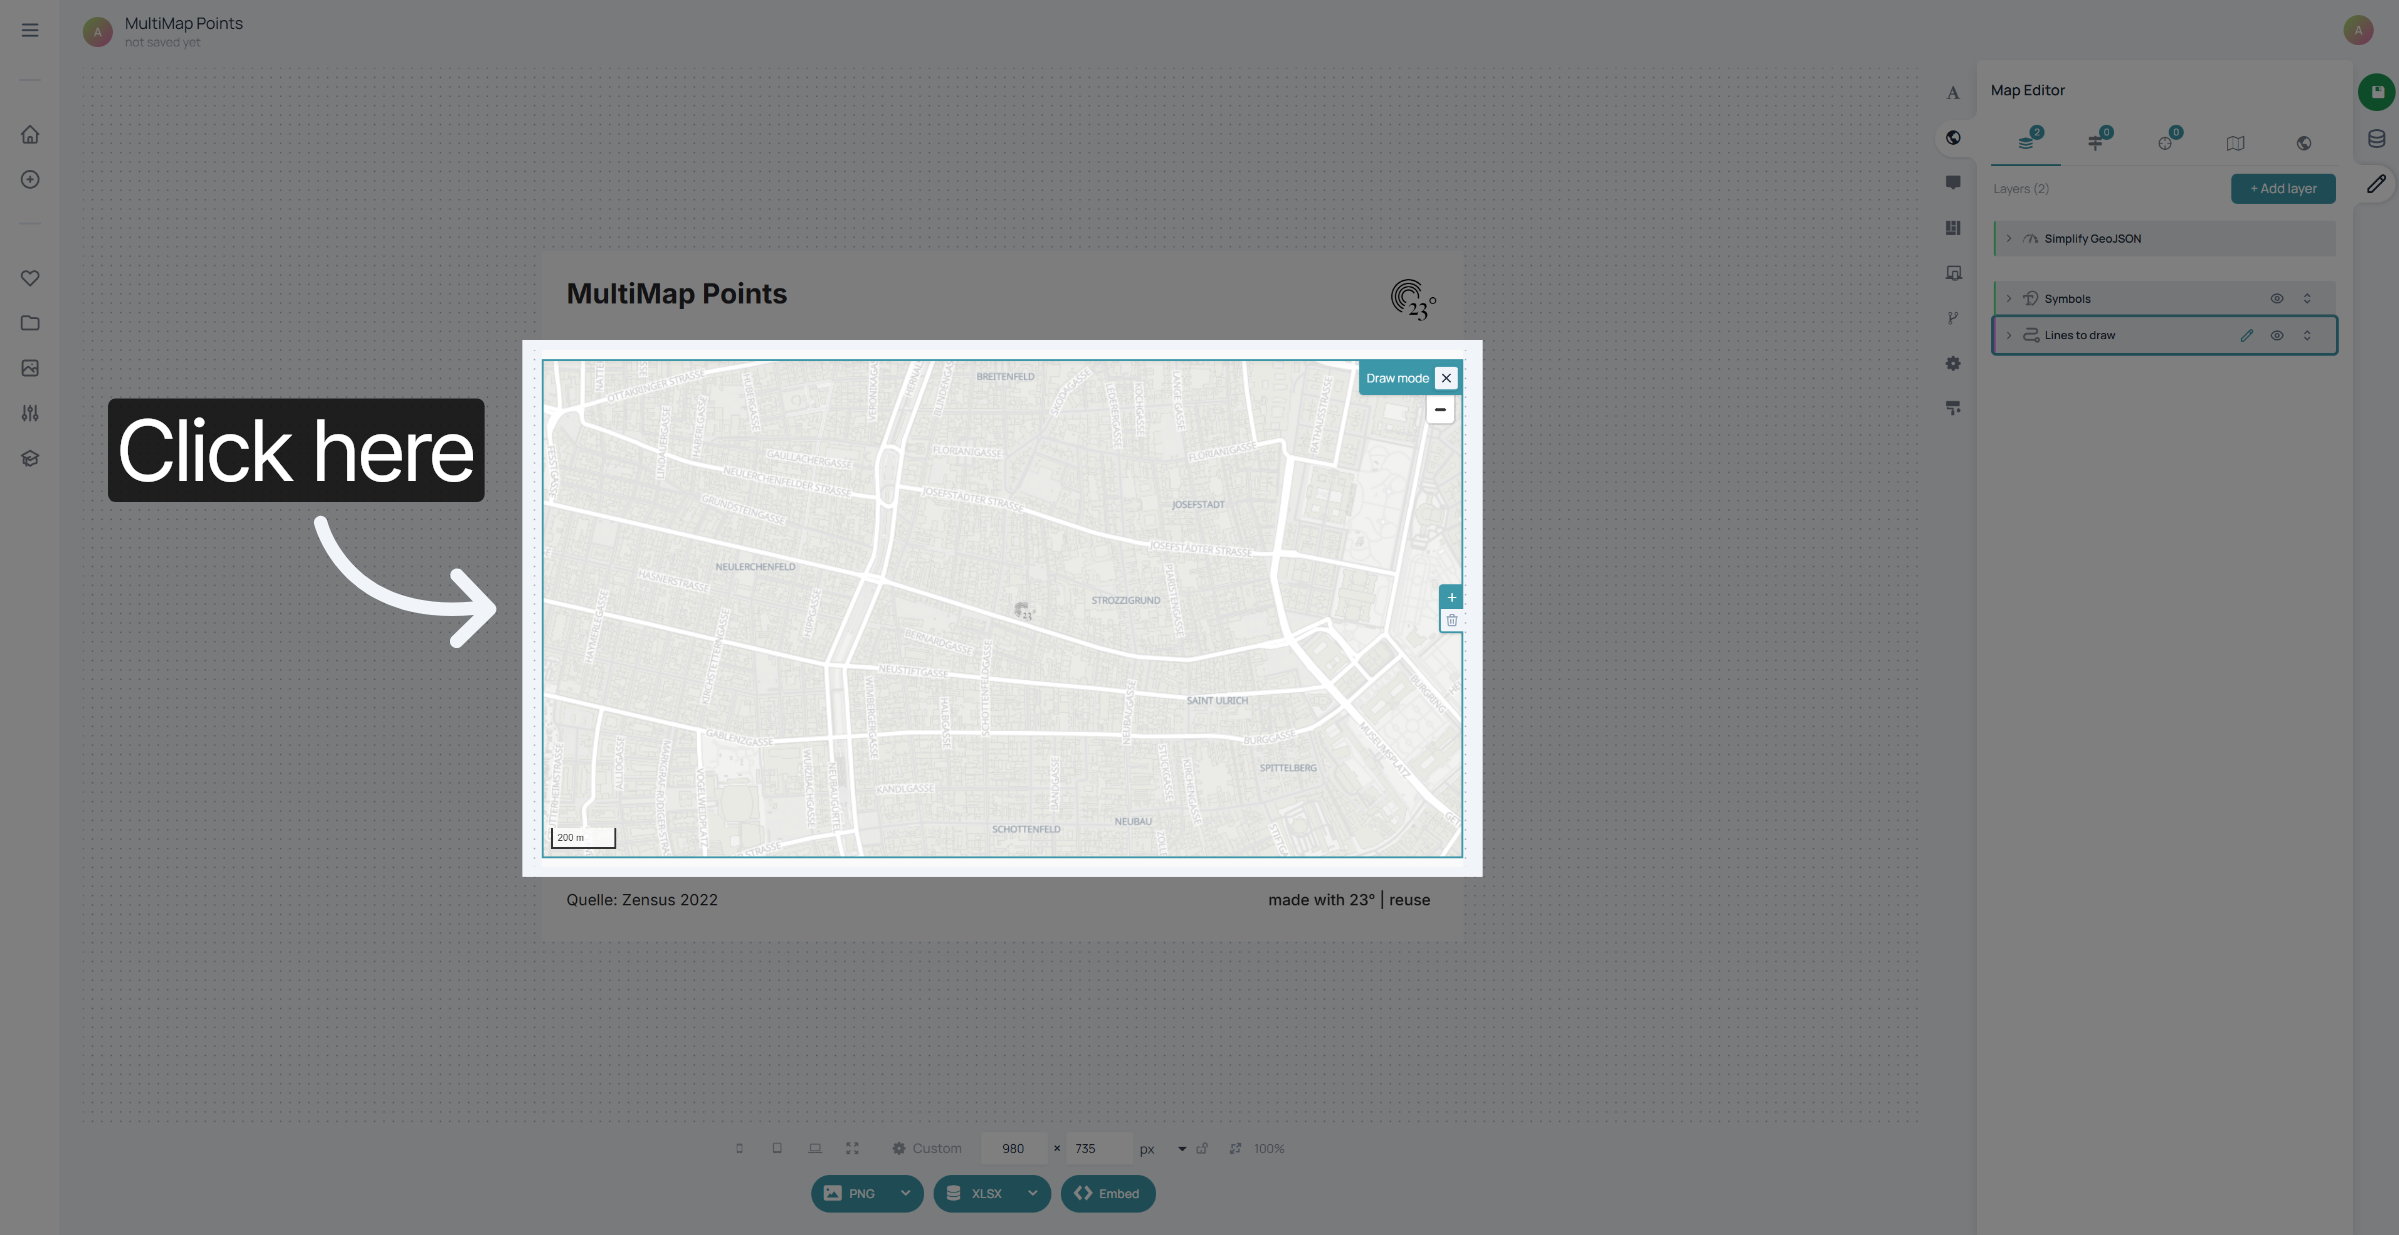
click on the next point to continue your line.
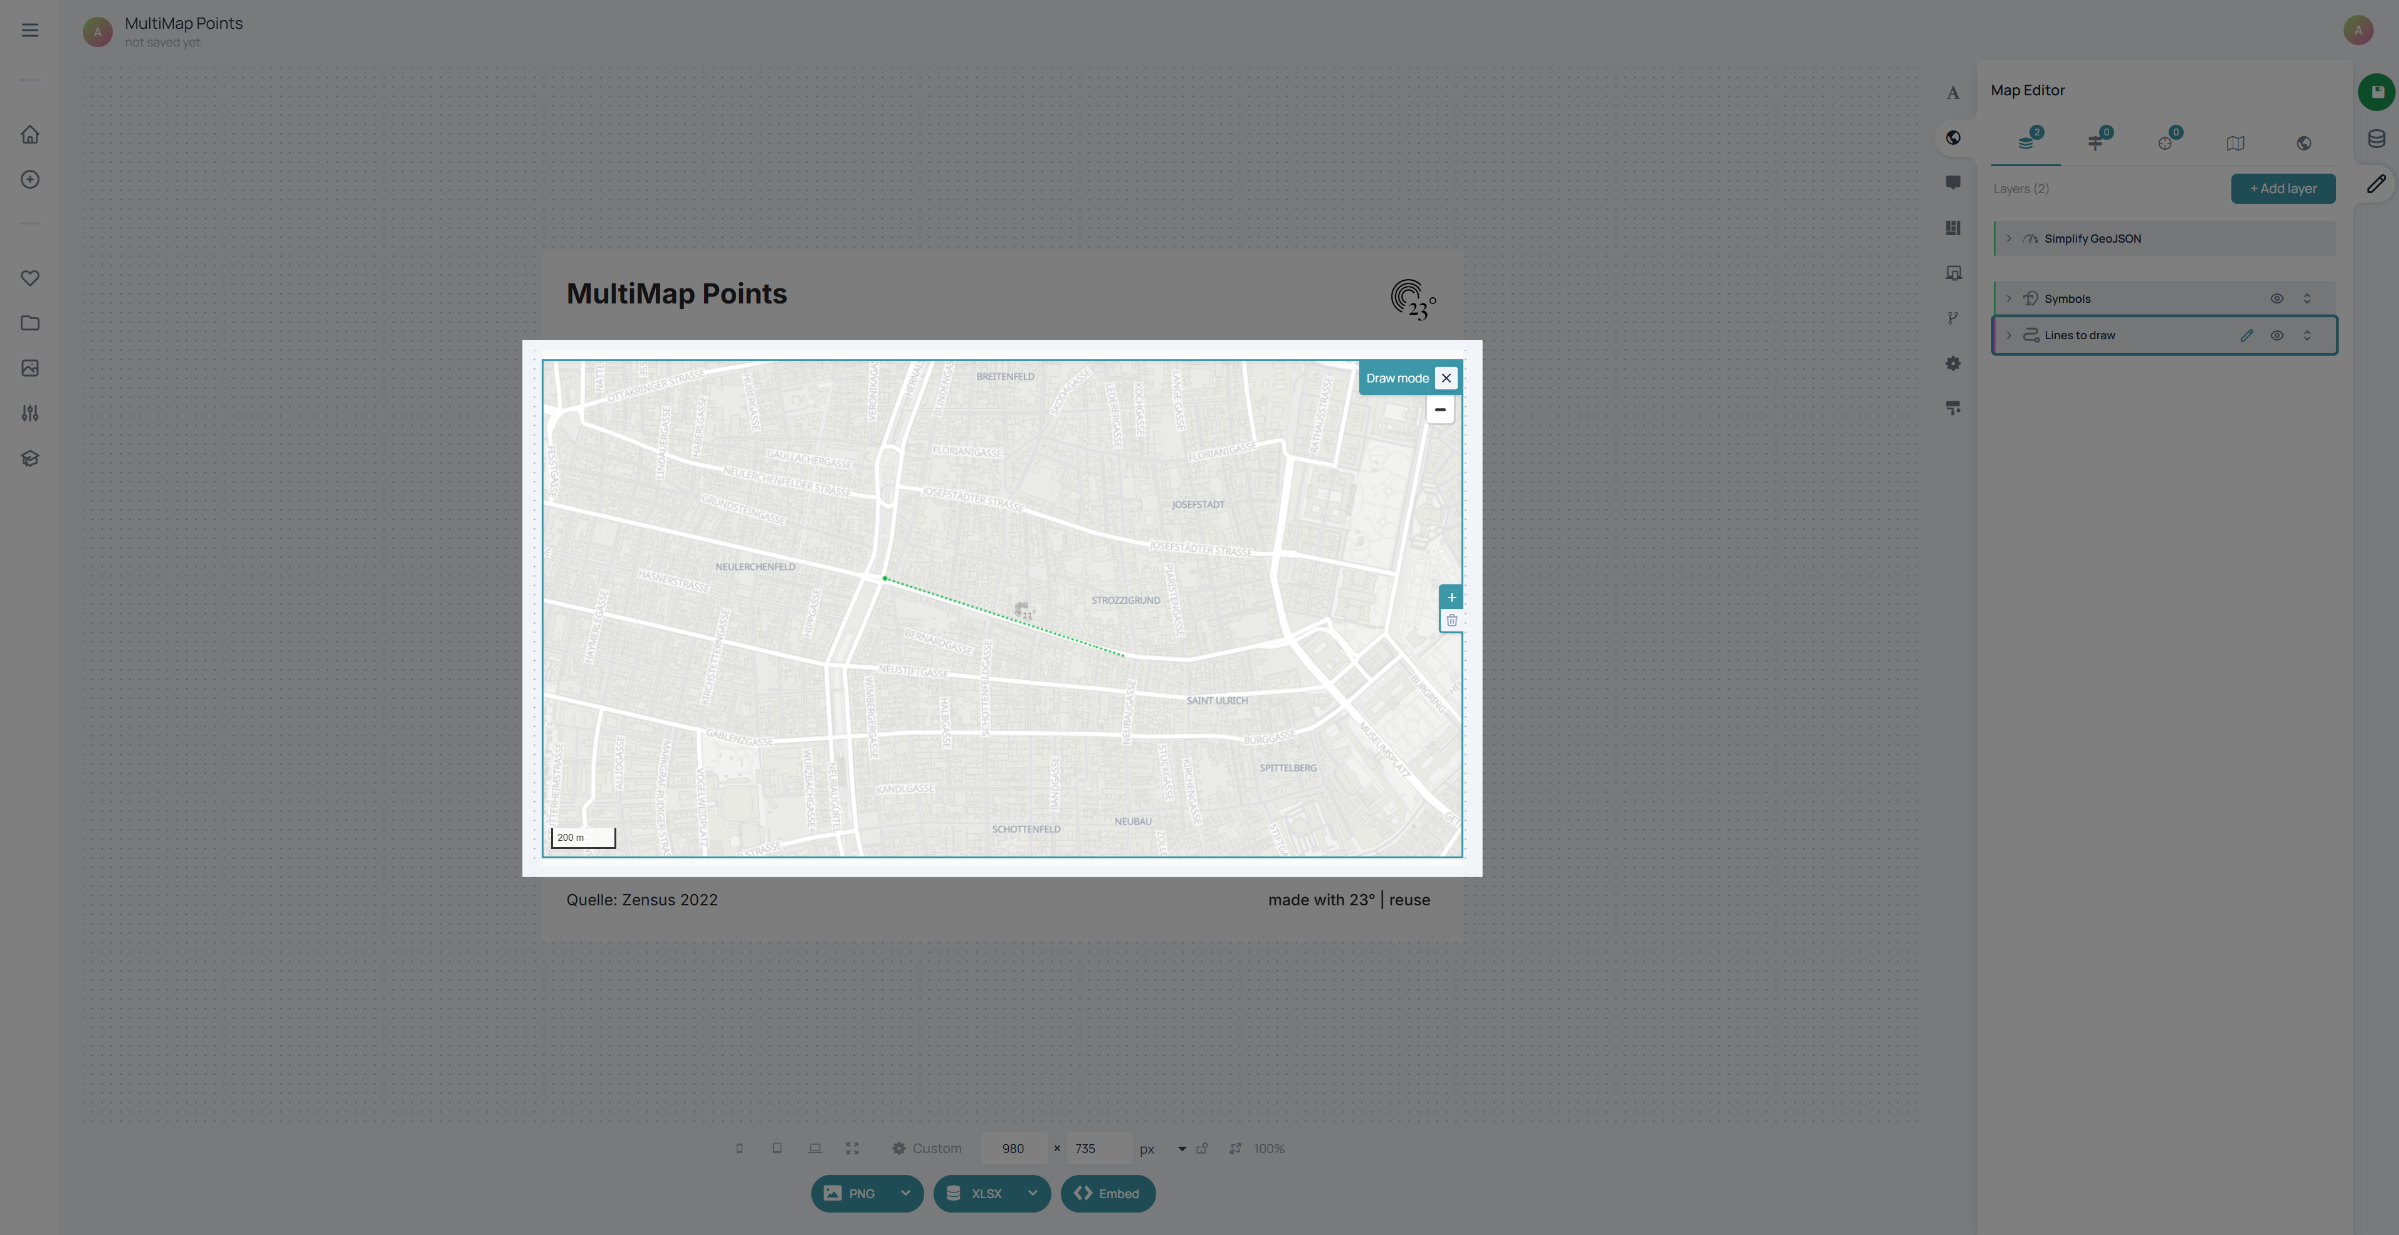
Double click when finished drawing. In the next step go to your line layer to style your line.
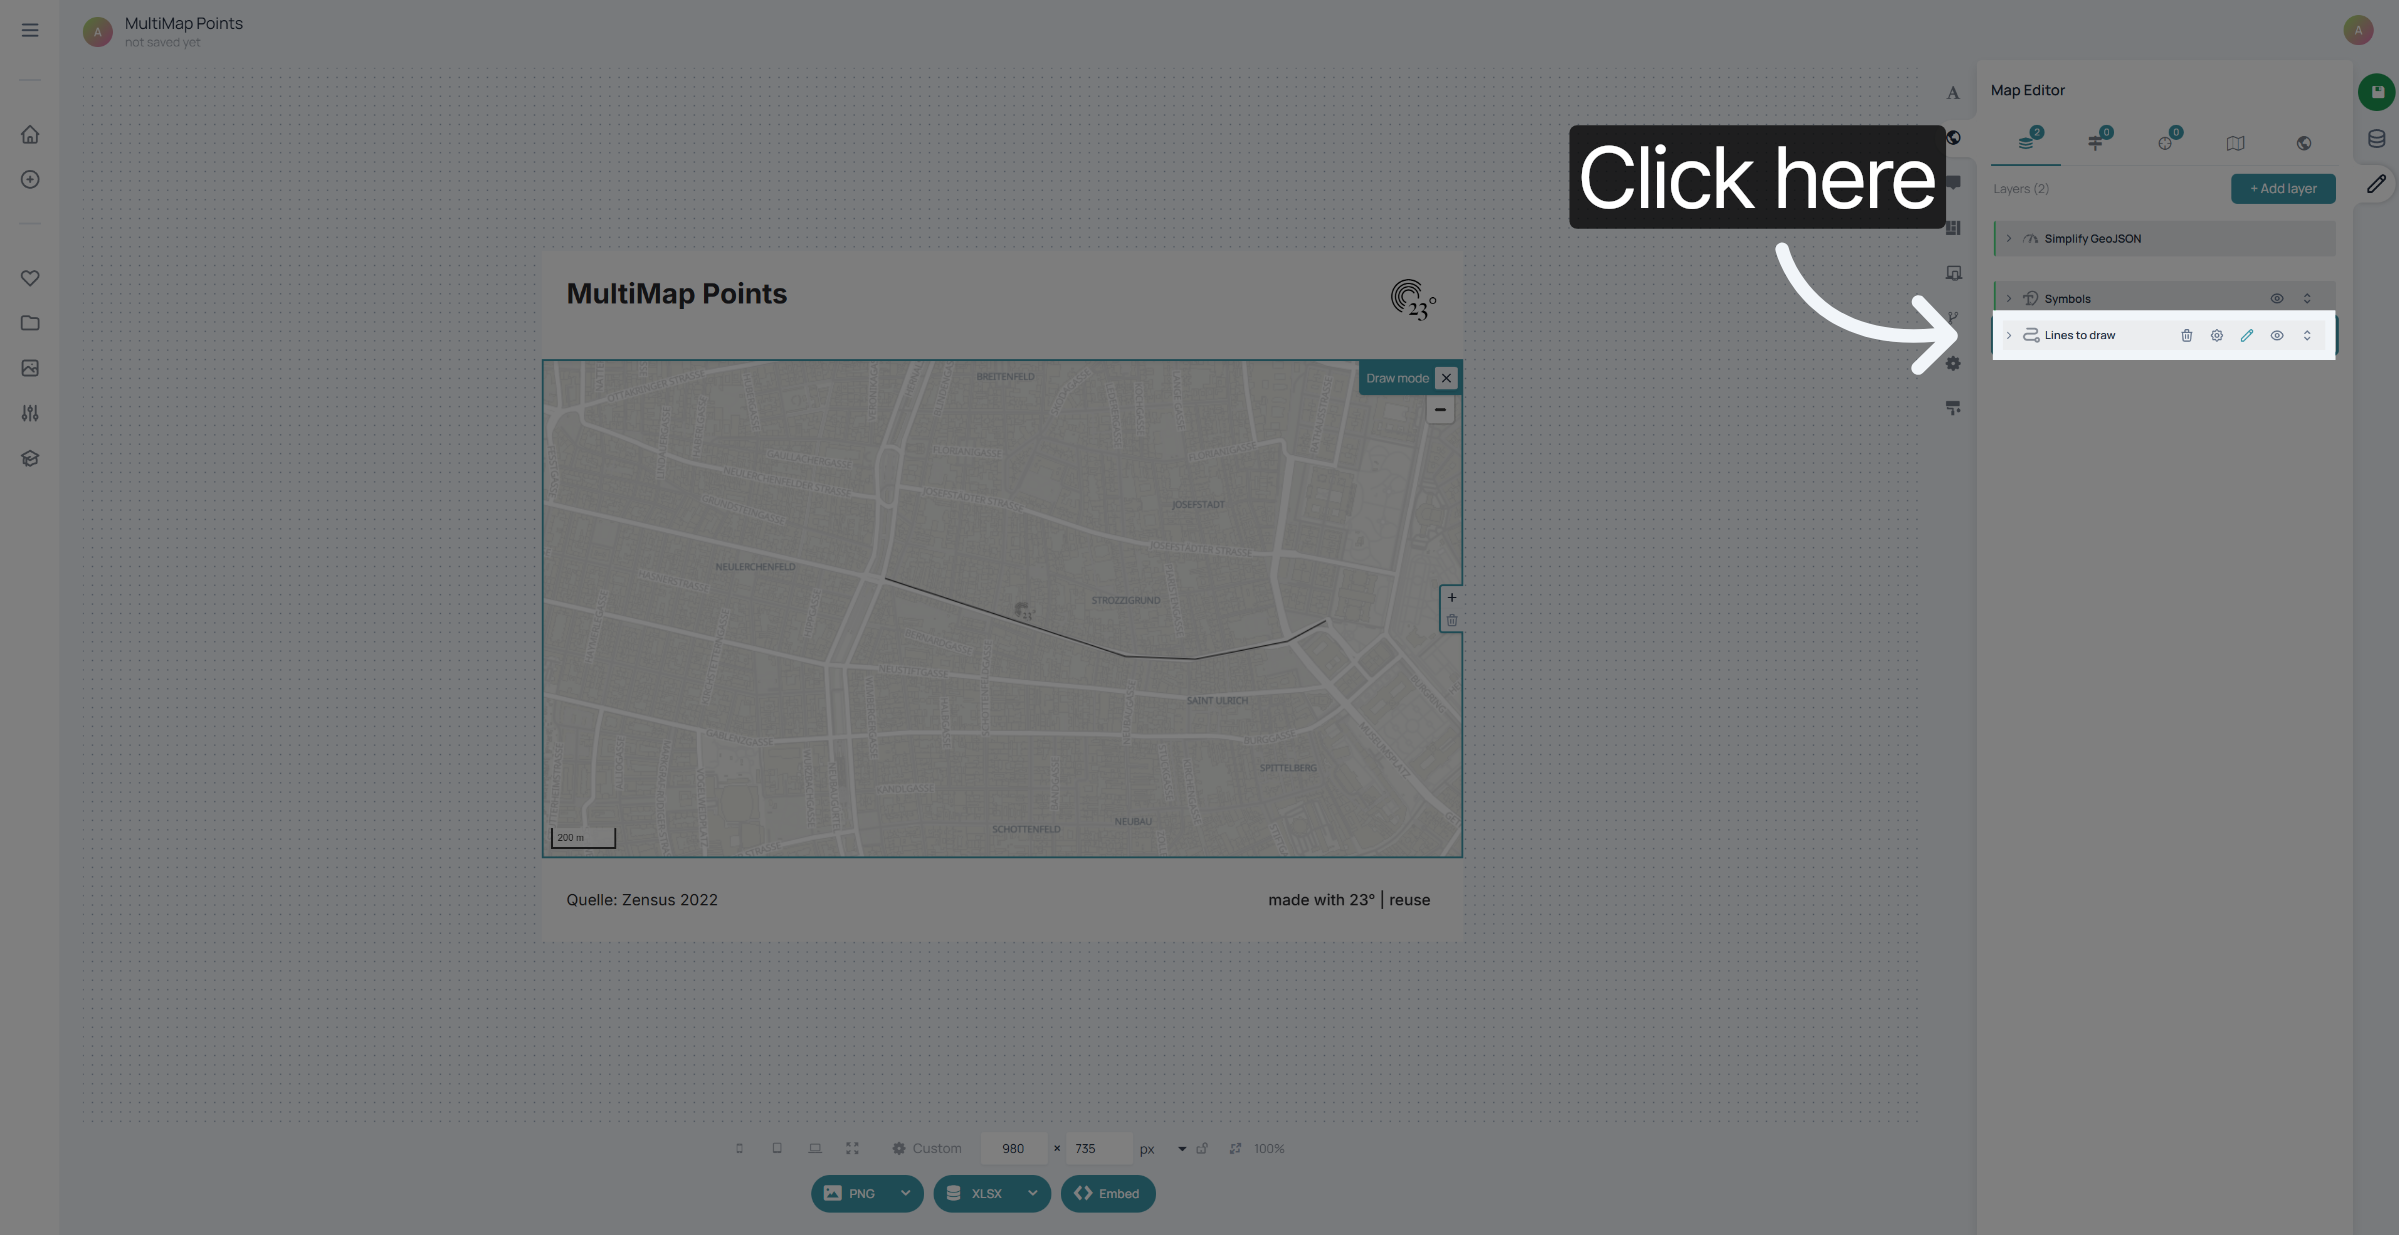
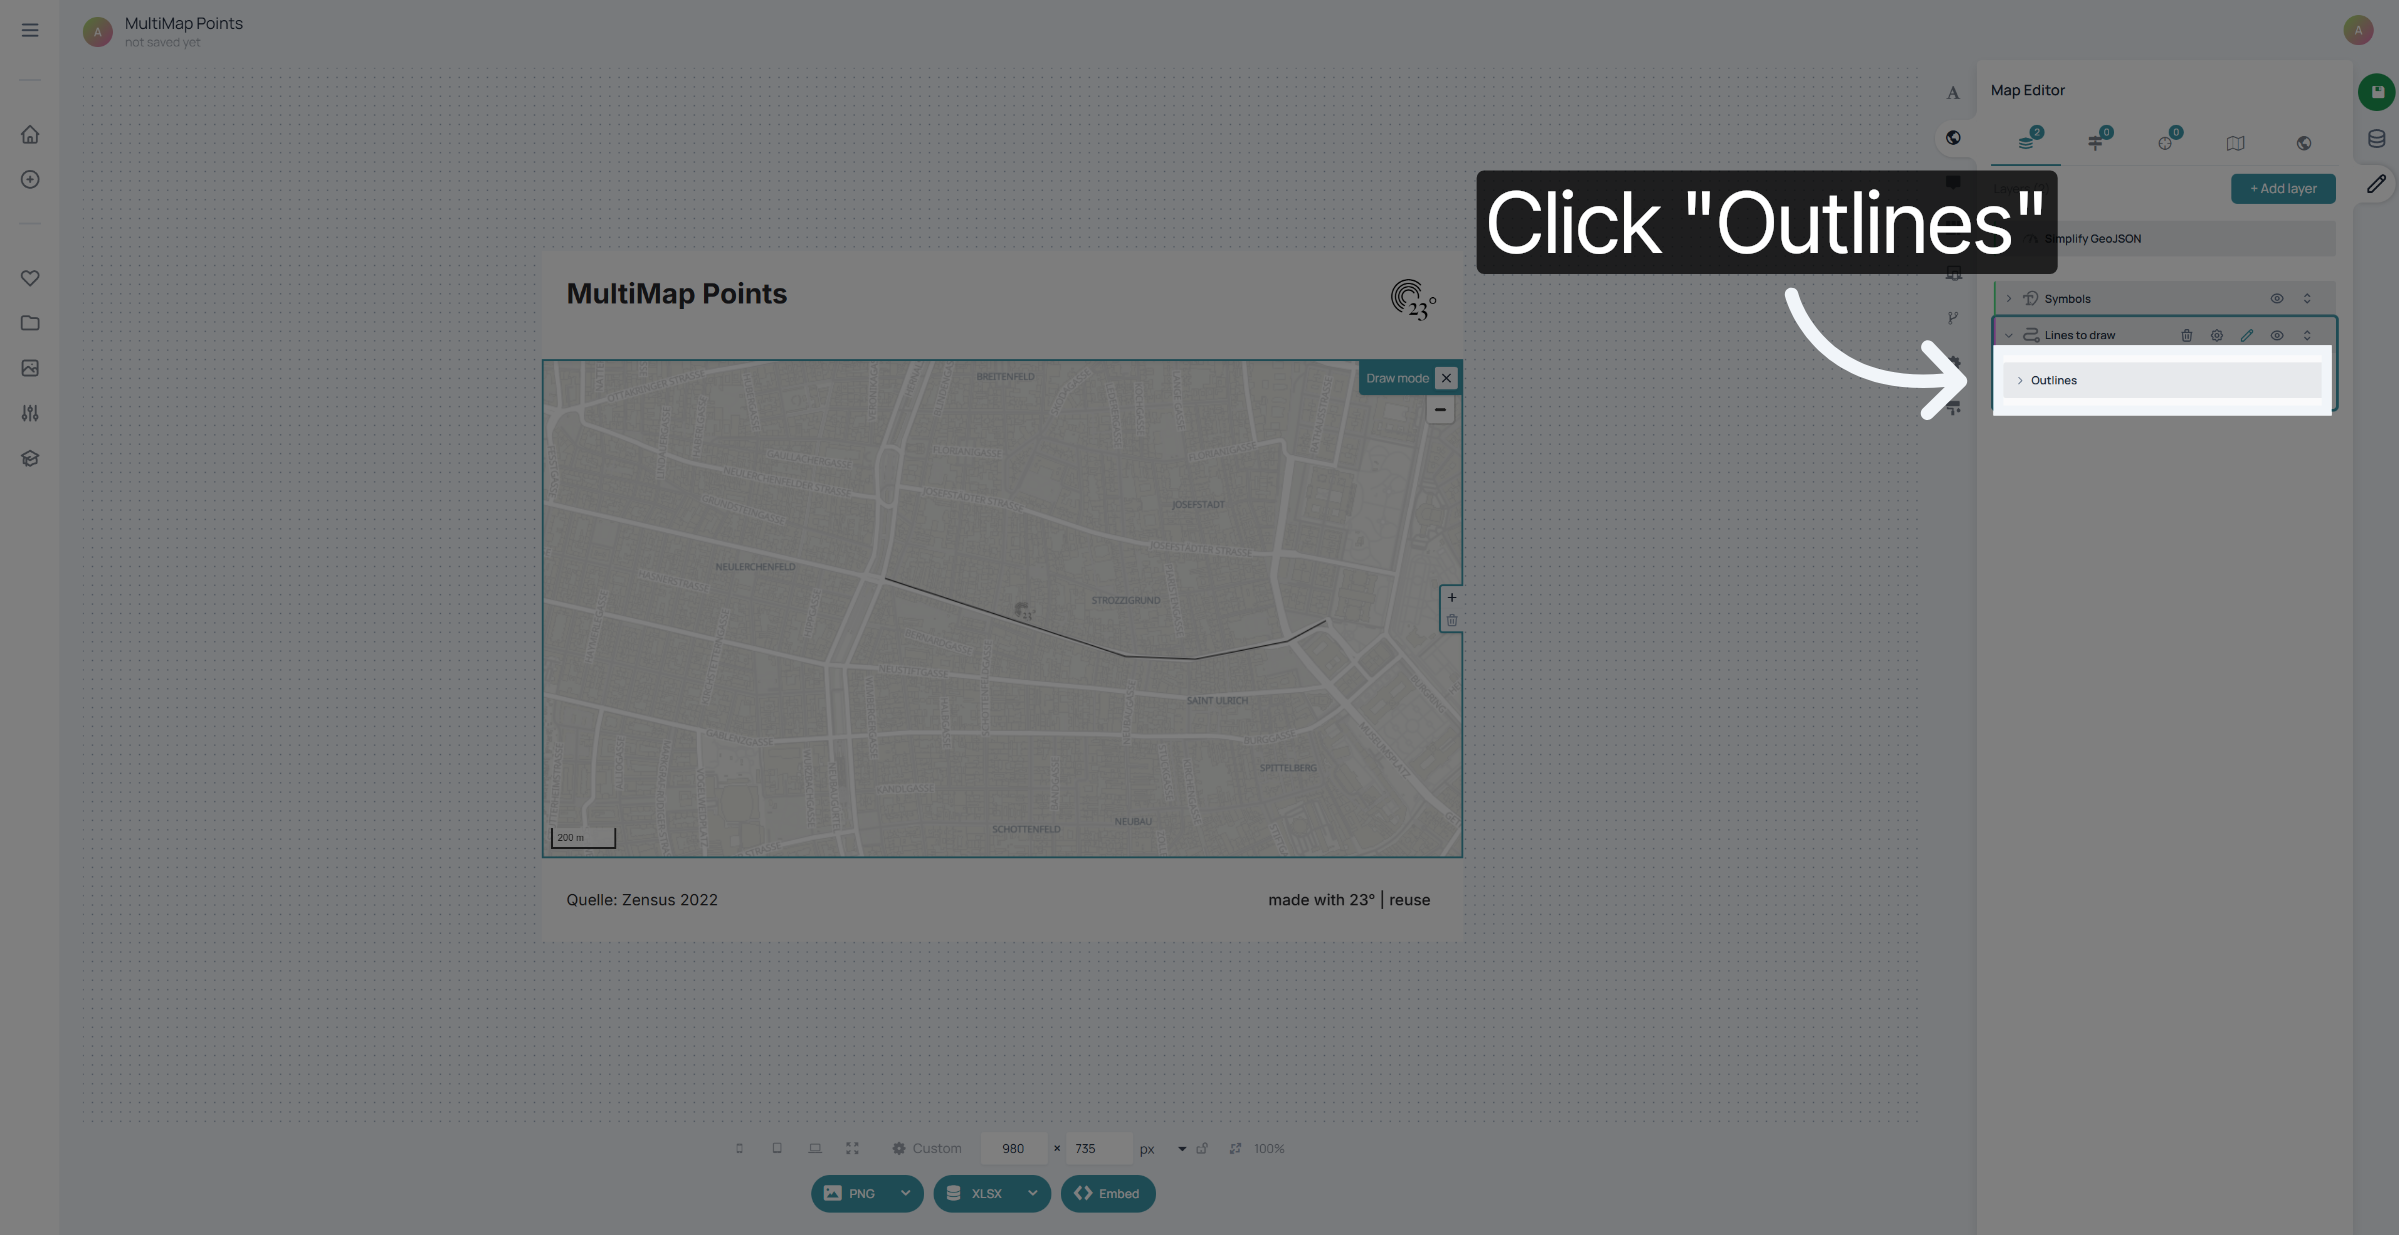
Click "Outlines" to apply outline styling to your drawn lines.
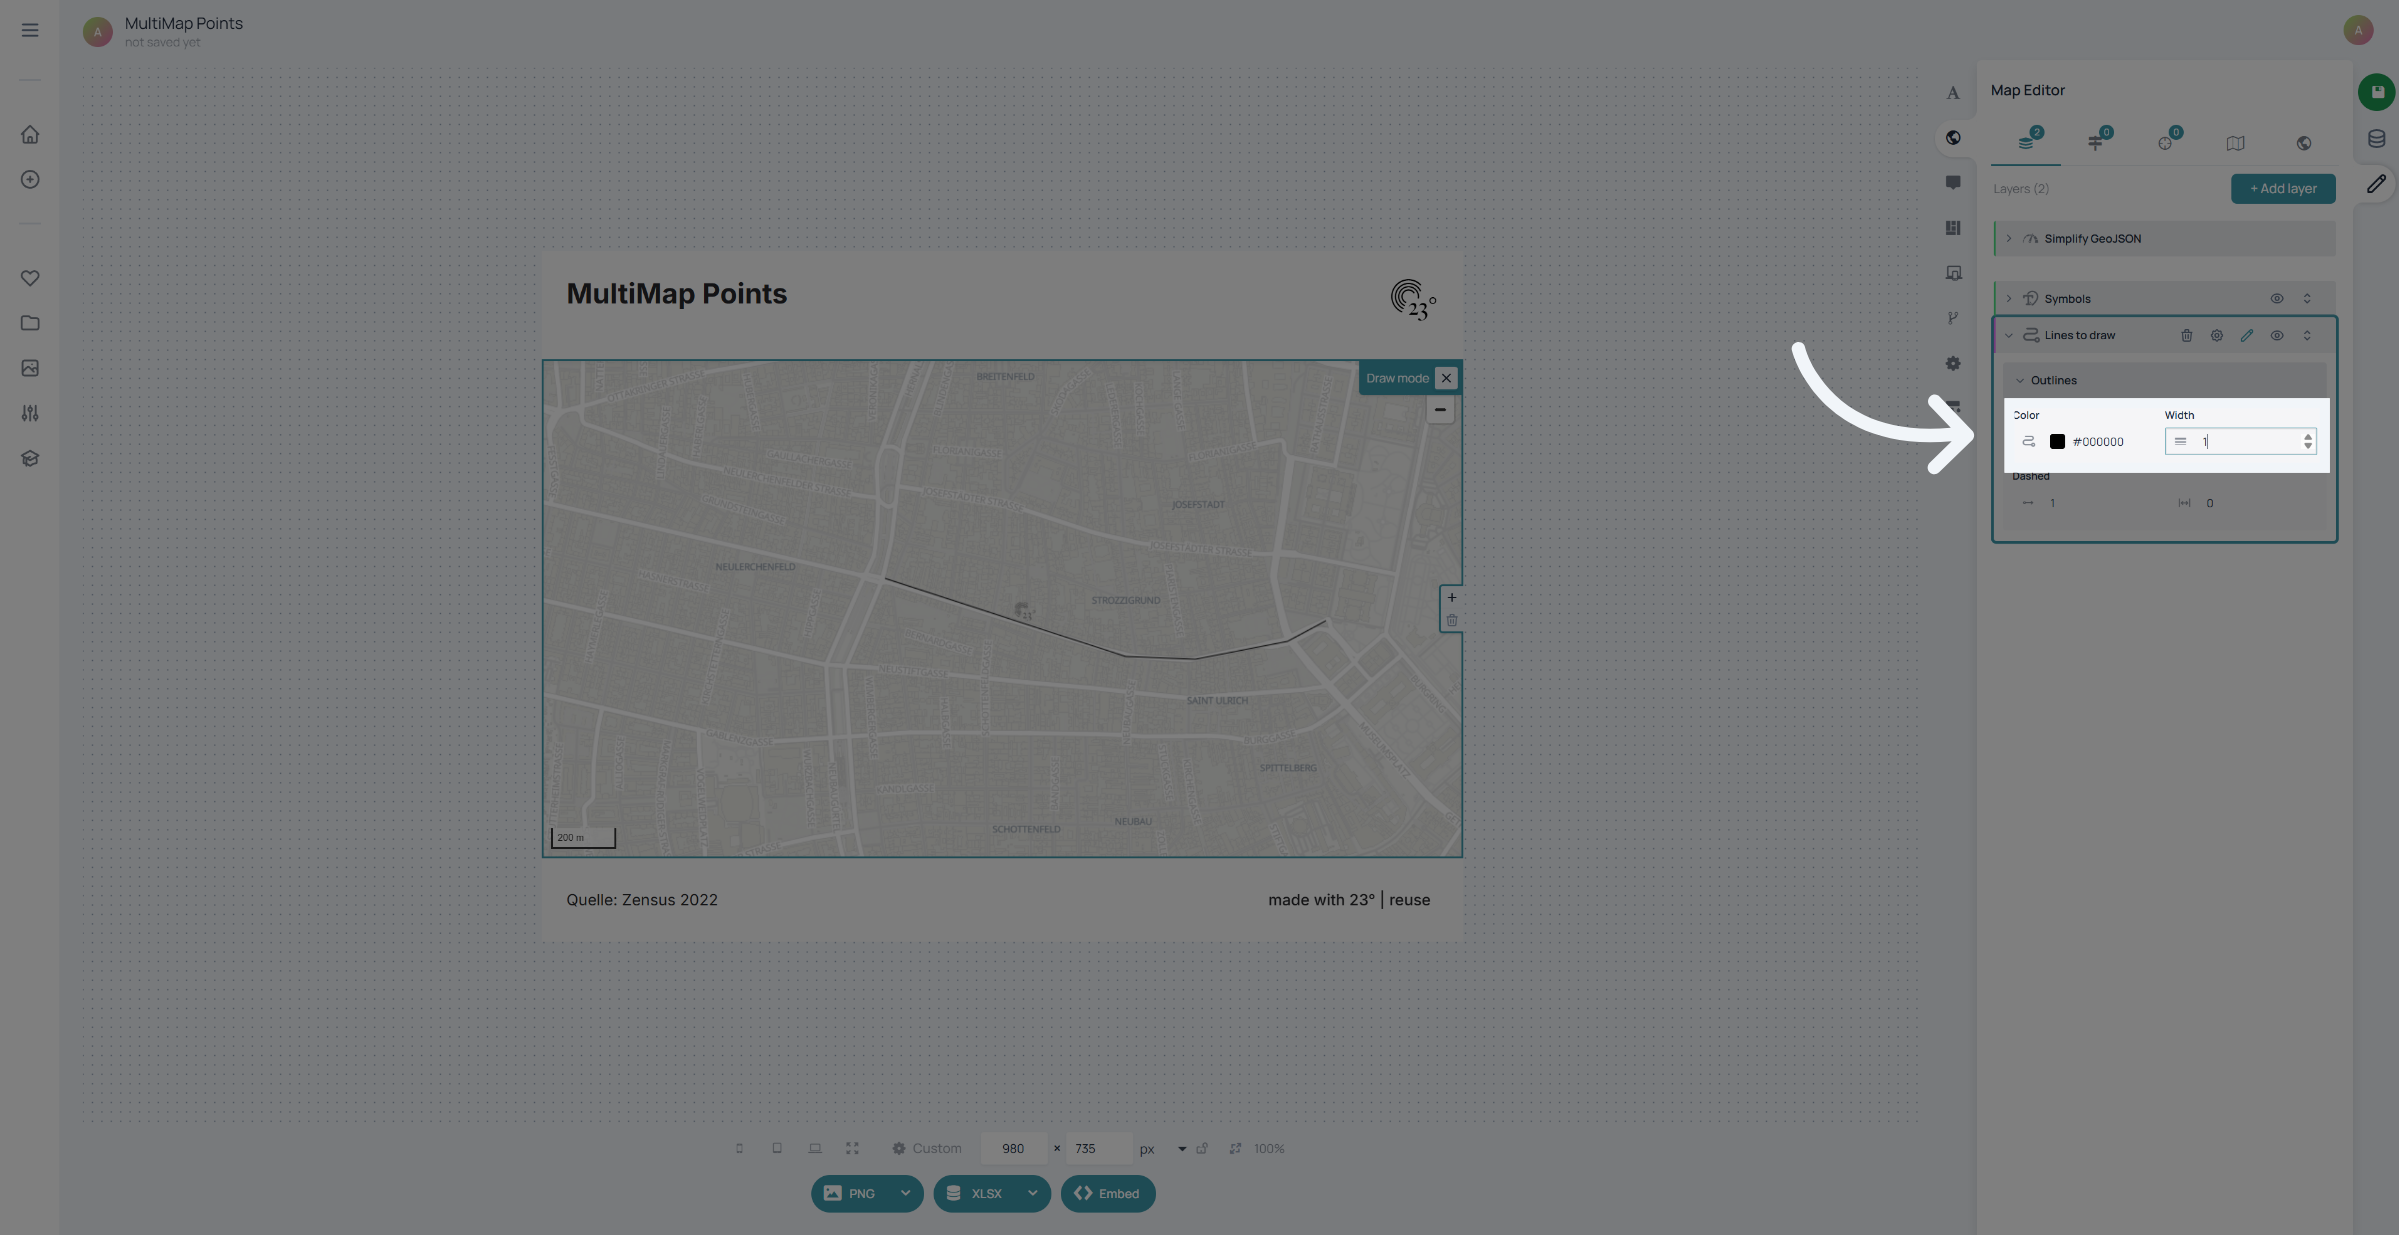
You can set a different line colour and an outline width
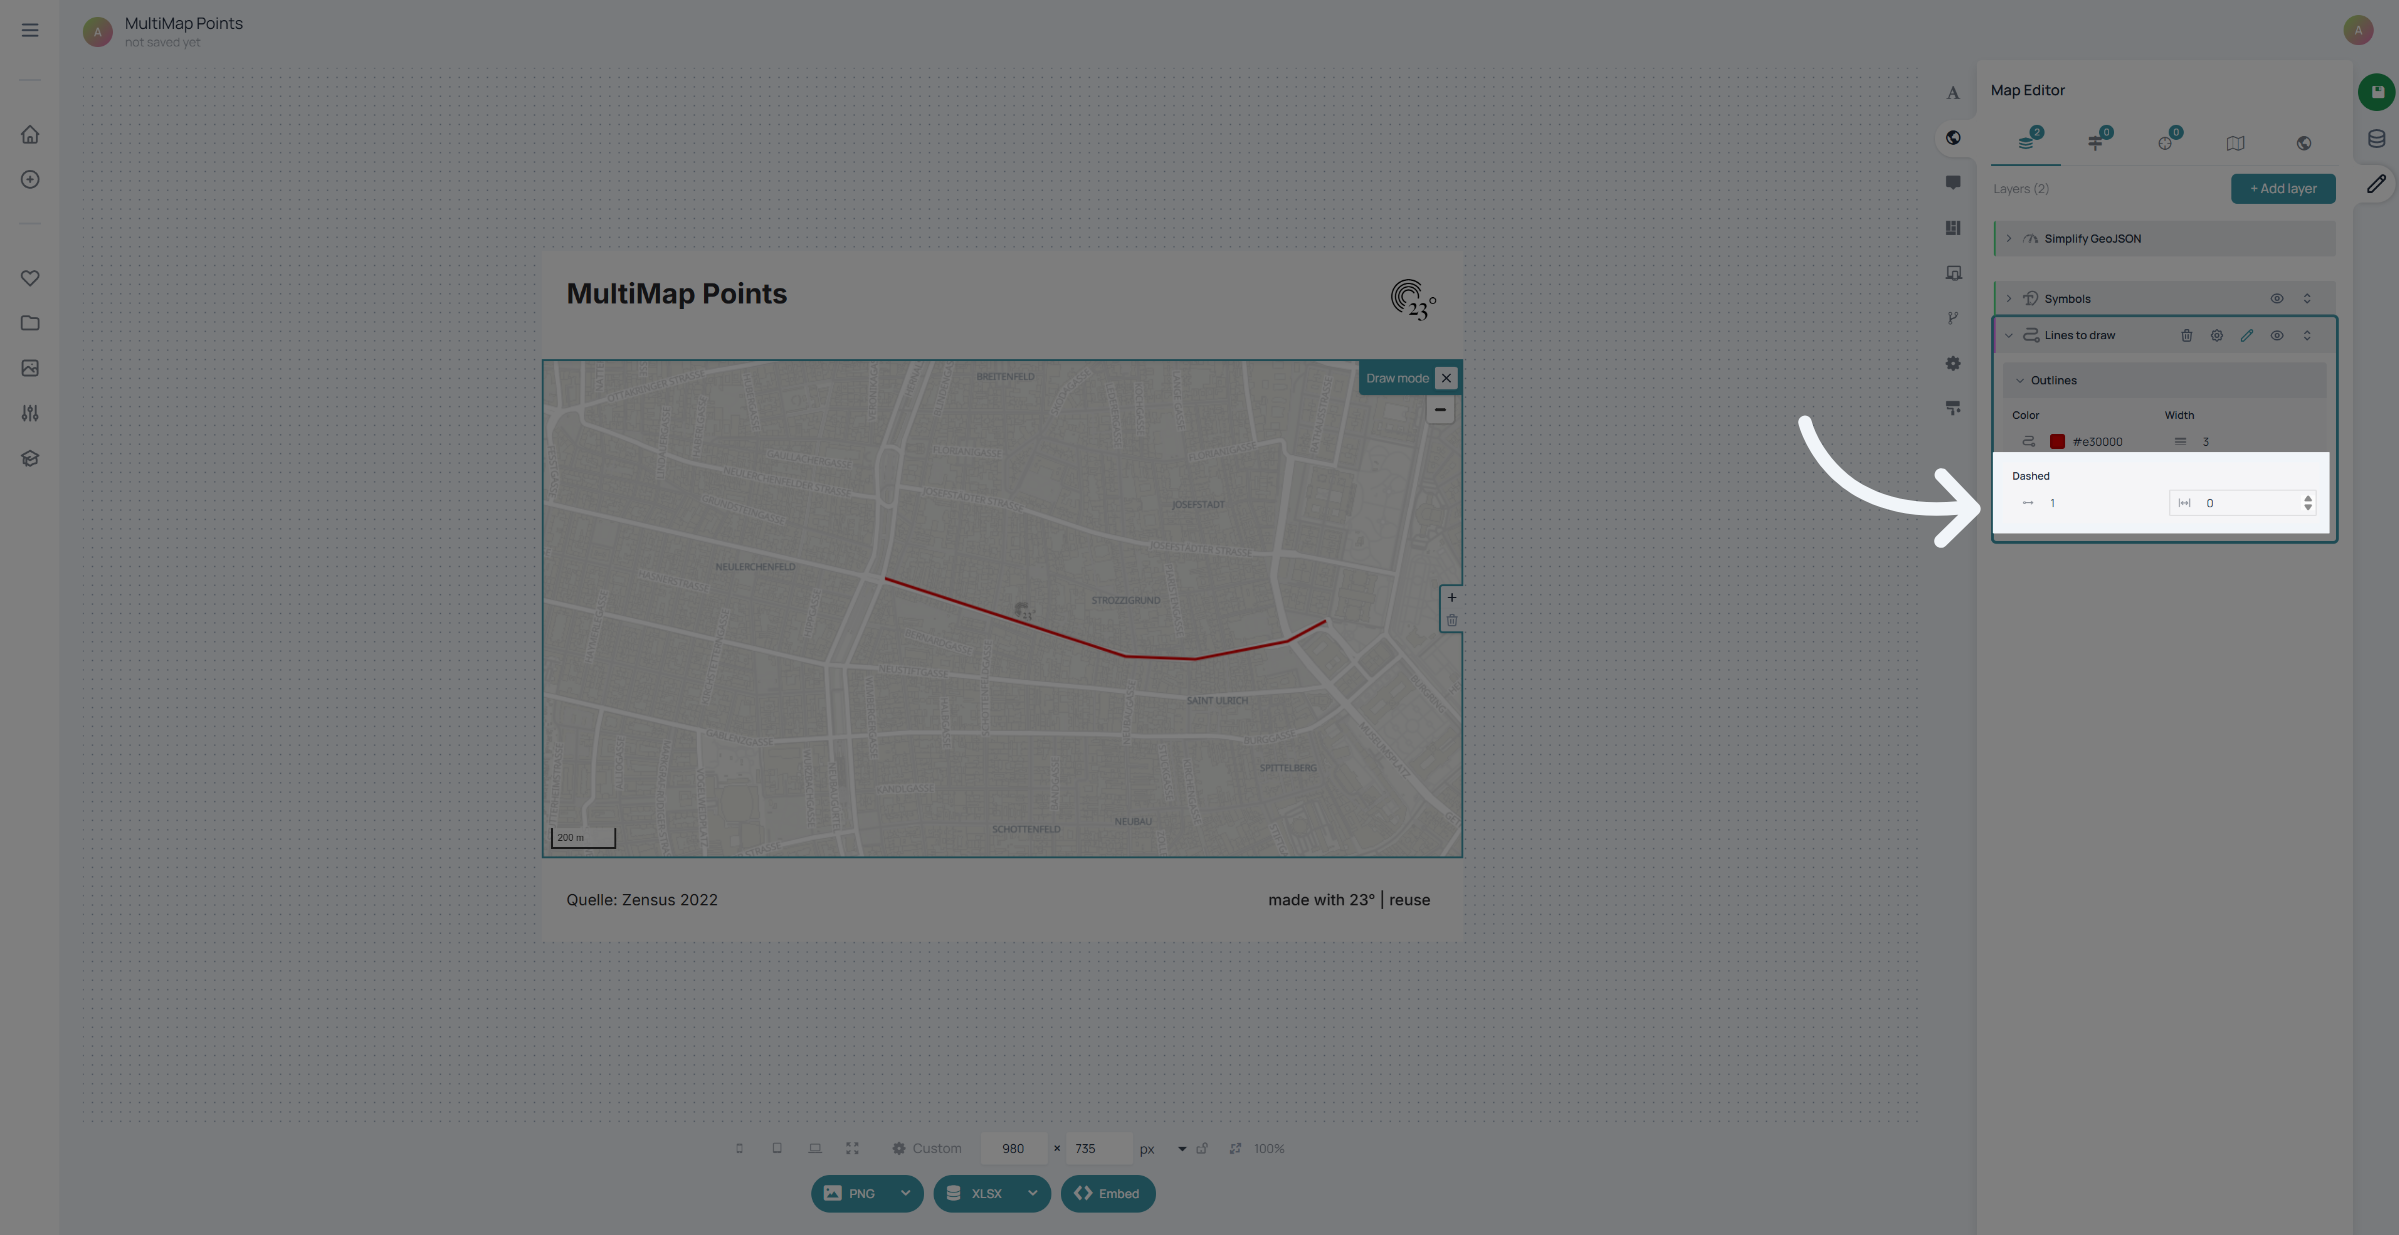
And here you can style dashes and gaps in pixels if you are looking for creating a dashed line.
And that's already it!
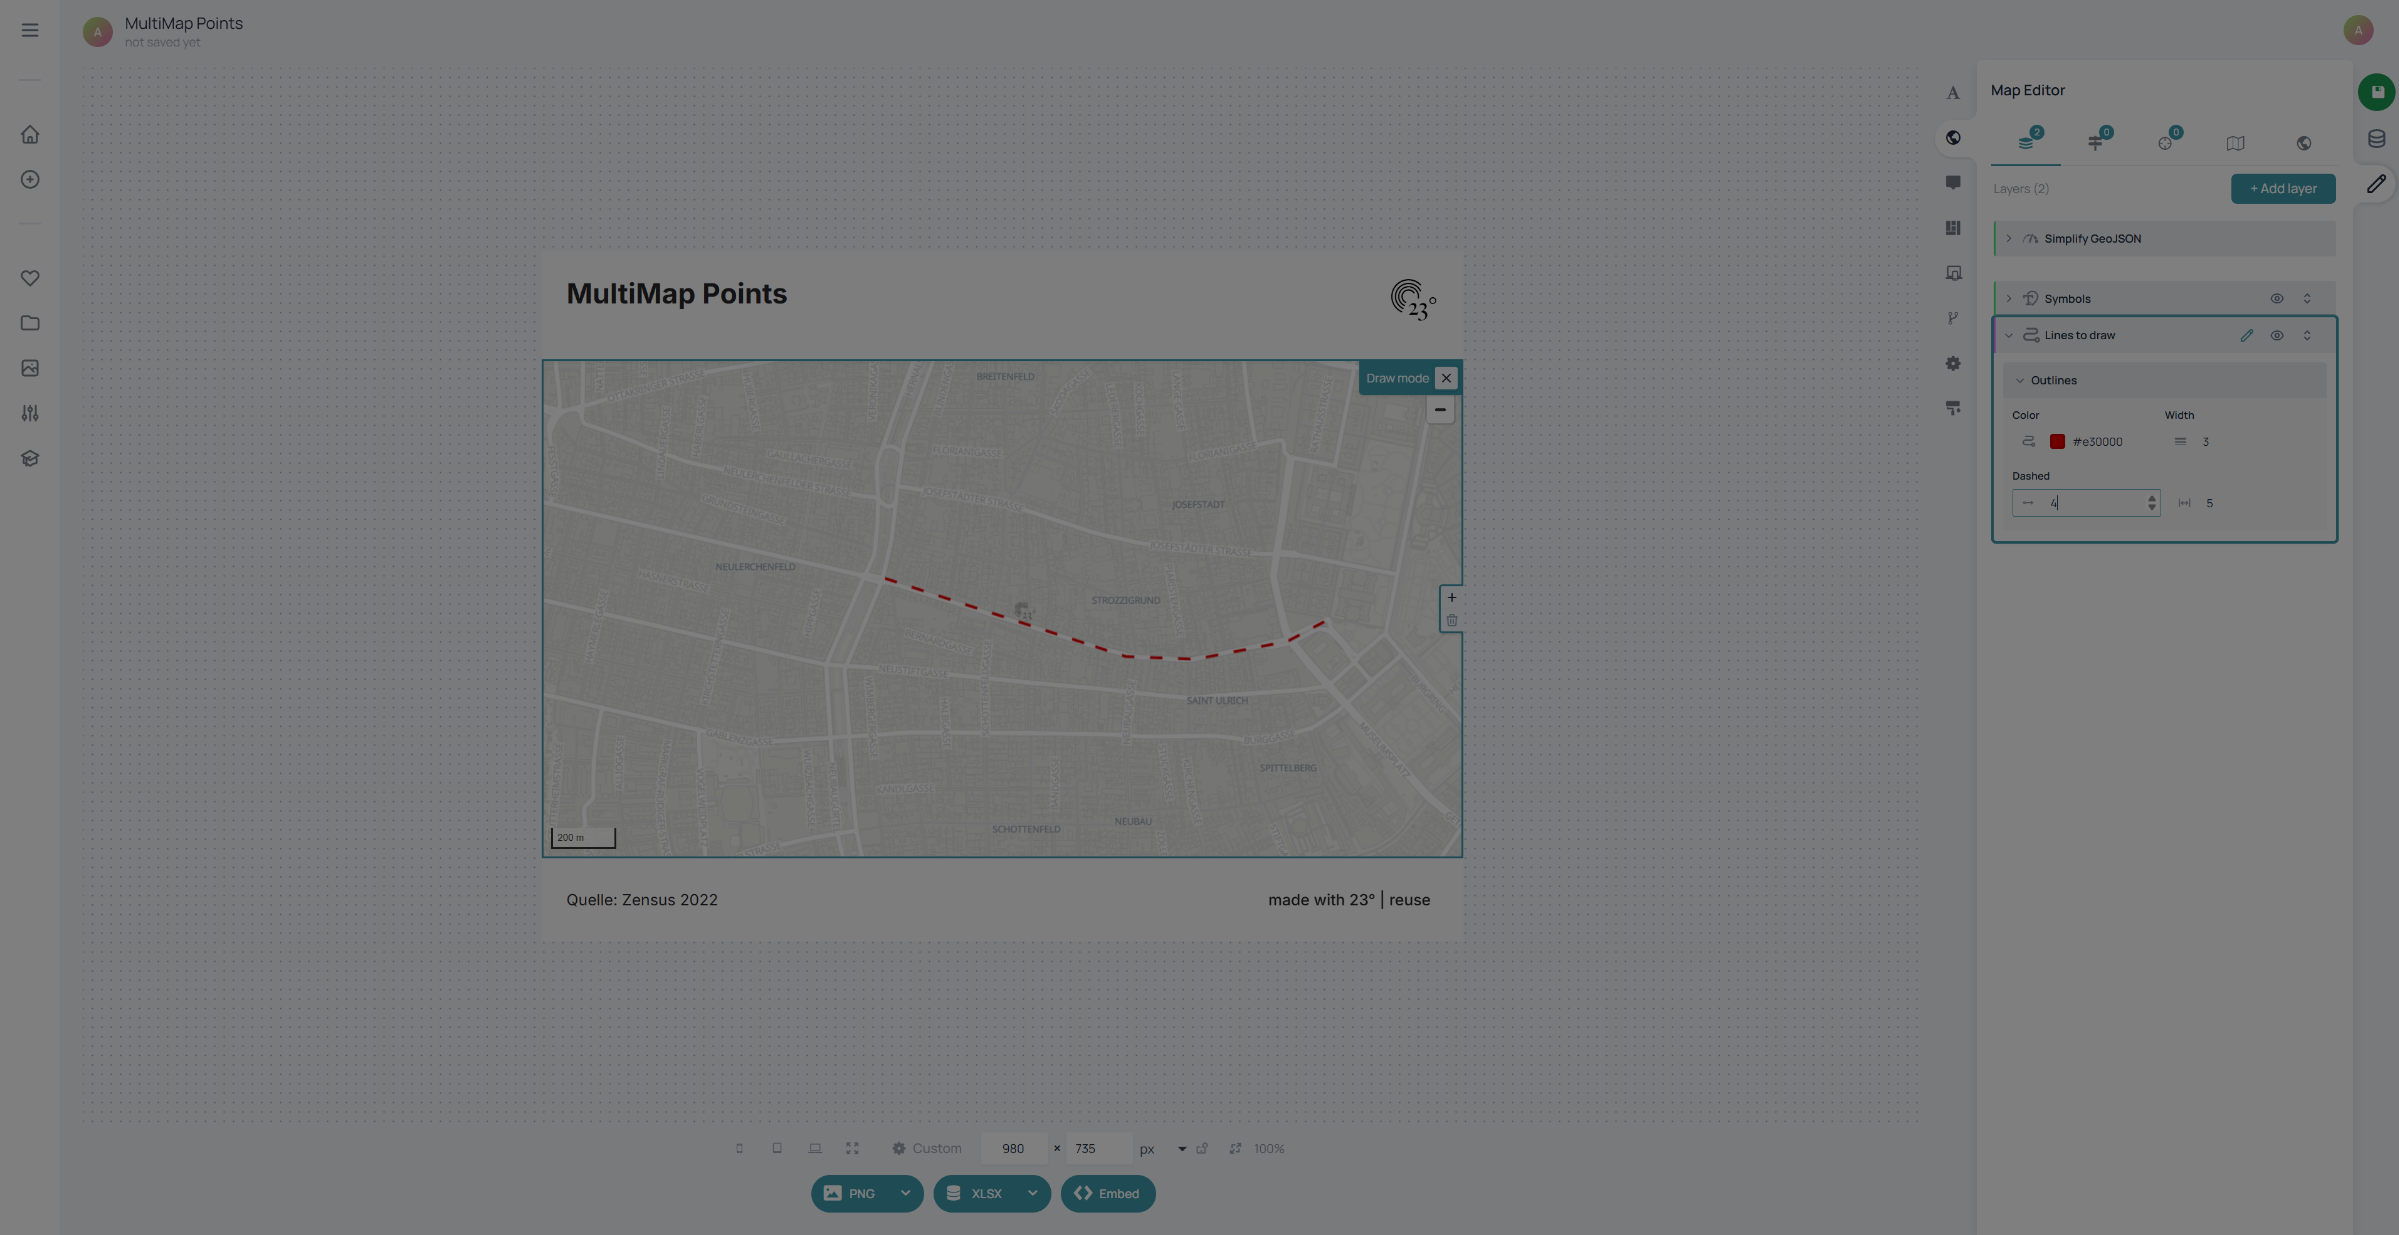
You have successfully drawn and customized lines on your map using the 23degrees application. To further enhance your maps, explore additional drawing tools and layer management features available in the app.