How to add and customize an inset map
This tutorial explains how to add an inset map.
With marker maps, it often makes sense to add an inset map for better orientation.
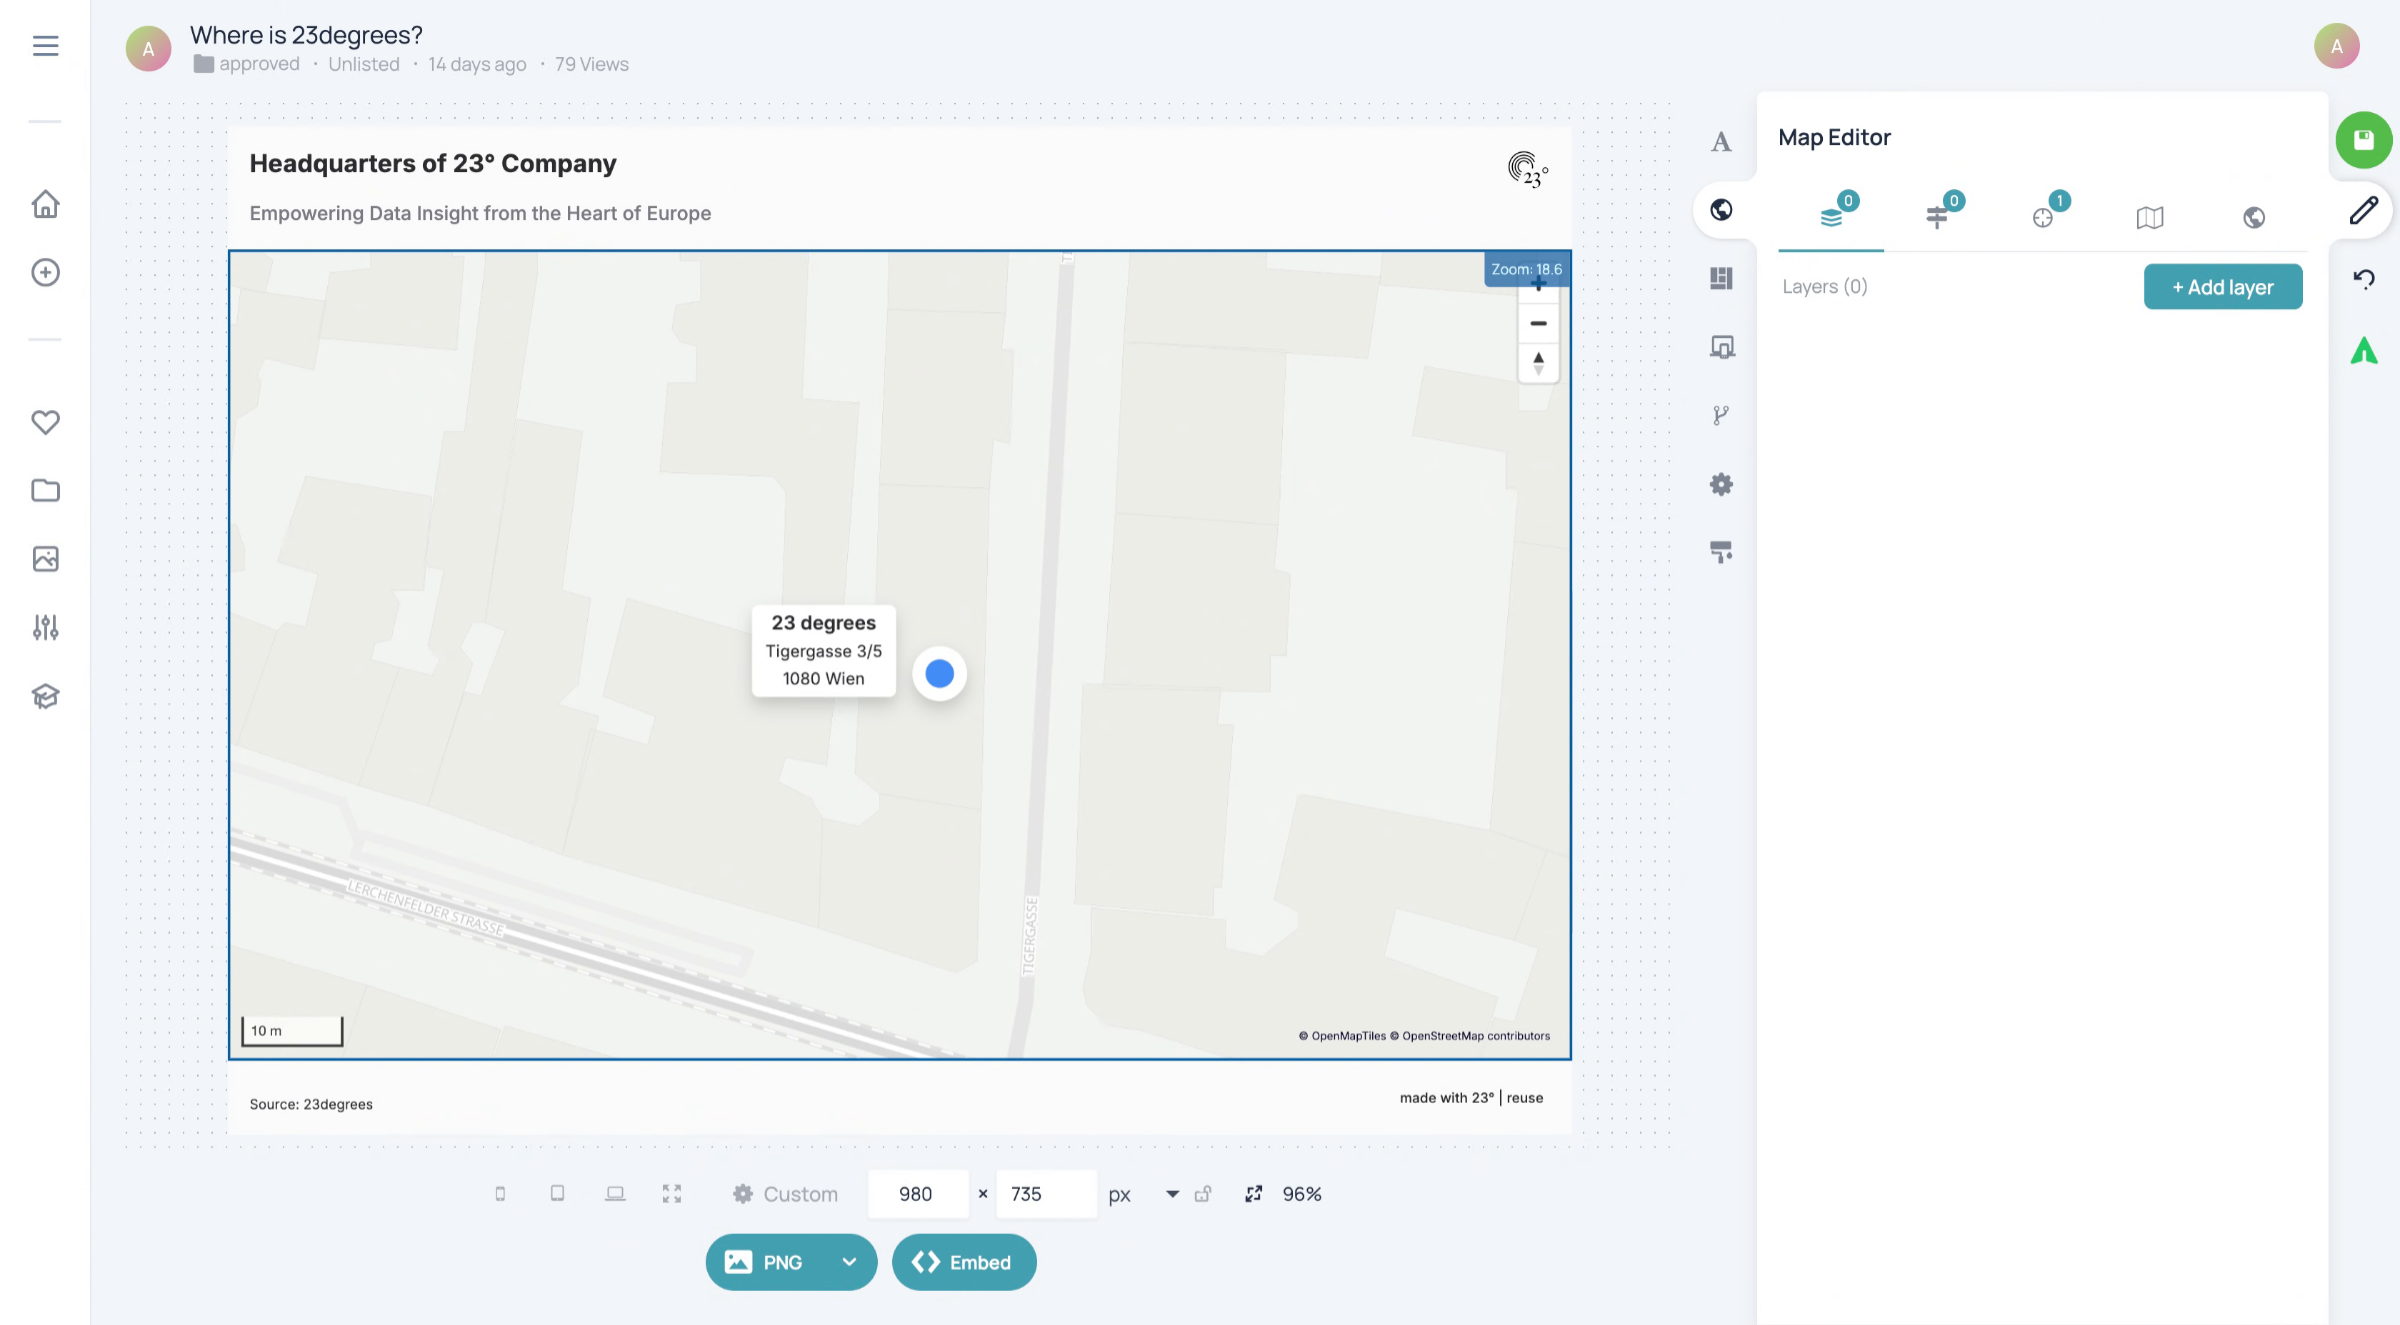
Click here to go to the Map Editor.
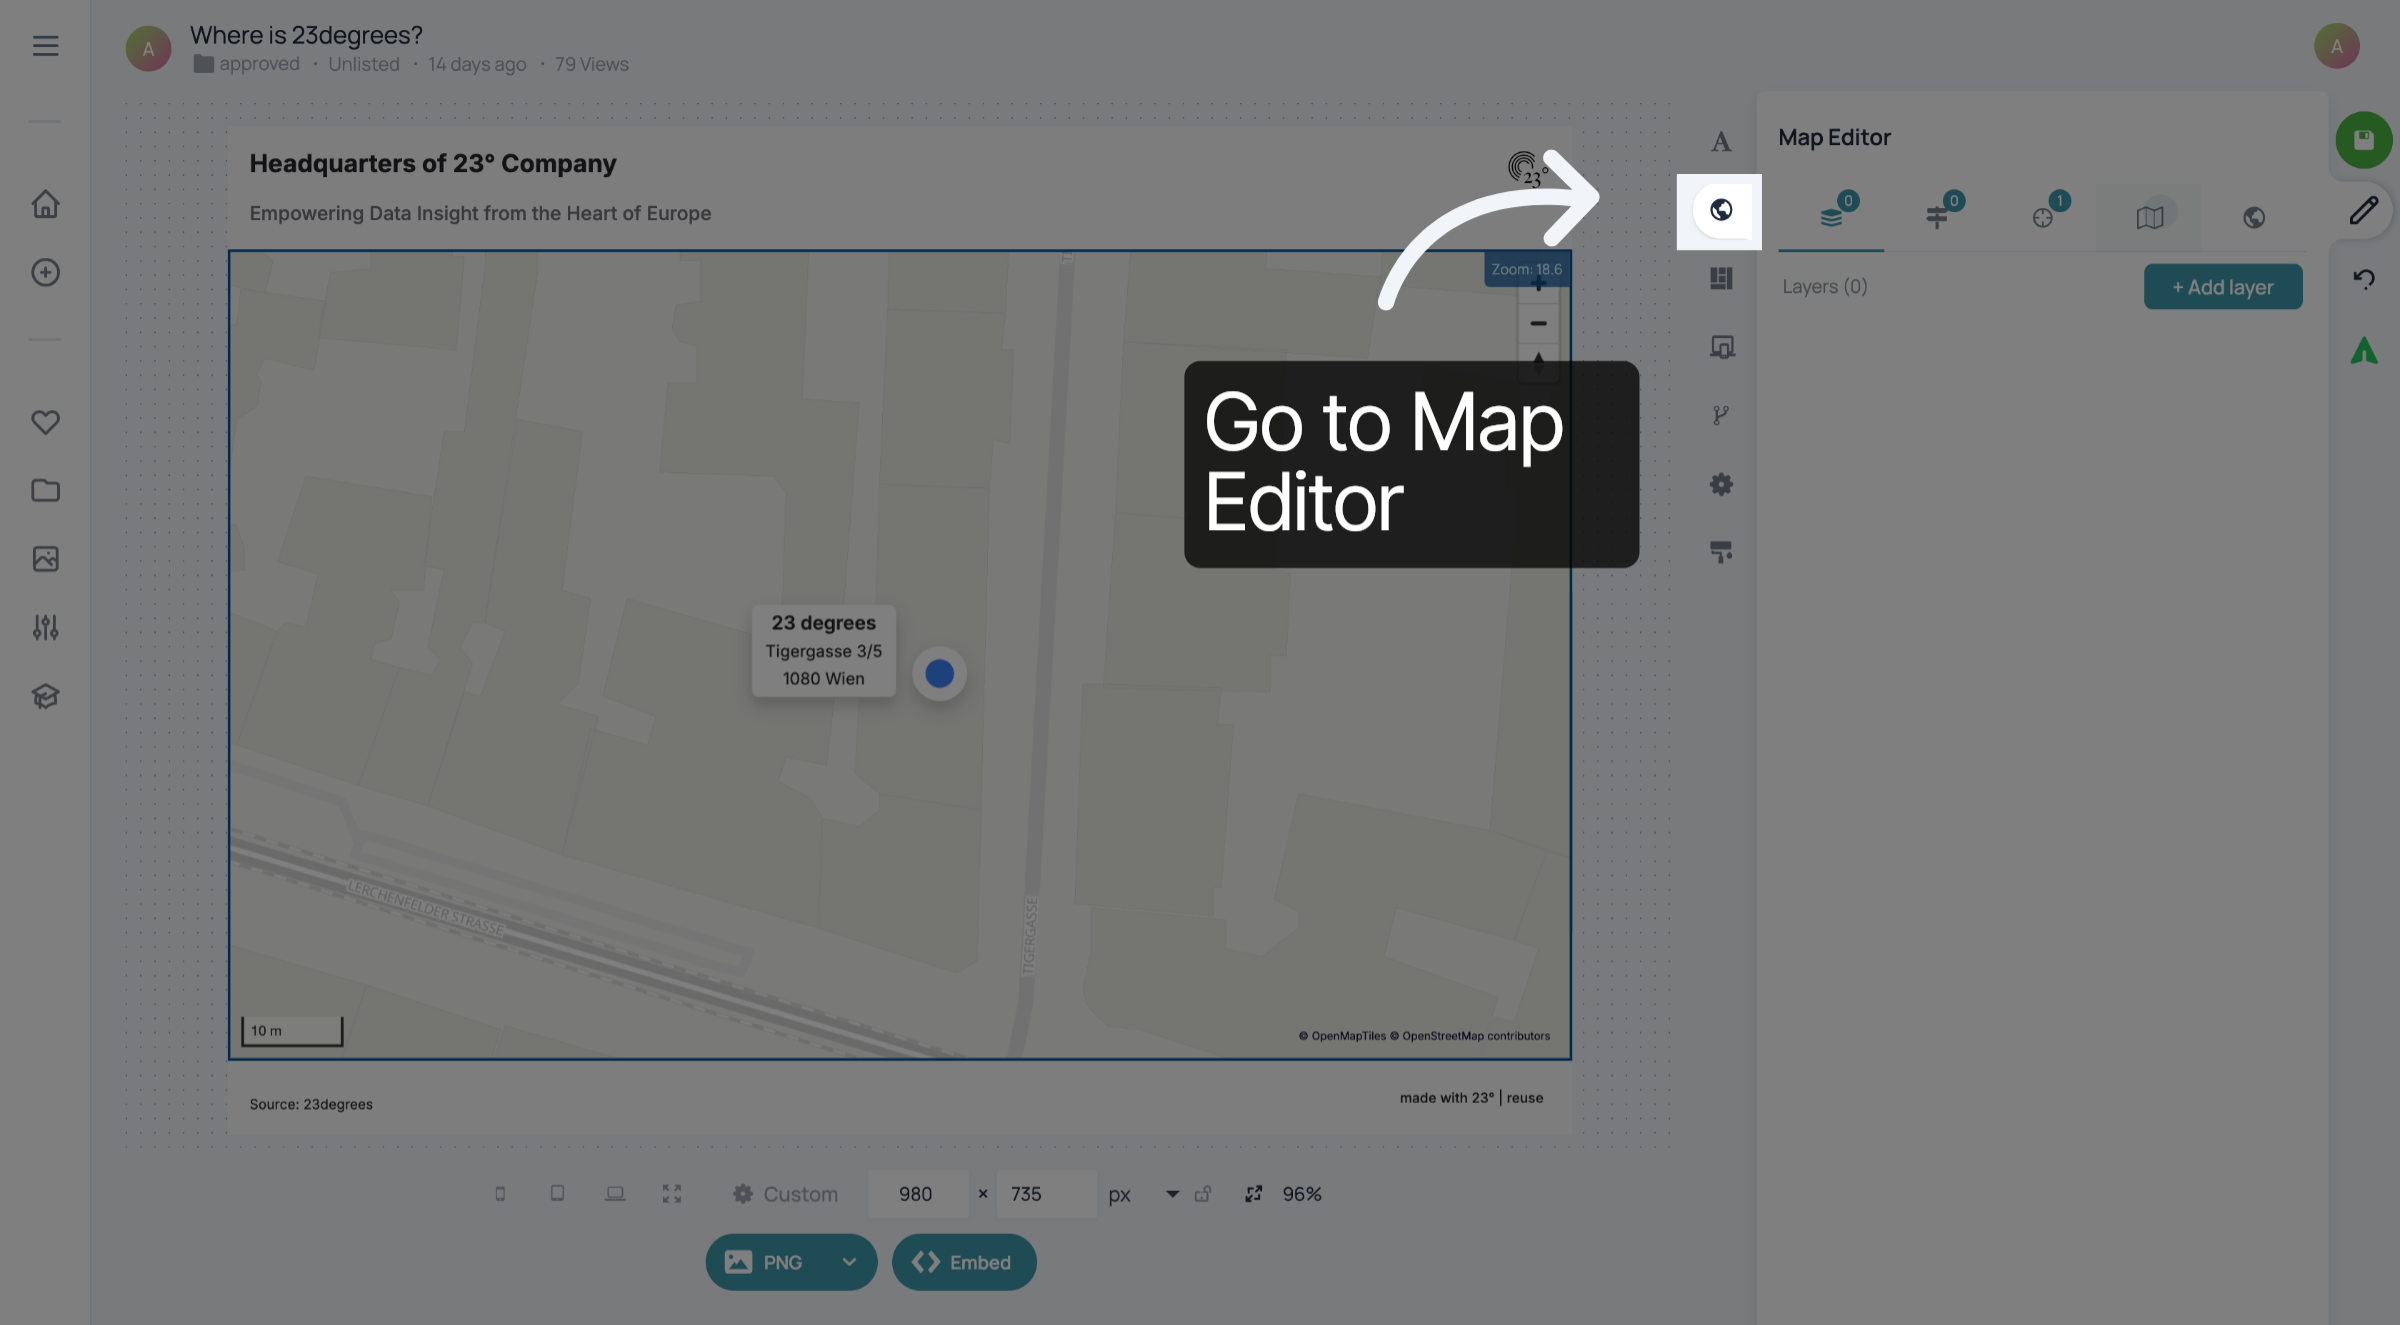
Go to the Map settings.
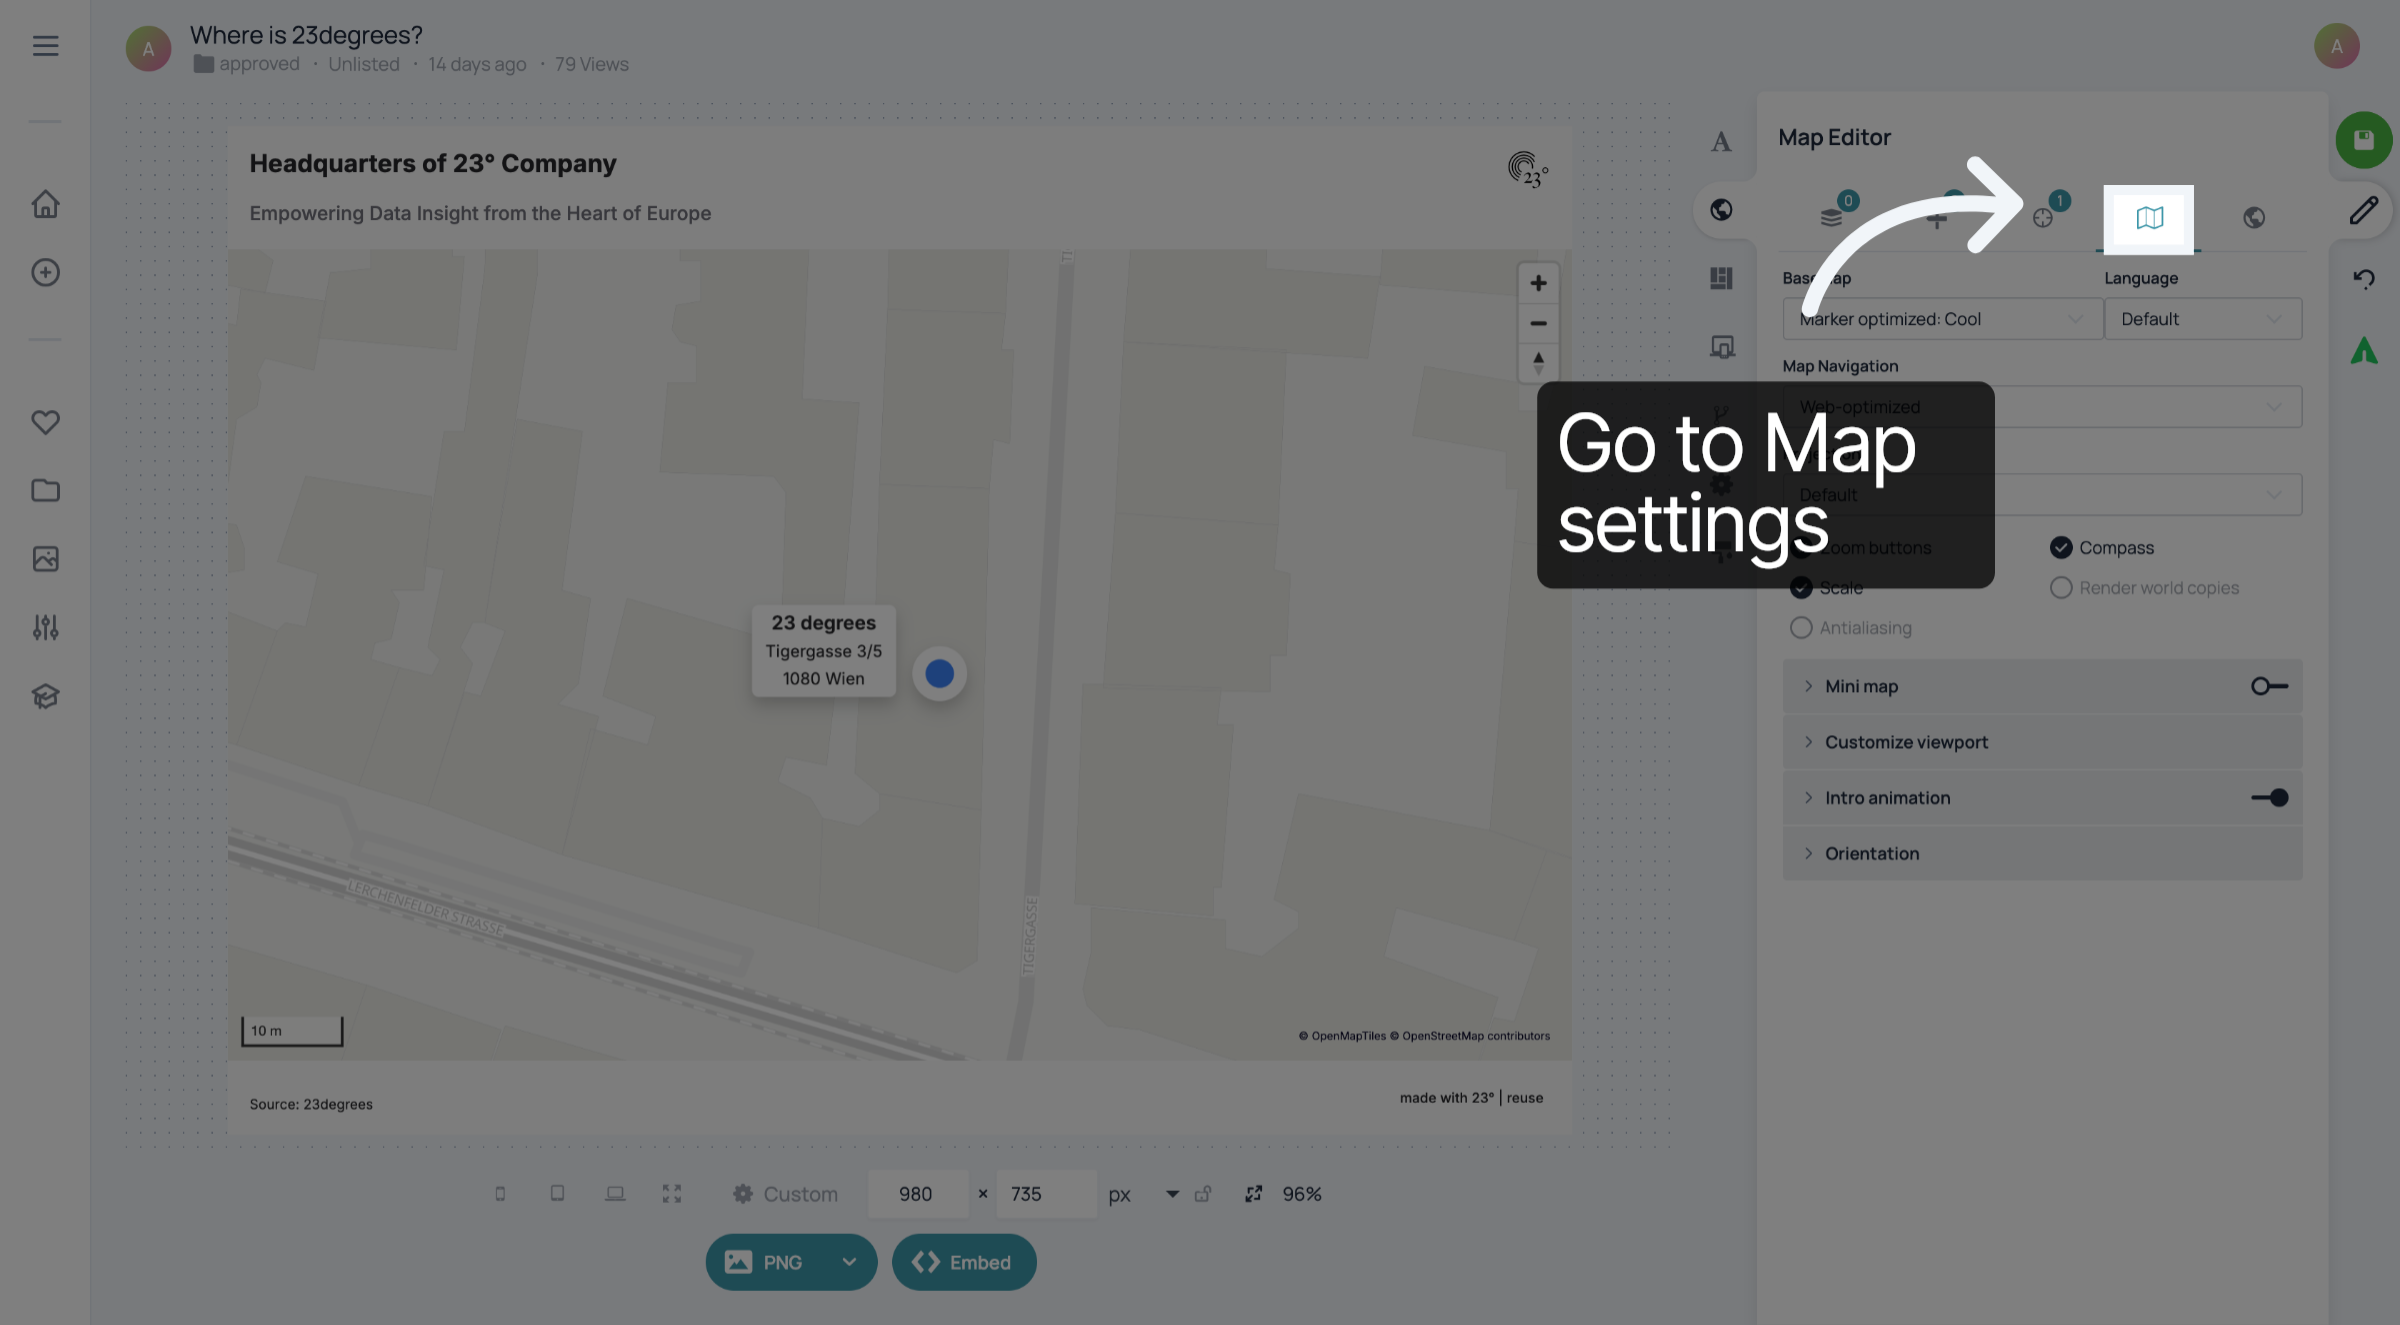
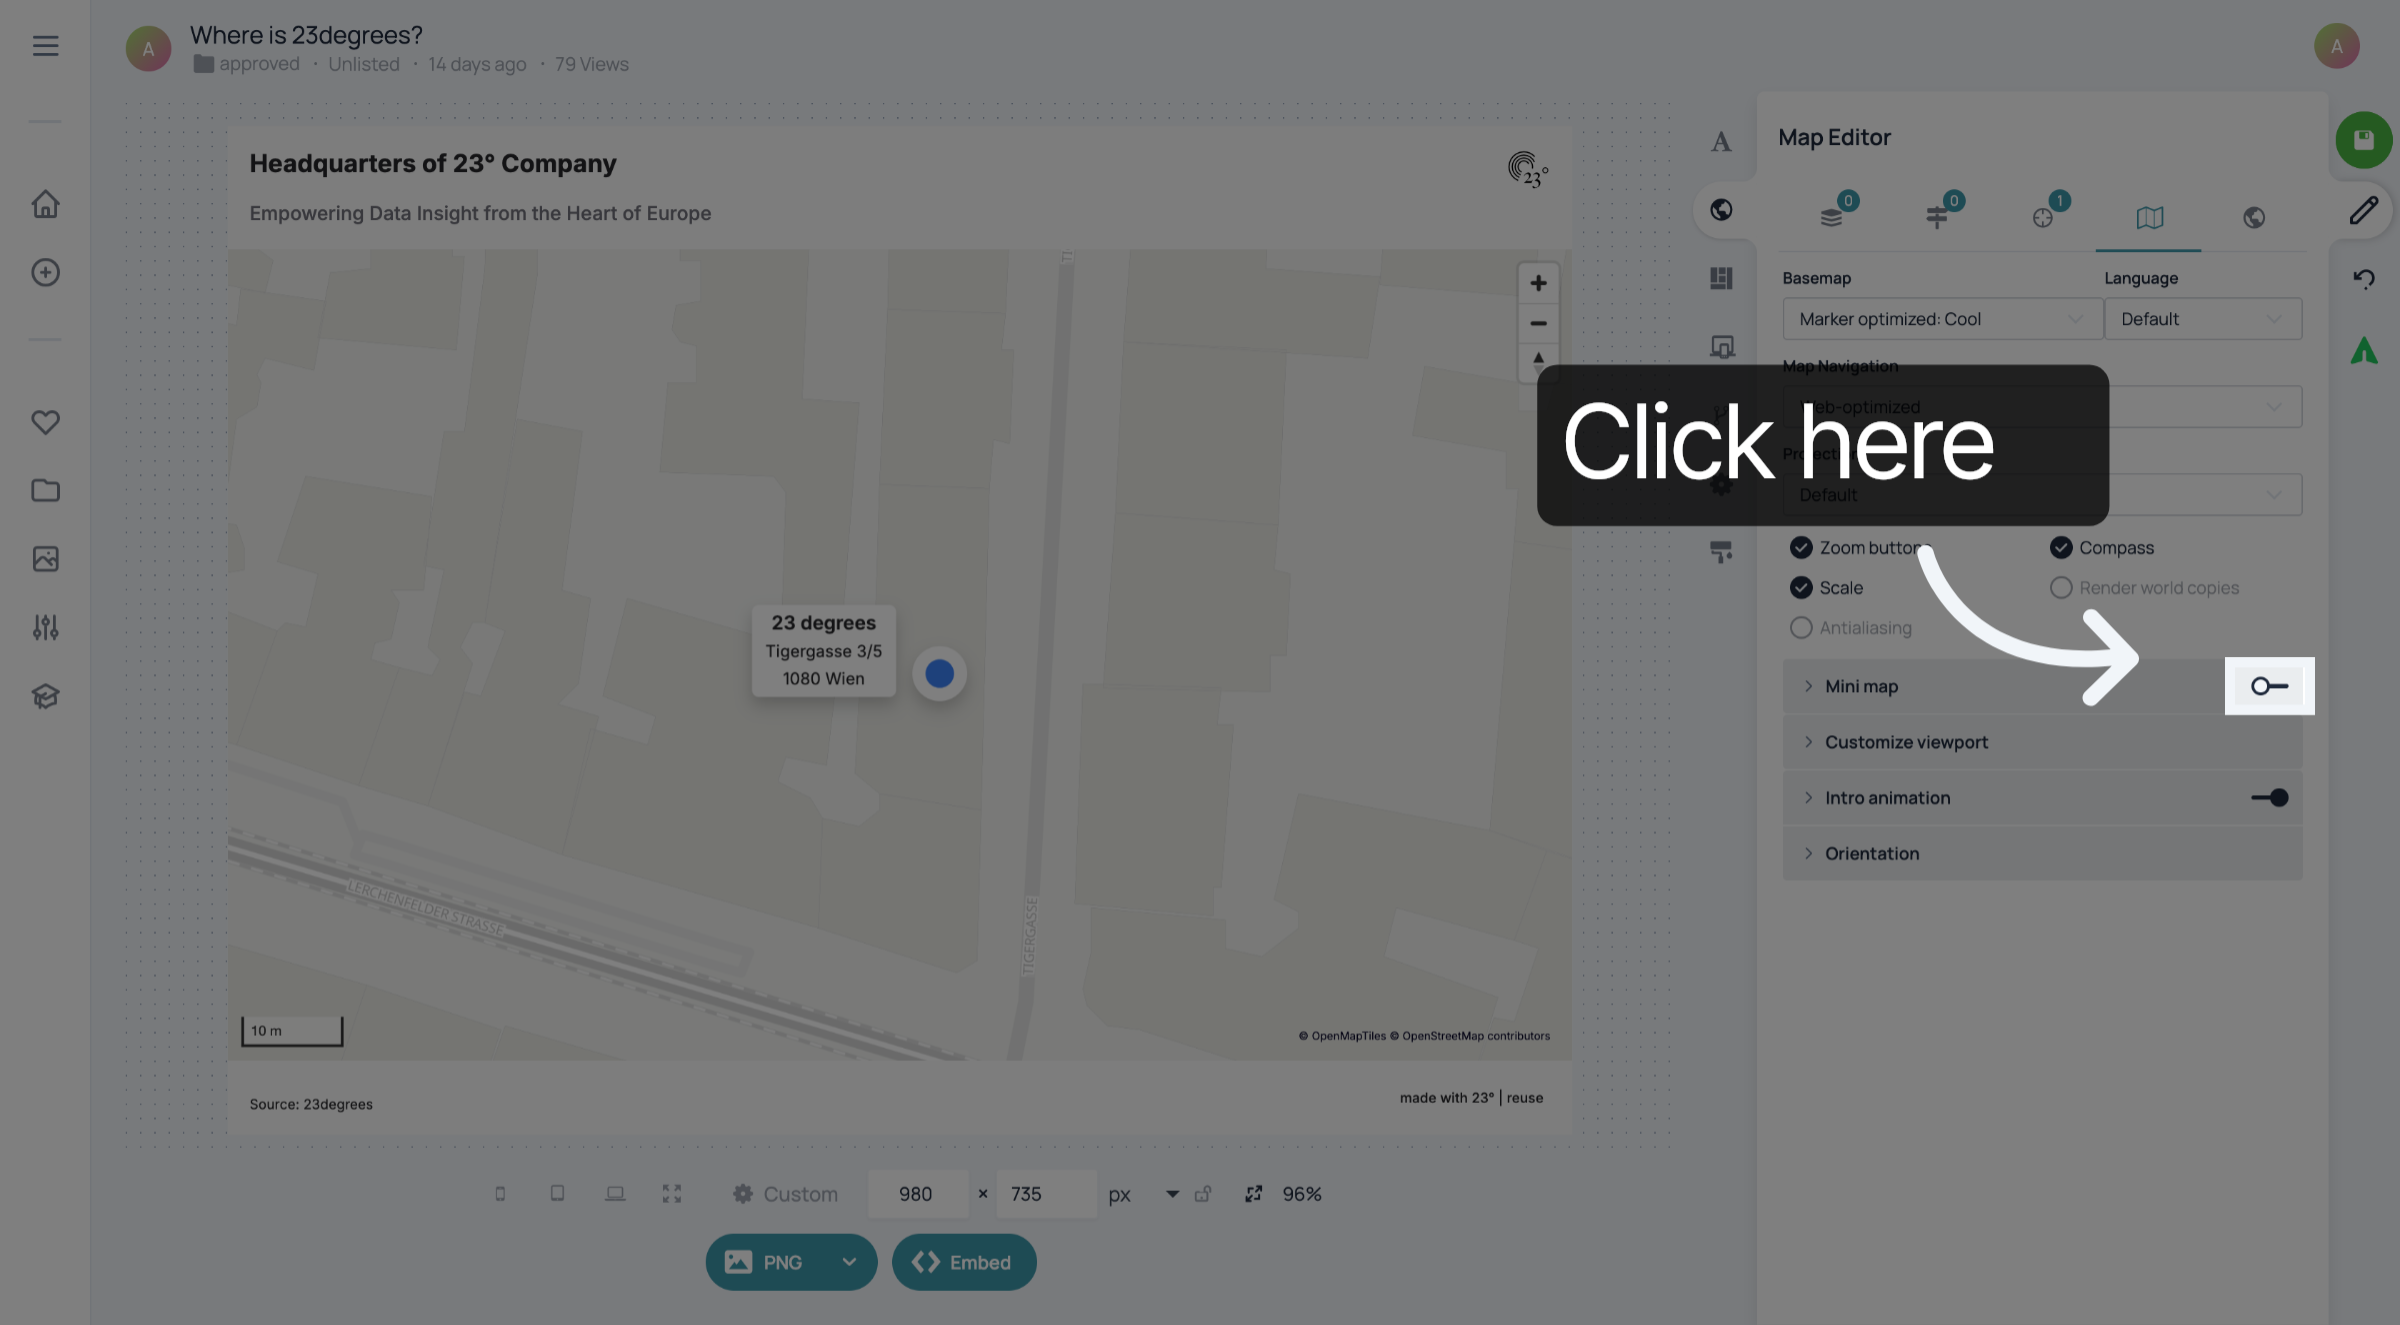
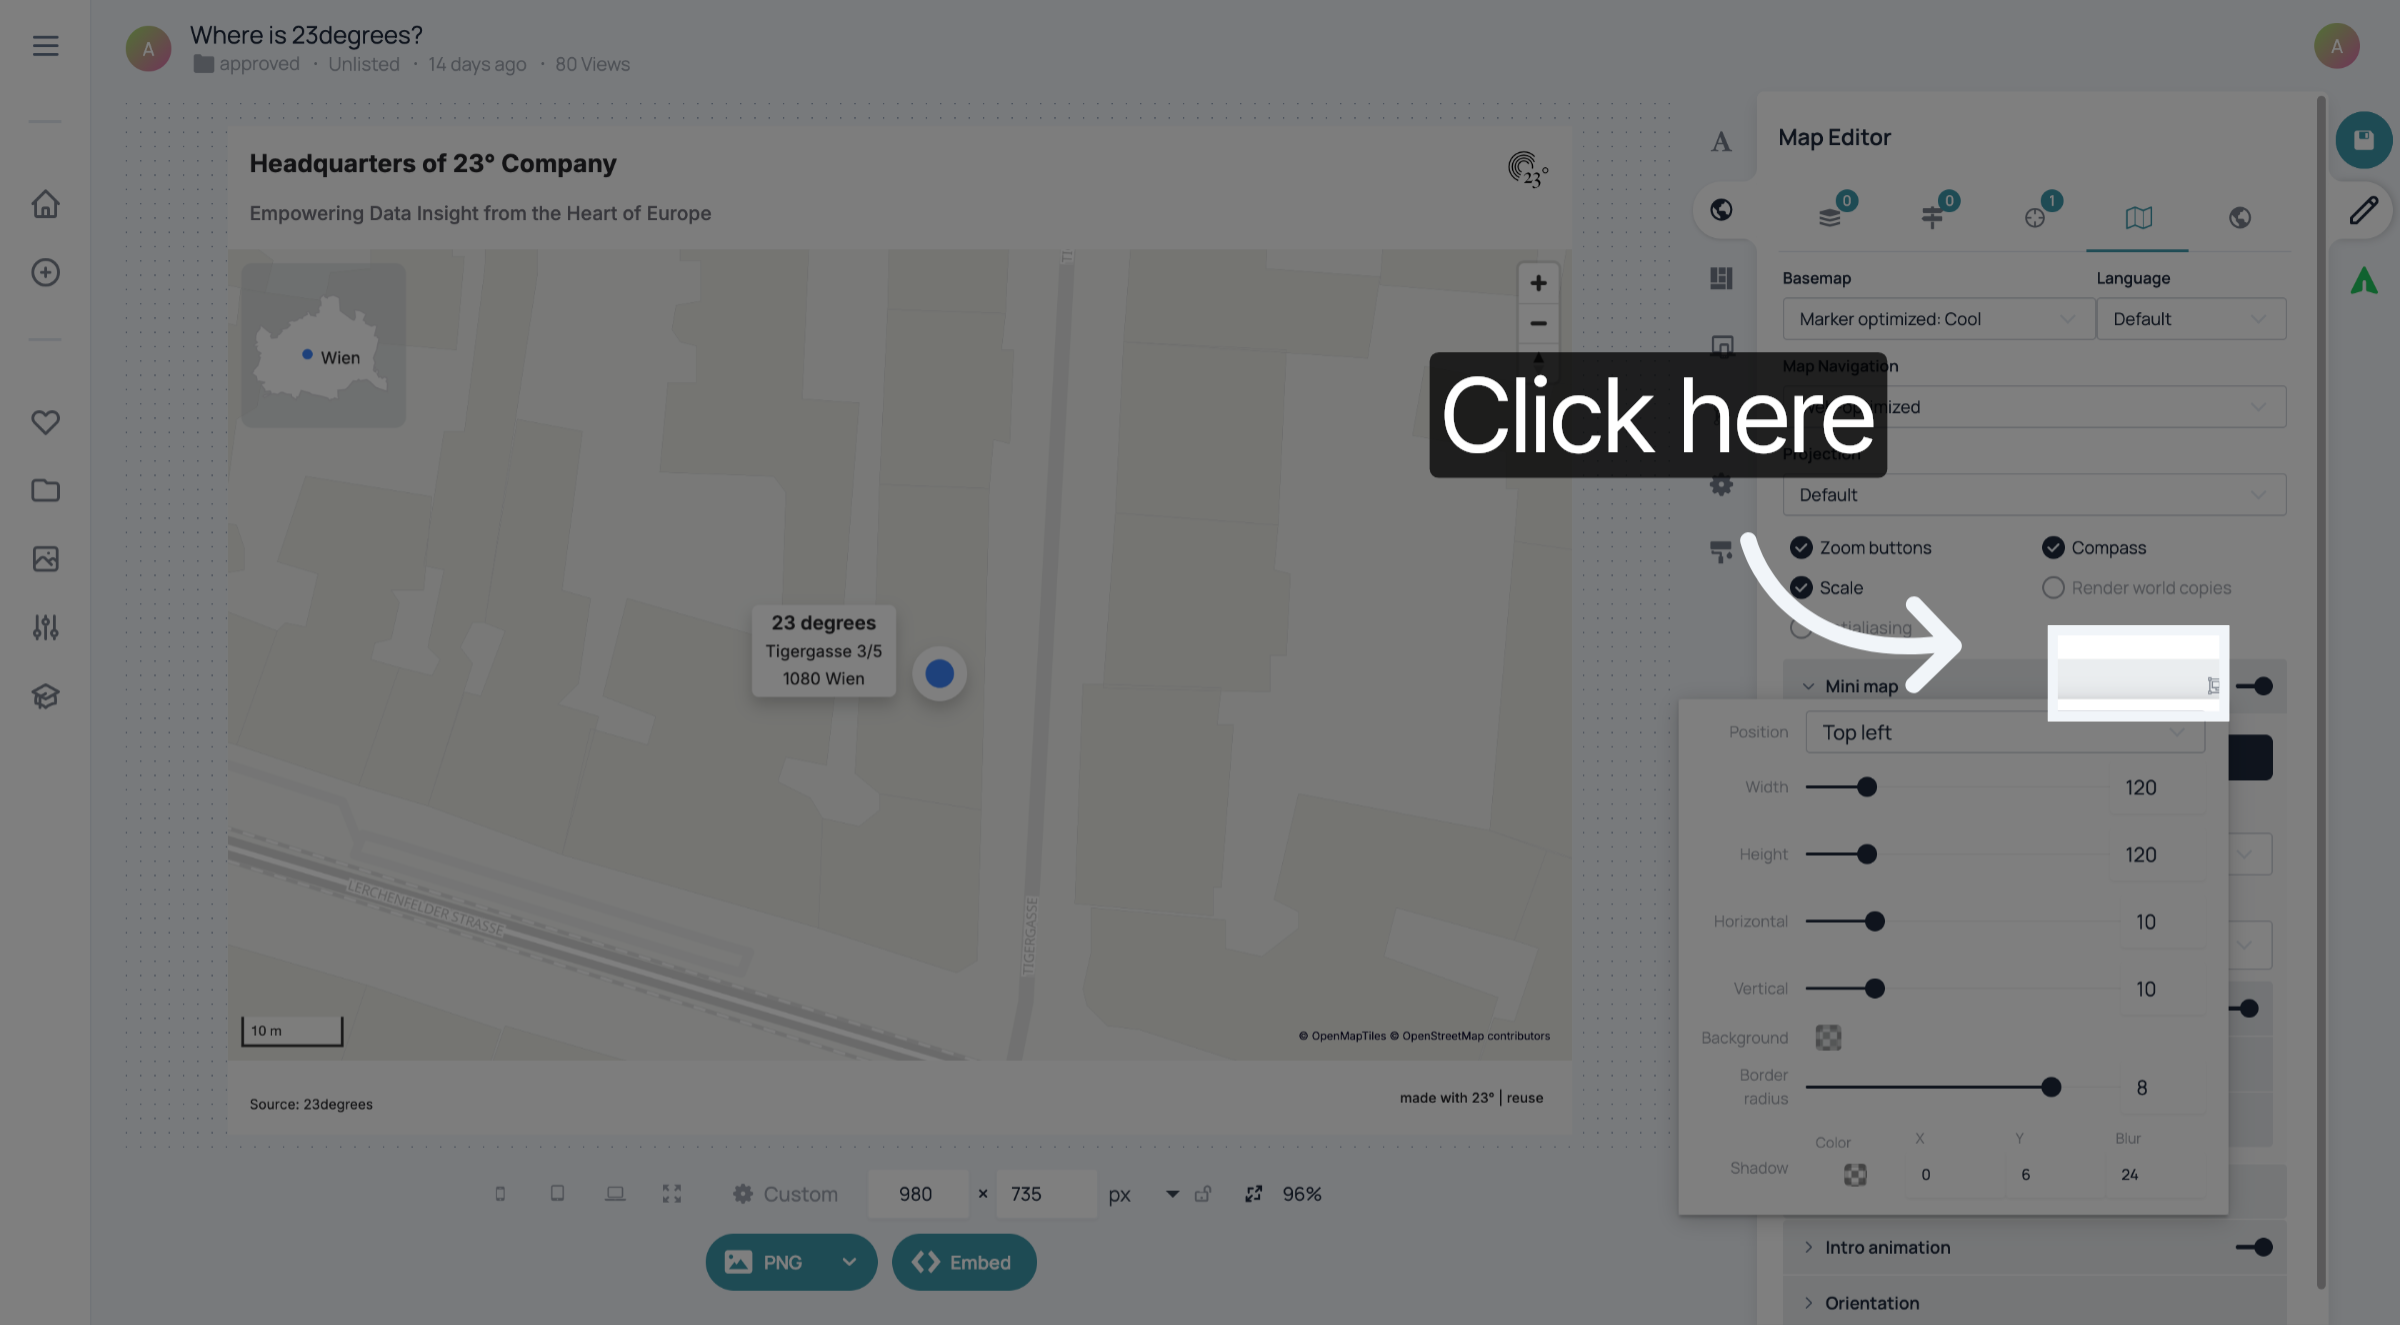
To add an inset map, toggle on "Mini map" and expand the mini map settings.
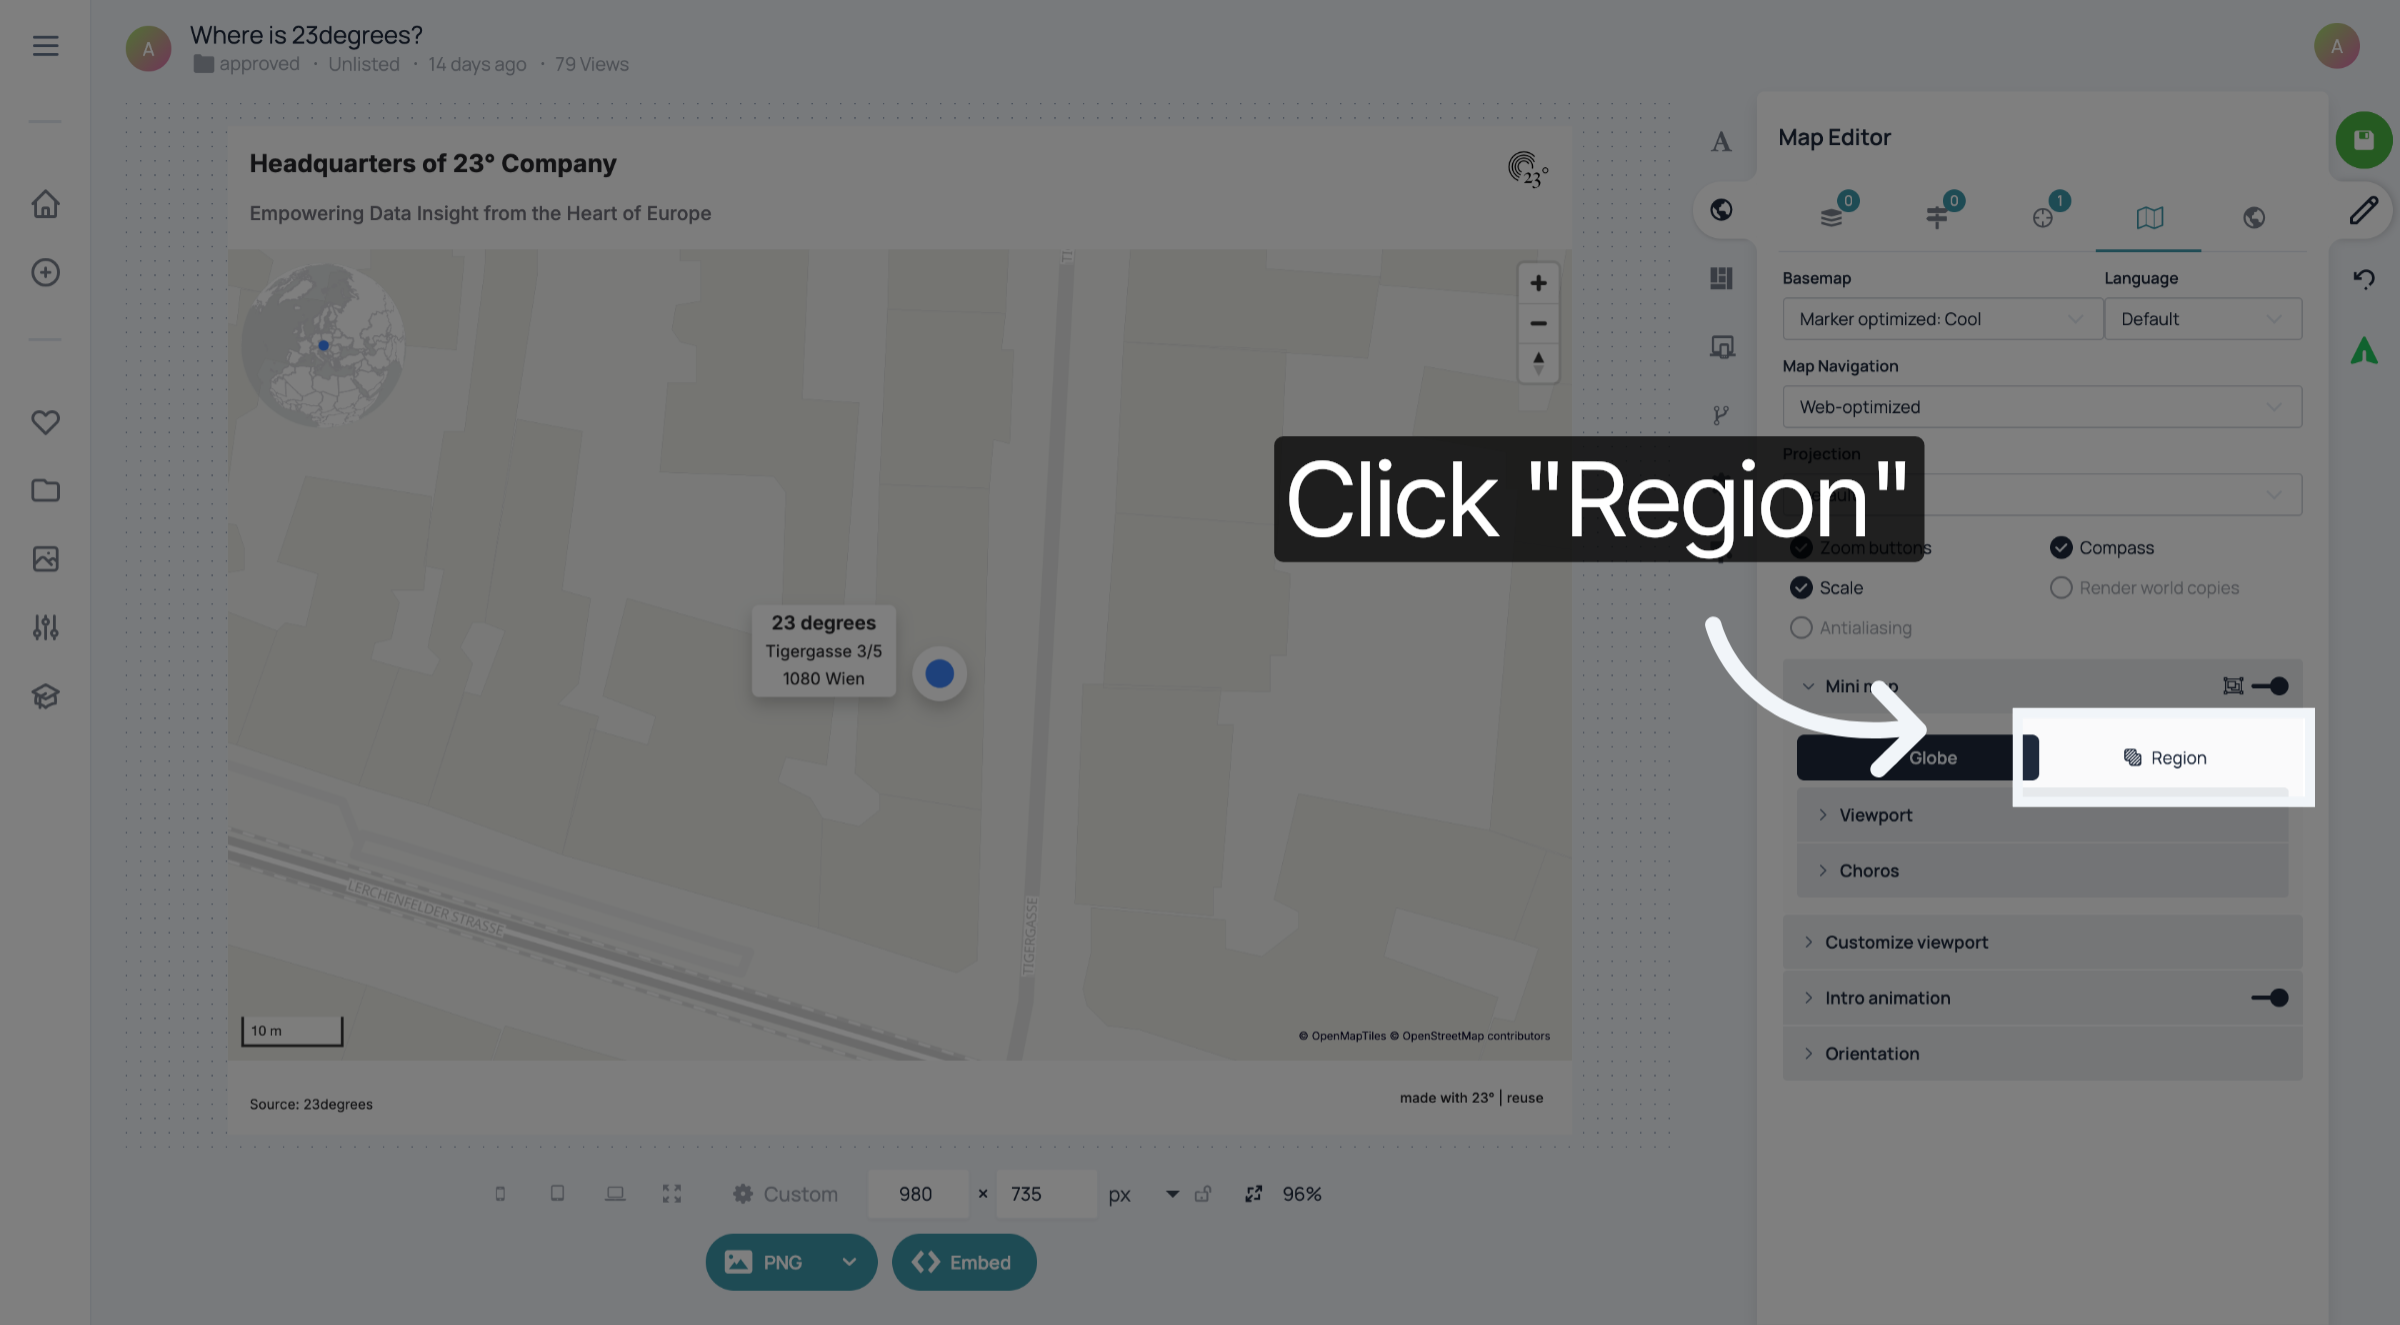
The inset map can either be projected on a globe or show a specific region. To show the shape of the city or country you want to display, click "Region".
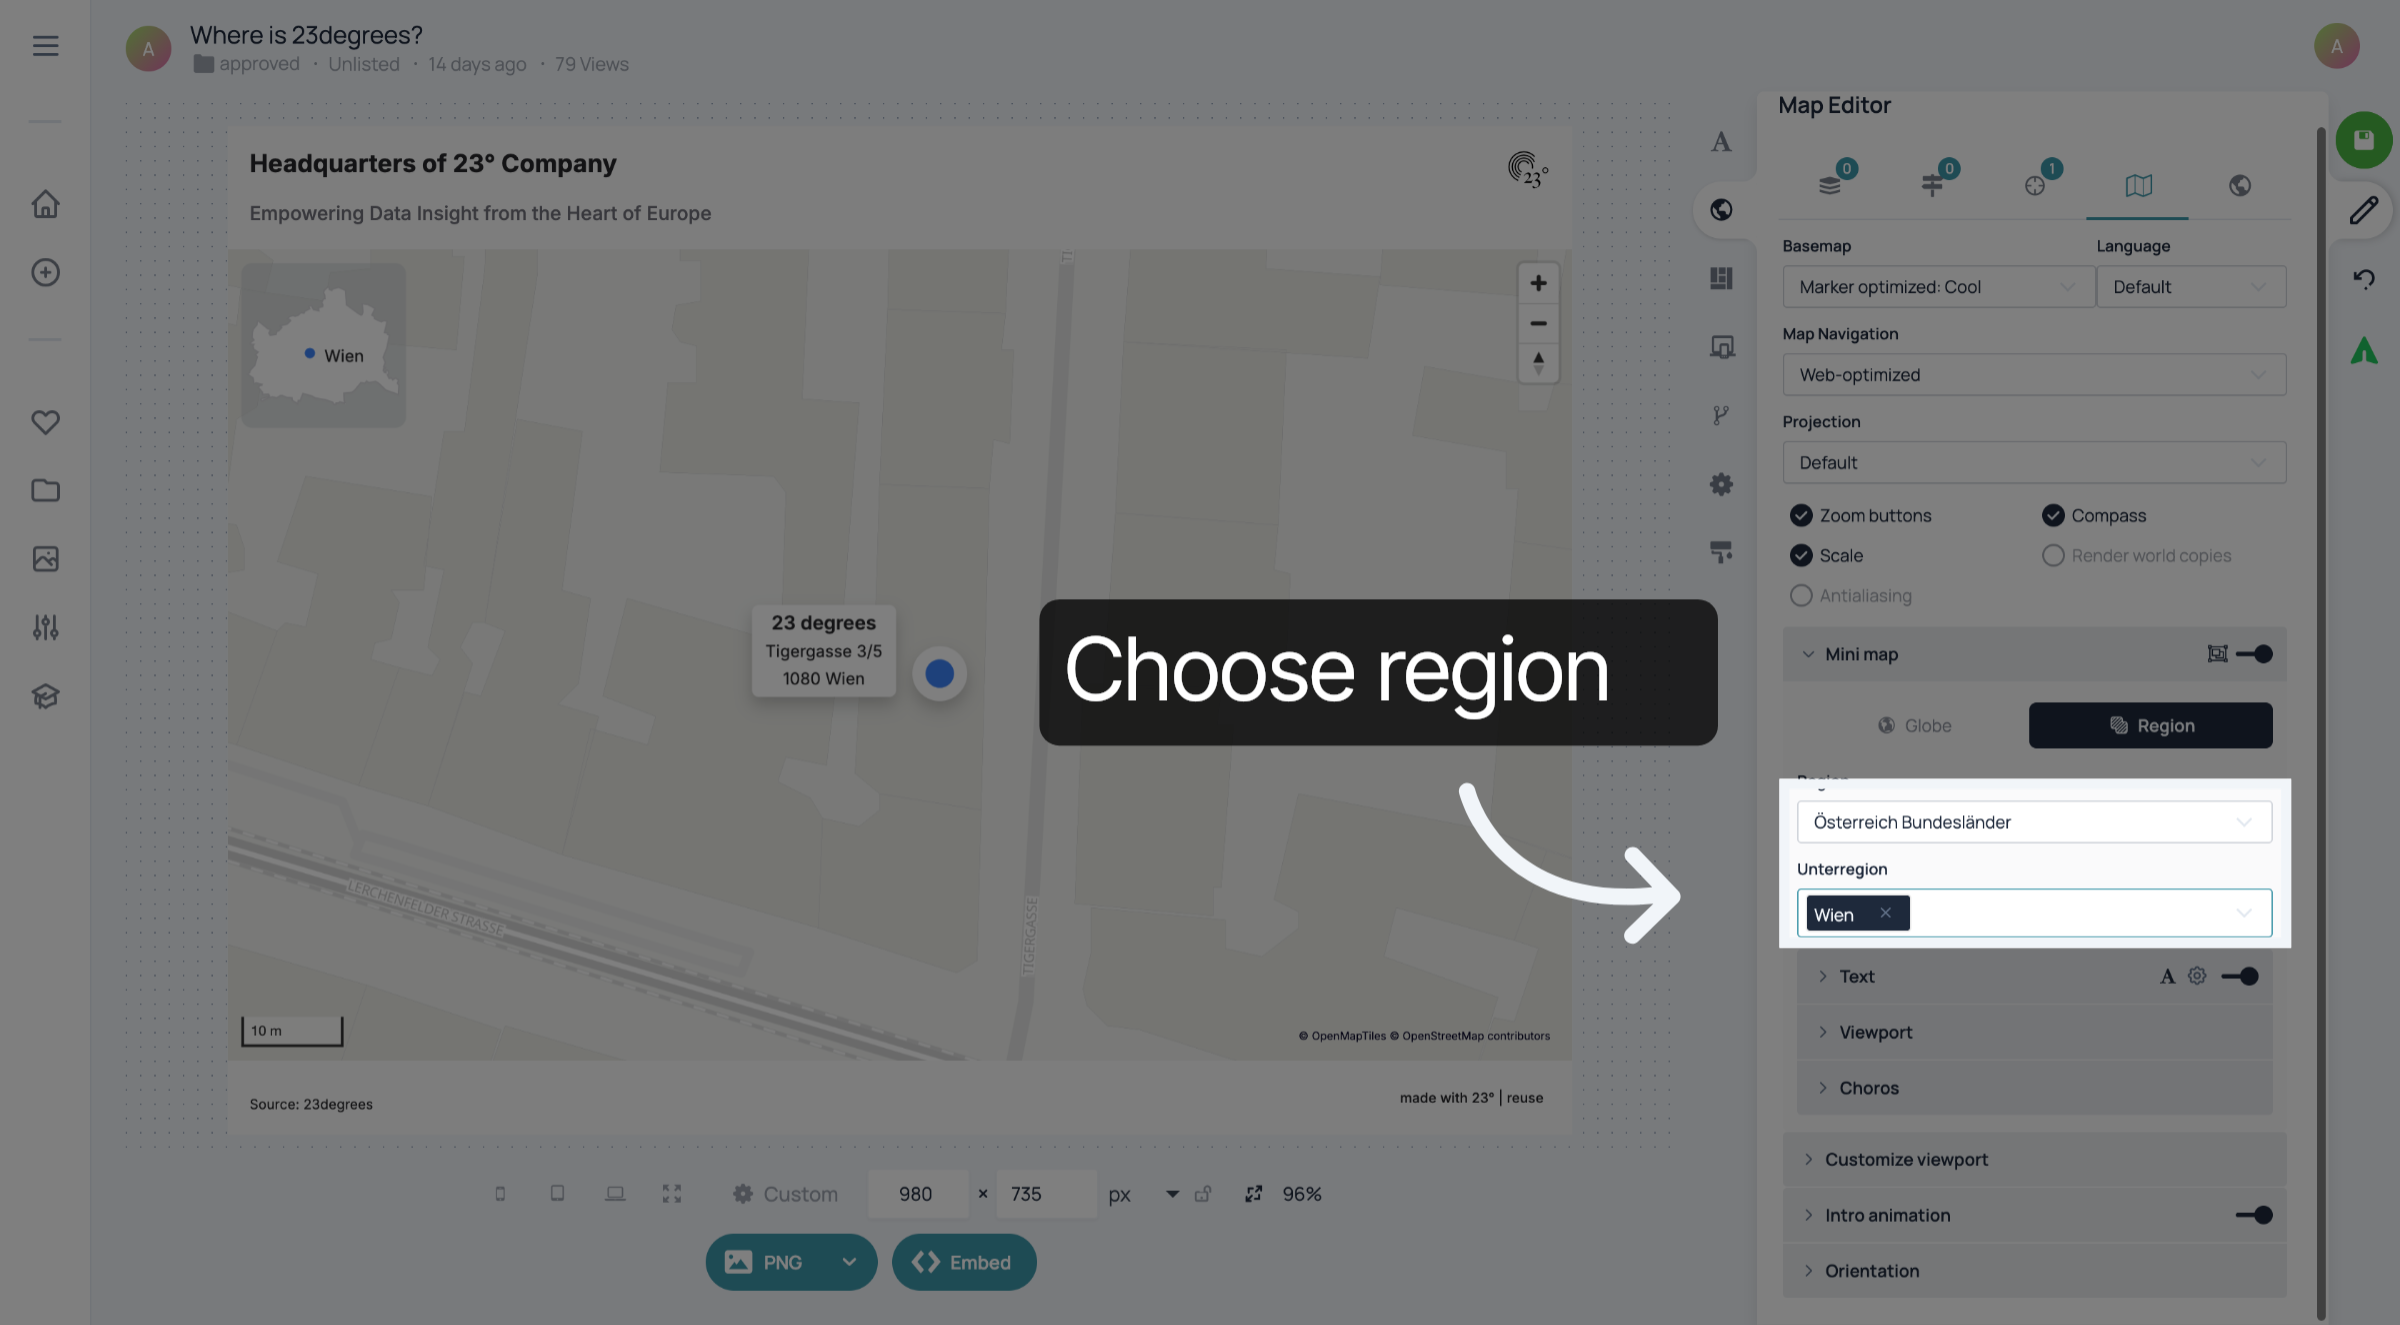
Choose the correct layer for your inset map. To show a country, choose a layer like "Countries worldwide". We want to show Vienna, so we used the layer for Austrian states and picked Vienna as a "Unterregion
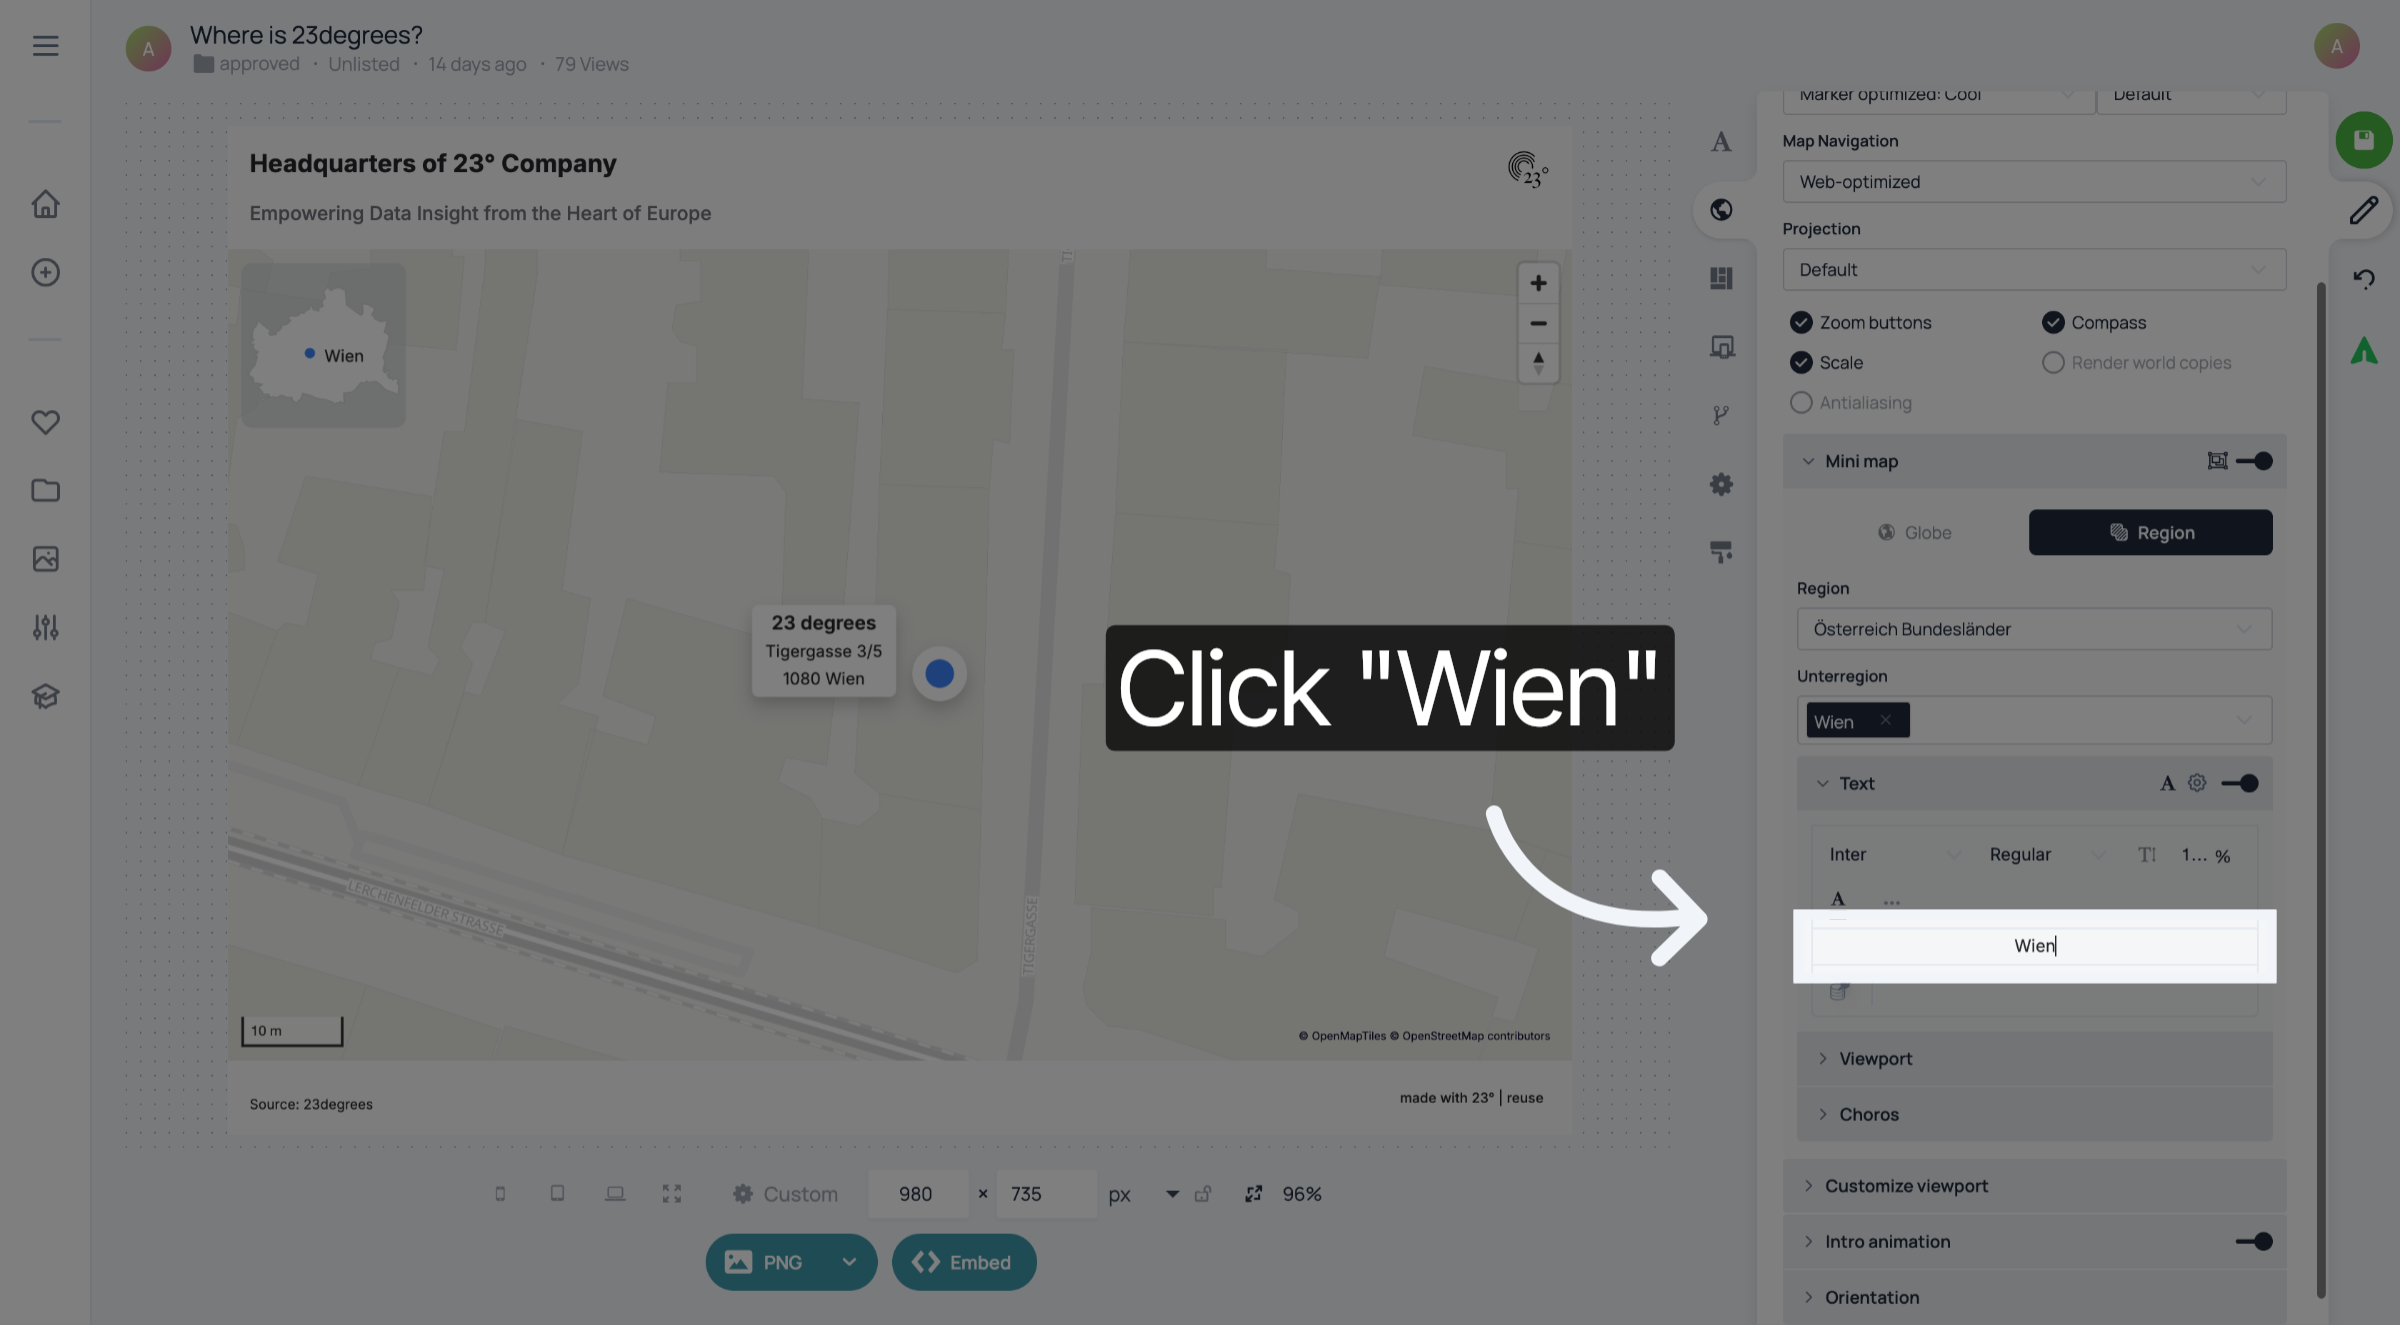
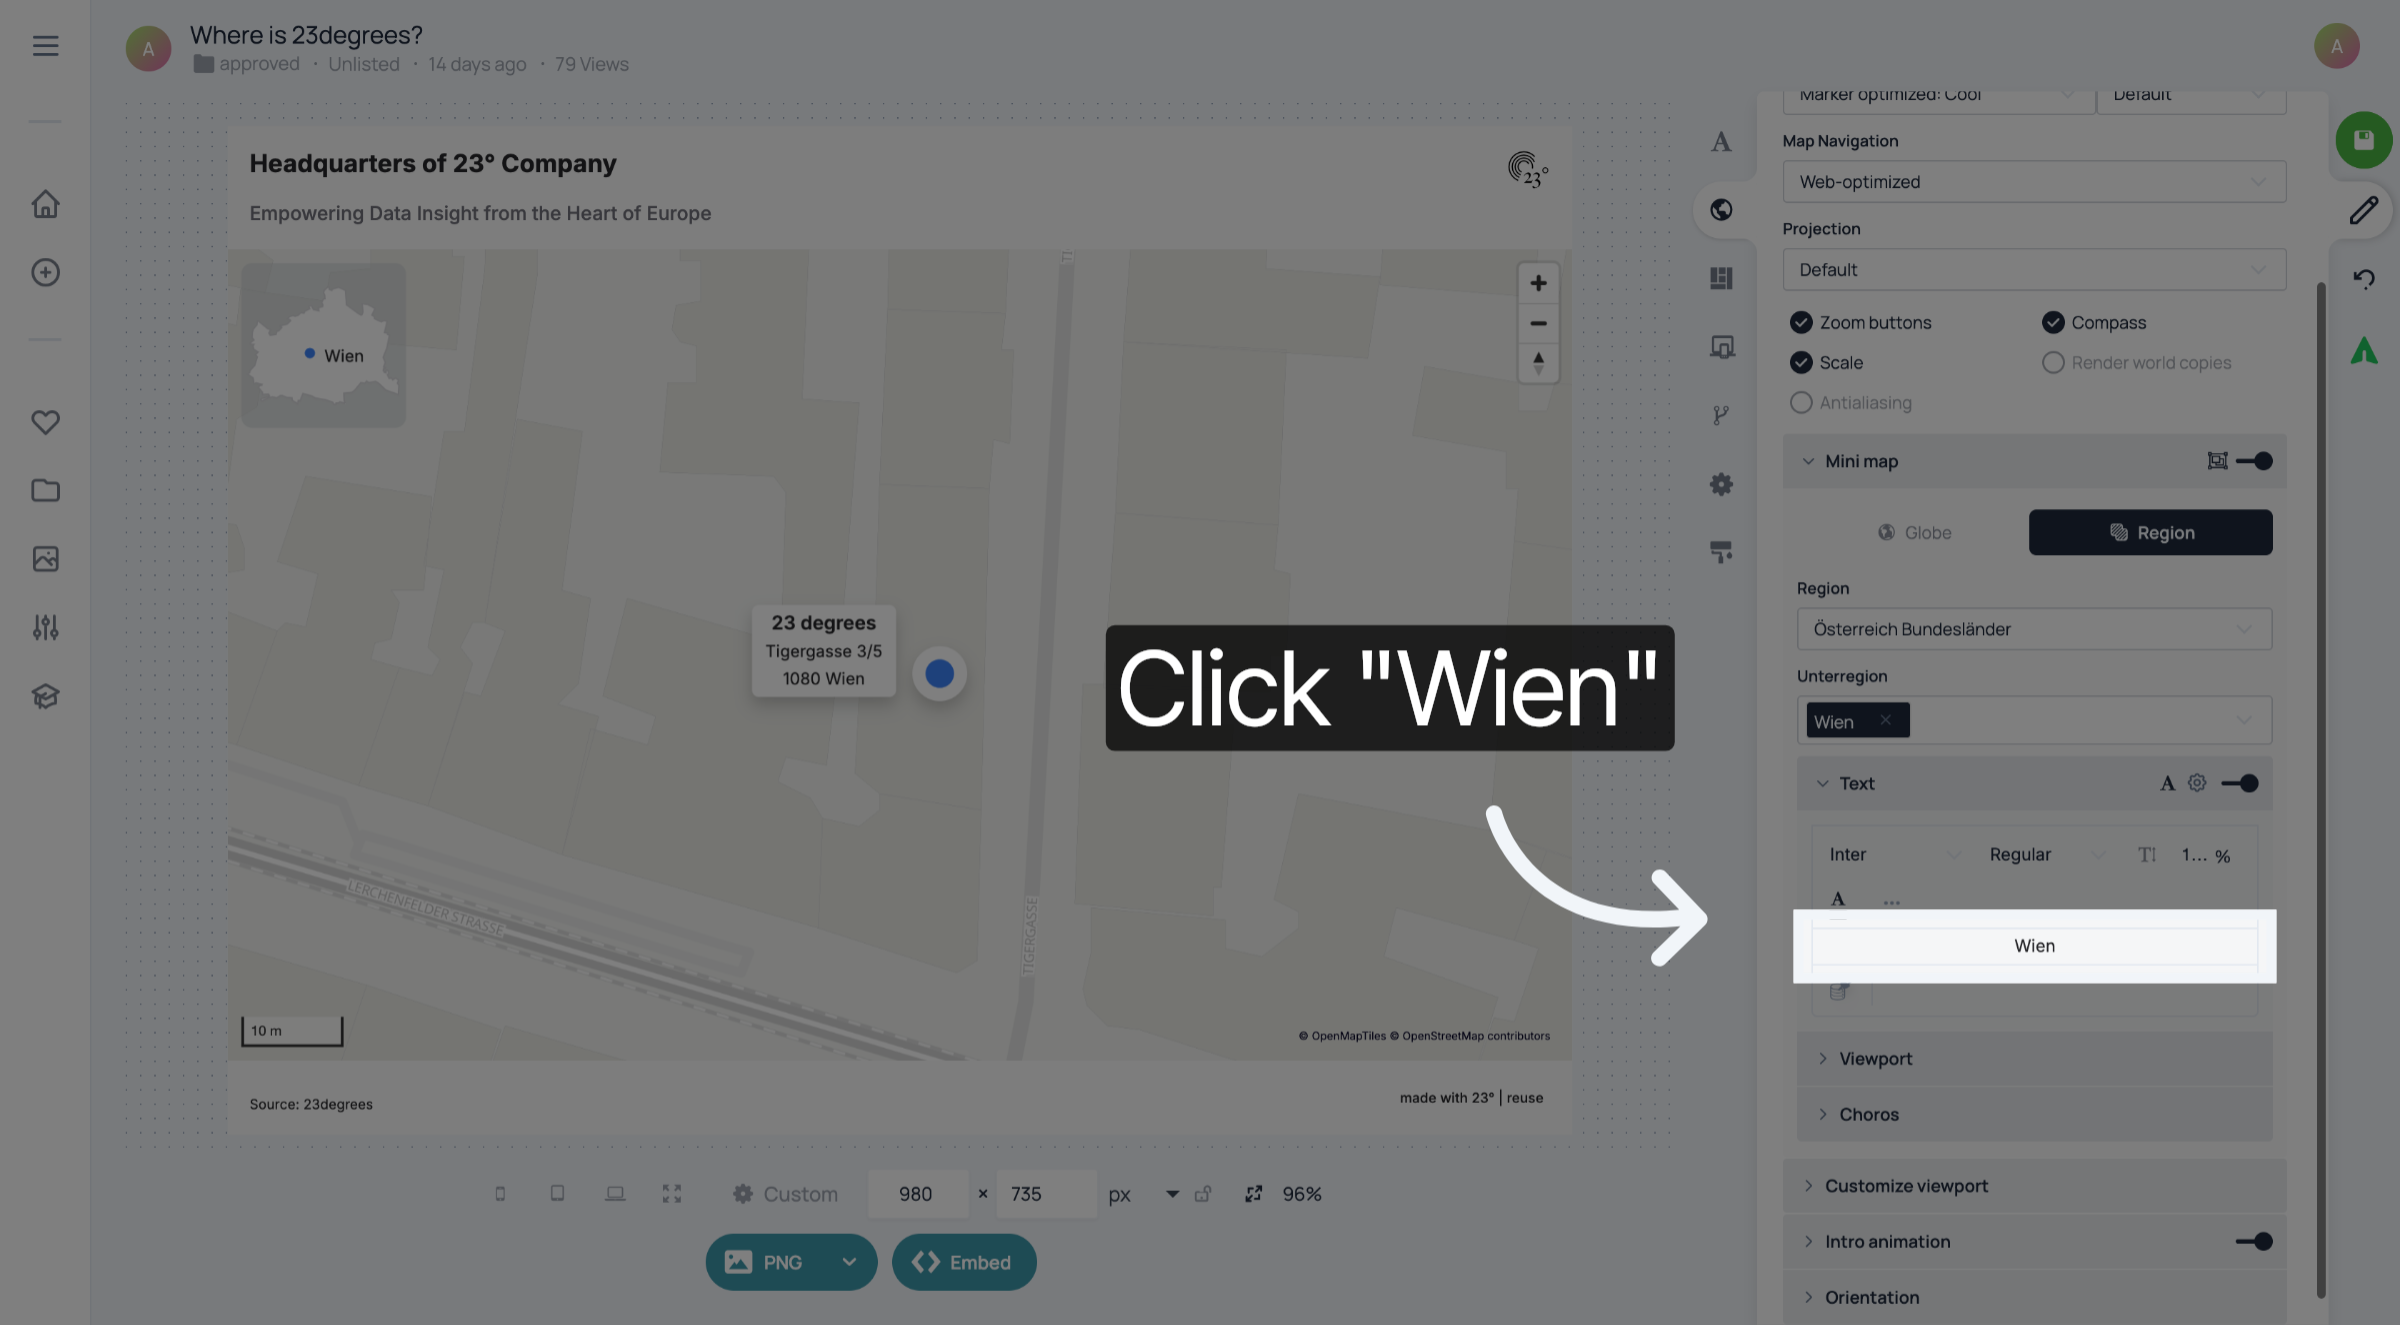
Click "Wien" to set the text label corresponding to the selected region.
Click the selected button
Click the selected option
Click "Wien" again to confirm the text label for the inset map display.
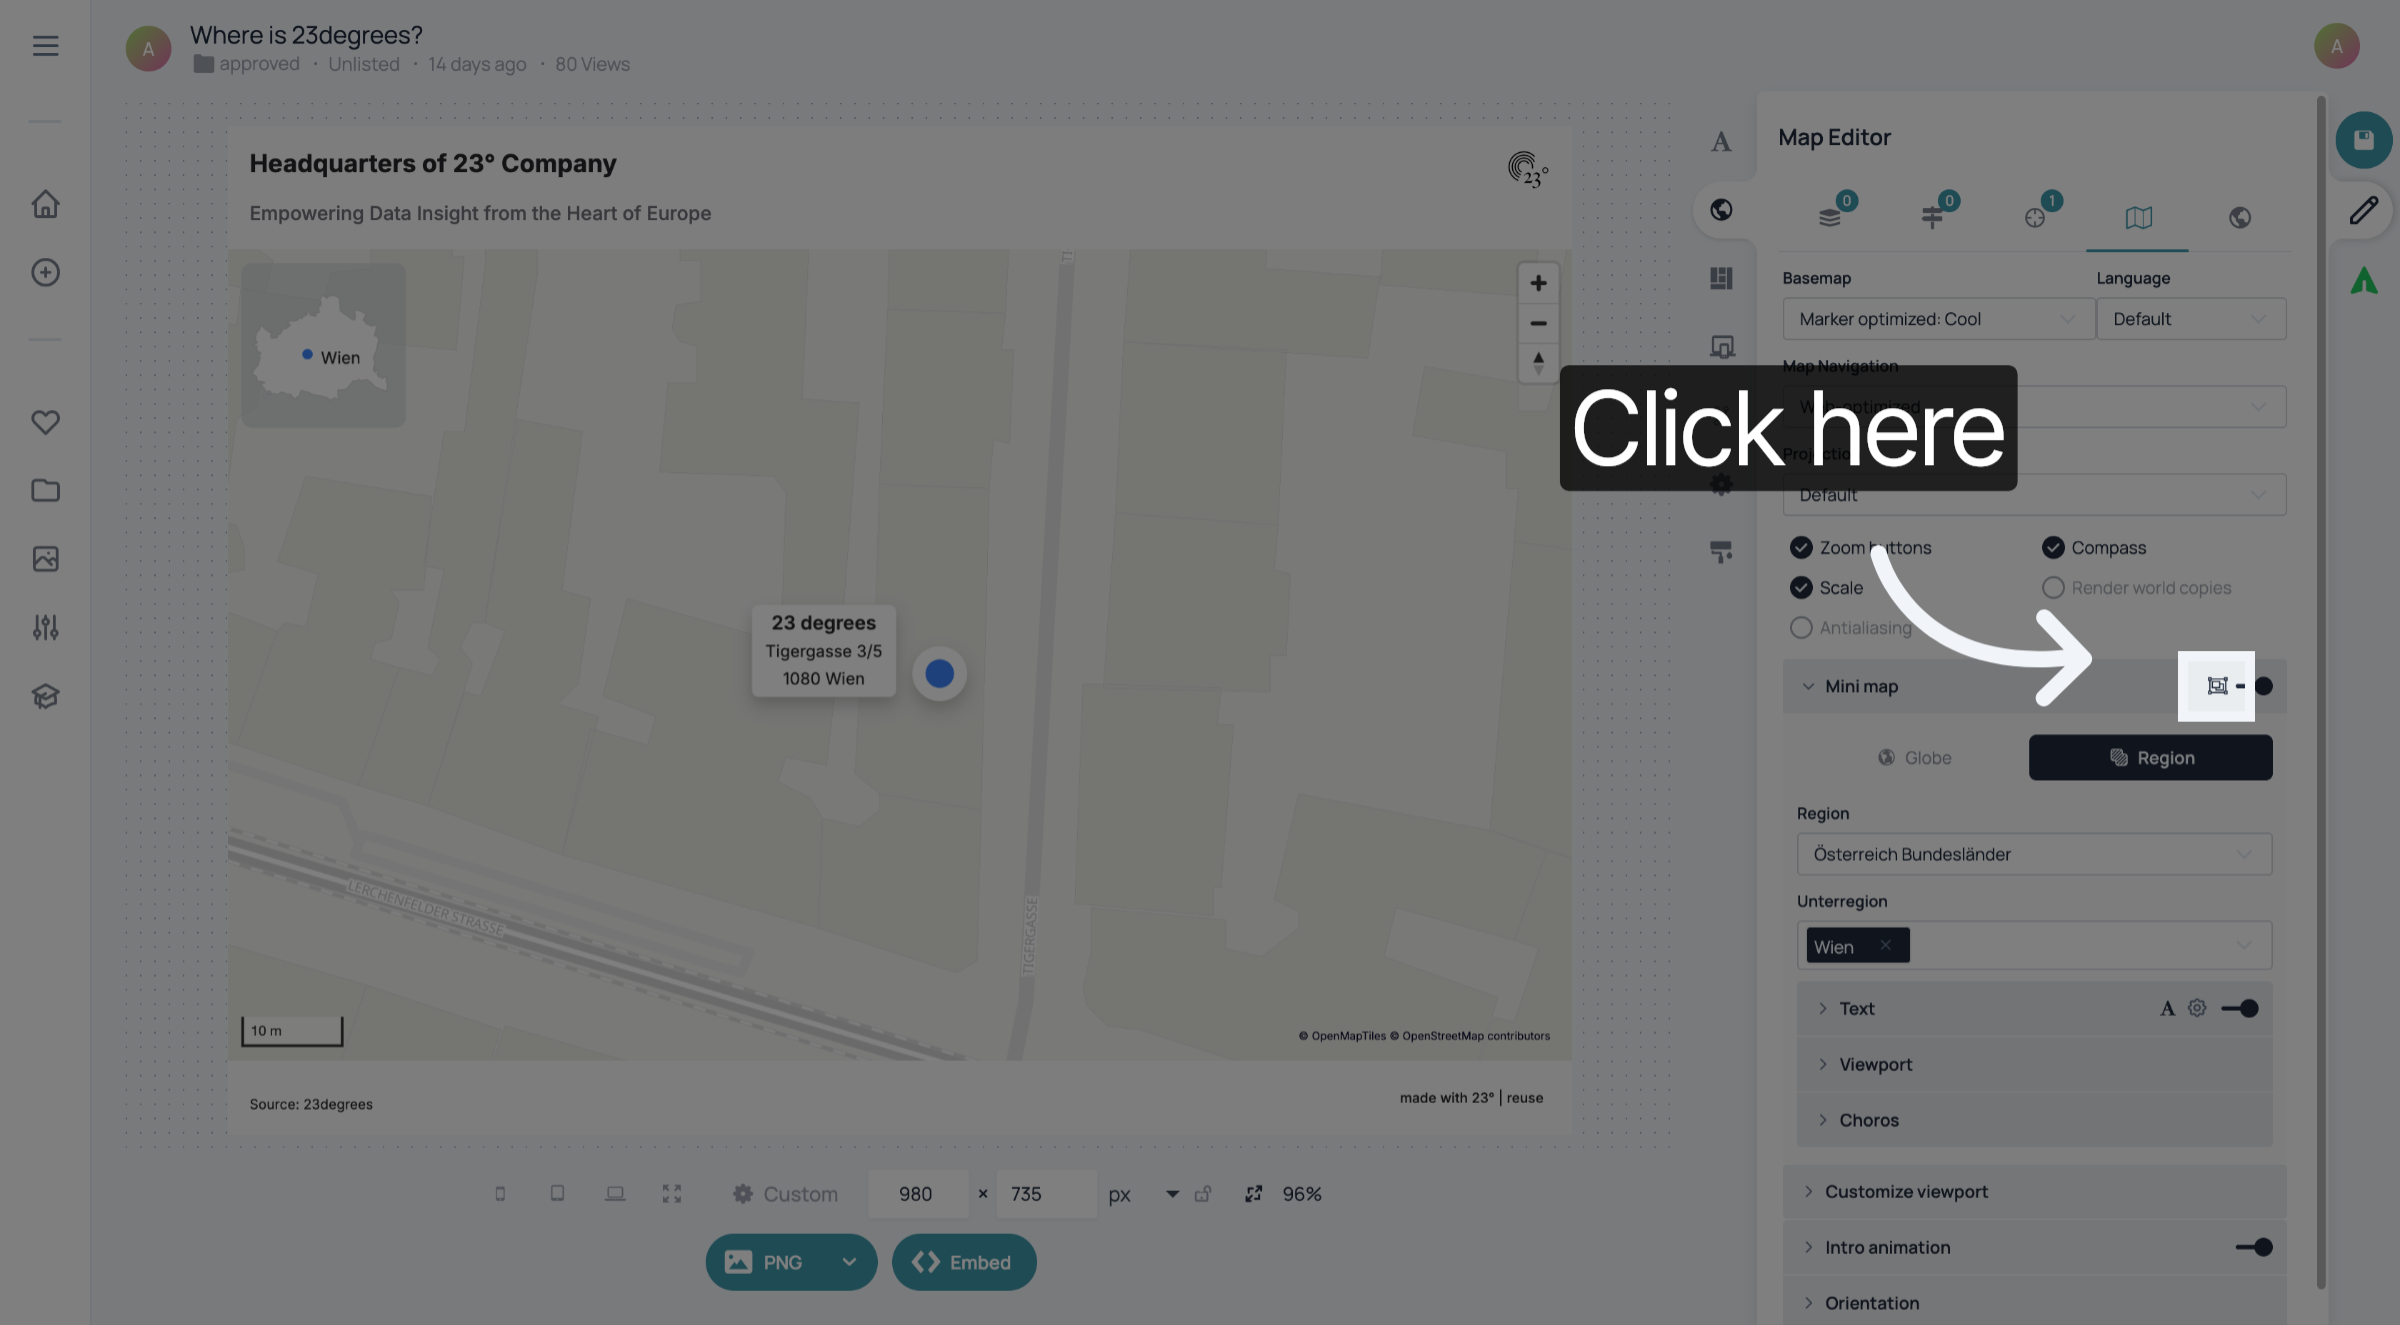
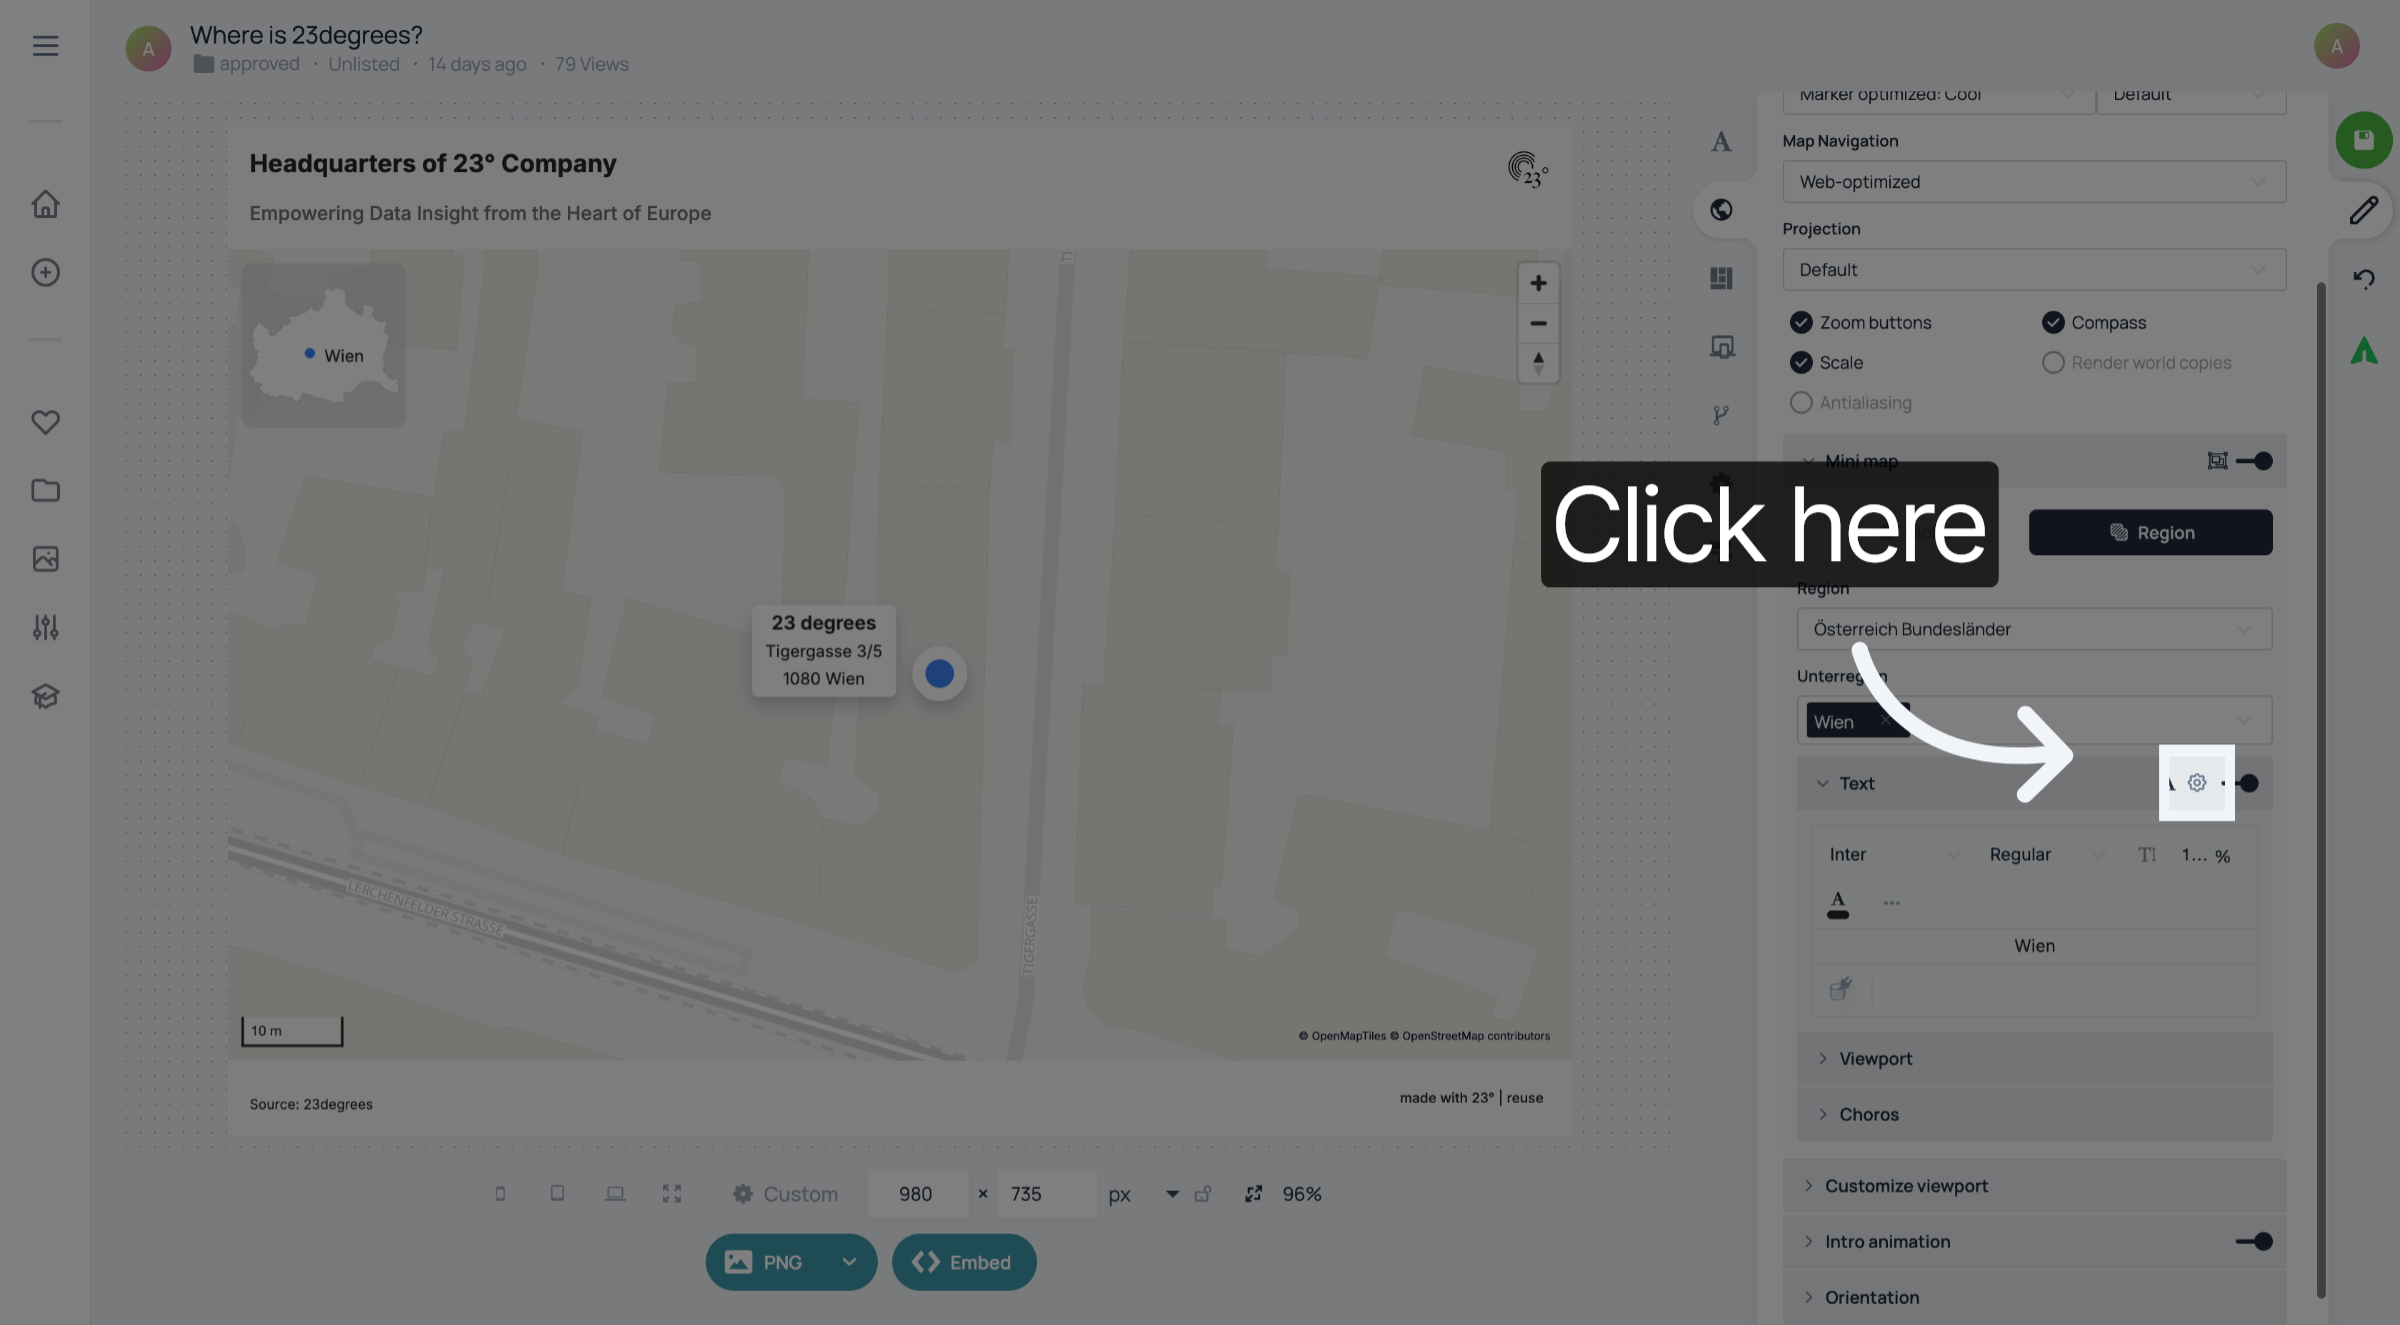
Click here to access further customization options for the inset map.
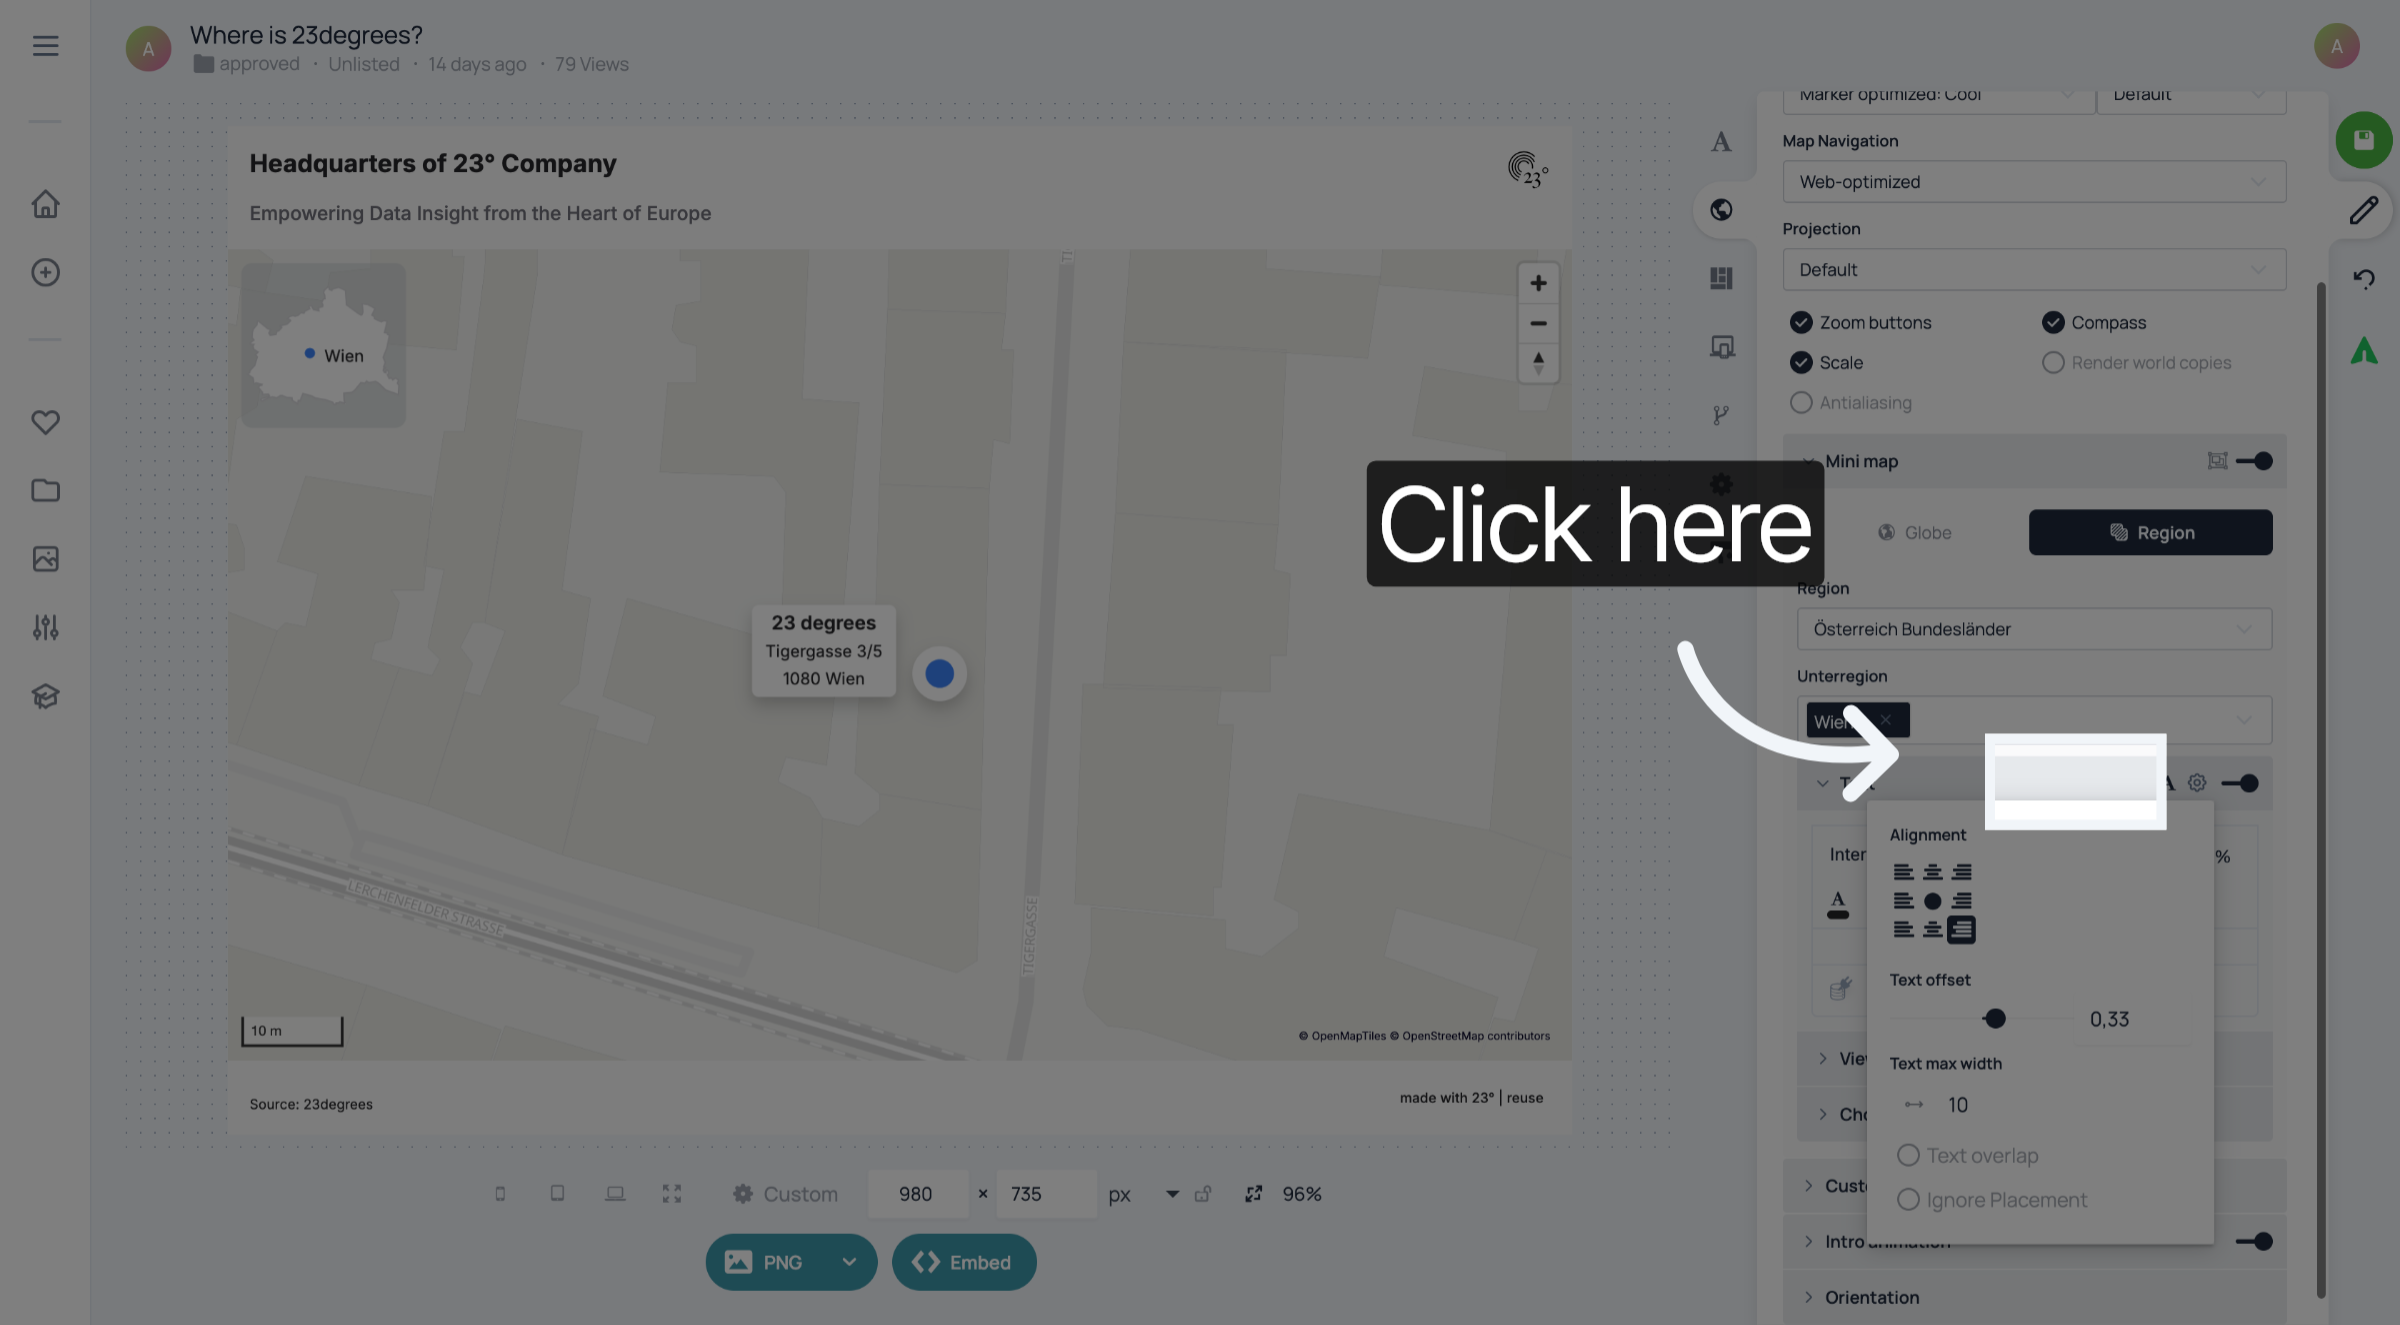
Click here to open the viewport configuration for the inset map display.
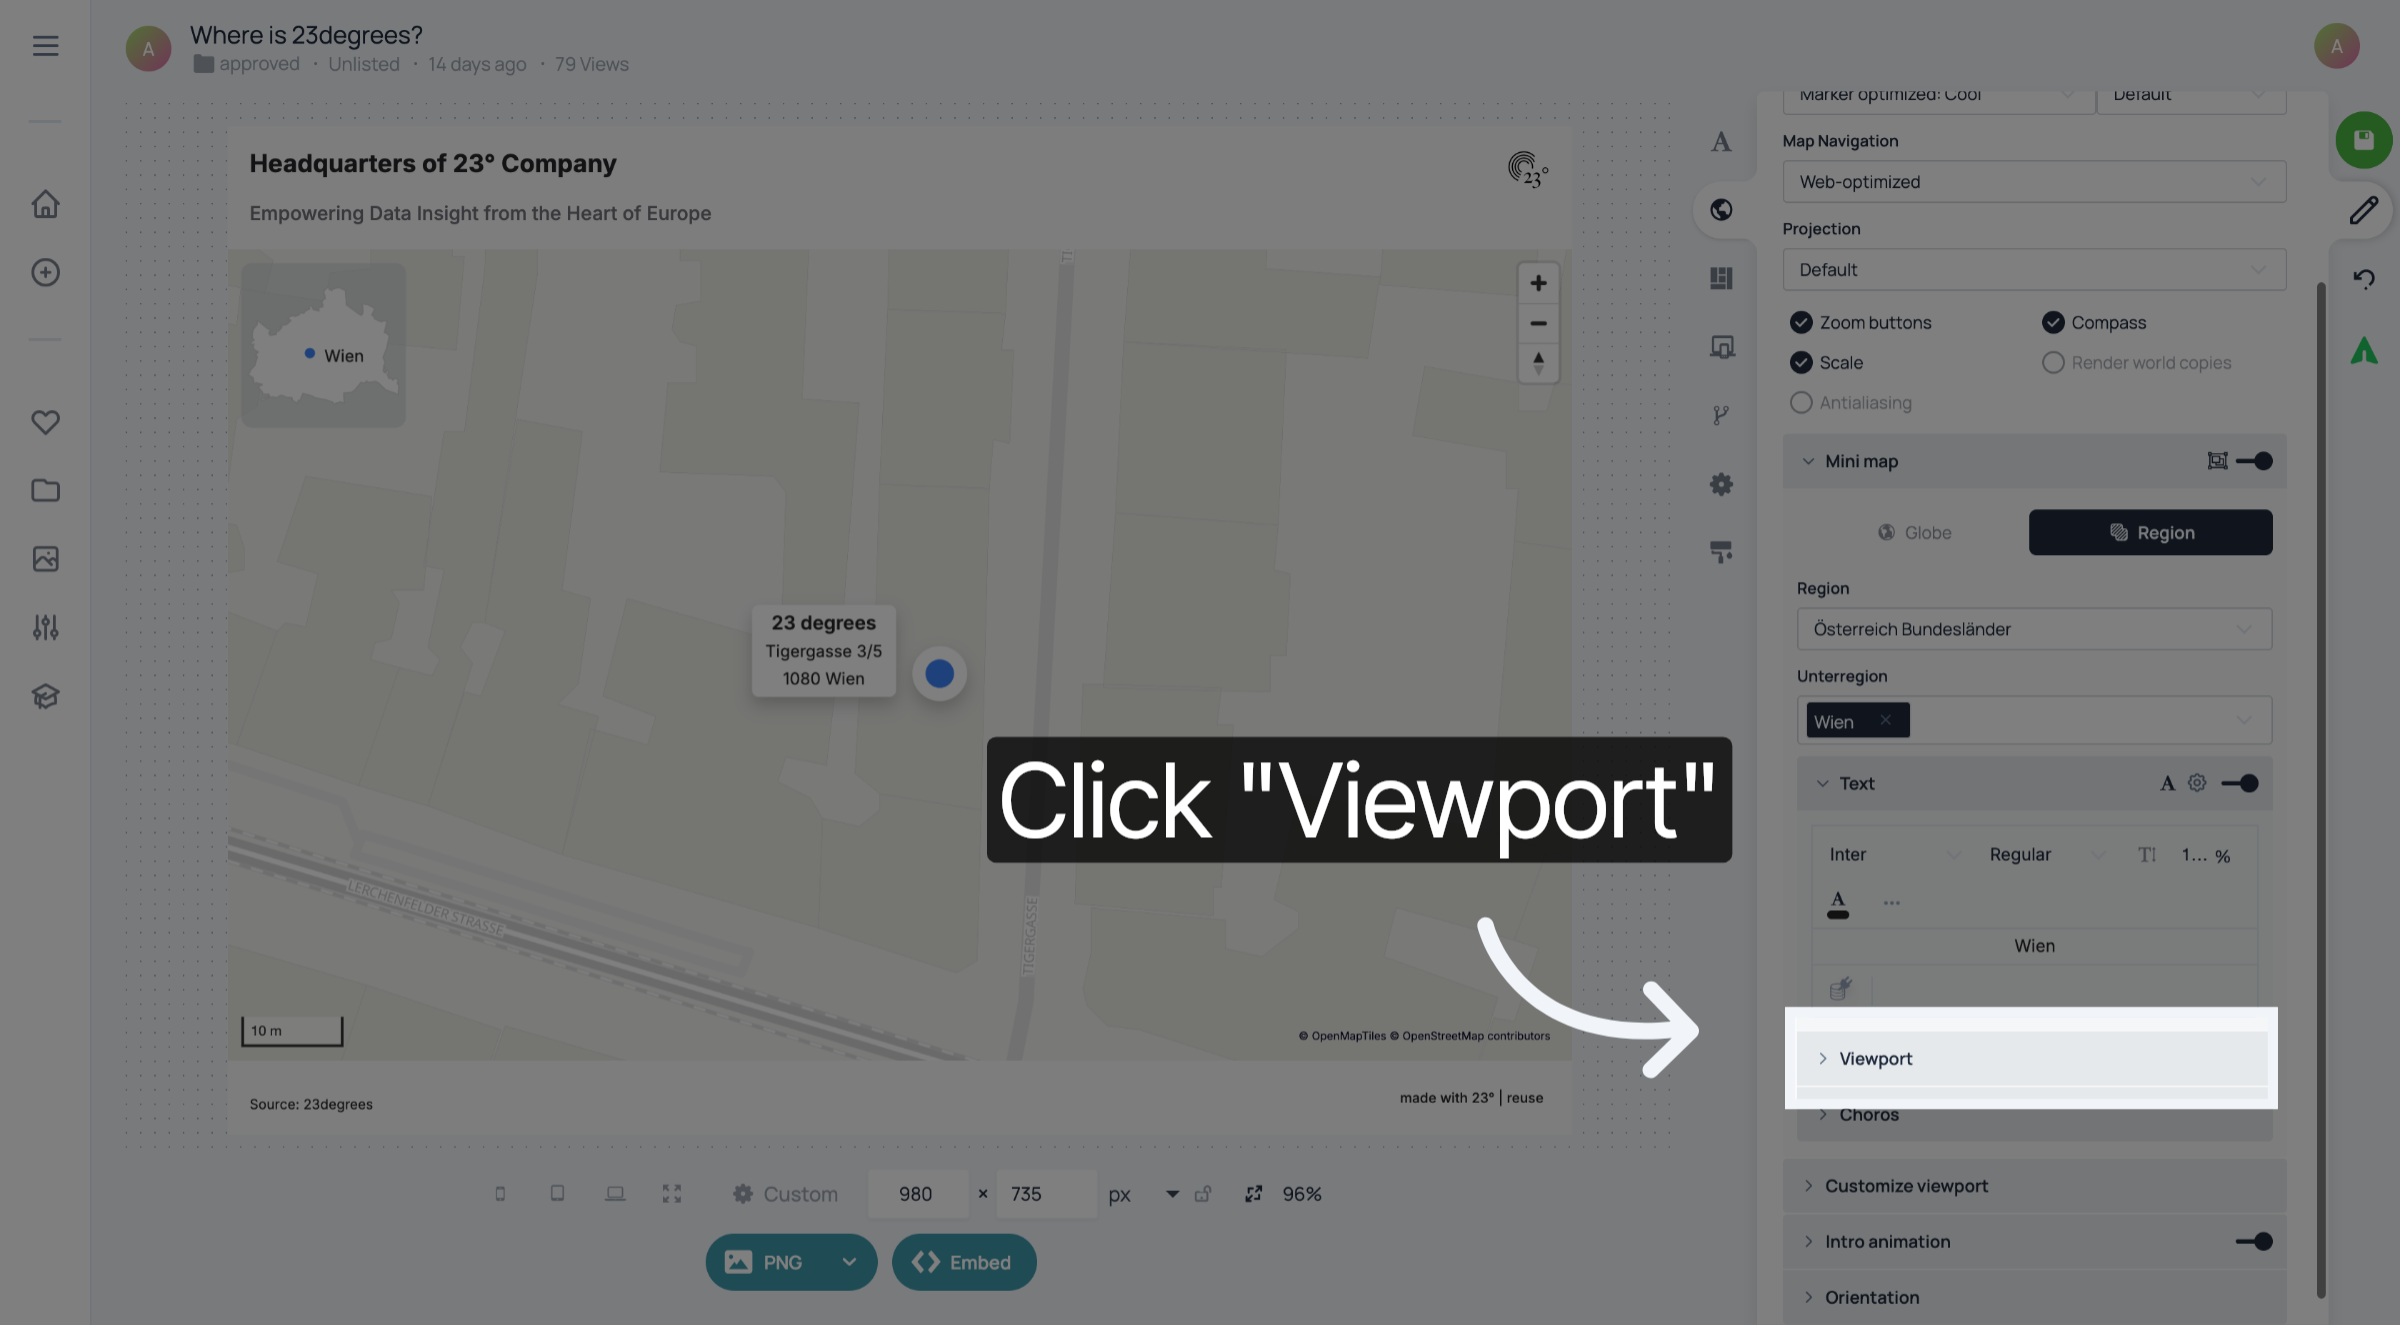
Click "Viewport" to adjust the visible area and zoom level of the inset map.
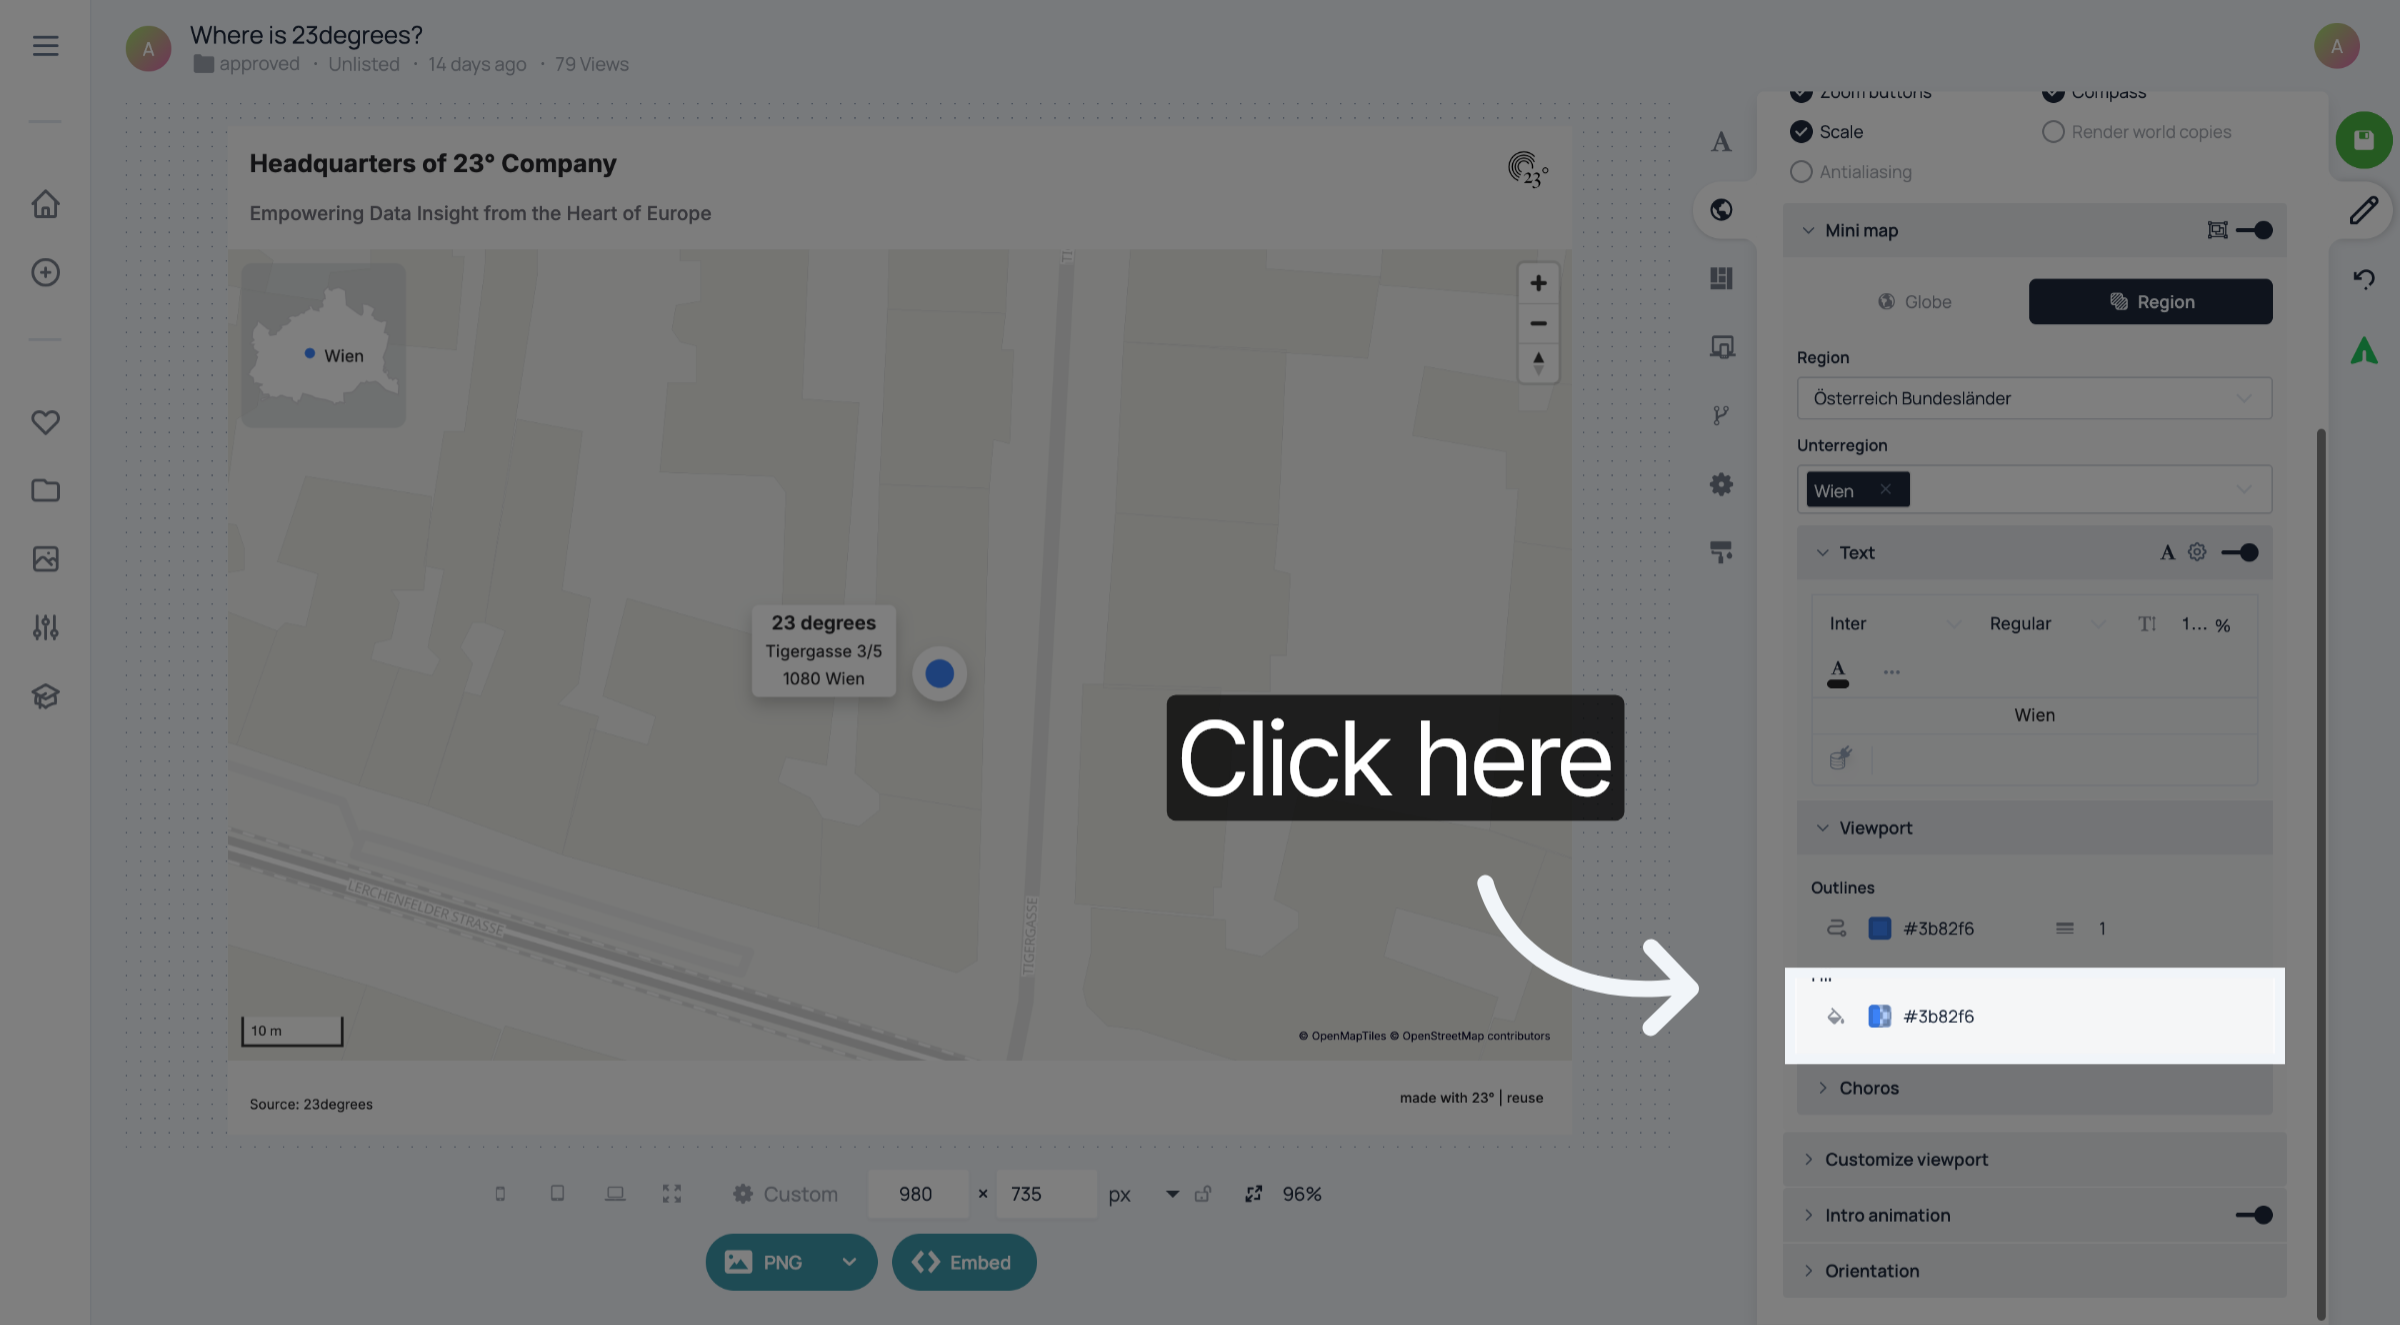
Click here to access the choropleth map options for visual styling.
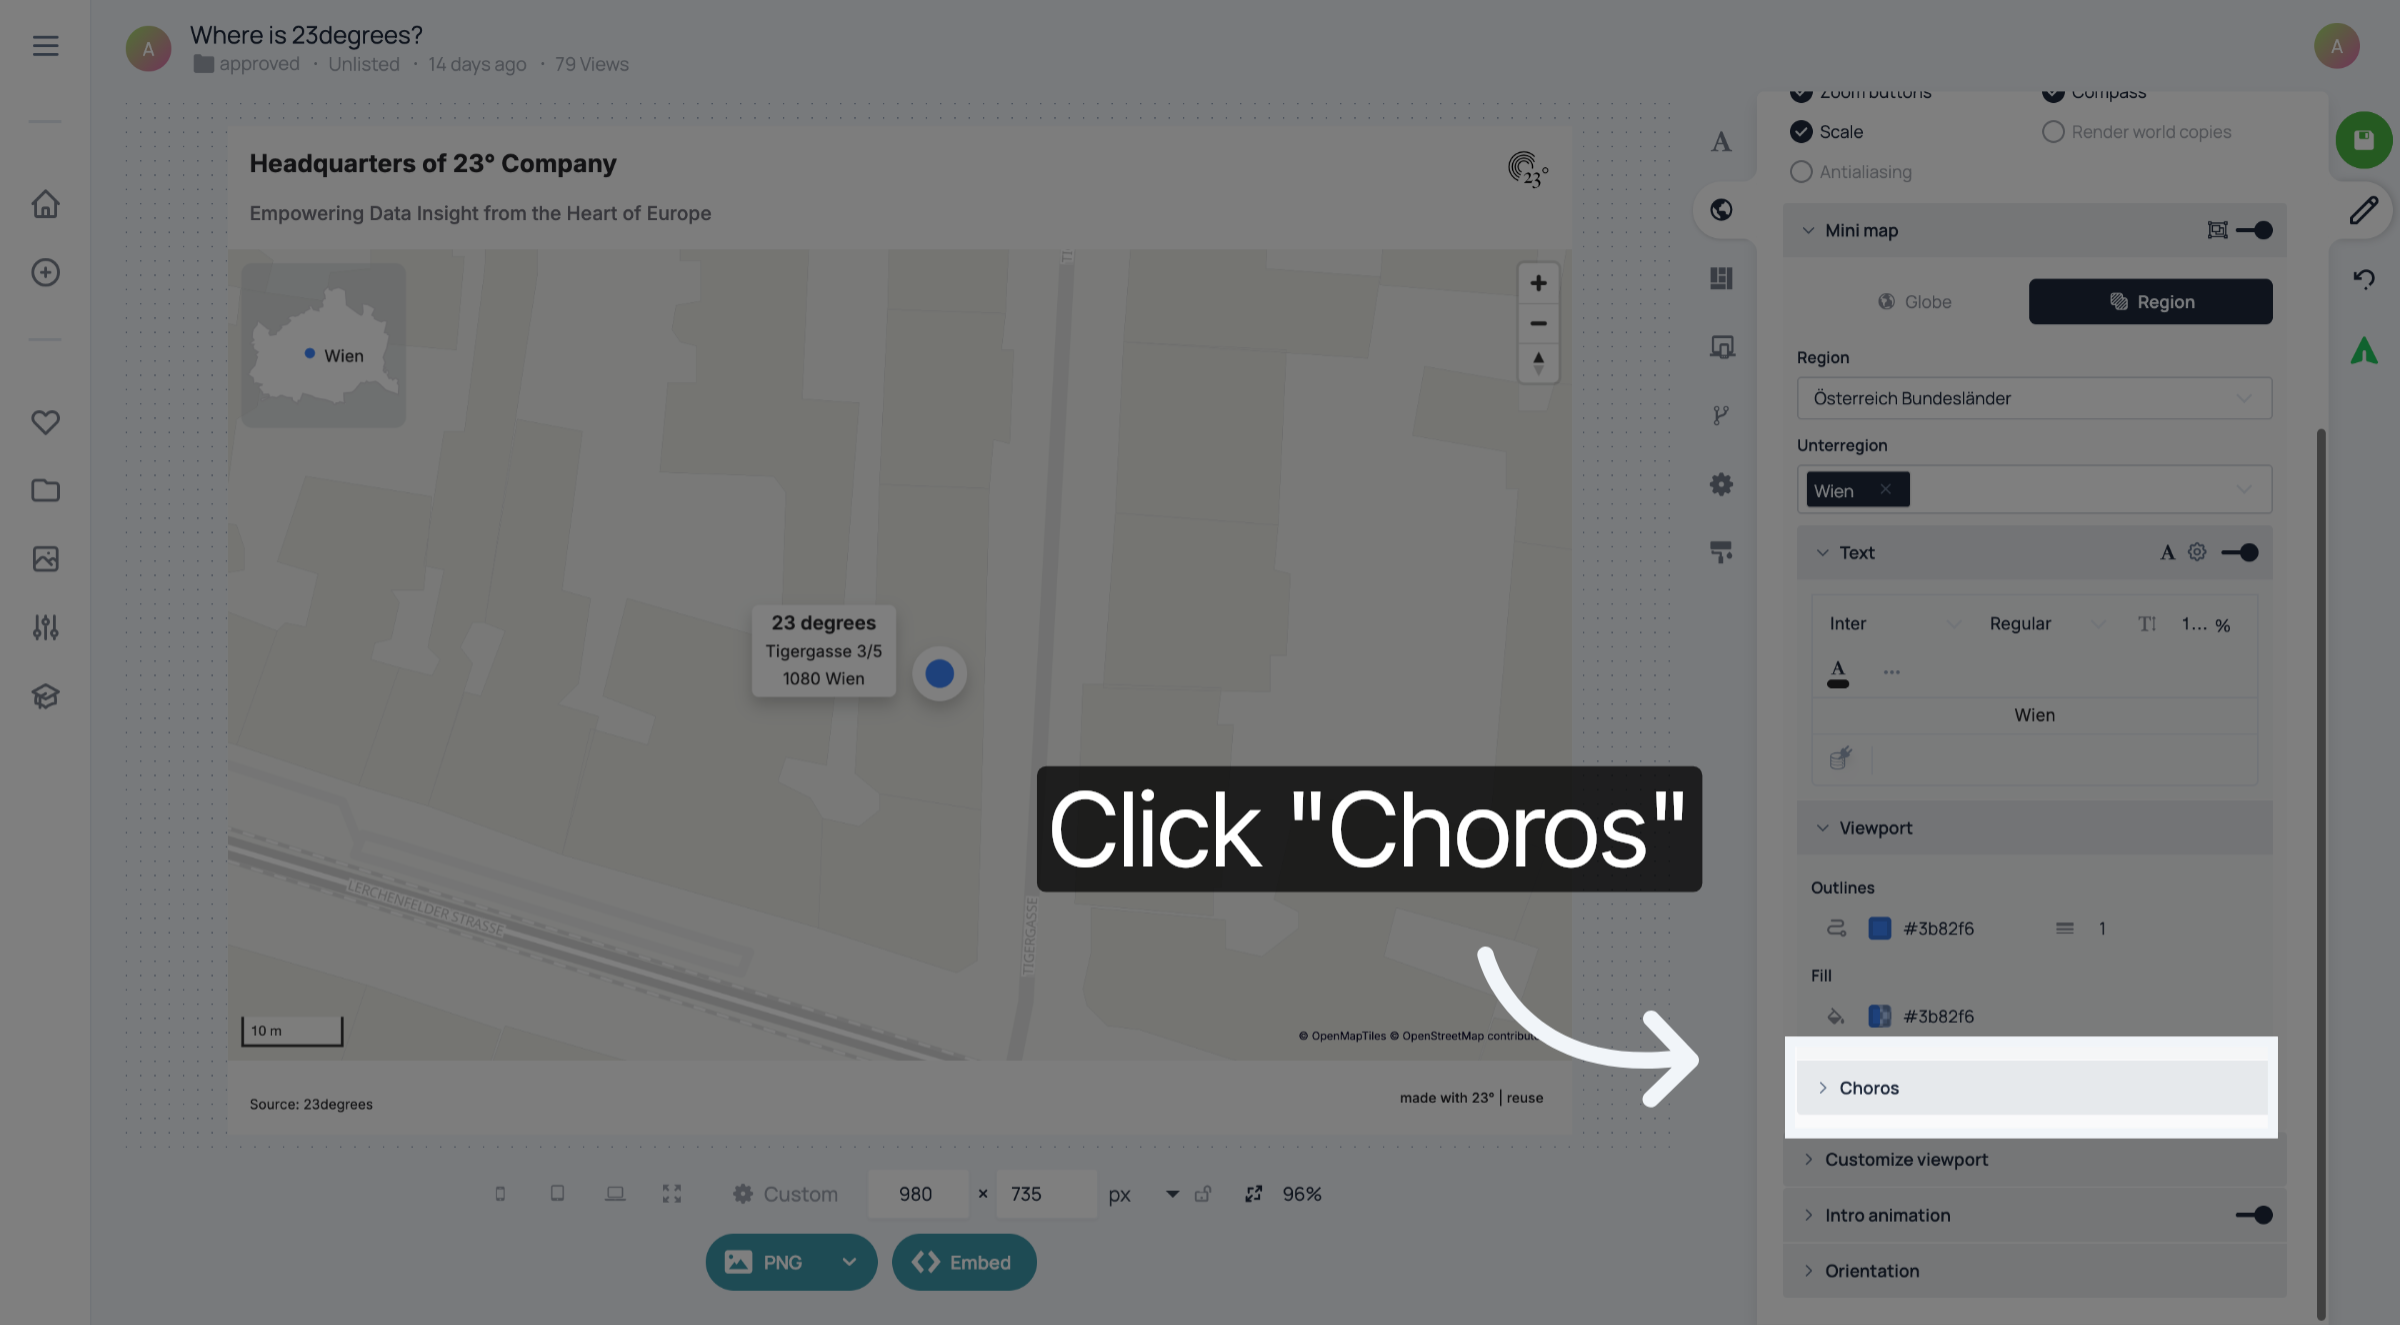
Click "Choros" to select the choropleth style for the inset map visualization.
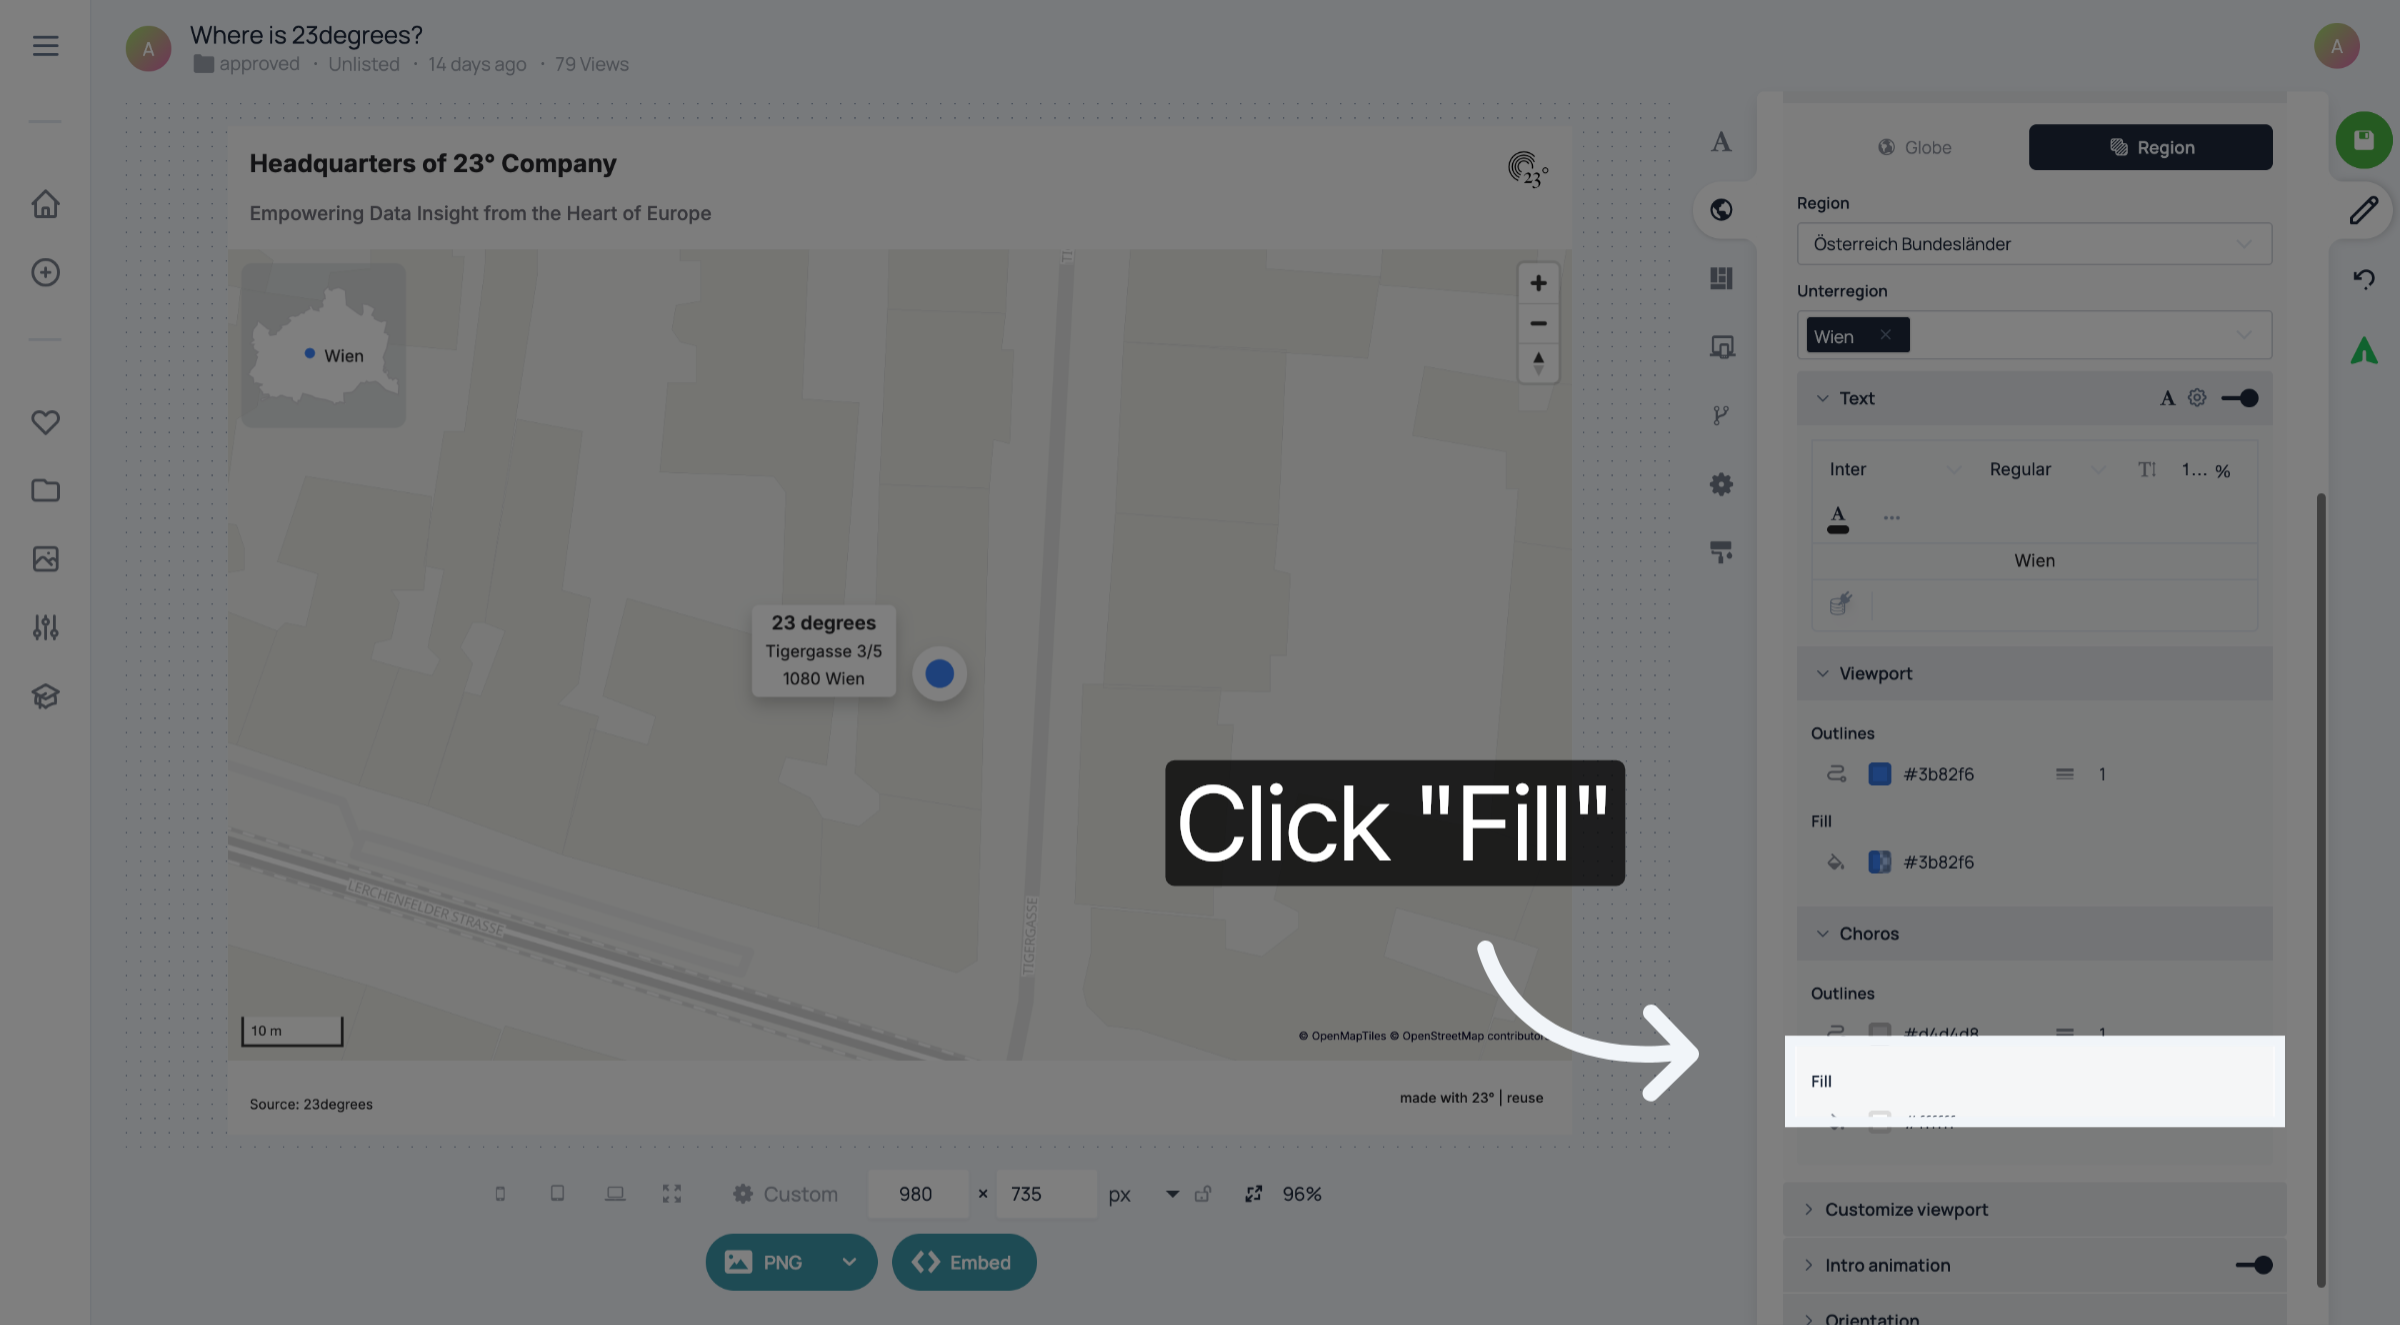
Click "Fill" to adjust the color fill and appearance of the inset map regions.
Click here to complete the inset map configuration and apply your settings.
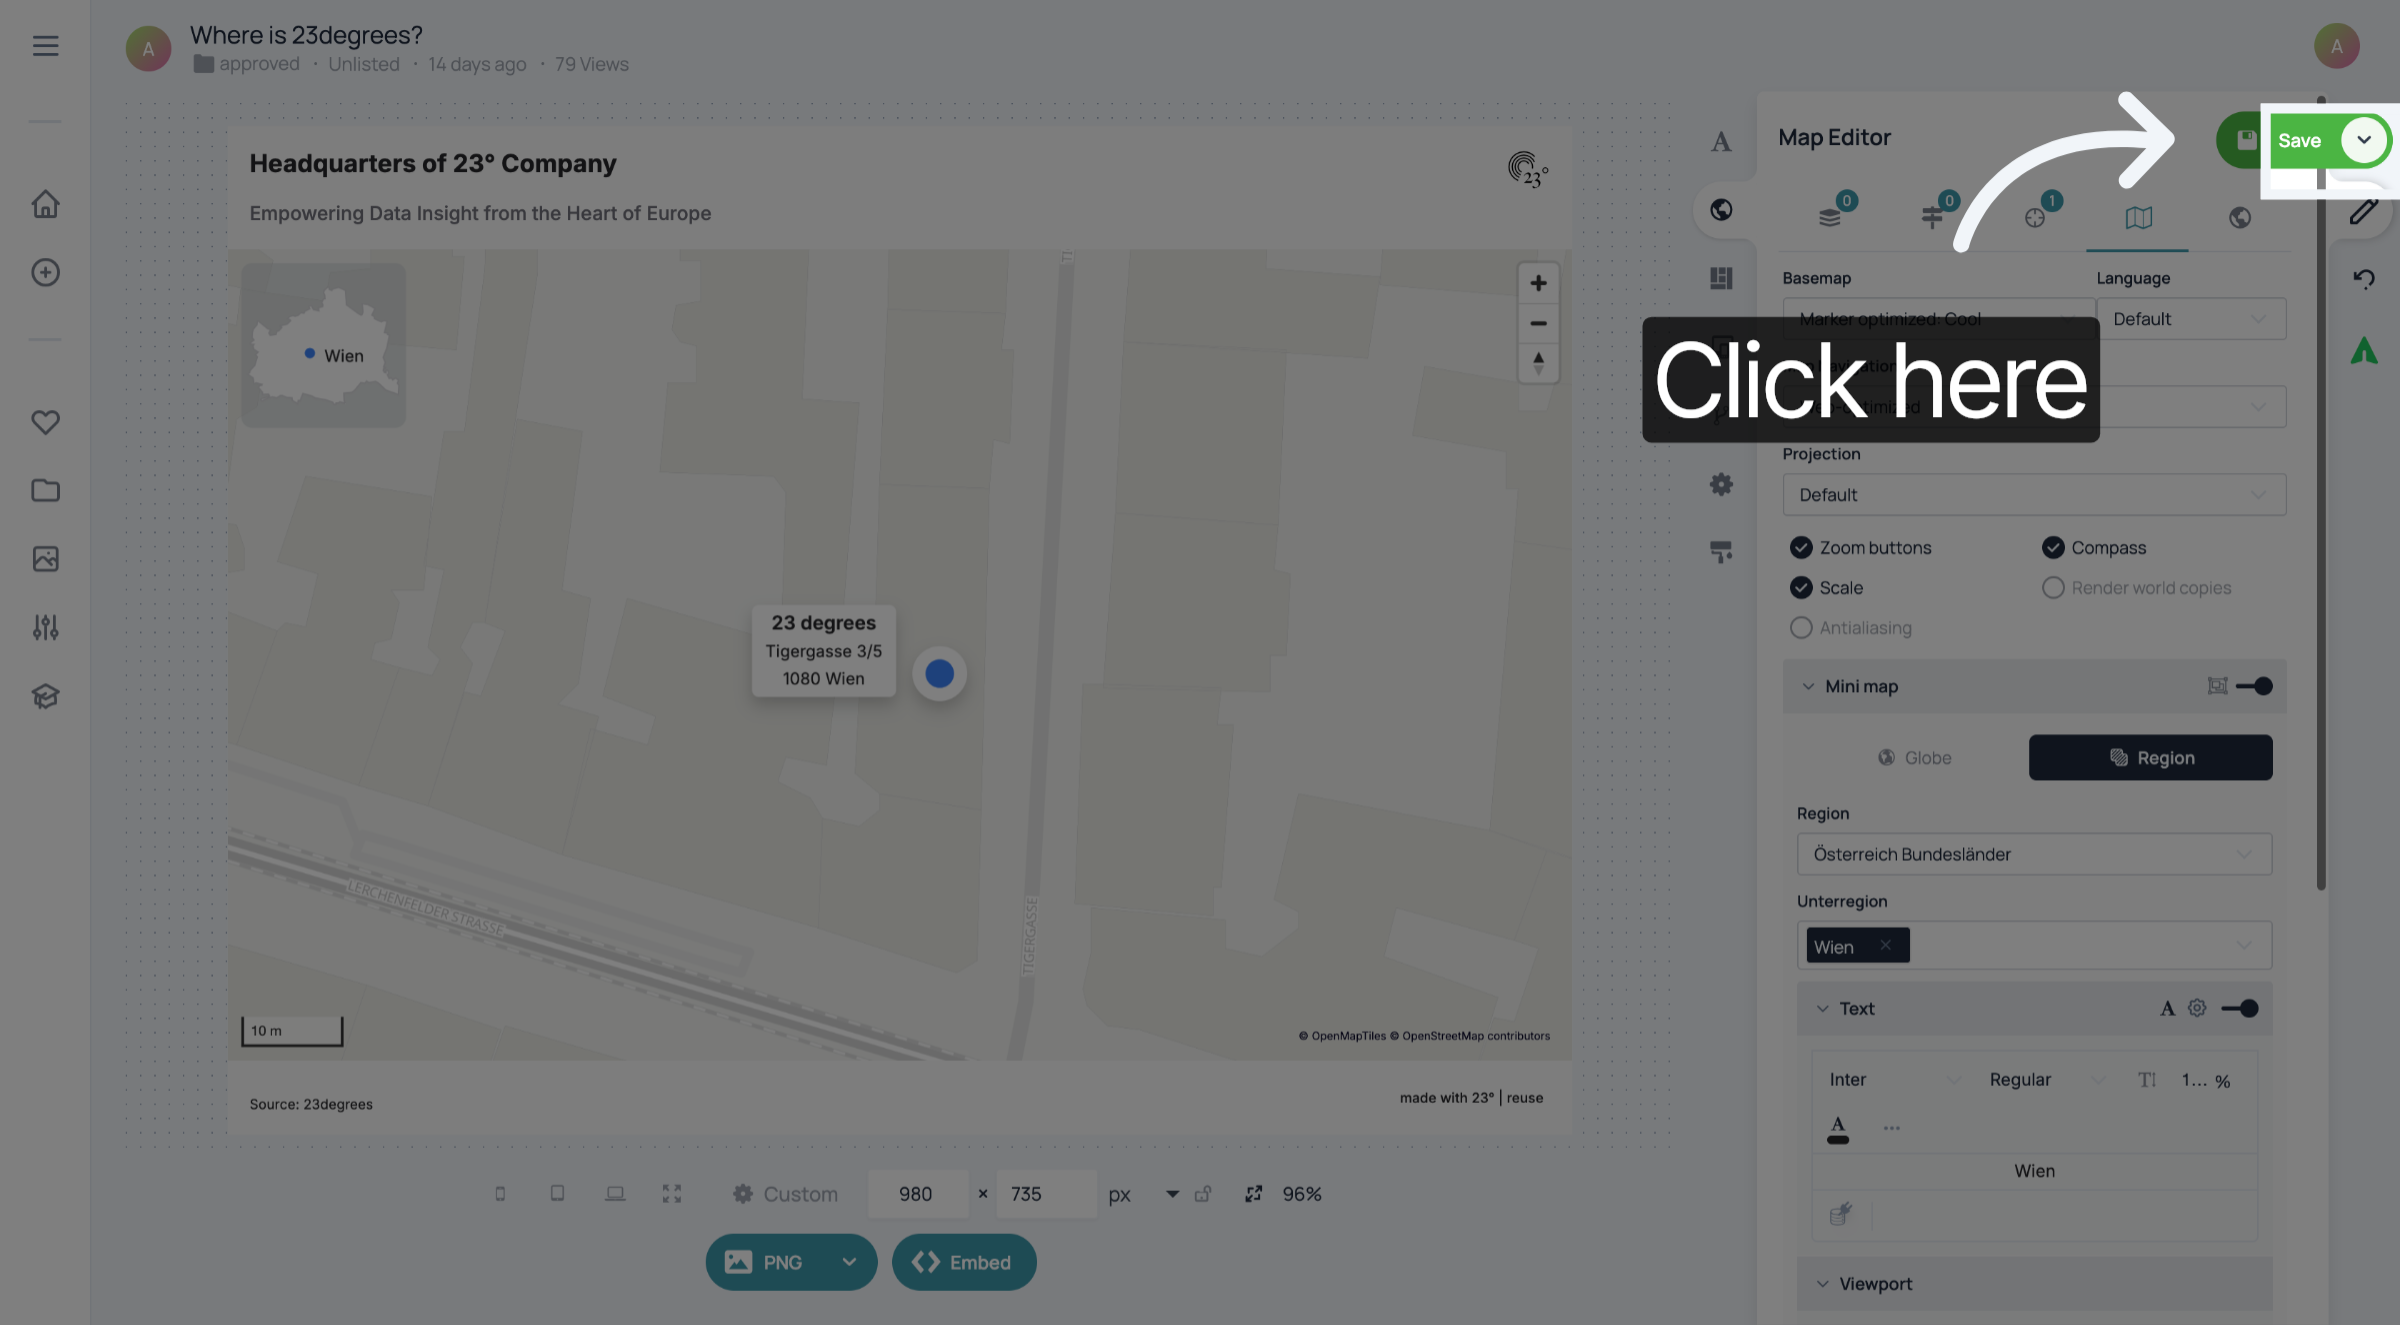
You have successfully added and customized an inset map in the 23degrees application. This setup allows you to display a focused region with appropriate labels and visual styles for enhanced map presentation.