Share Folder Access Permissions in 23degrees
This tutorial explains how to share a folder with other users in 23degrees.
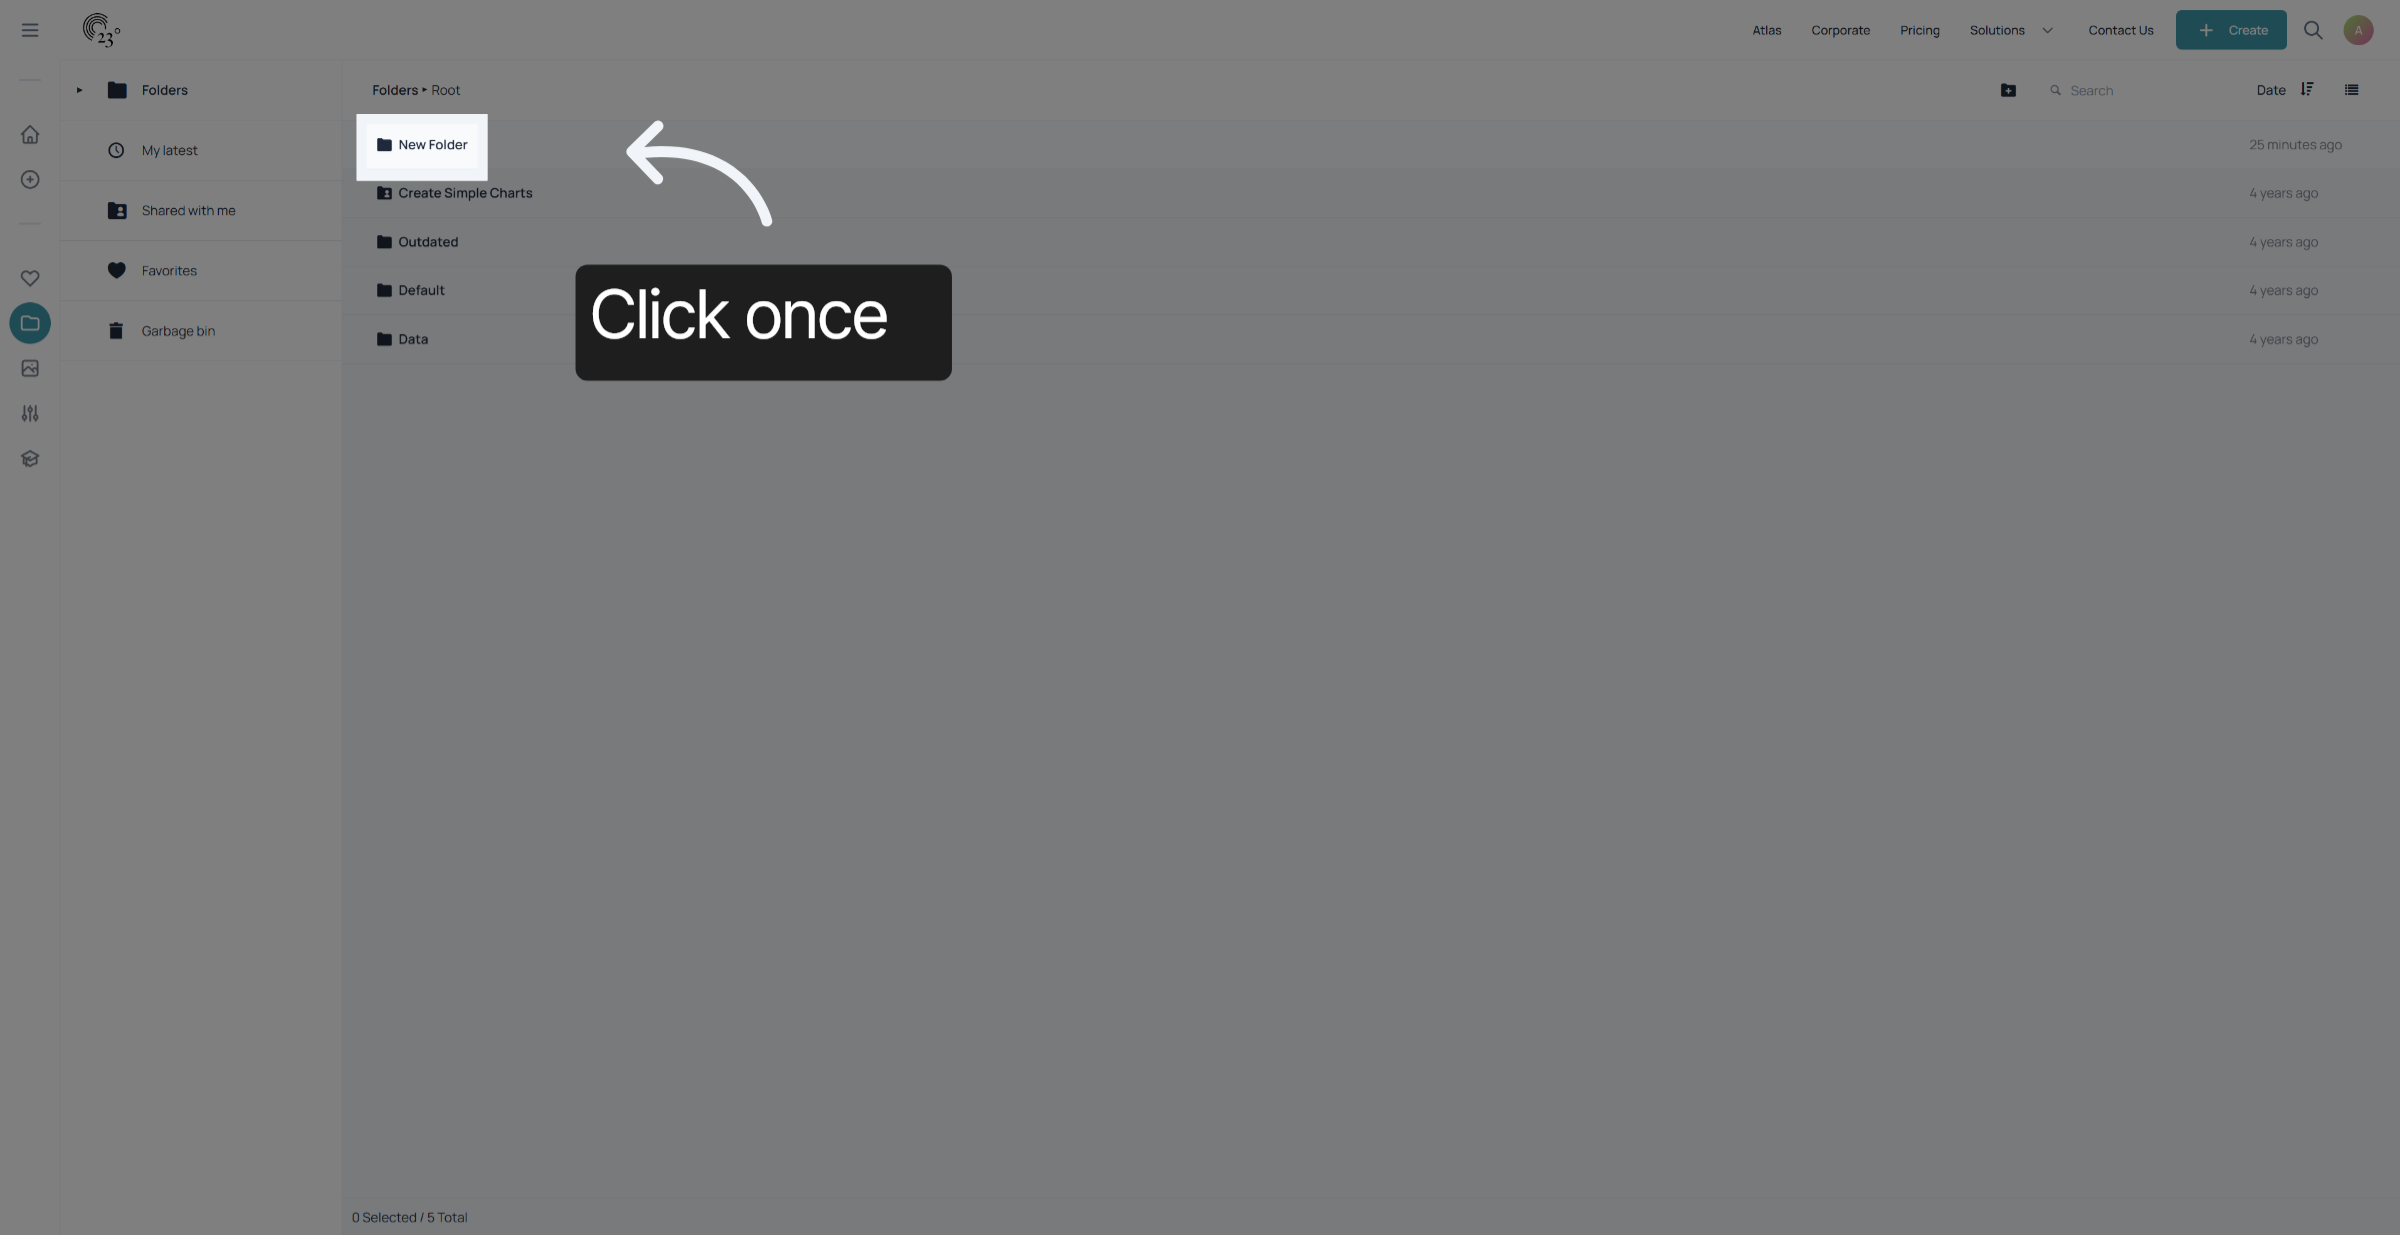
Click the folder you want to share once to begin the sharing process.
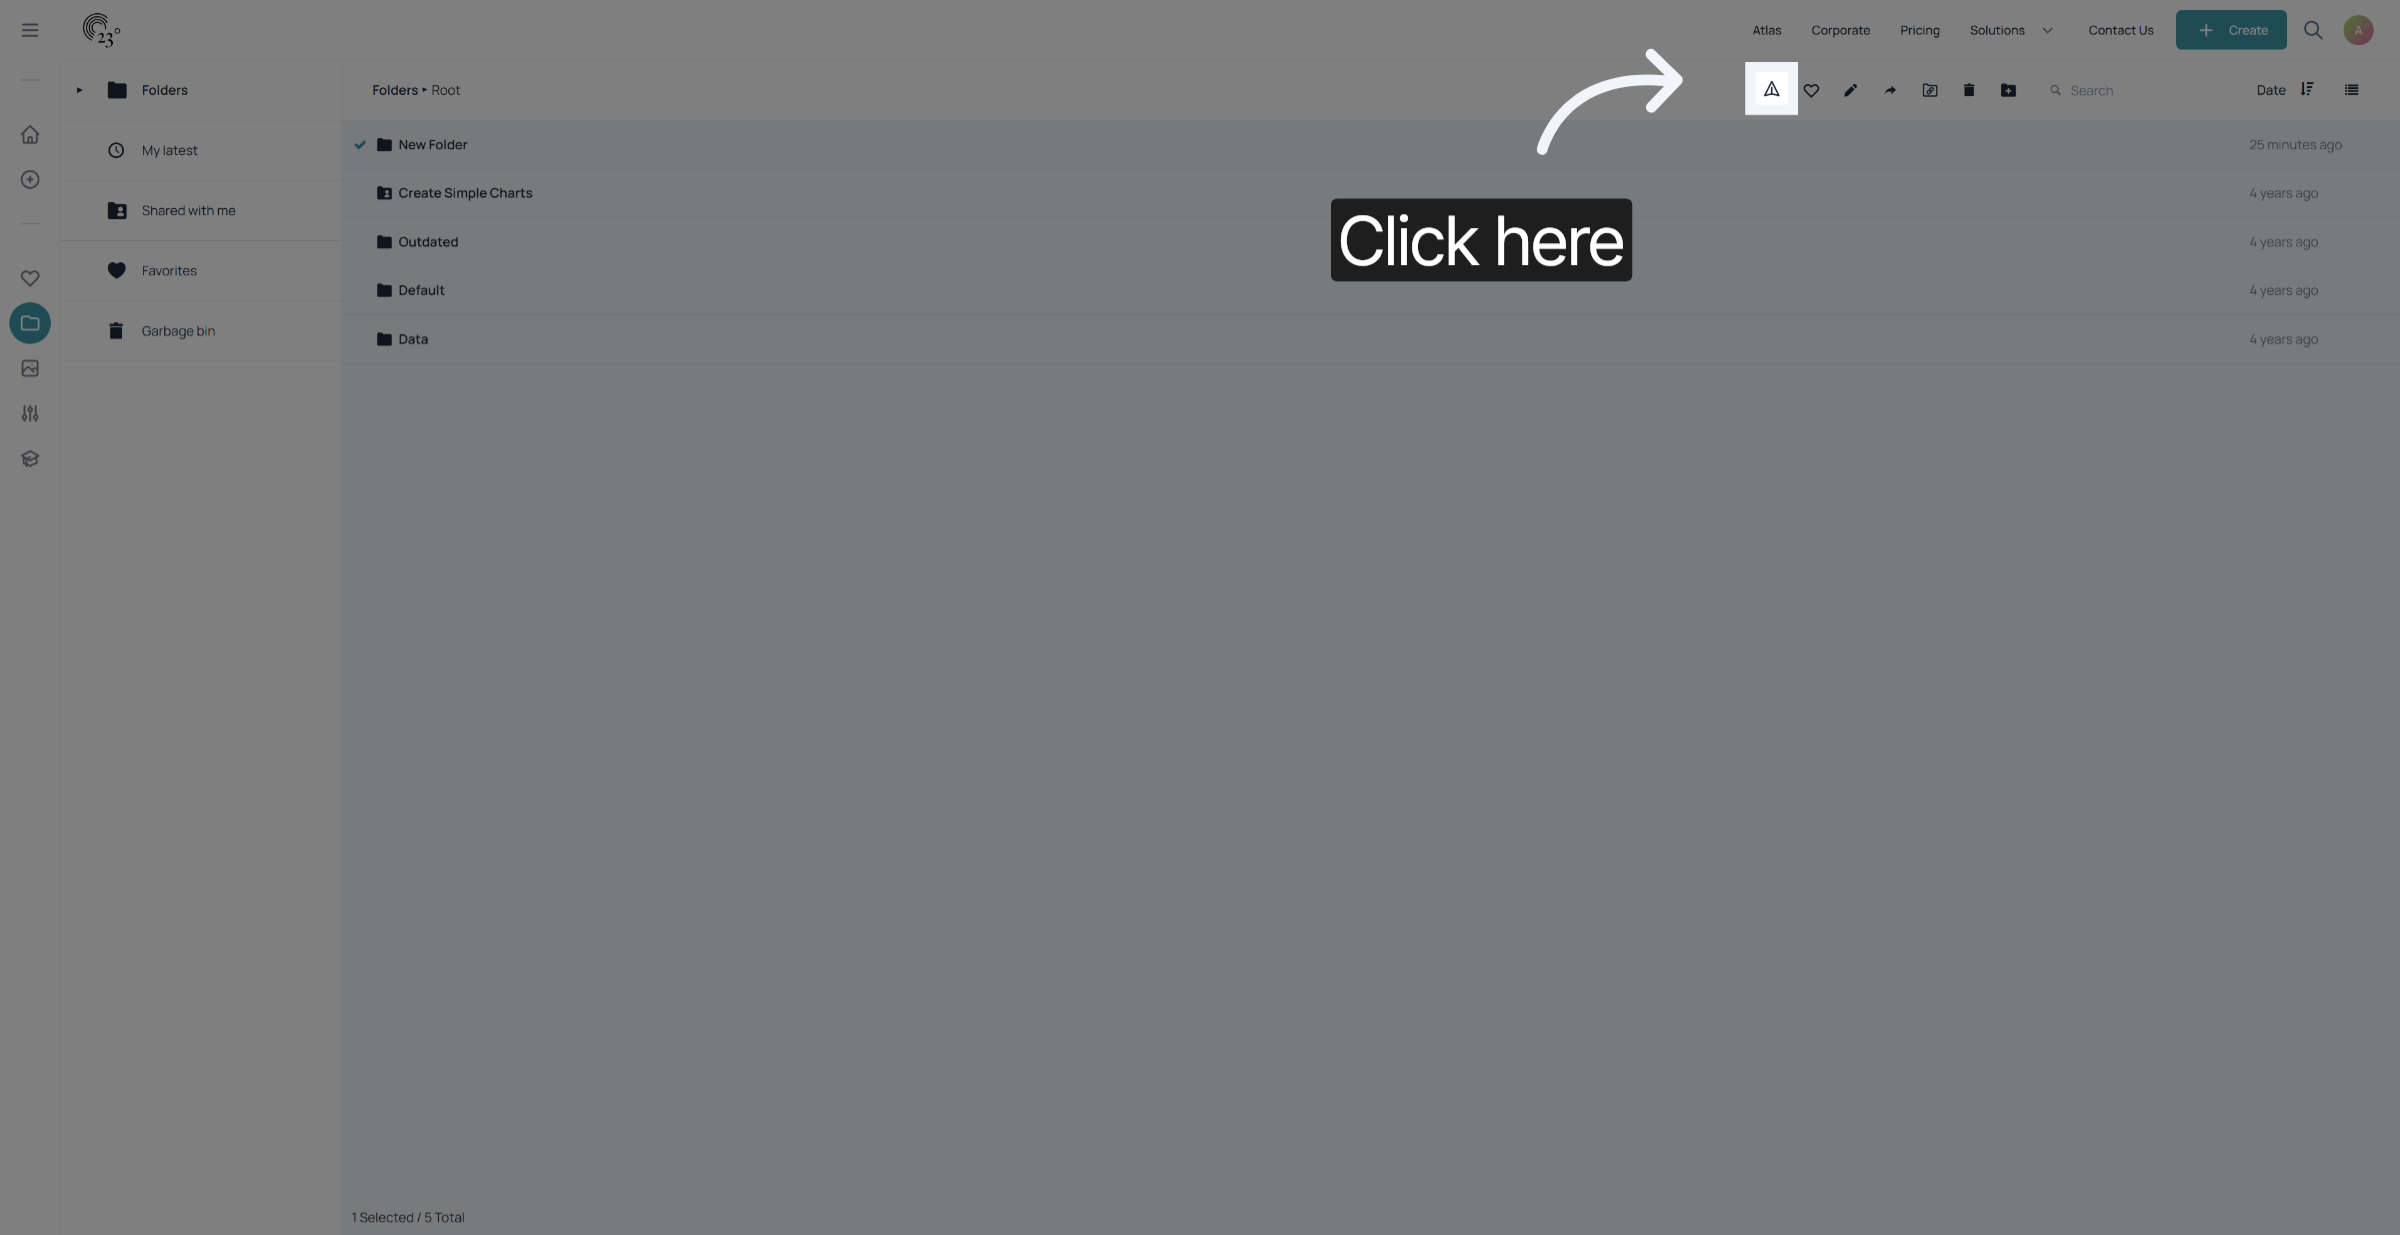
Click on the share icon.
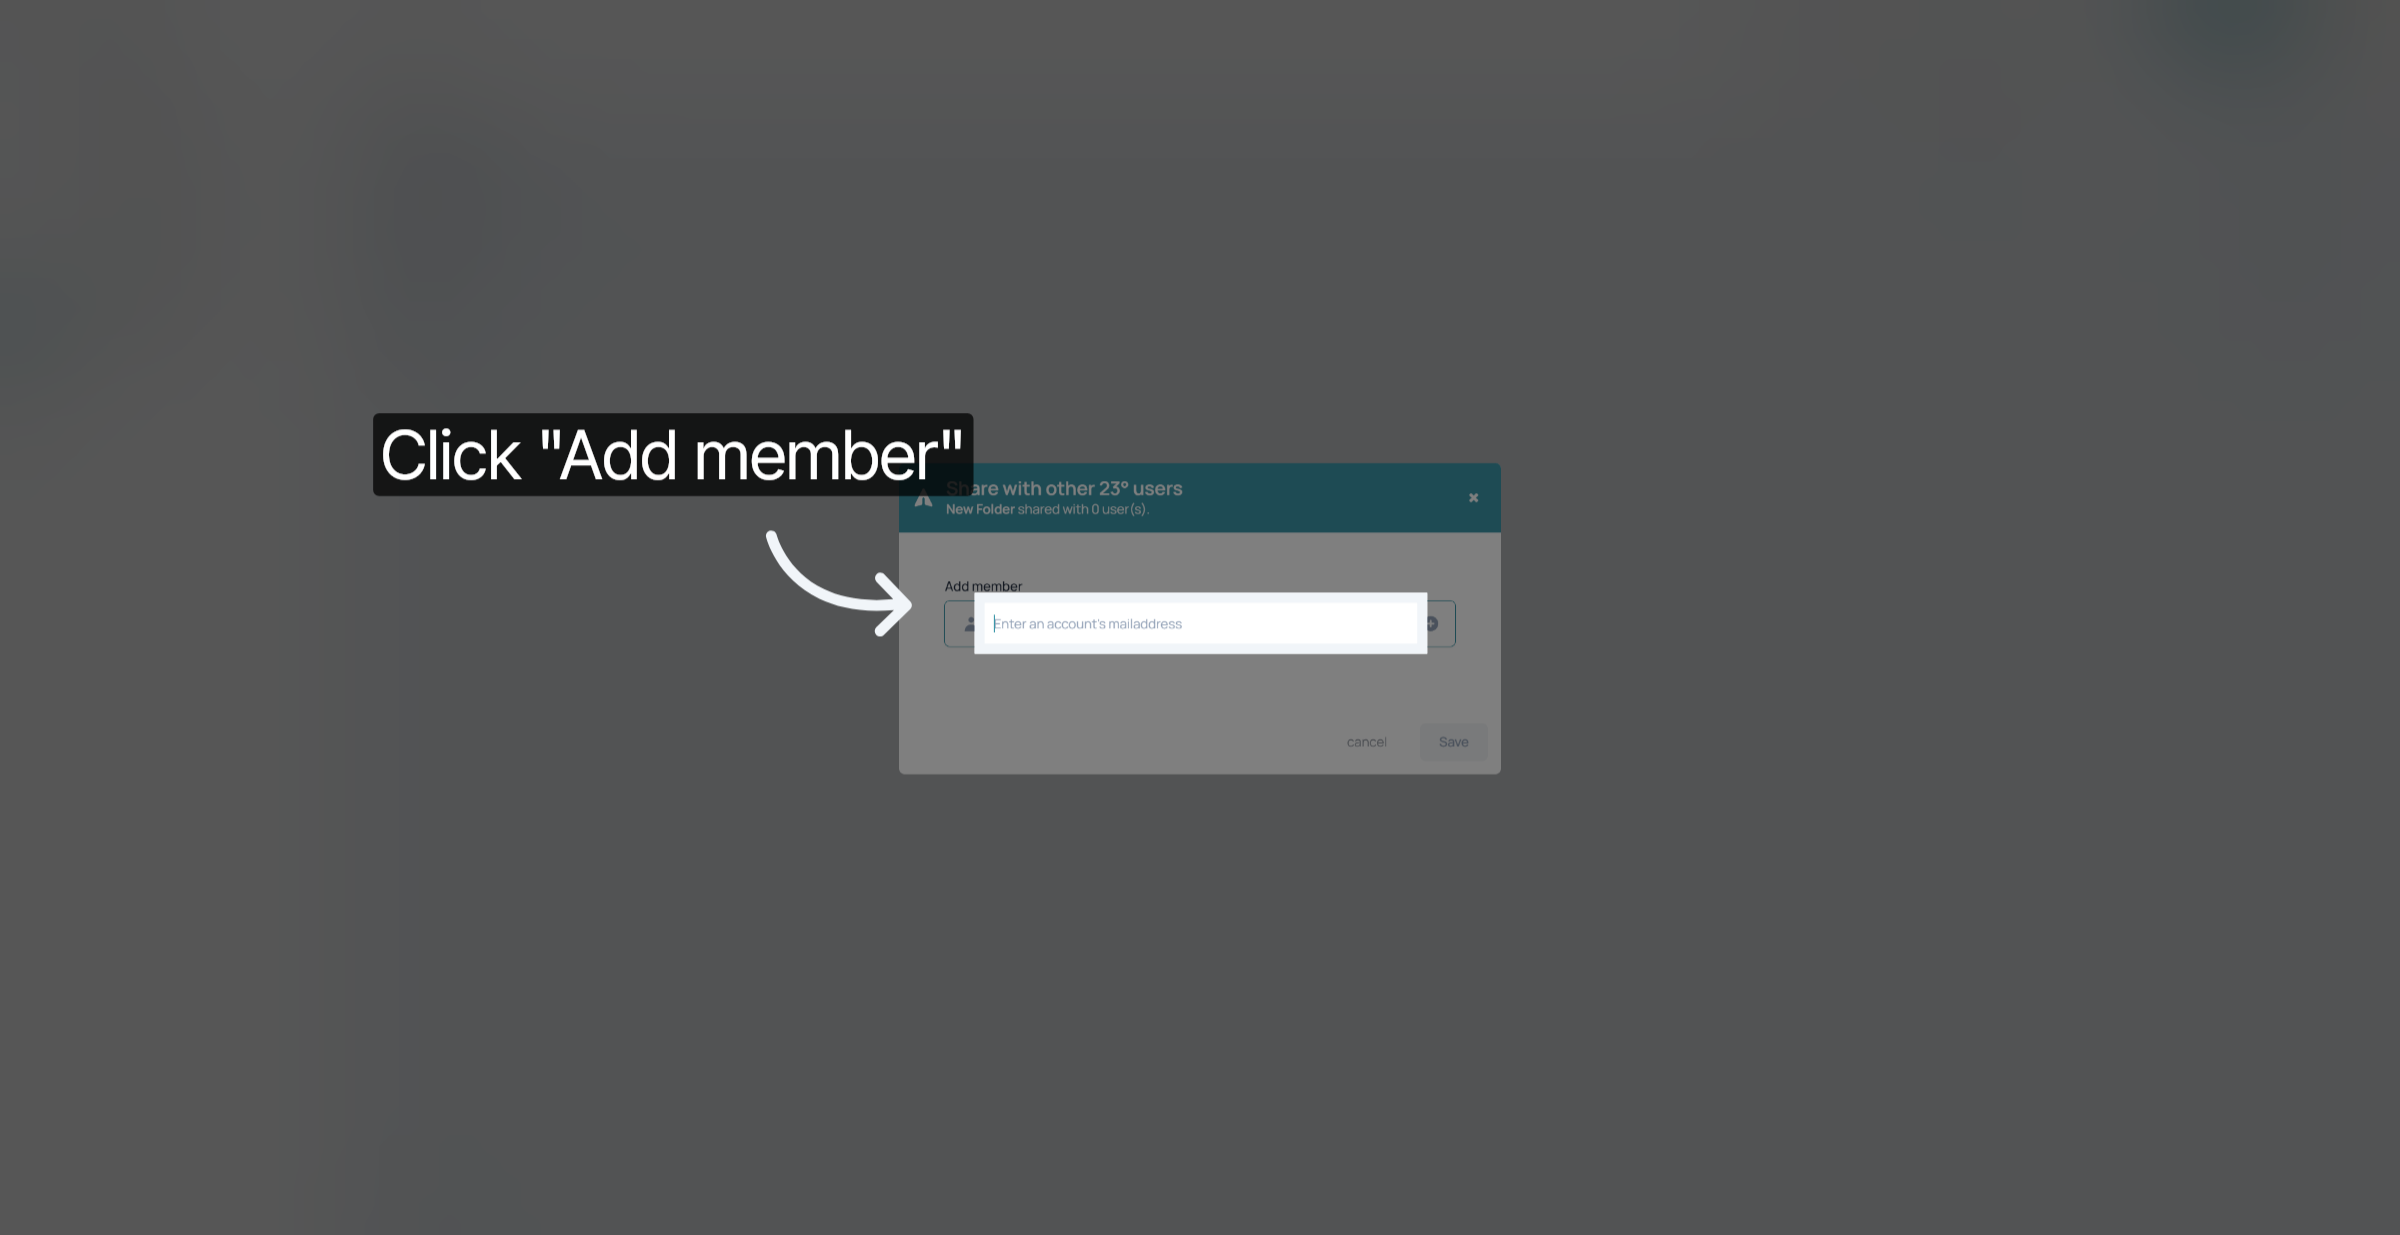
Add the user accounts email adress you wish to share the folder with.
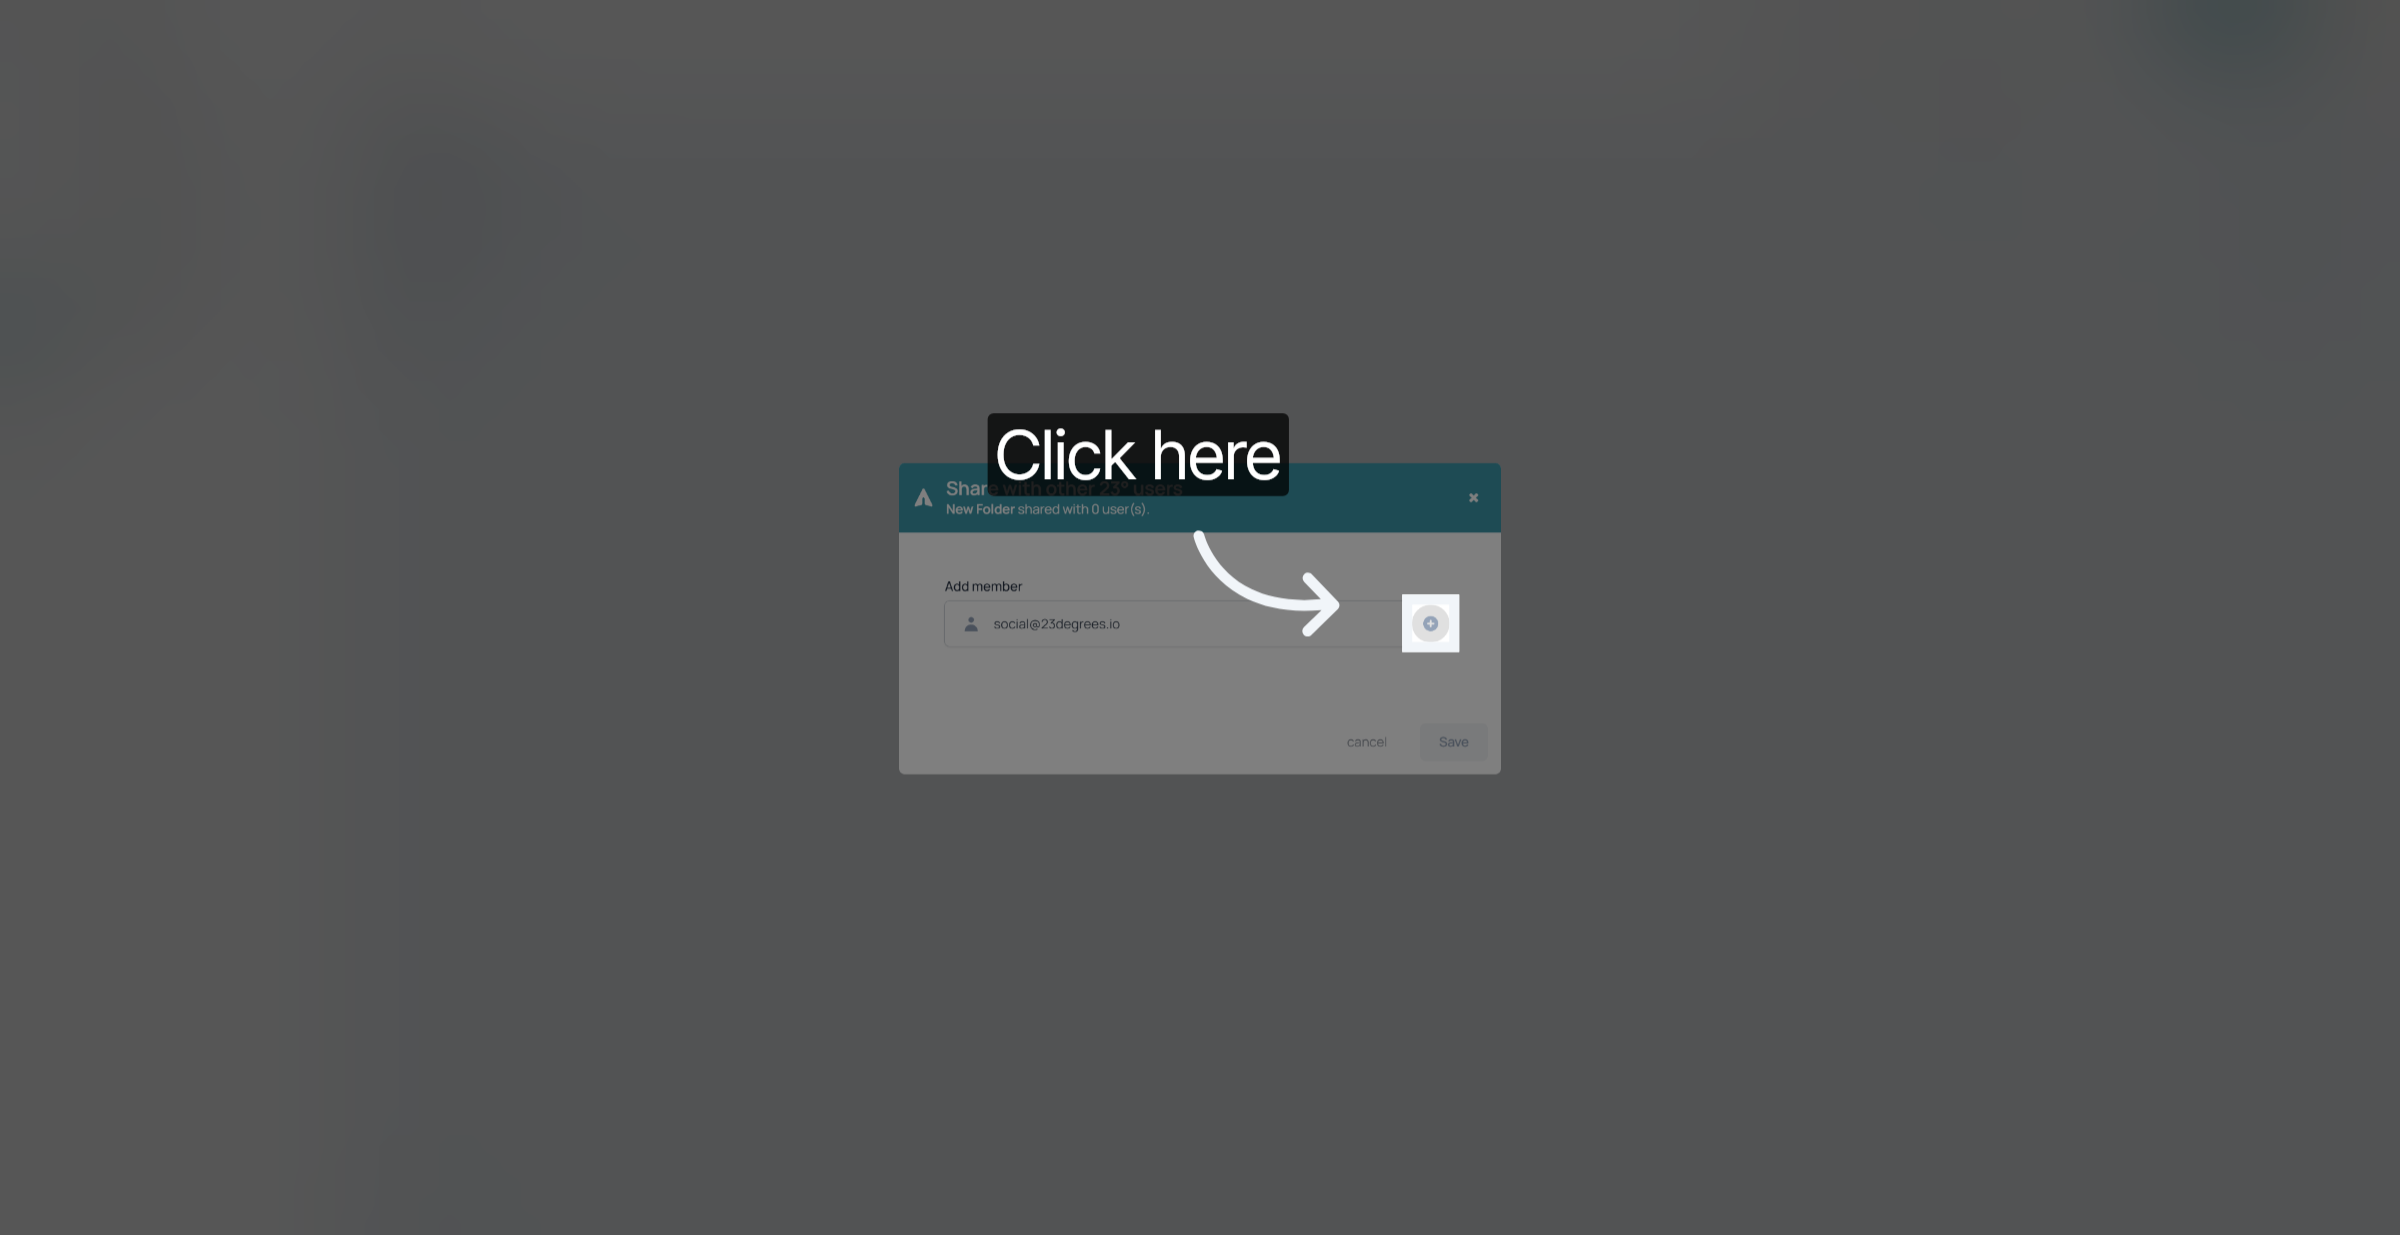
If the account details are correct, click on the plus icon
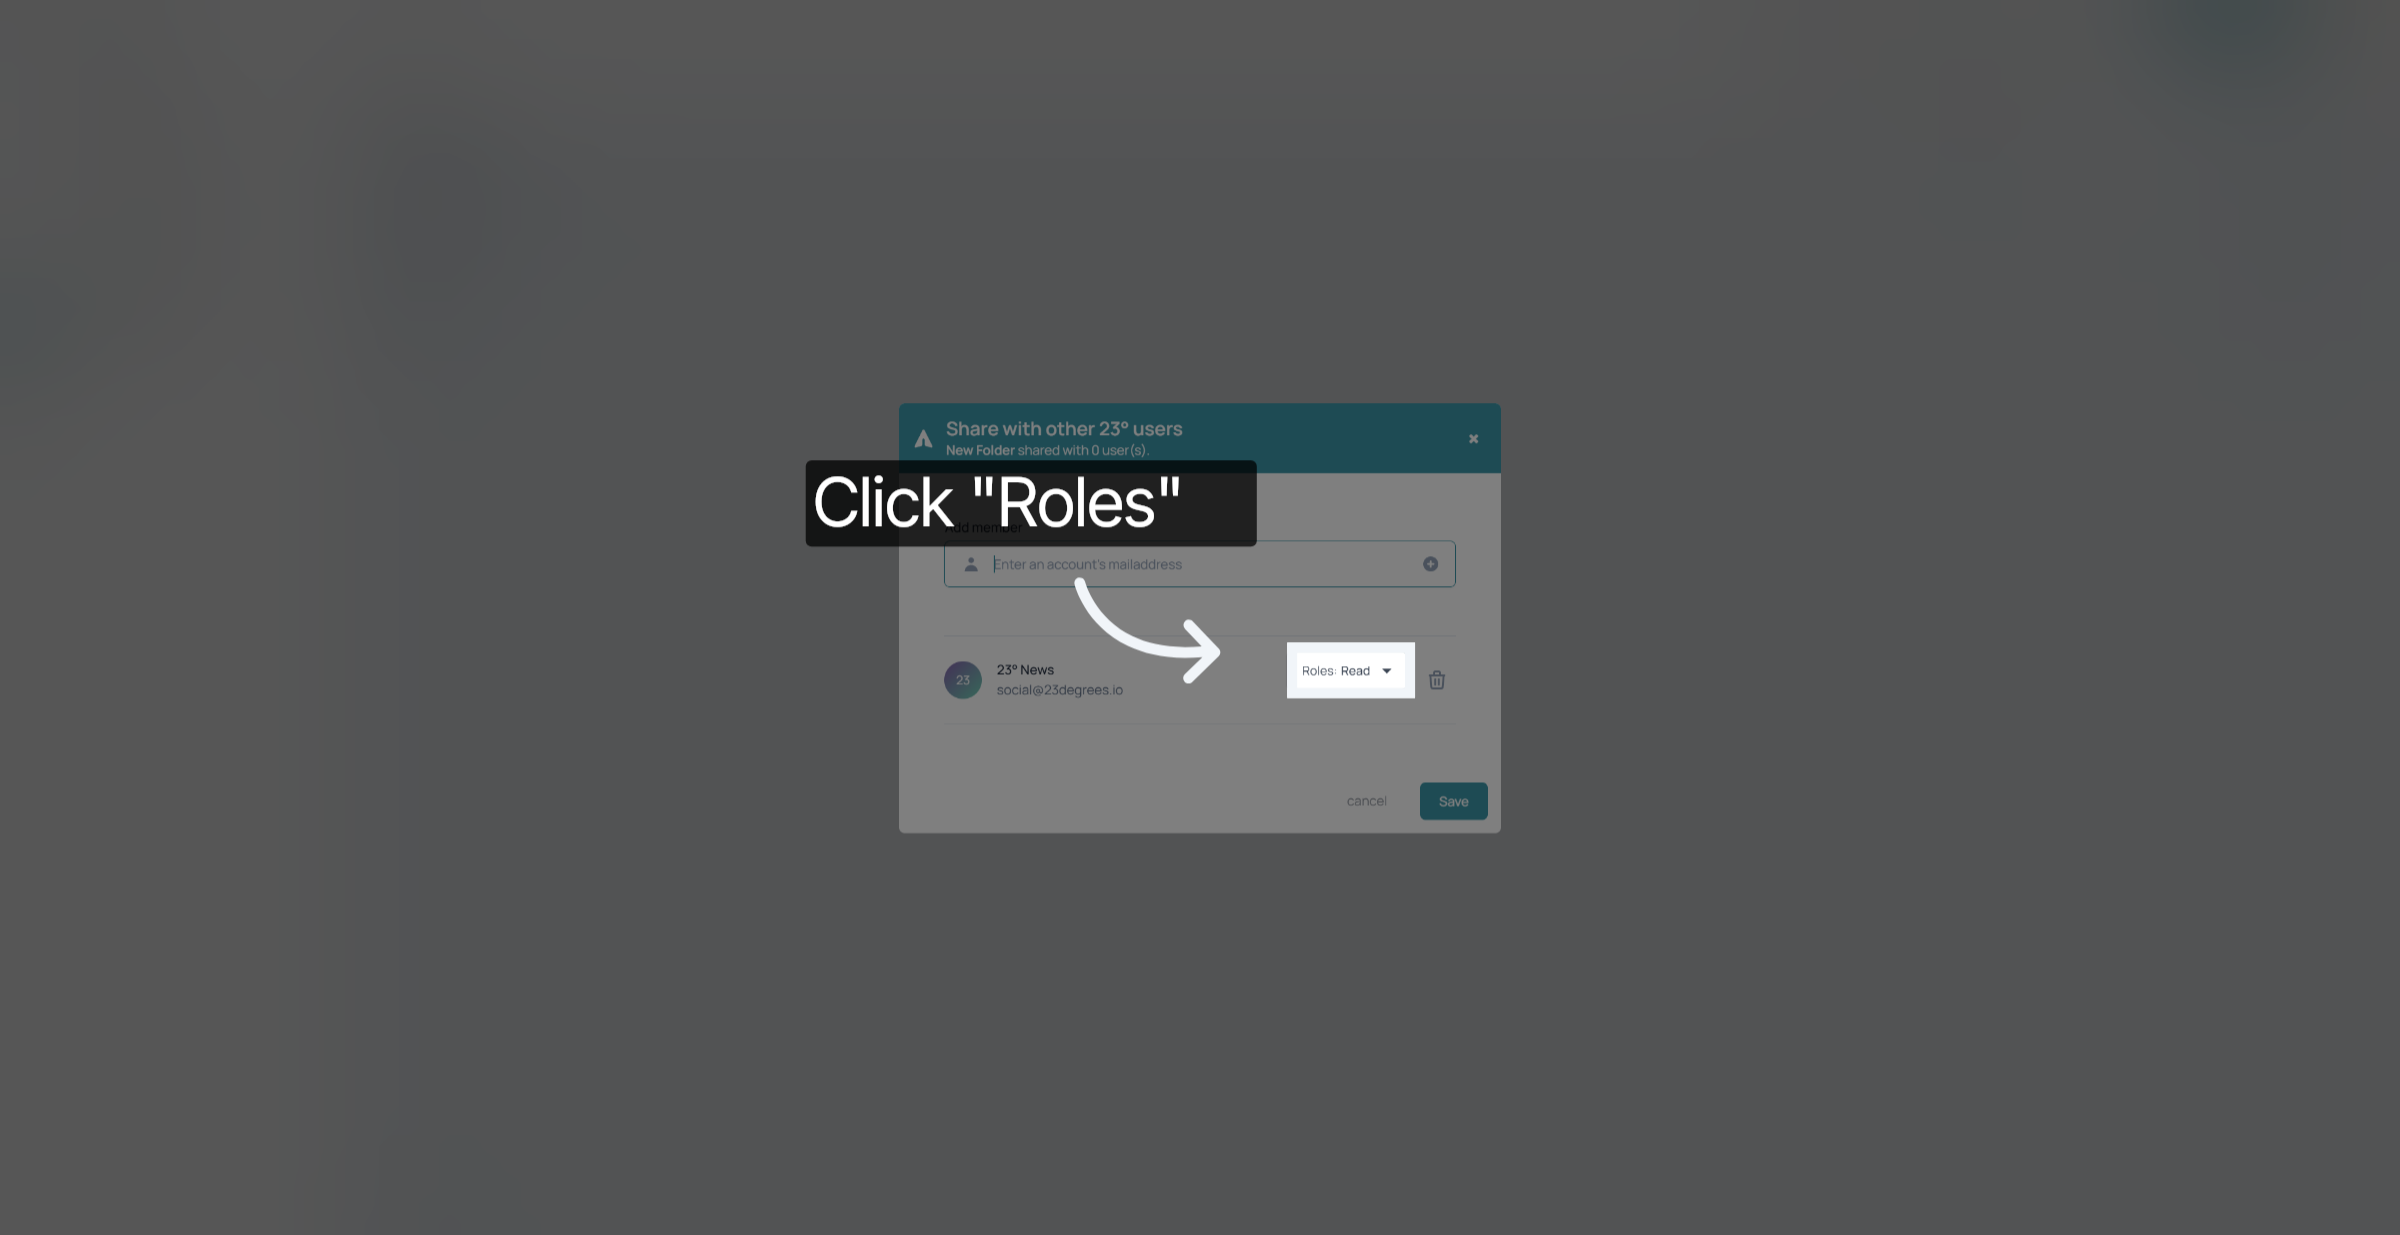
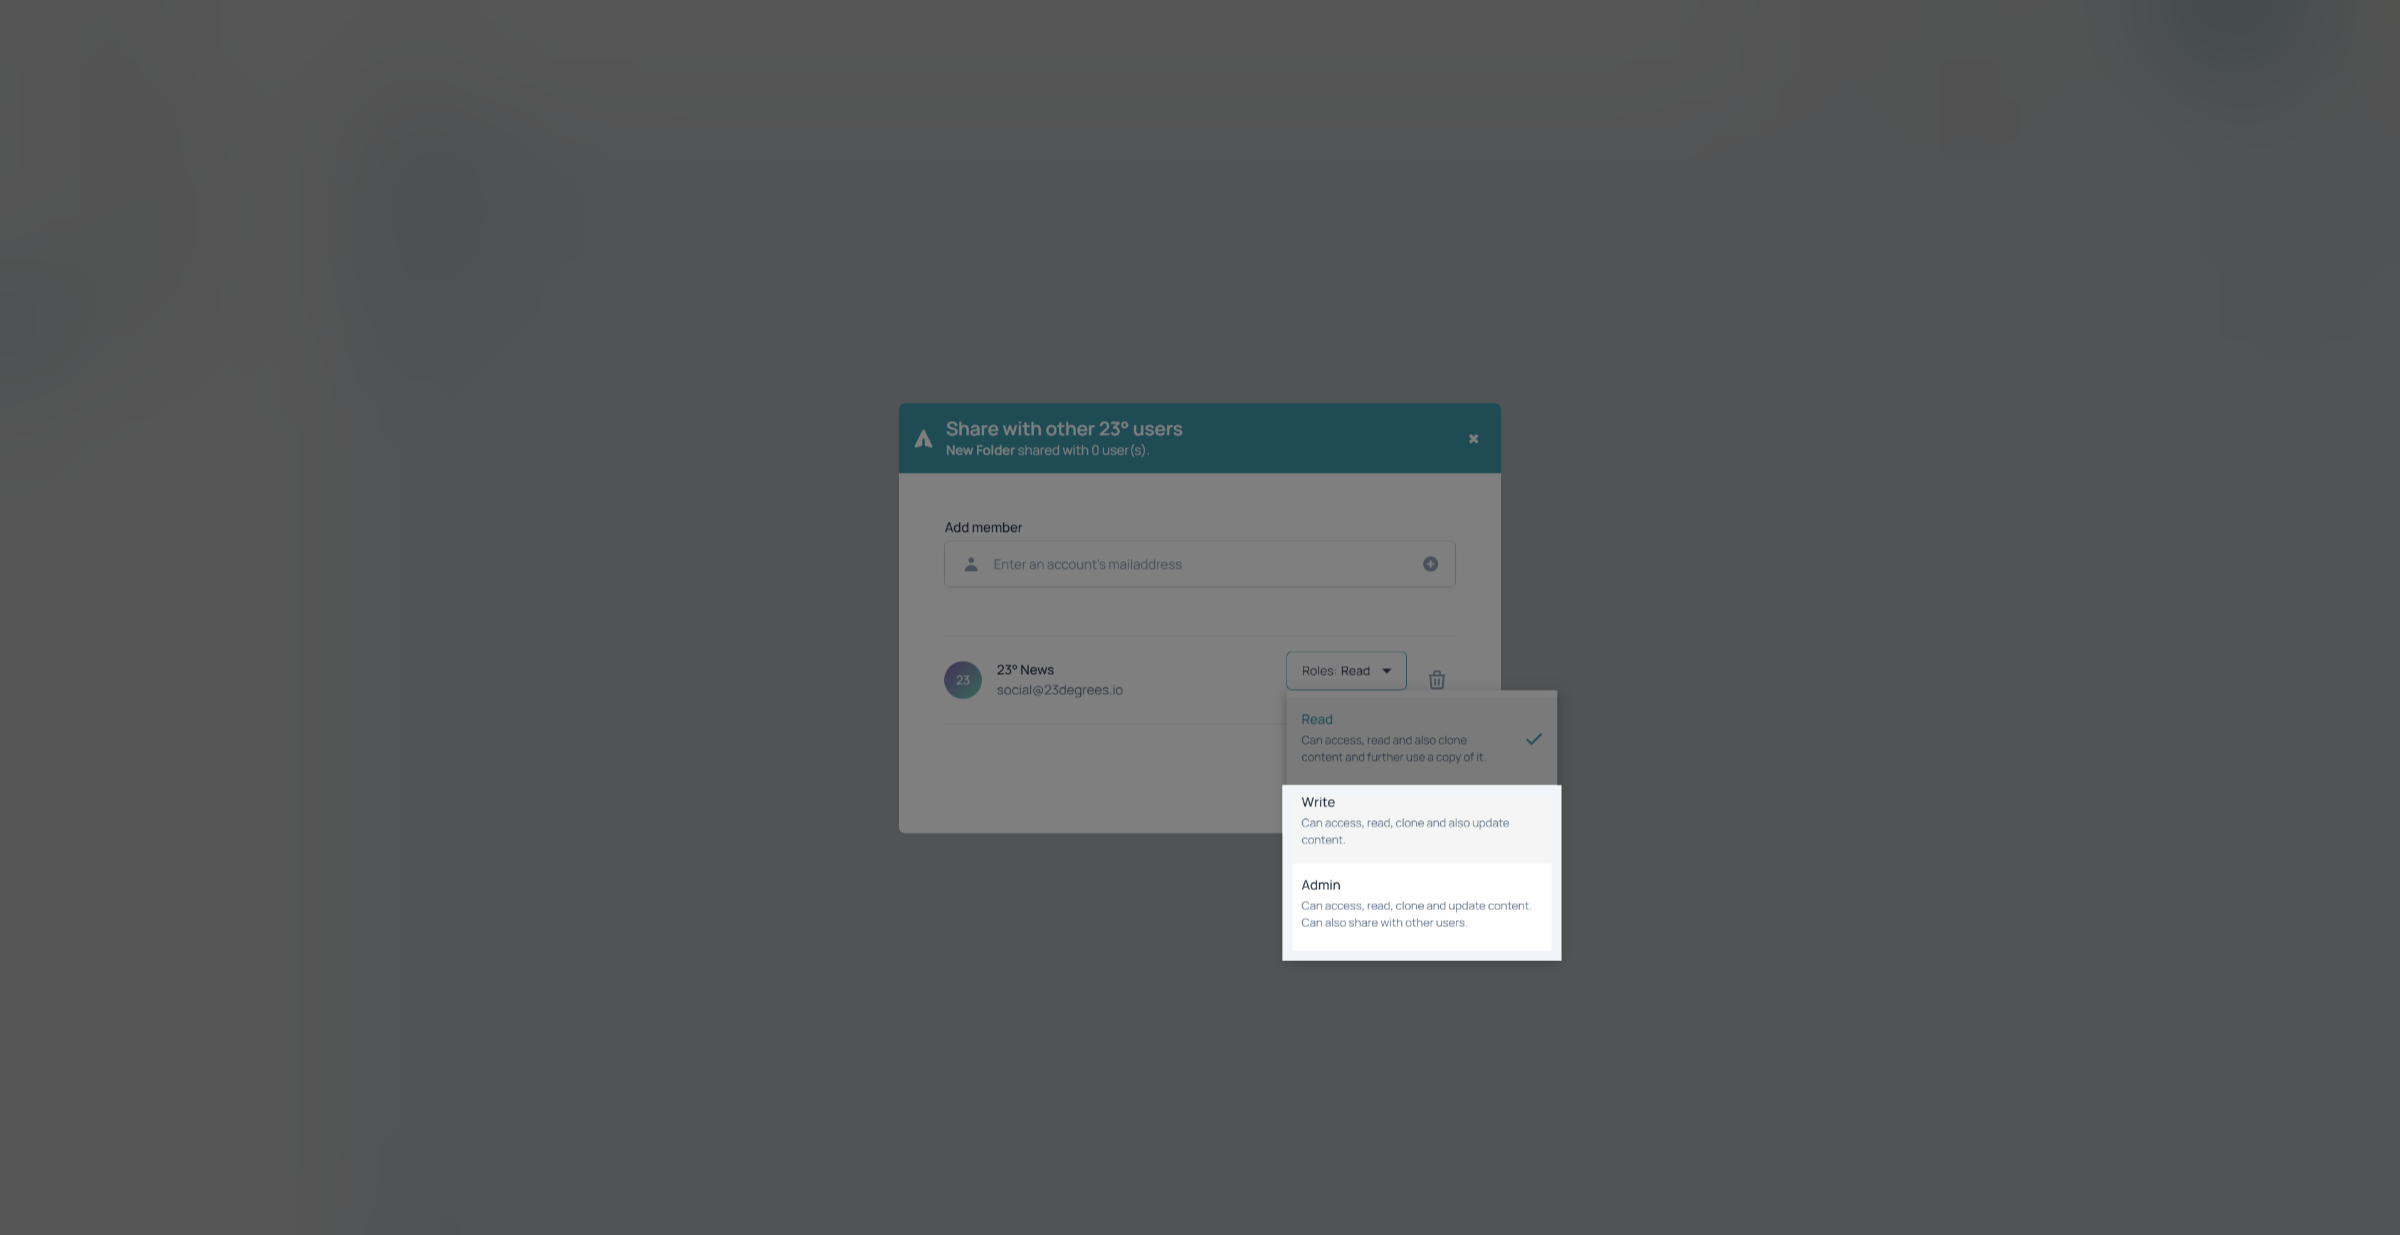
Next you can proceed to the roles settings. The first option is the "Read" permission. This allows the other user to view the folder and the content within it and to create duplicates of the items but the user is not allowed to edit any original content
With the "Write" Permission the other user can not only view and duplicate the items but also edit the existing ones. Keep that in mind when assigning this permission. With the Admin Permission the user can further share the folder and its content with other users.
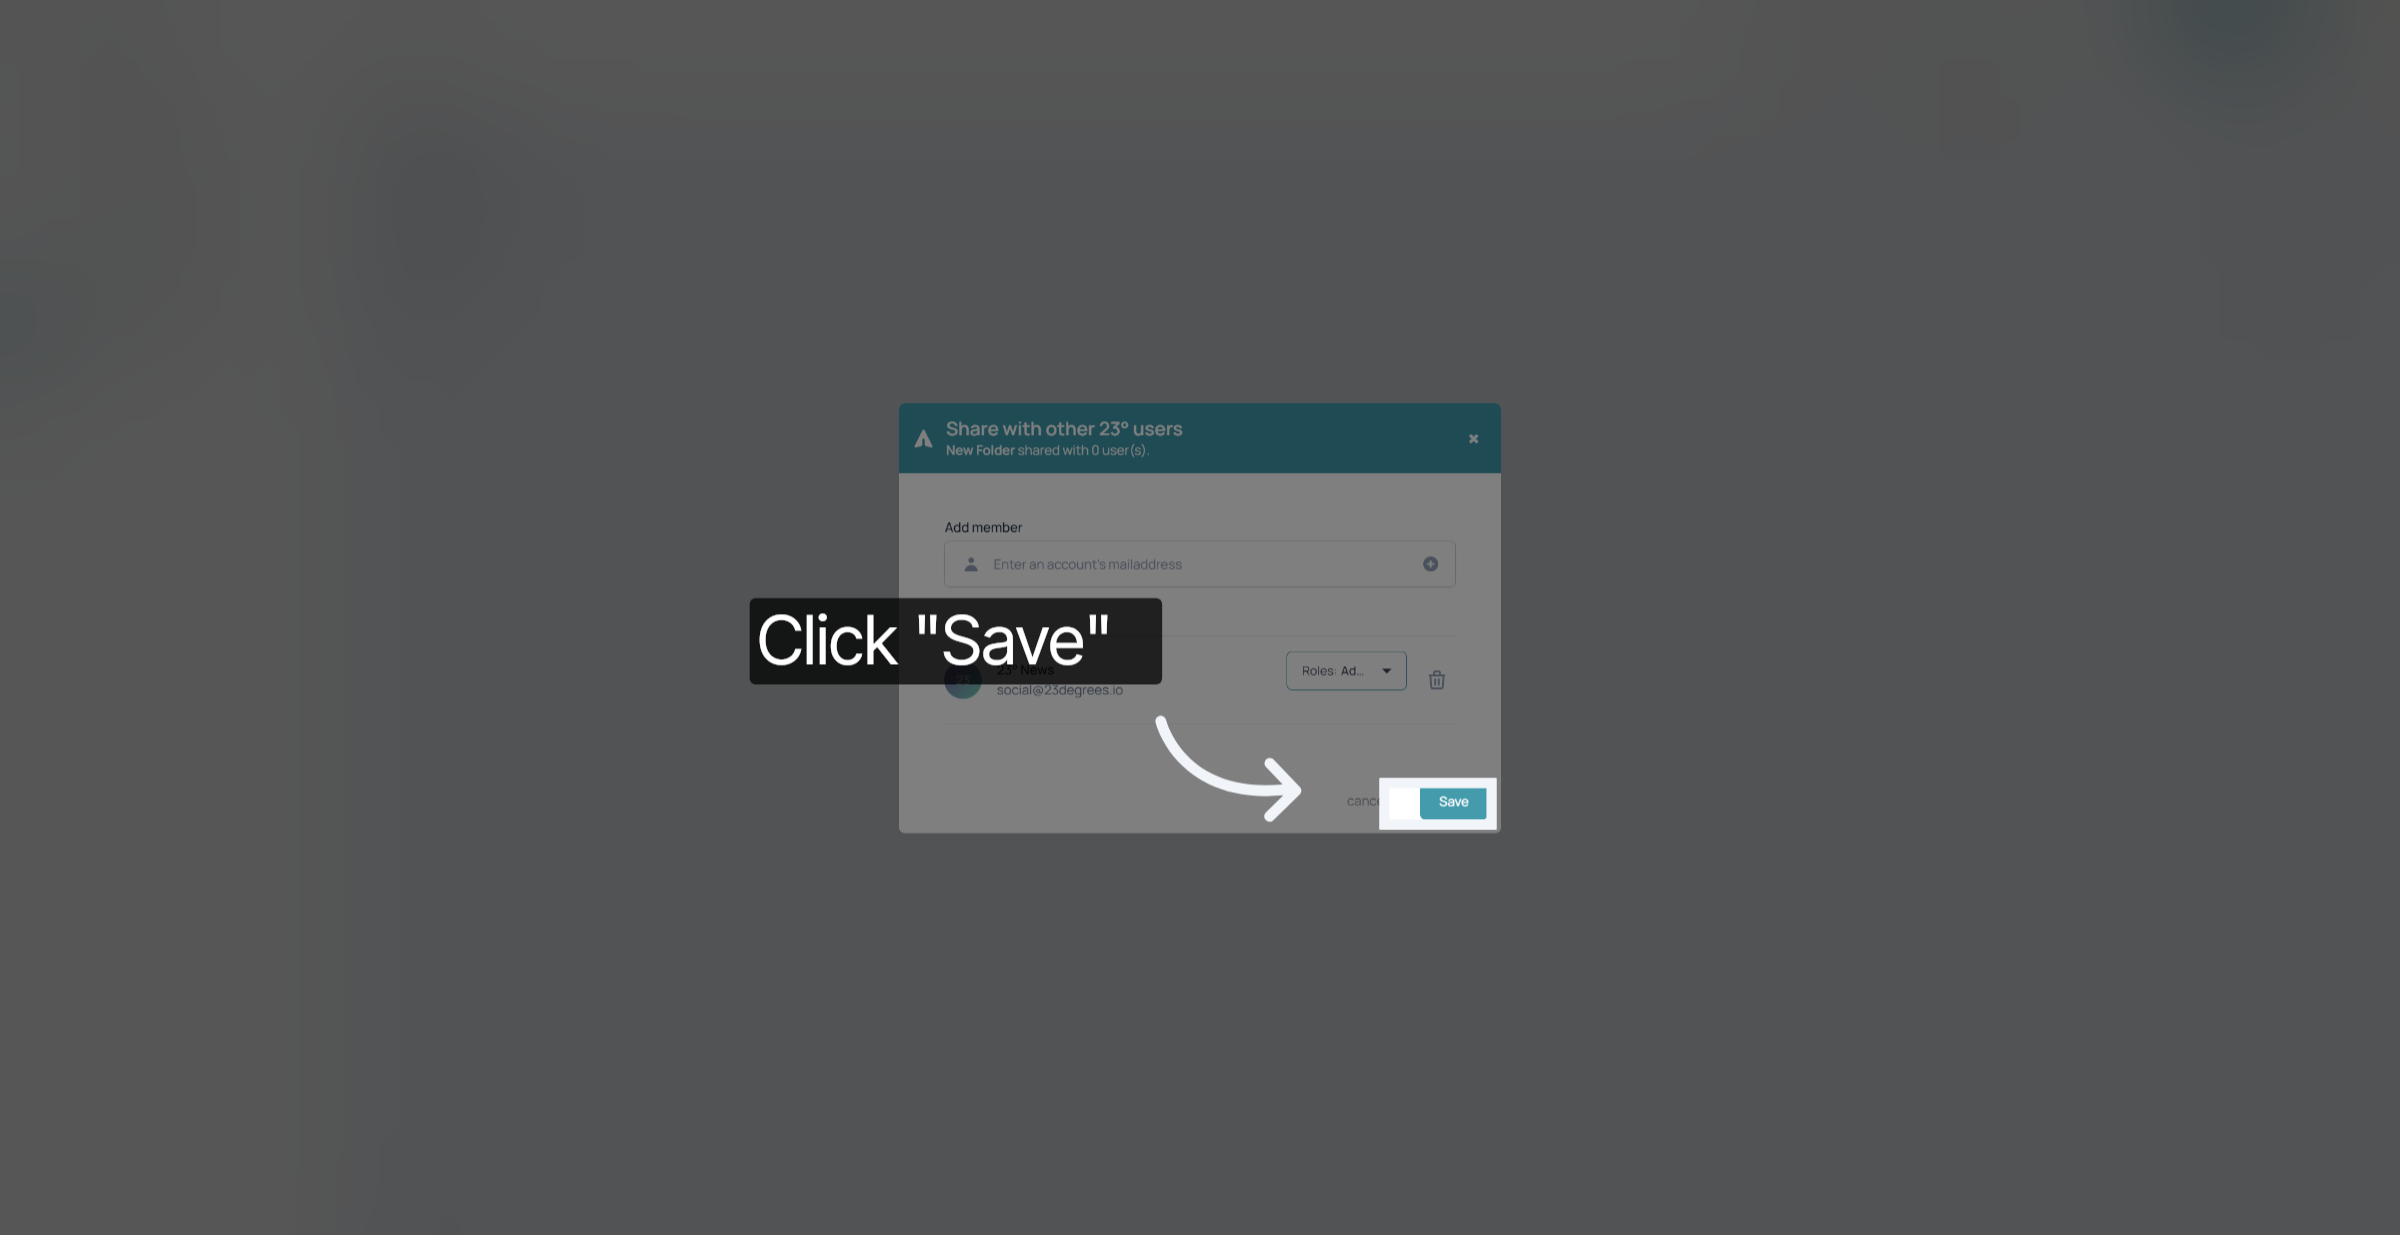
Click "Save" to apply the sharing settings and finalize member access.
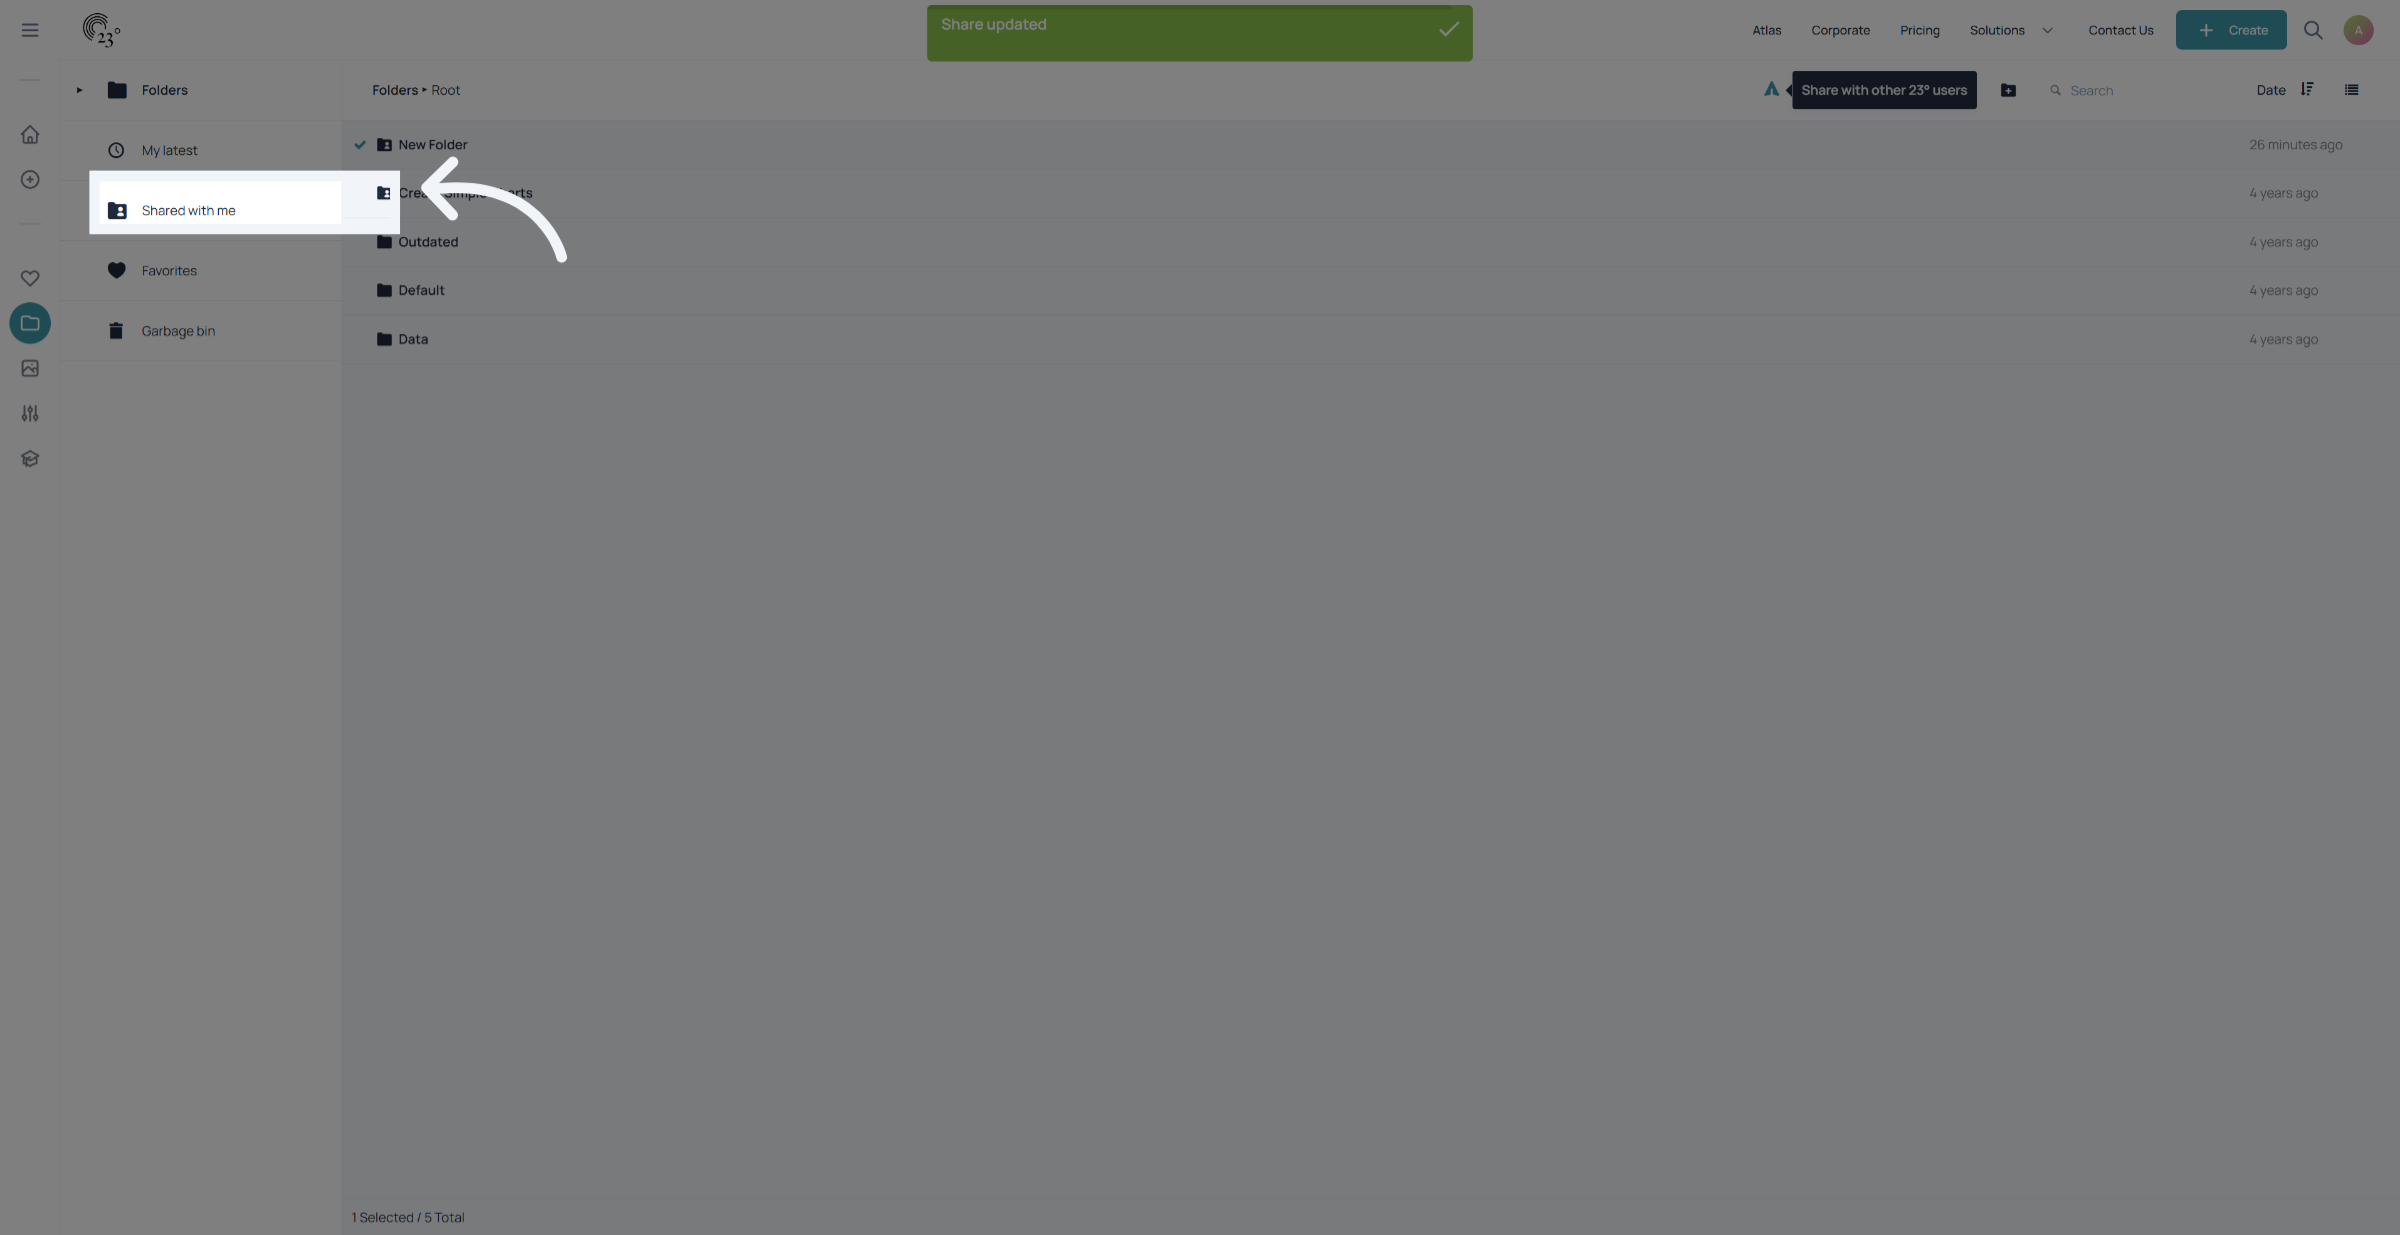
A shared folder is indicated by the little person icon within the folder icon. Folders or visualisations that are shared with you can be seen in the "Shared with me" section in the folder navigation menu.
You have successfully shared a folder by adding a user and assigning the appropriate permissions. This enables collaboration by allowing the user to access and modify folder content.