Share Visualizations In 23degrees
This tutorial explains how to share visualisations with other users in 23degrees.
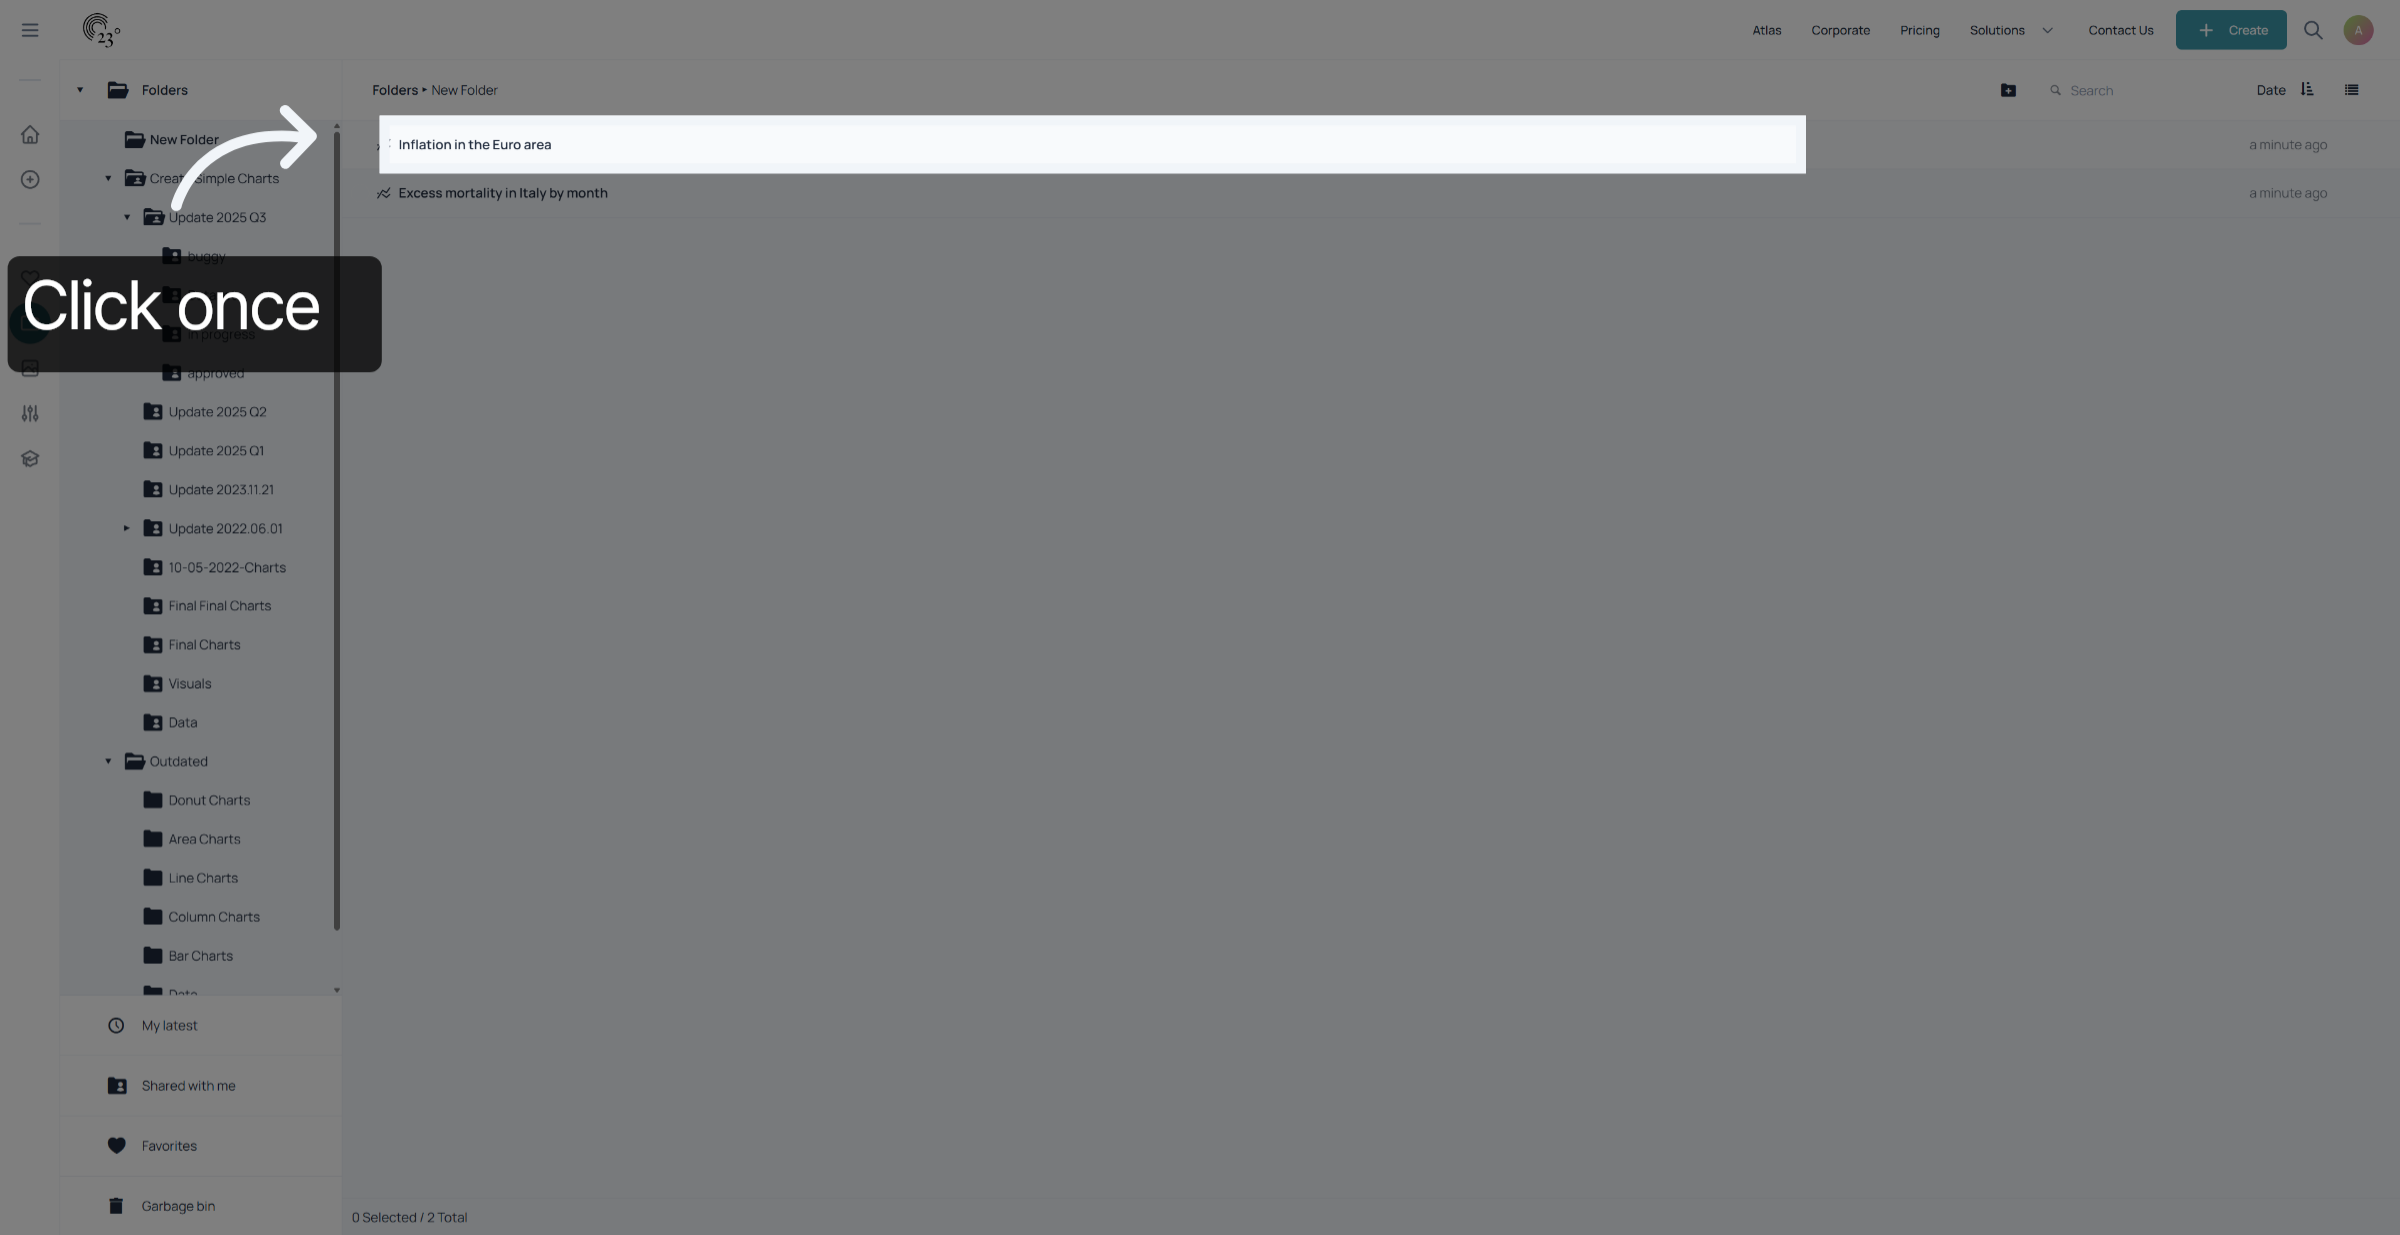
To share a chart with another user, click on the visualisation you wish to share once
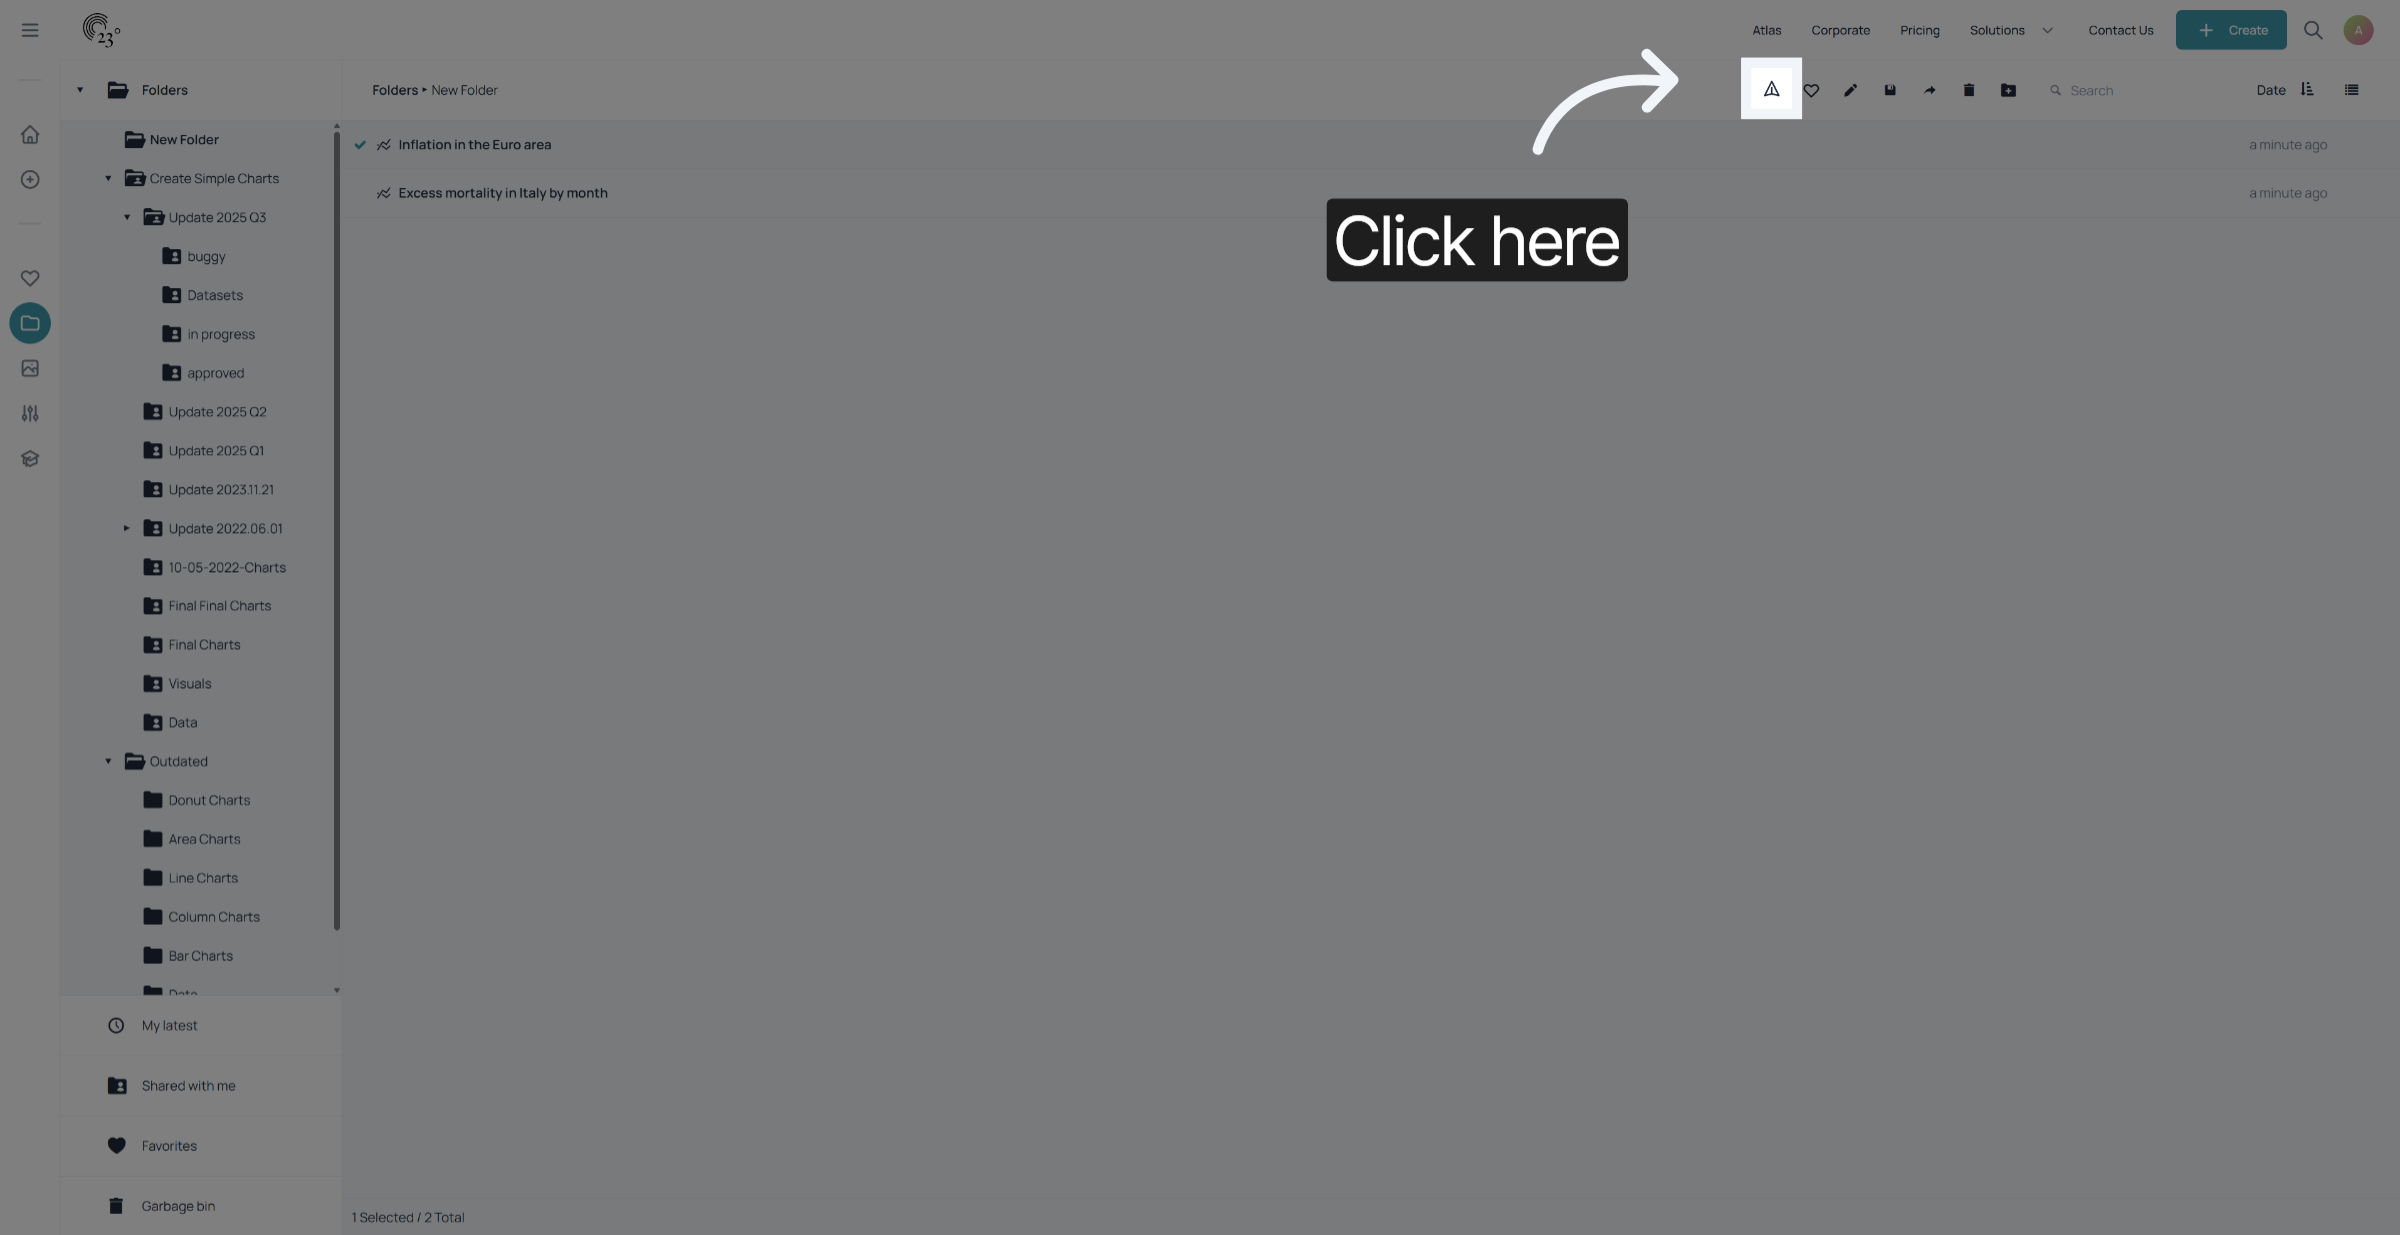
Click on the share icon.
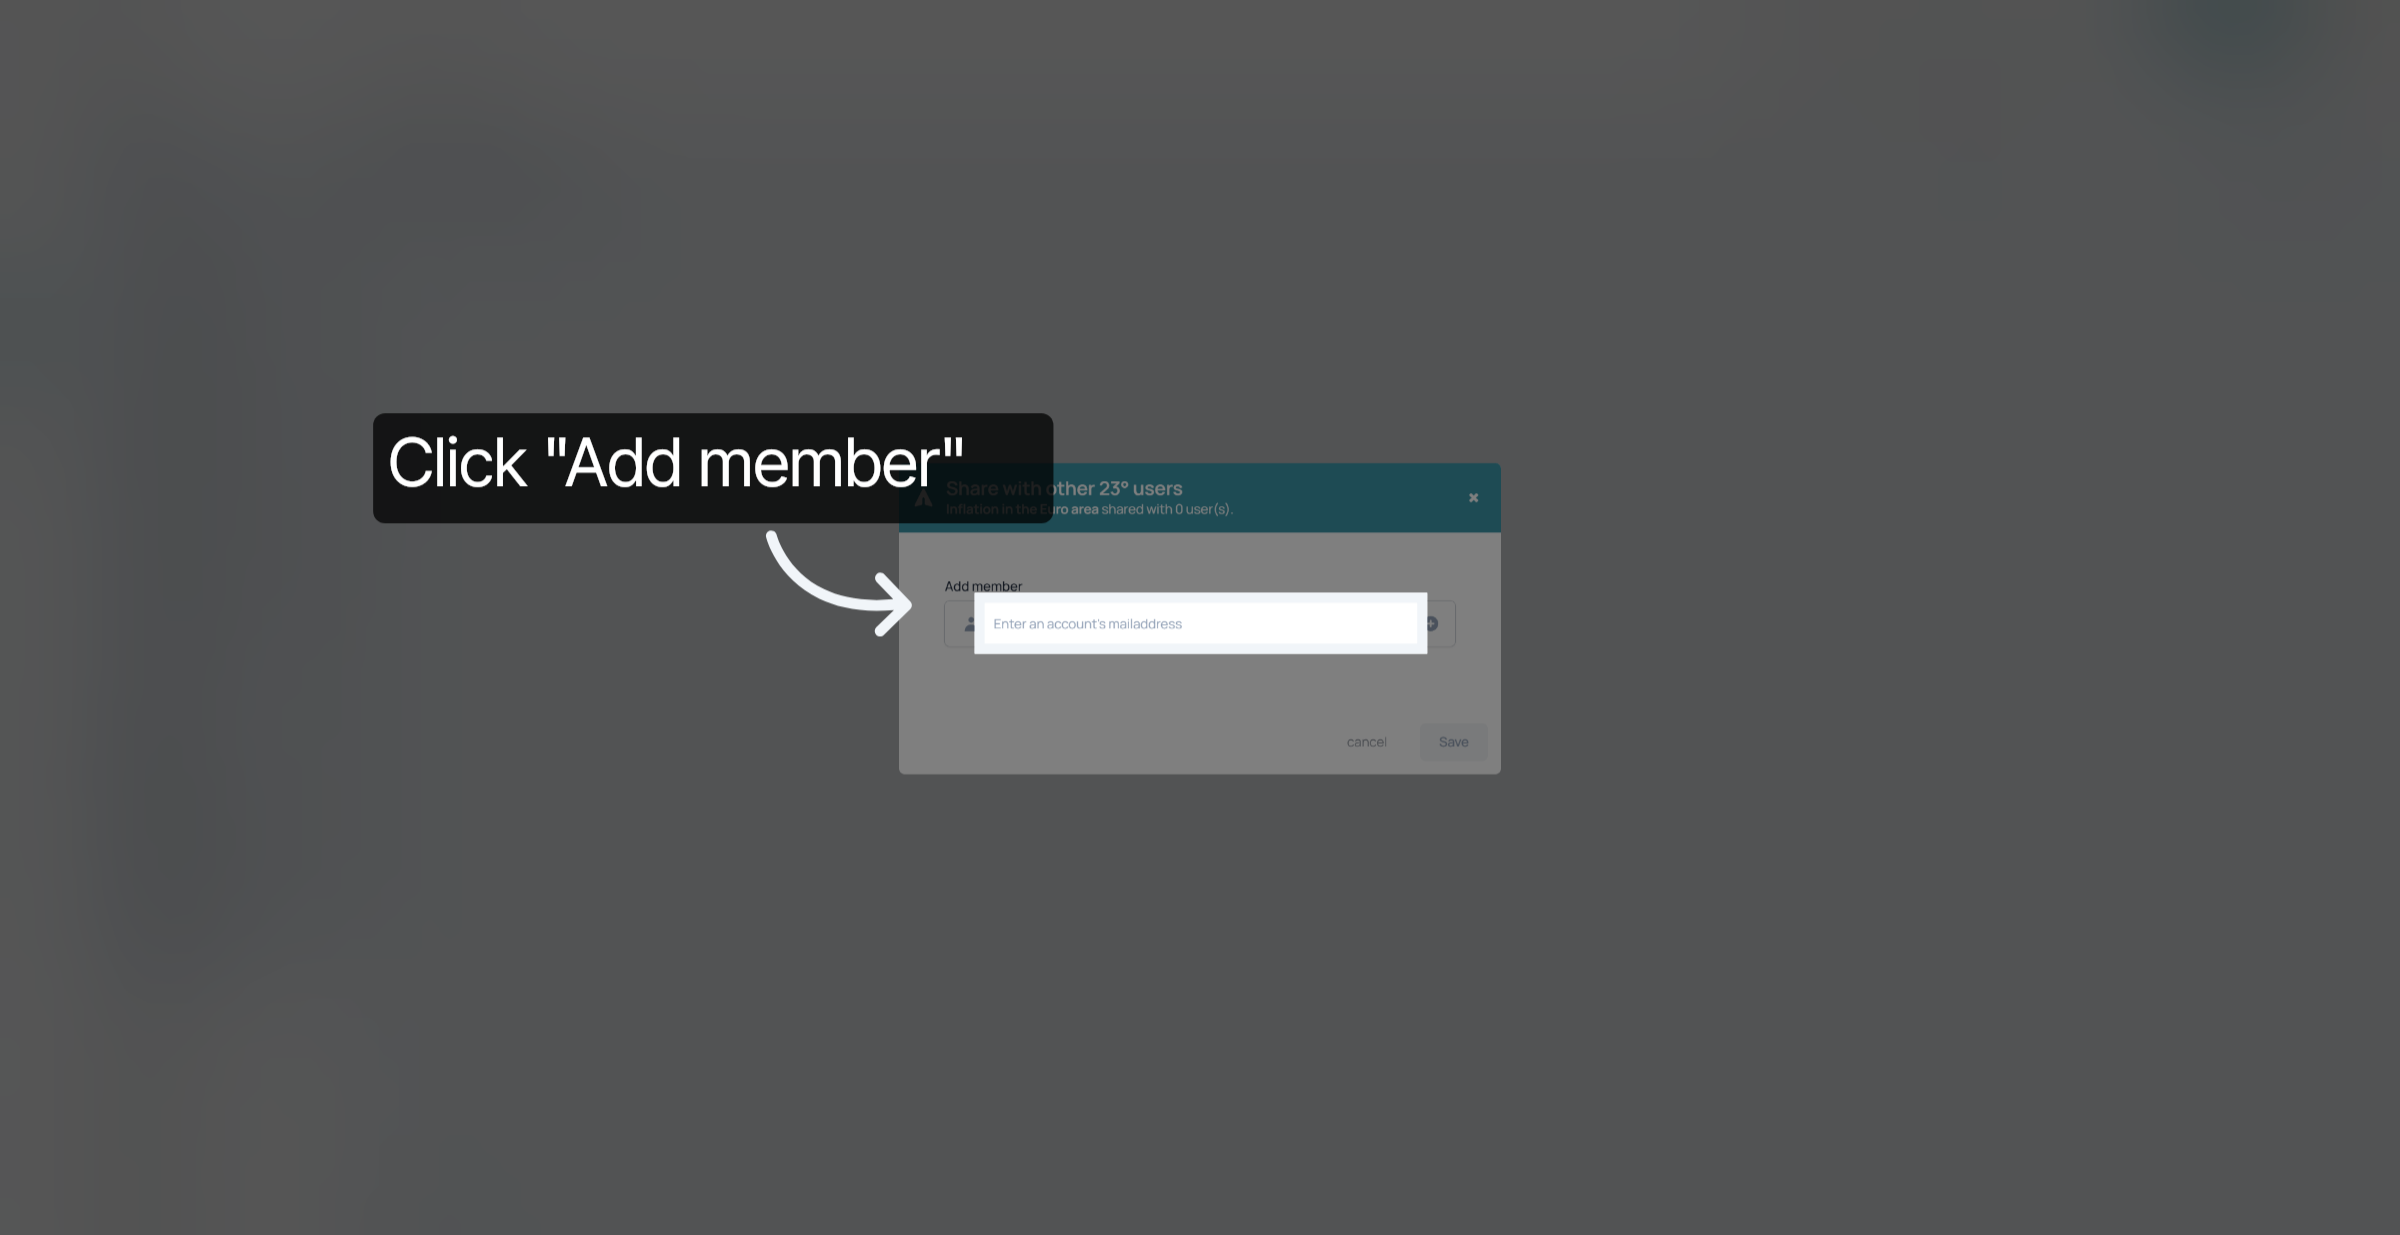
add the user accounts email address
click on the plus.
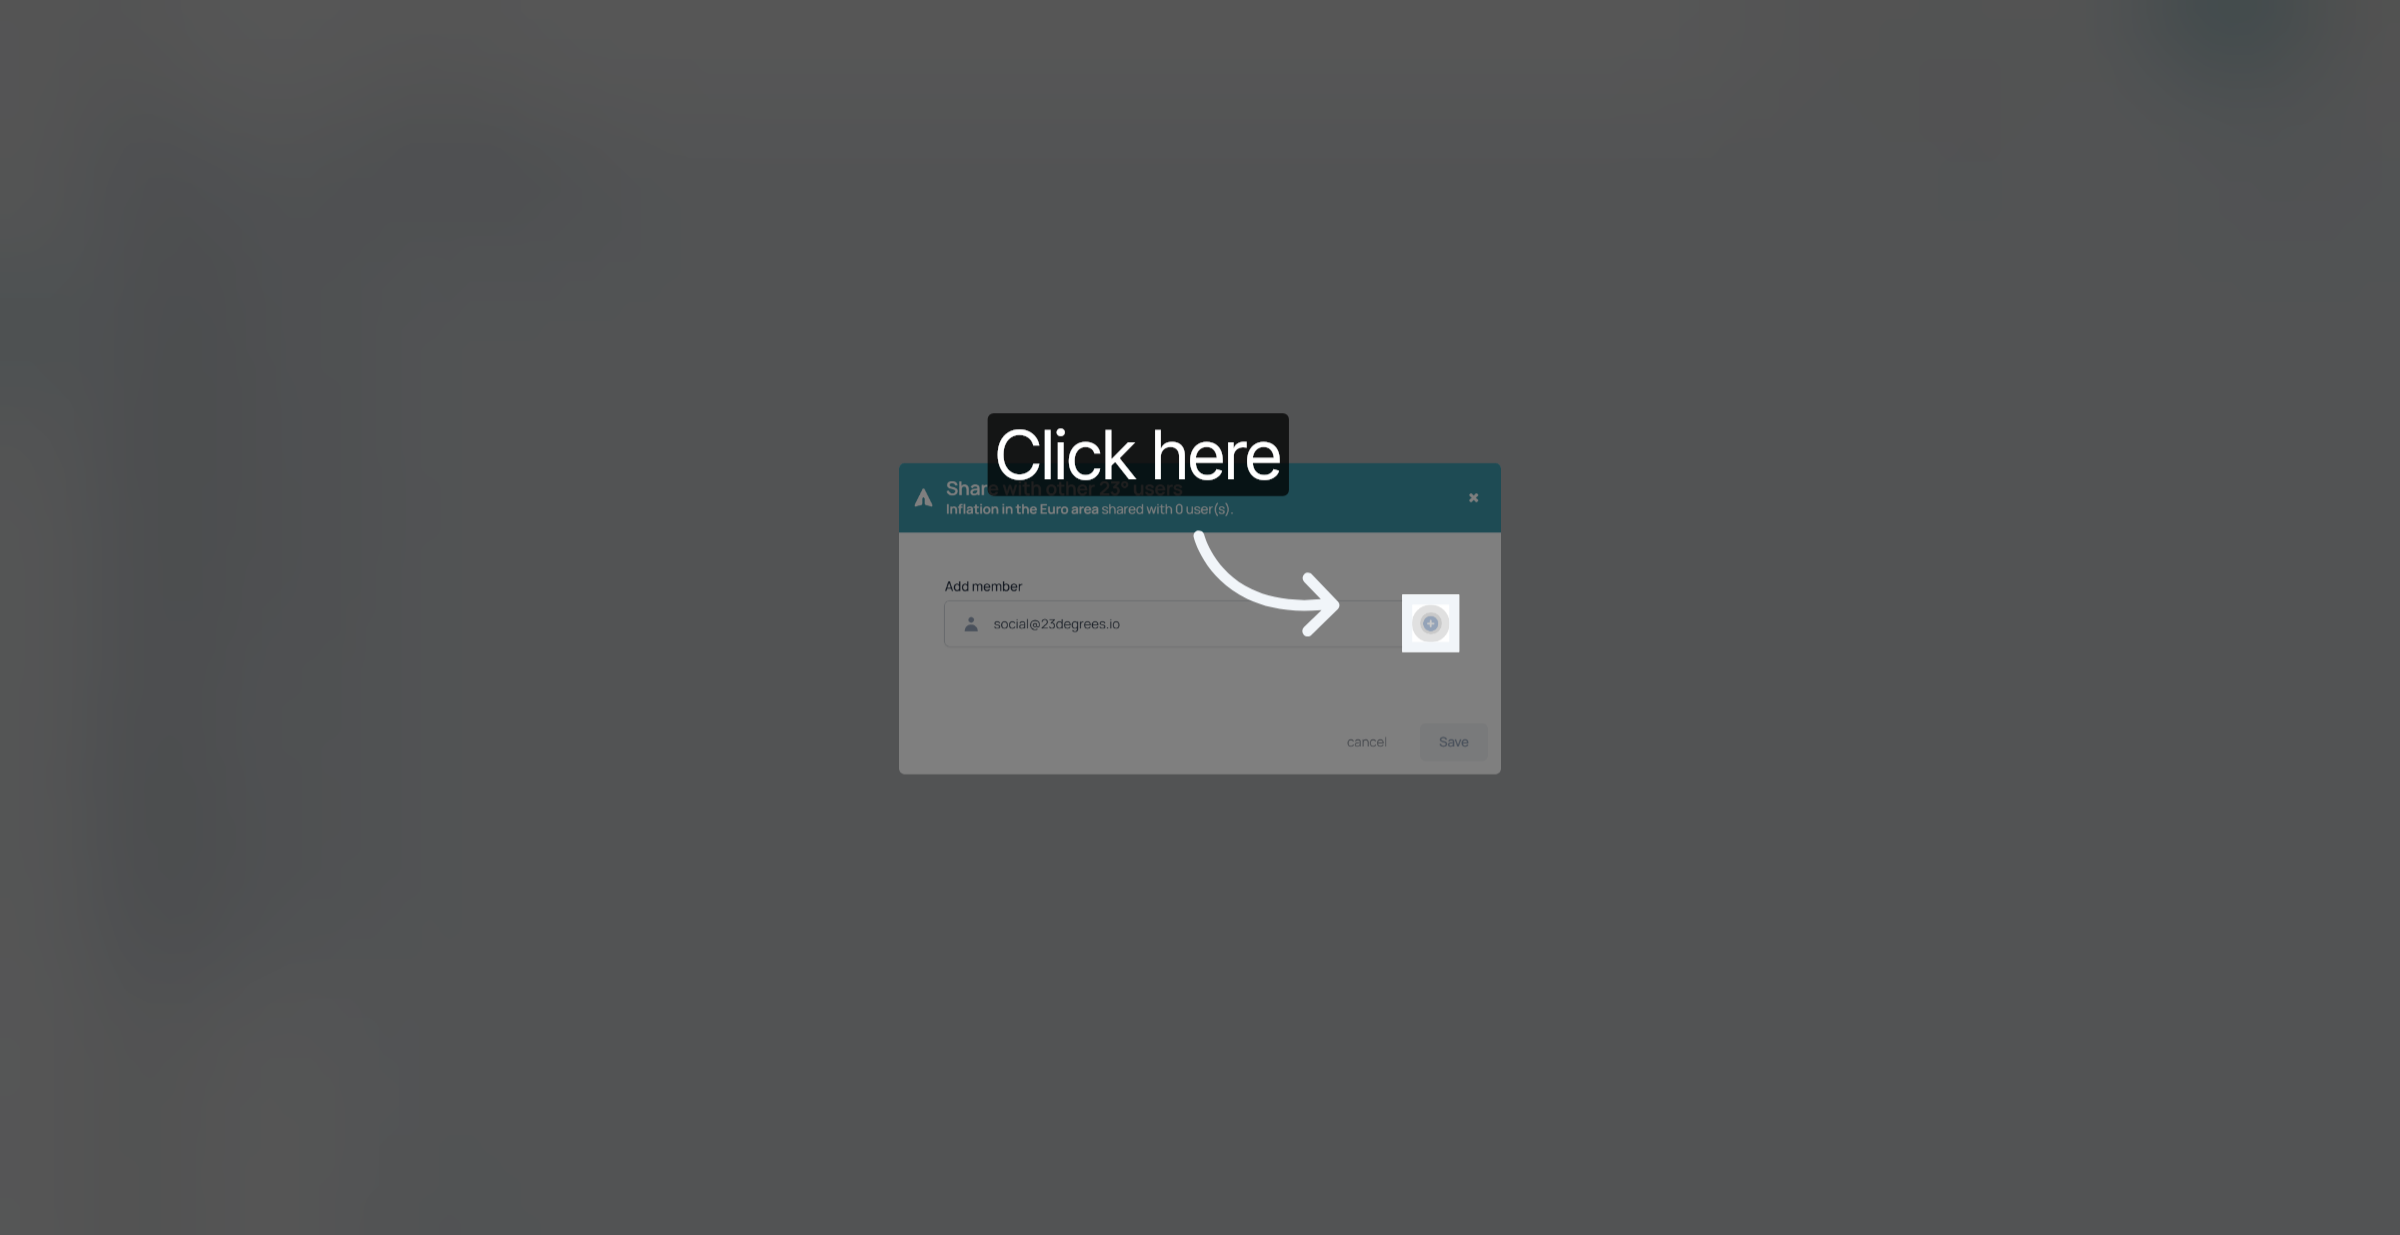
If the account email adress is correct you can now proceed with giving the user the correct permission. There is the reading permission, which means that the user you share the item with can look at the chart or reuse a duplicate of the chart but the person cannot work directly in the visualisation you shared.
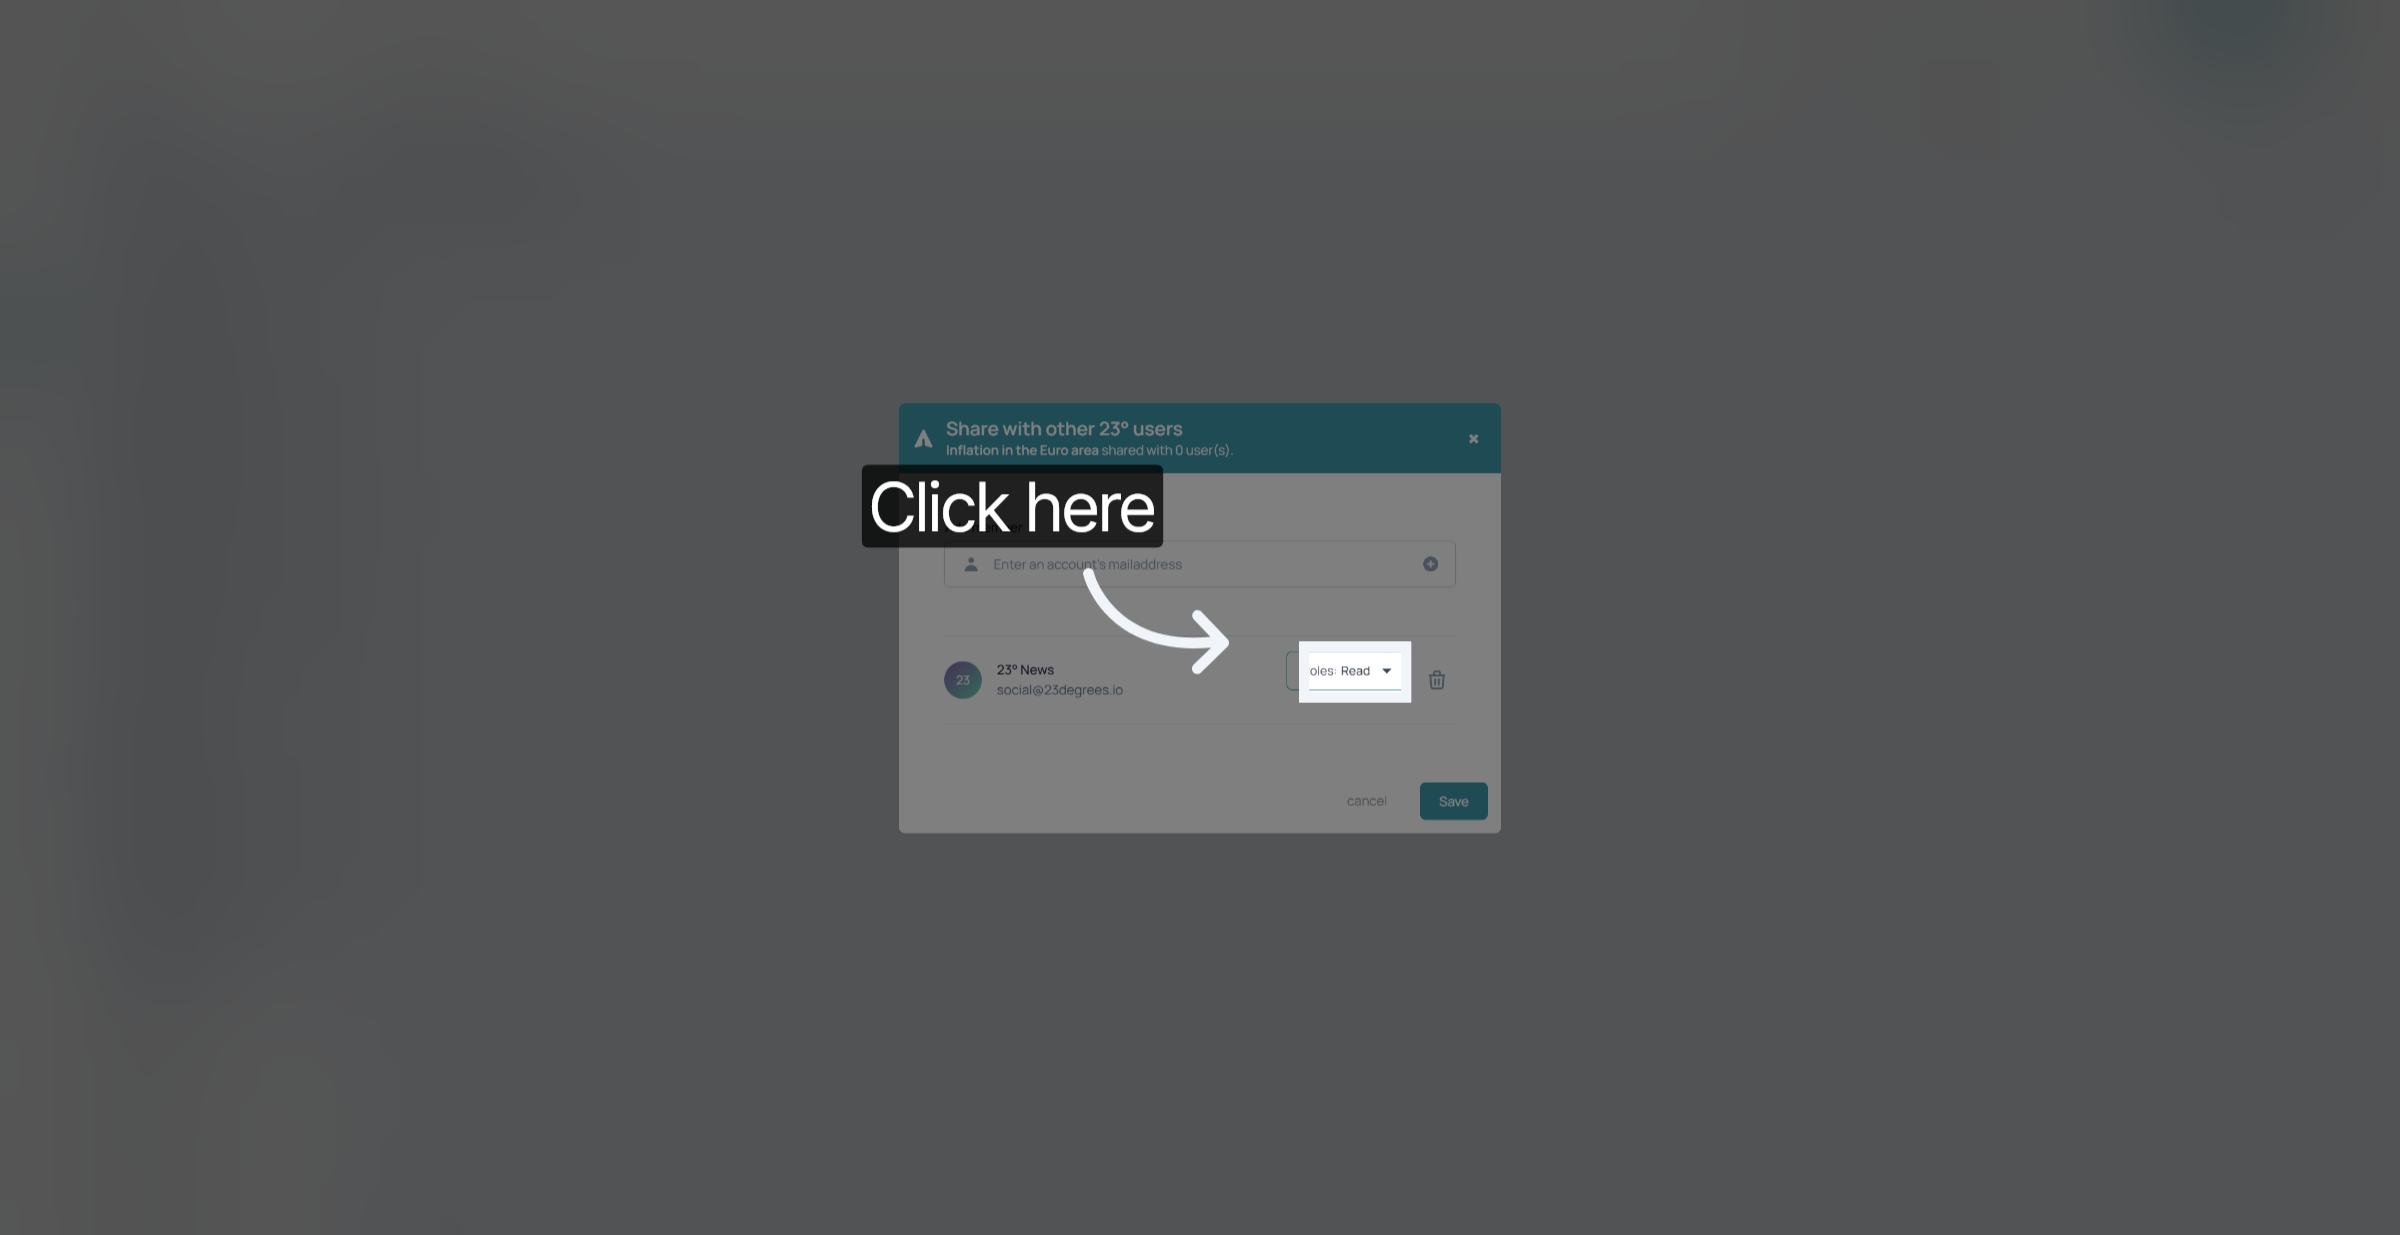
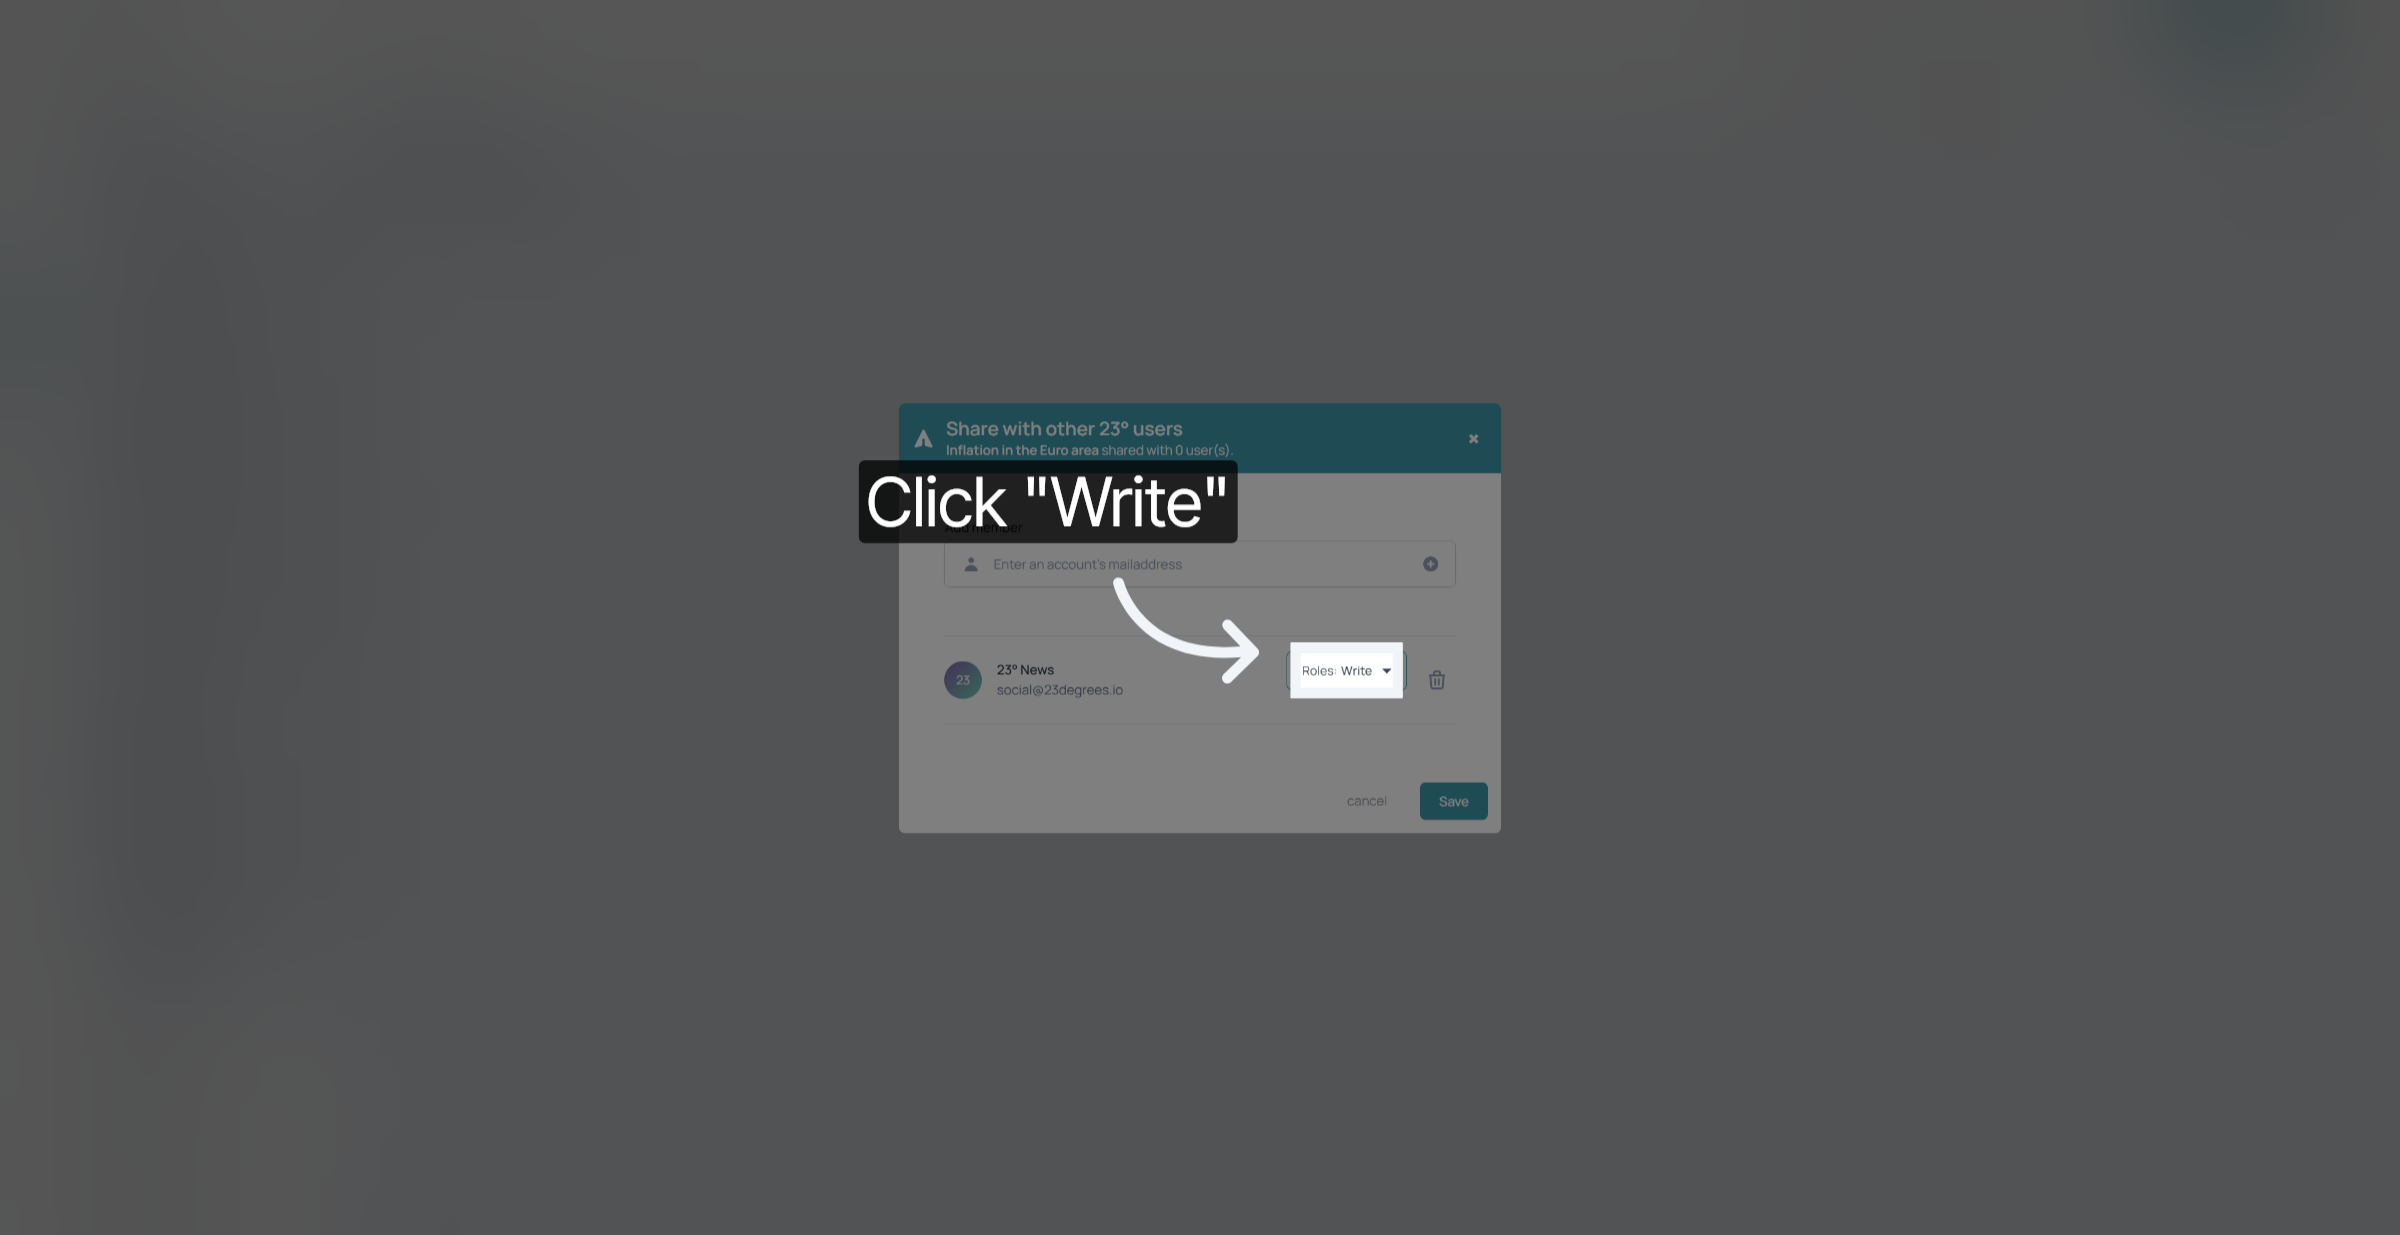
With the "Write" Permission the user can also edit the original chart that you shared. Keep that in mind before assigning this permission.
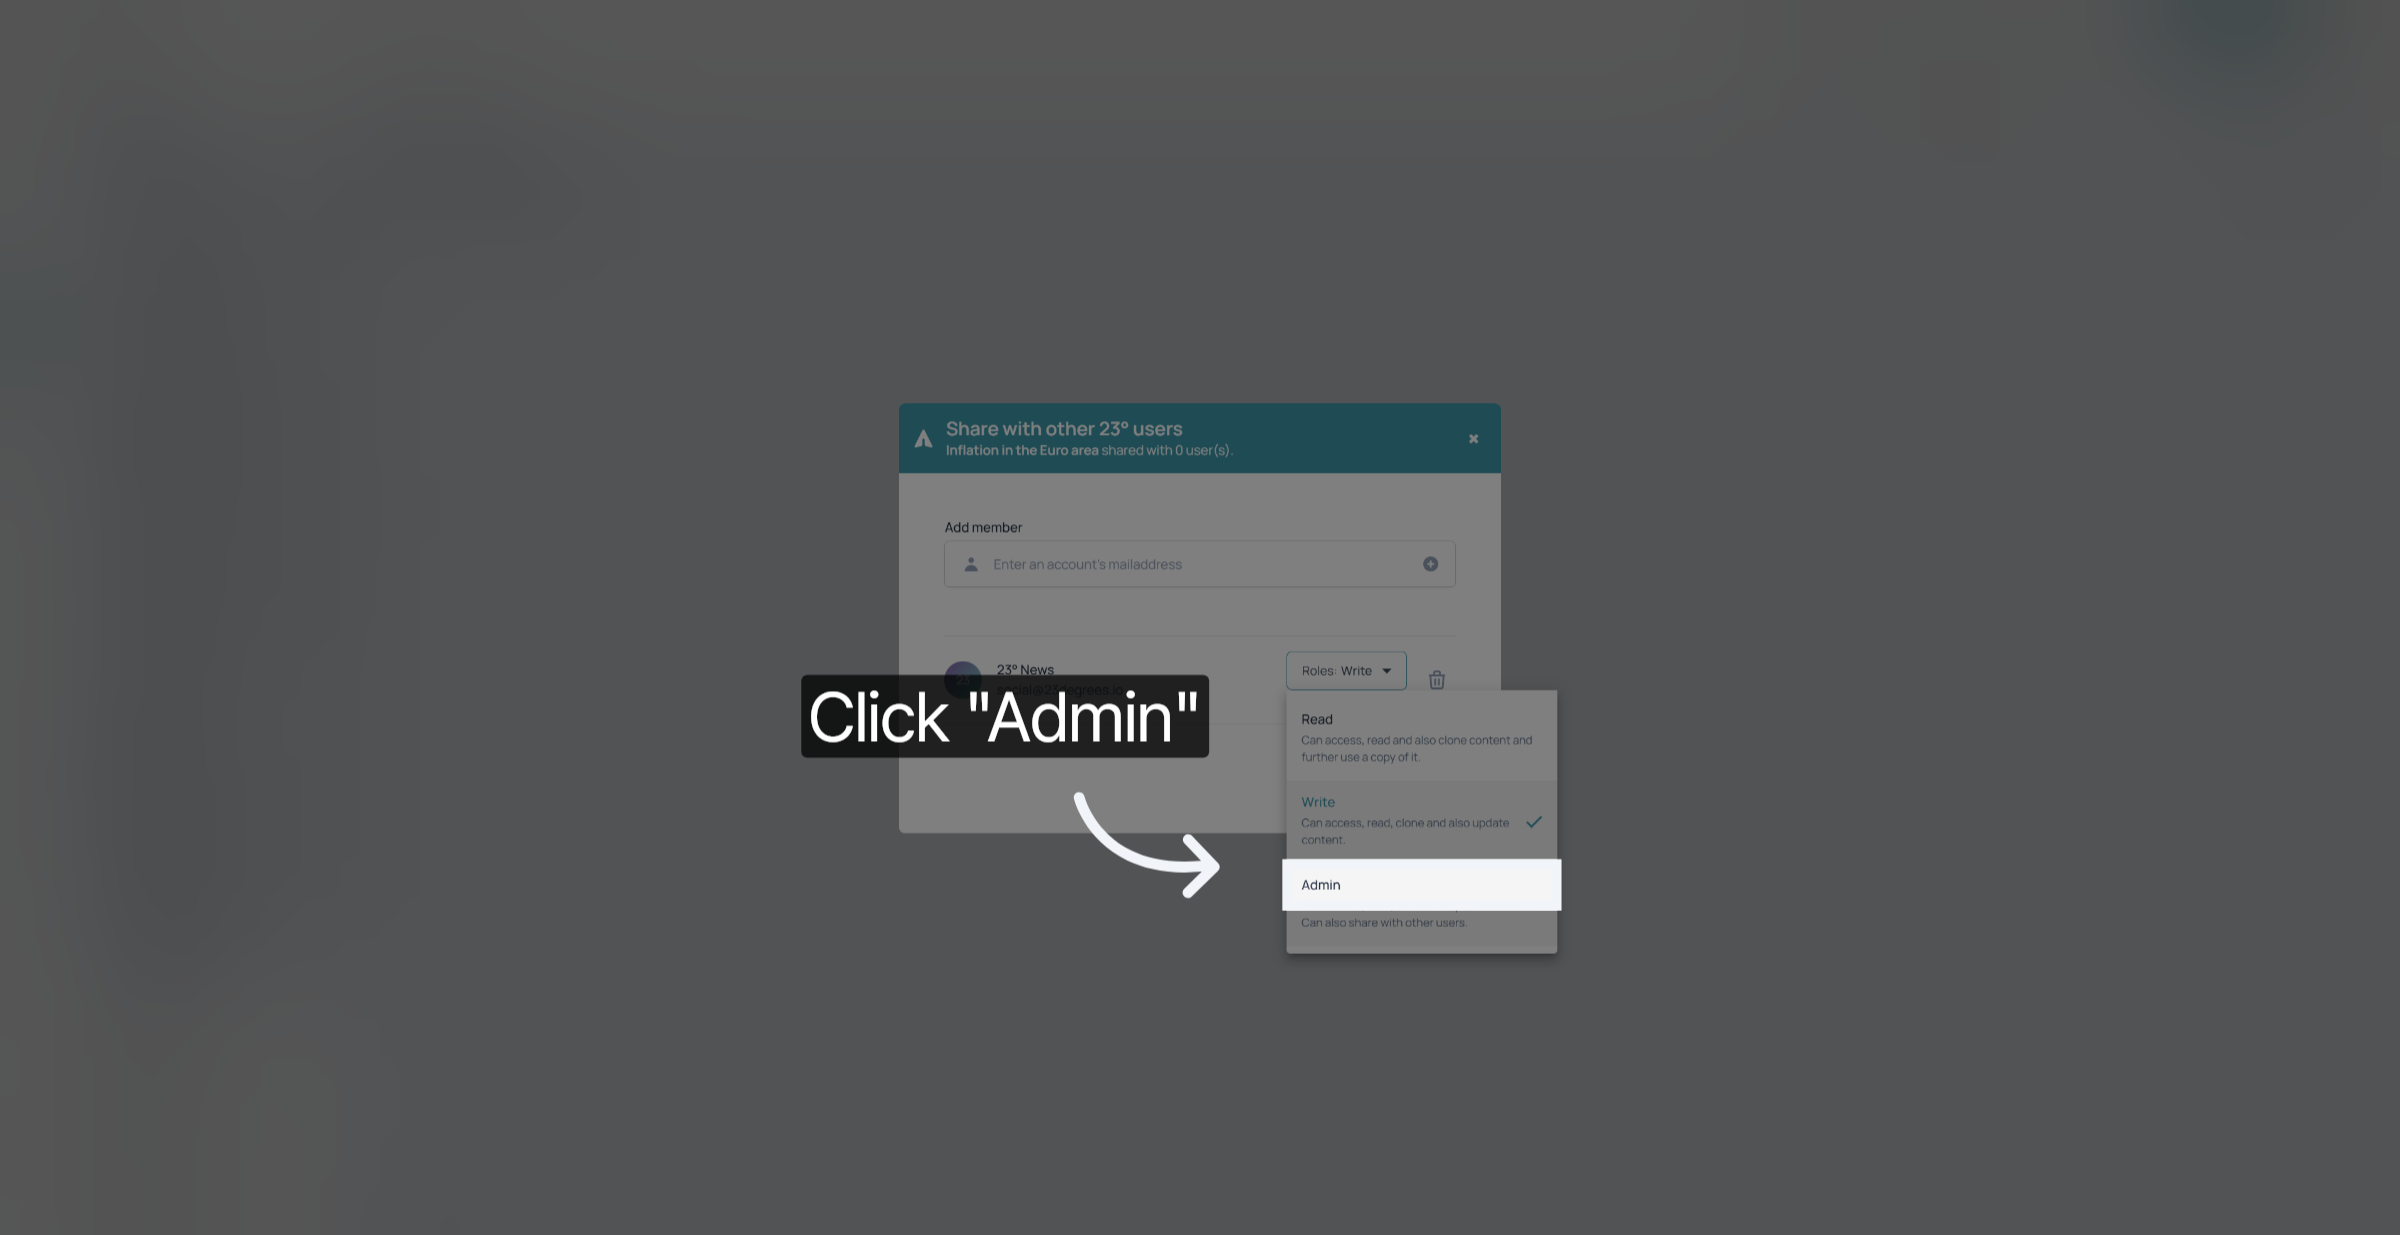
And with the Admin Permission the user can view, edit and further share the statistic with other users.
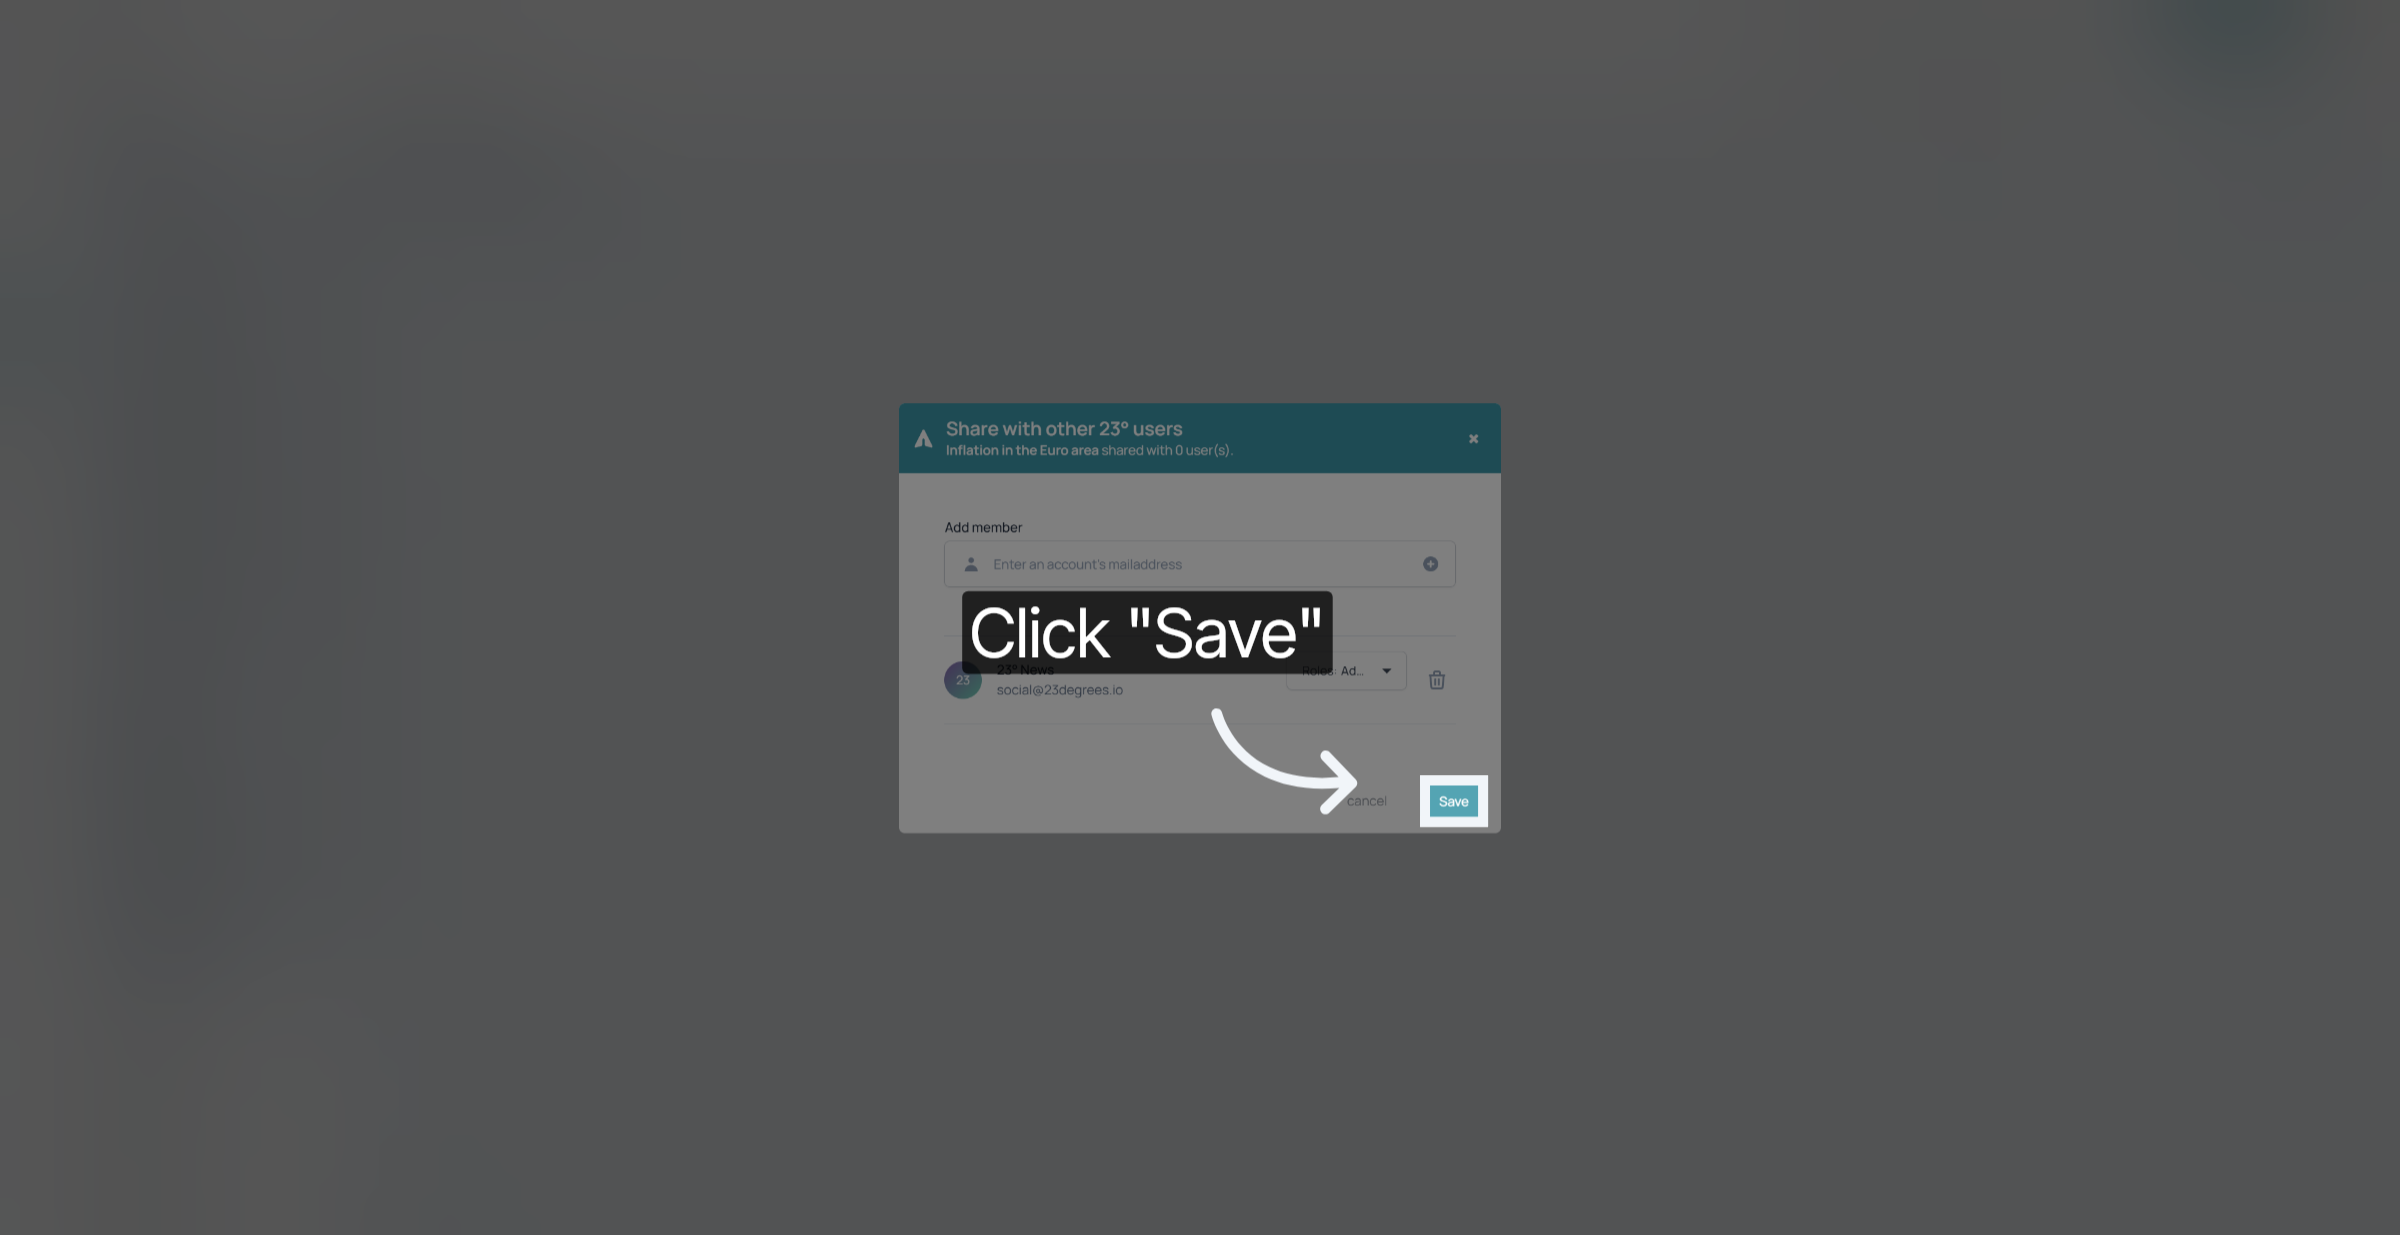
Don't forget to save your changes.
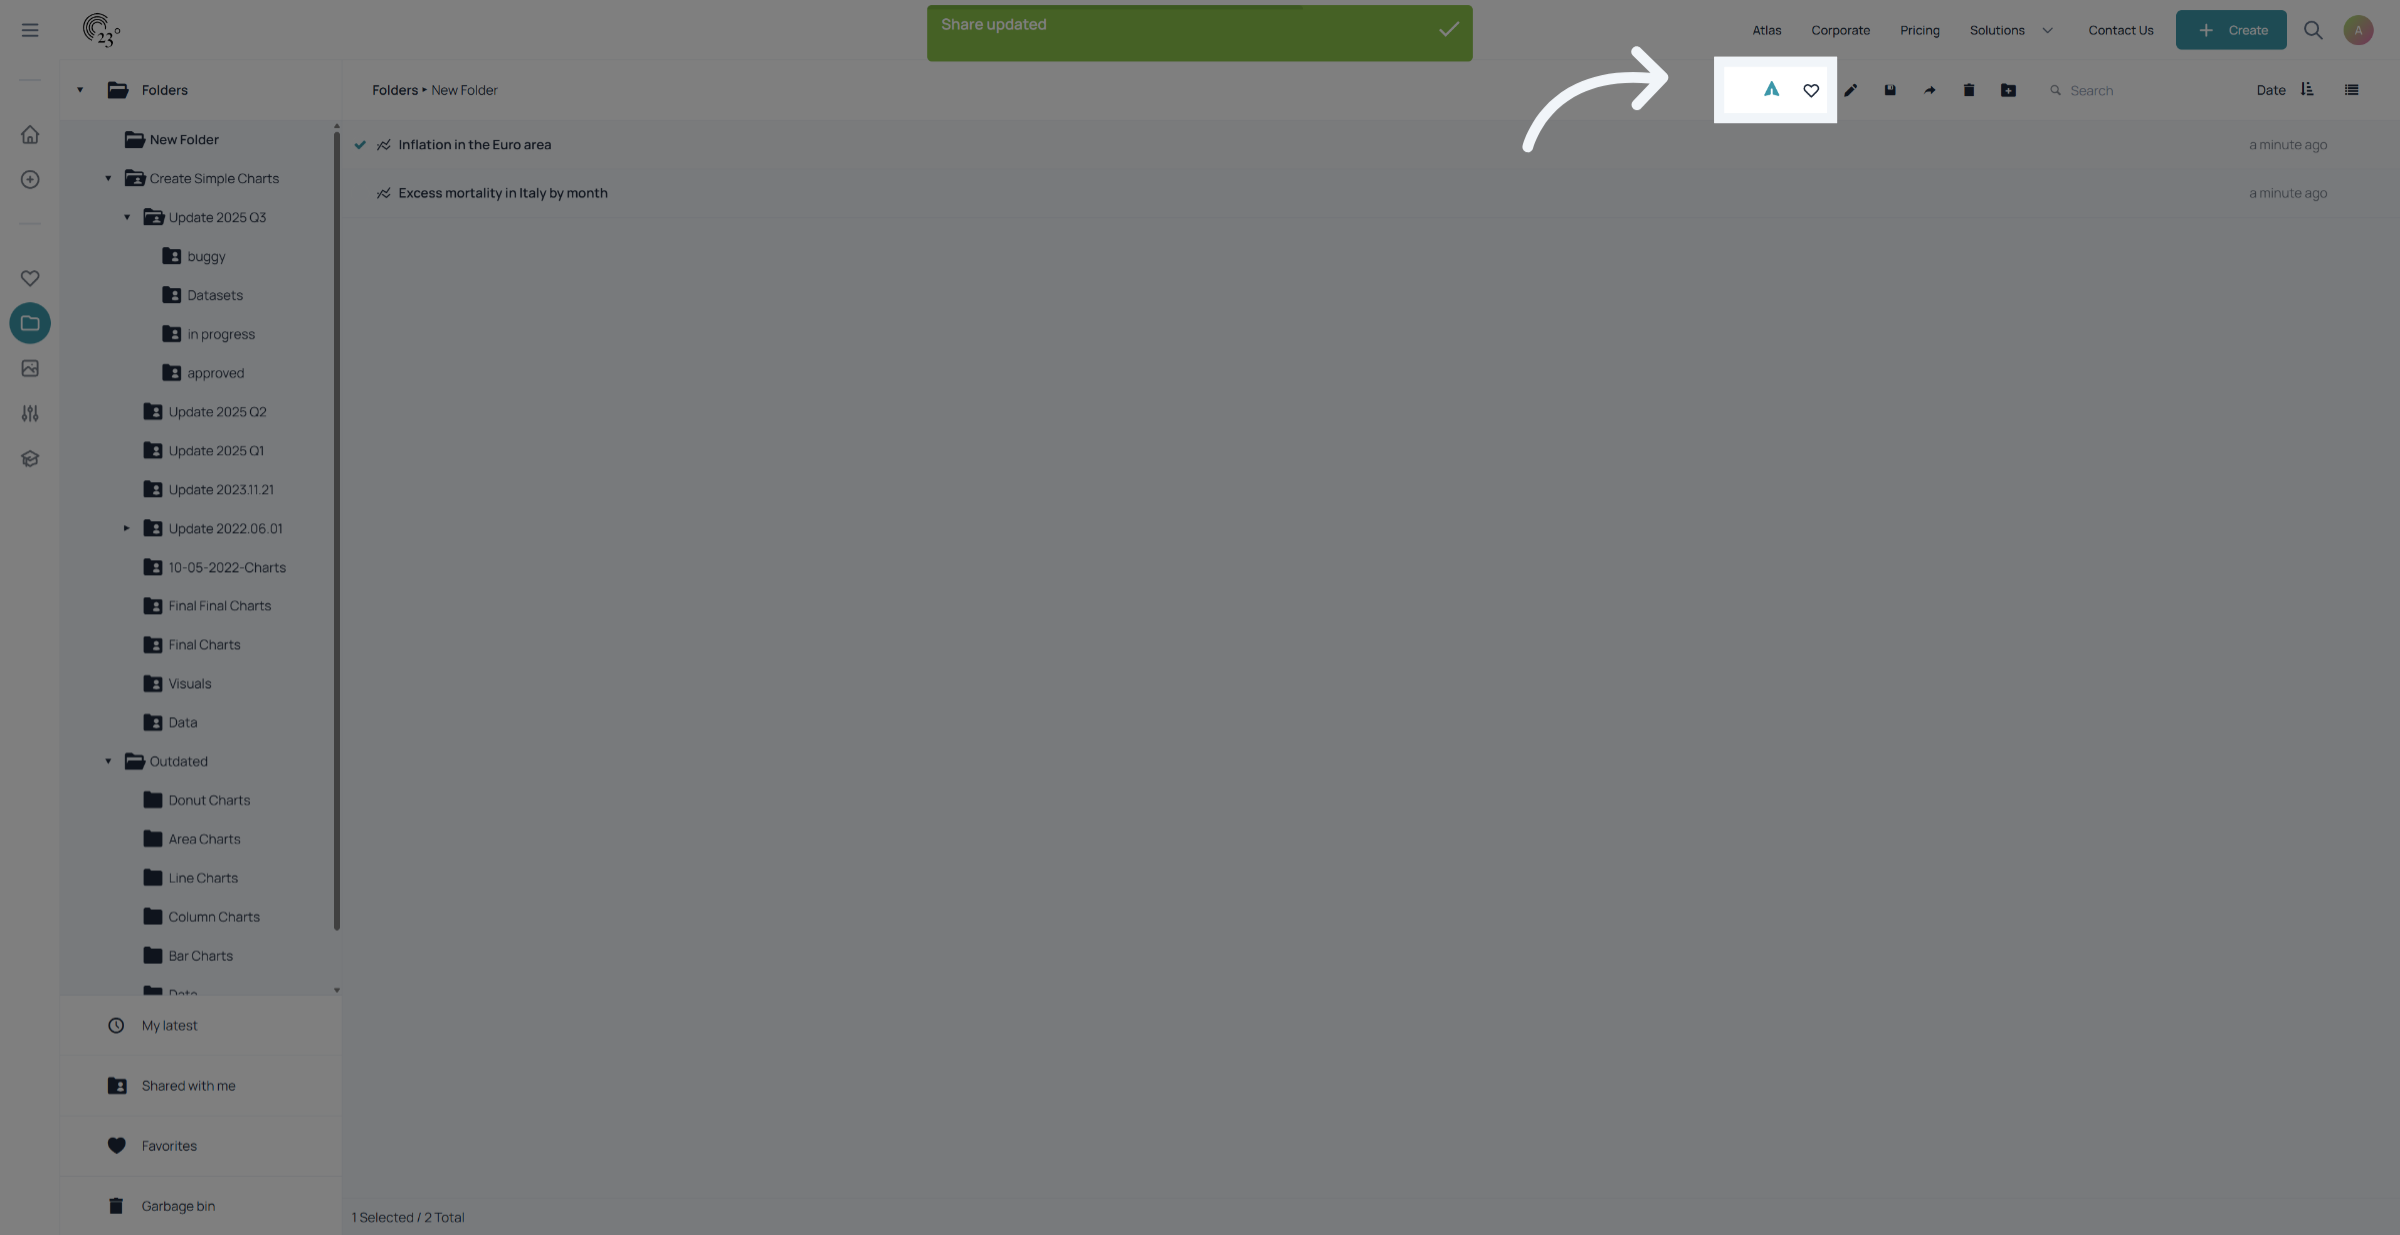
To see if a visualisation is shared with another user. Click on the visualisation once. If it is a shared visualisation the share button will appear blue.
You have successfully shared visualisations with other users by adding members and configuring their access permissions. This enables collaborative work and controlled content management within 23degrees.