Draw Polygons on Maps
This tutorial guides you through drawing polygons on maps using the 23degrees application.
You will learn how to configure polygon properties and customize their appearance for effective map visualization.
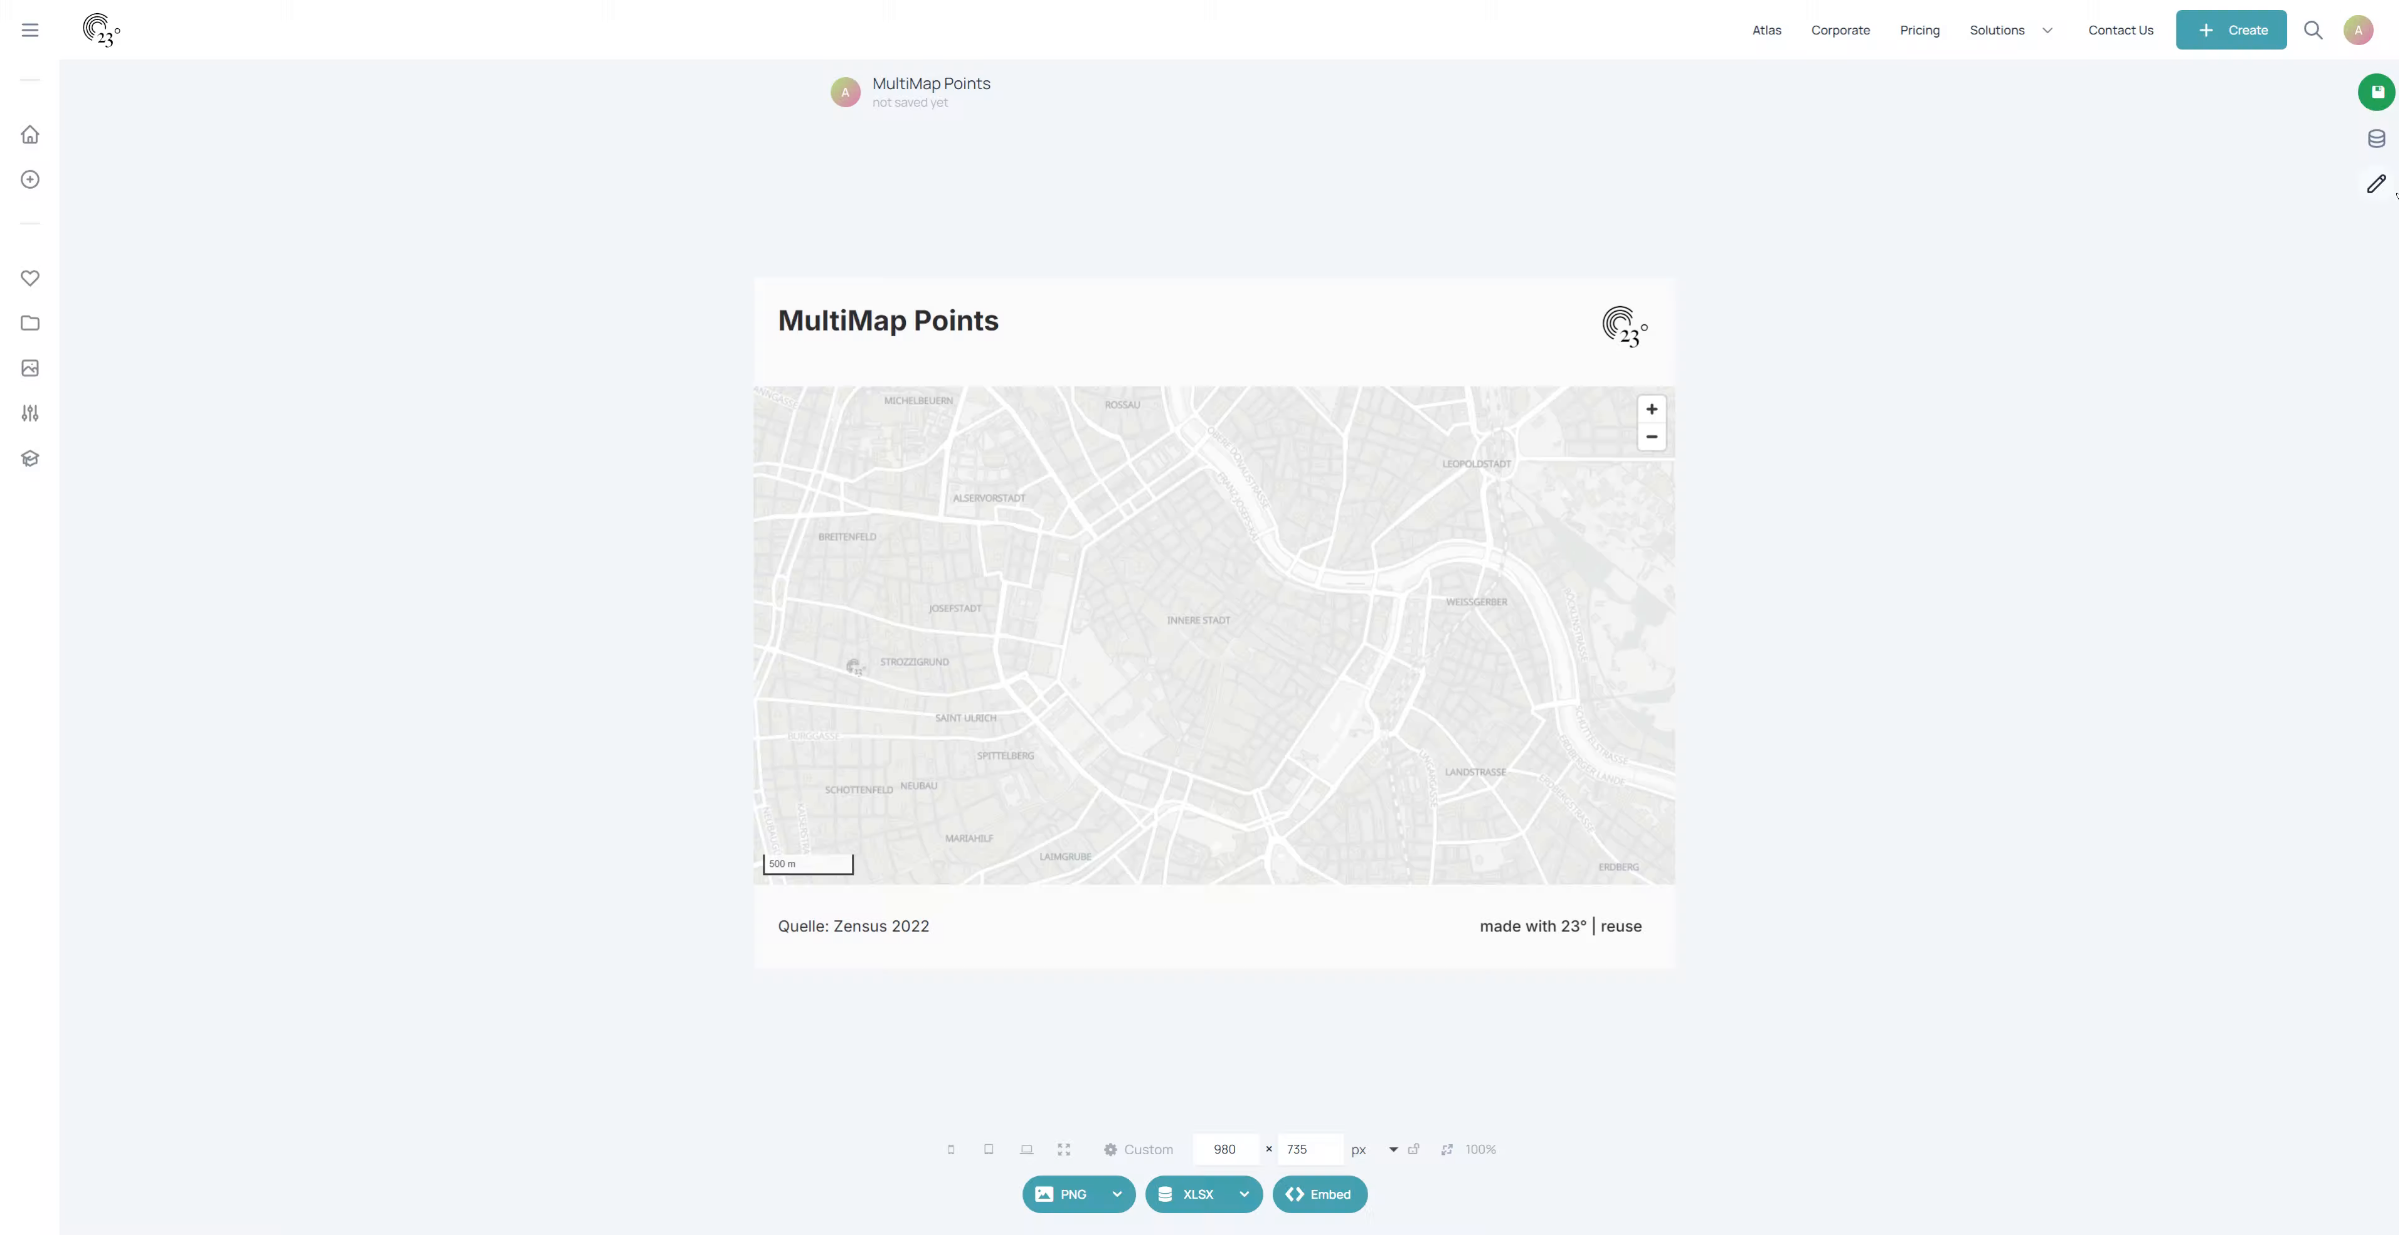
Click the button to open the chart editor.
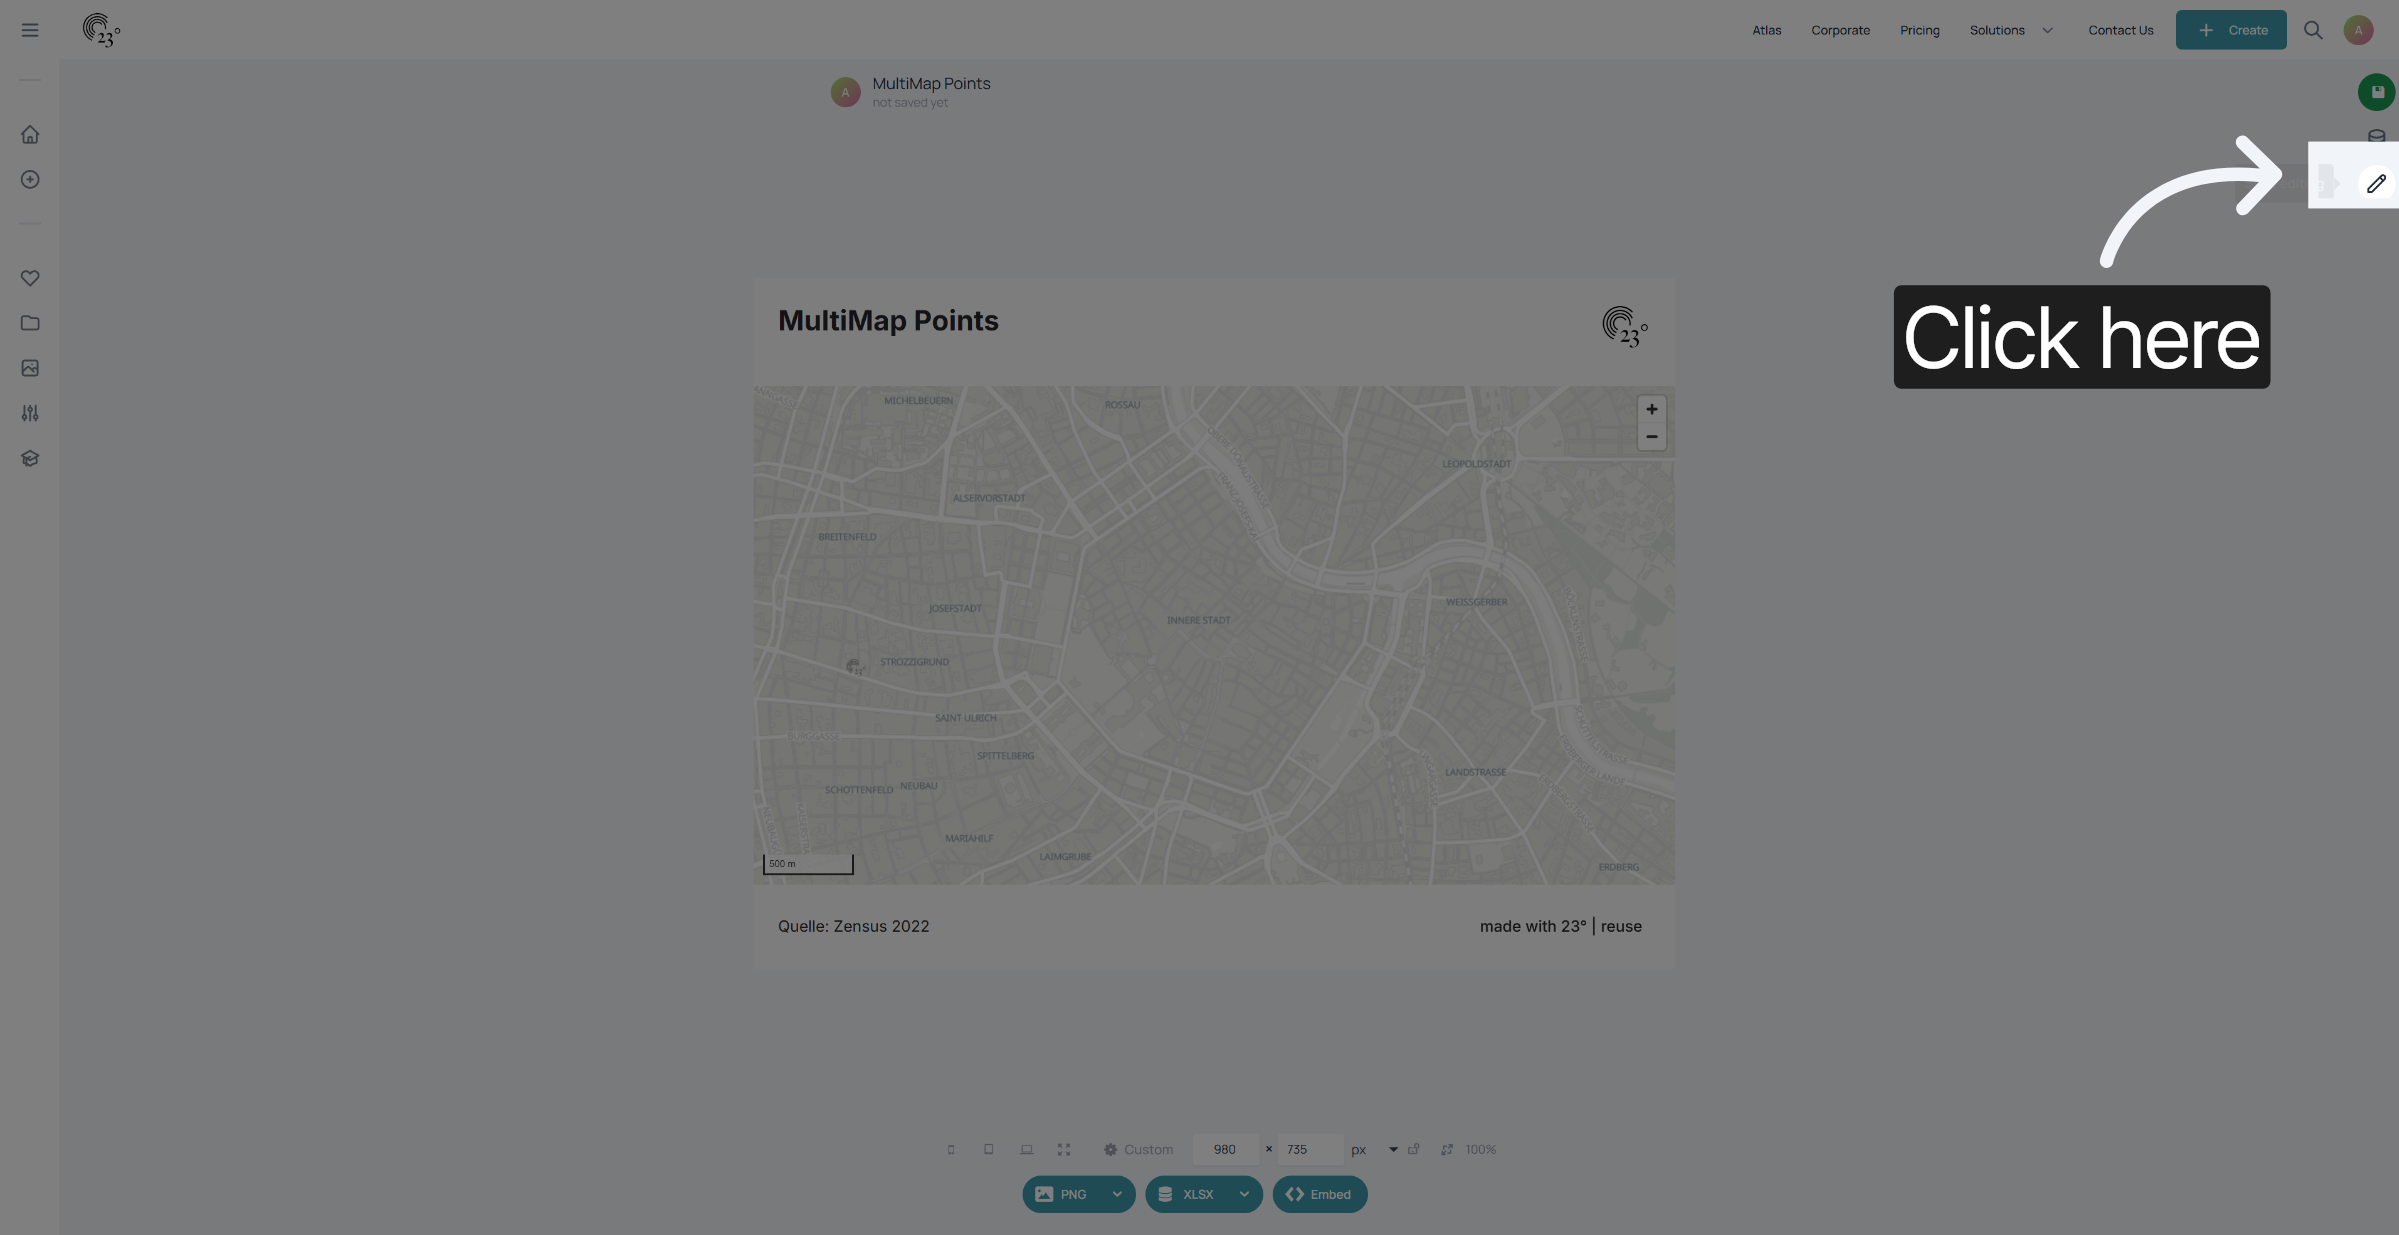
Go to the map setting
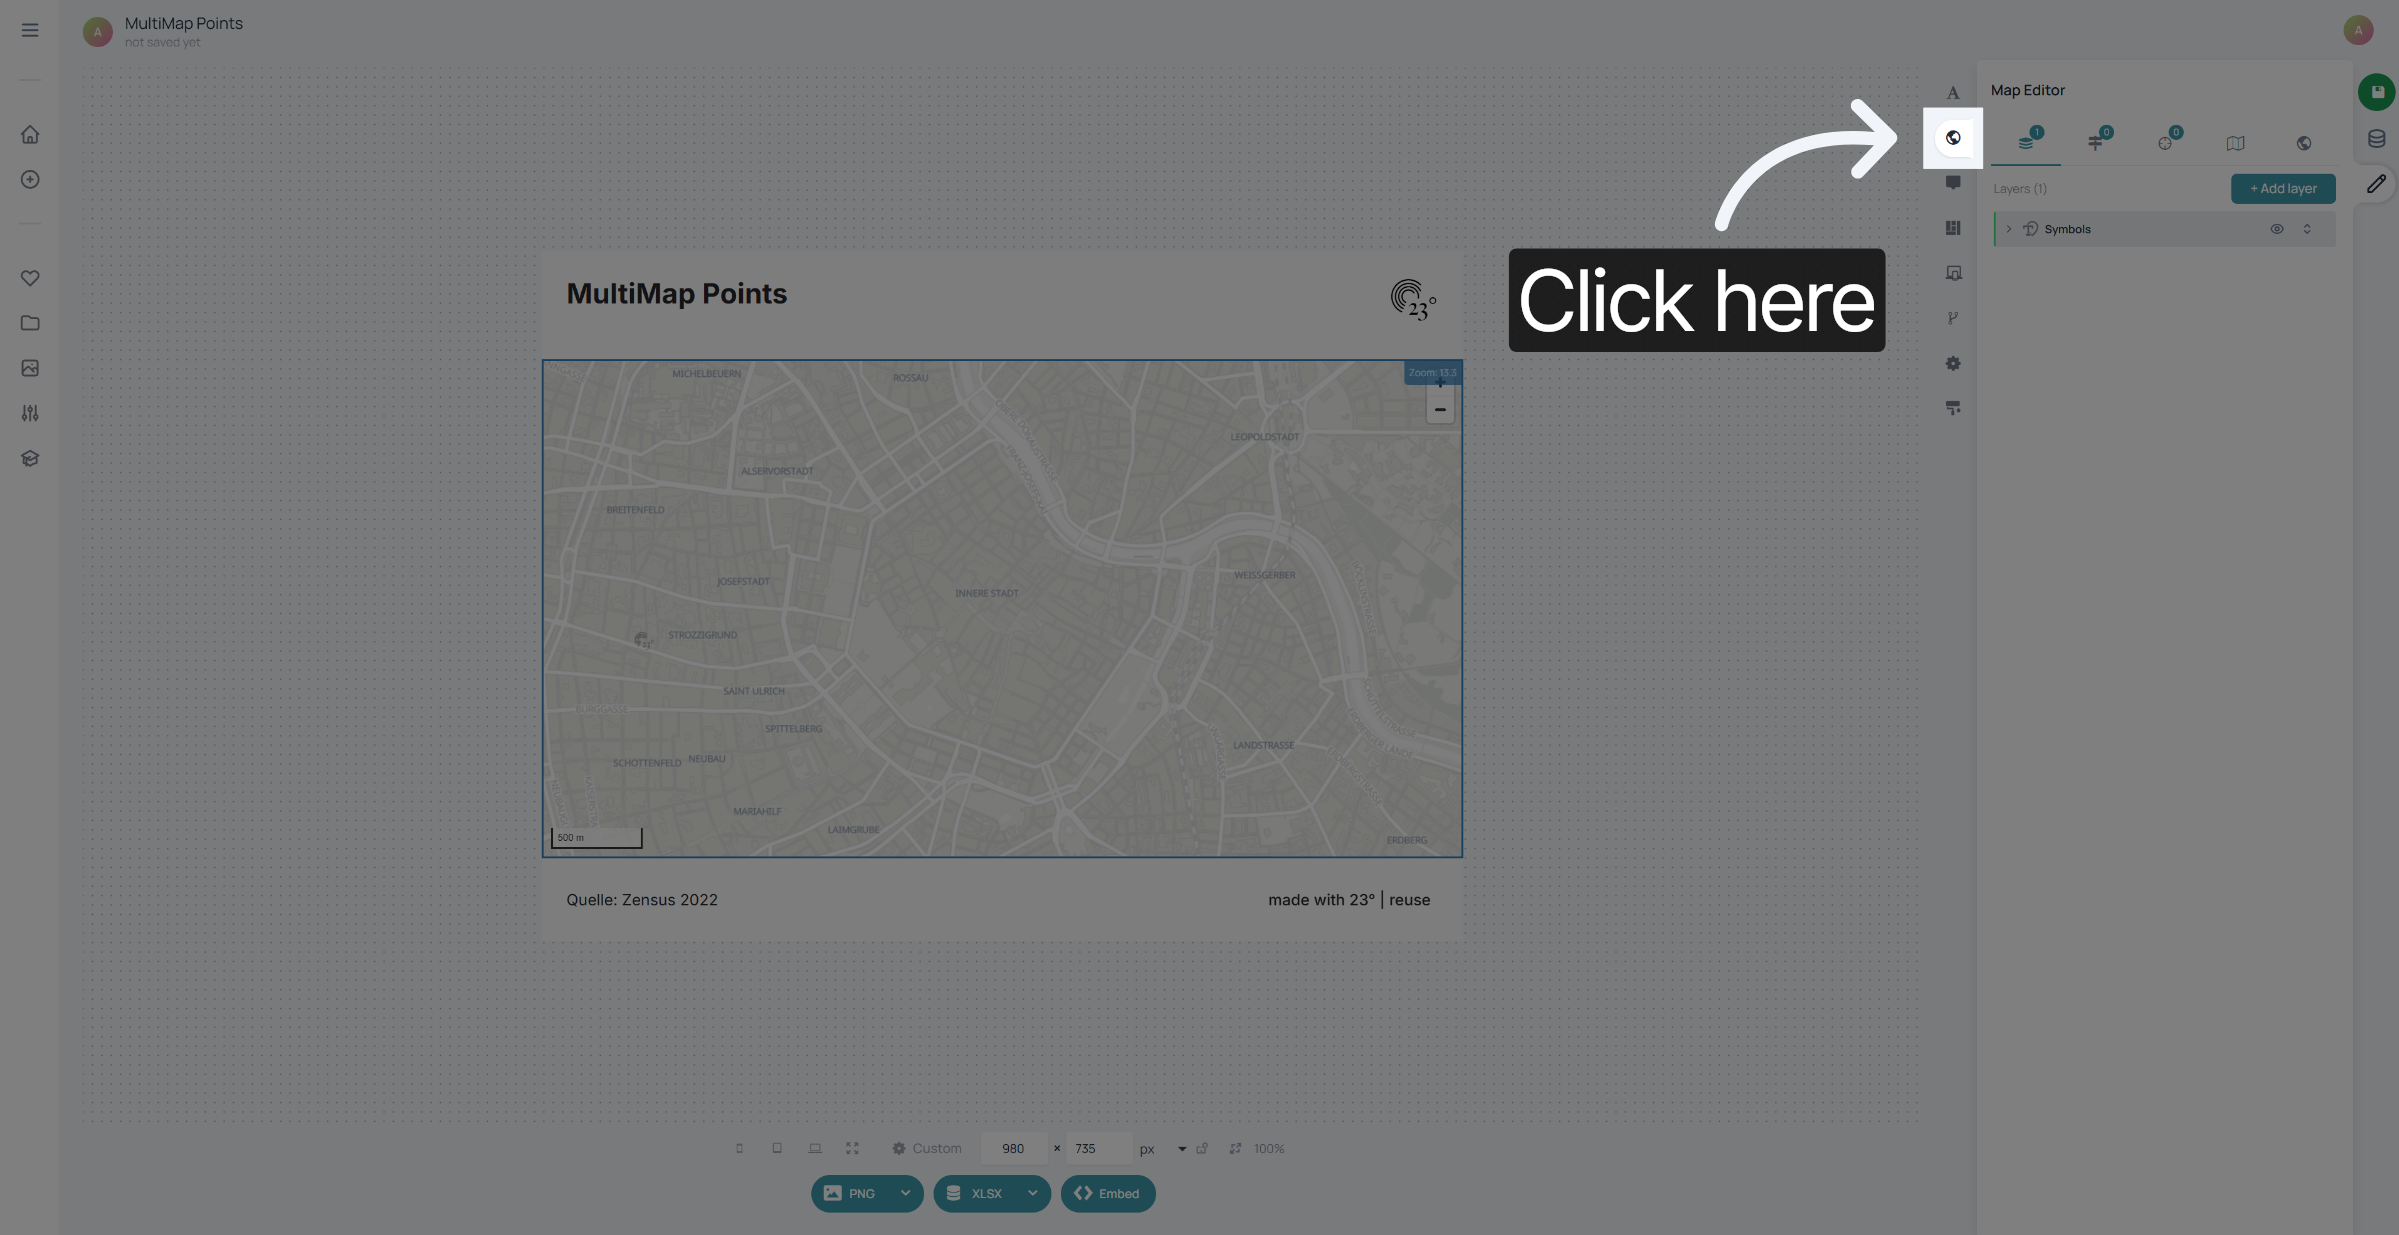
Select "Add Layer"
Select Draw on Map
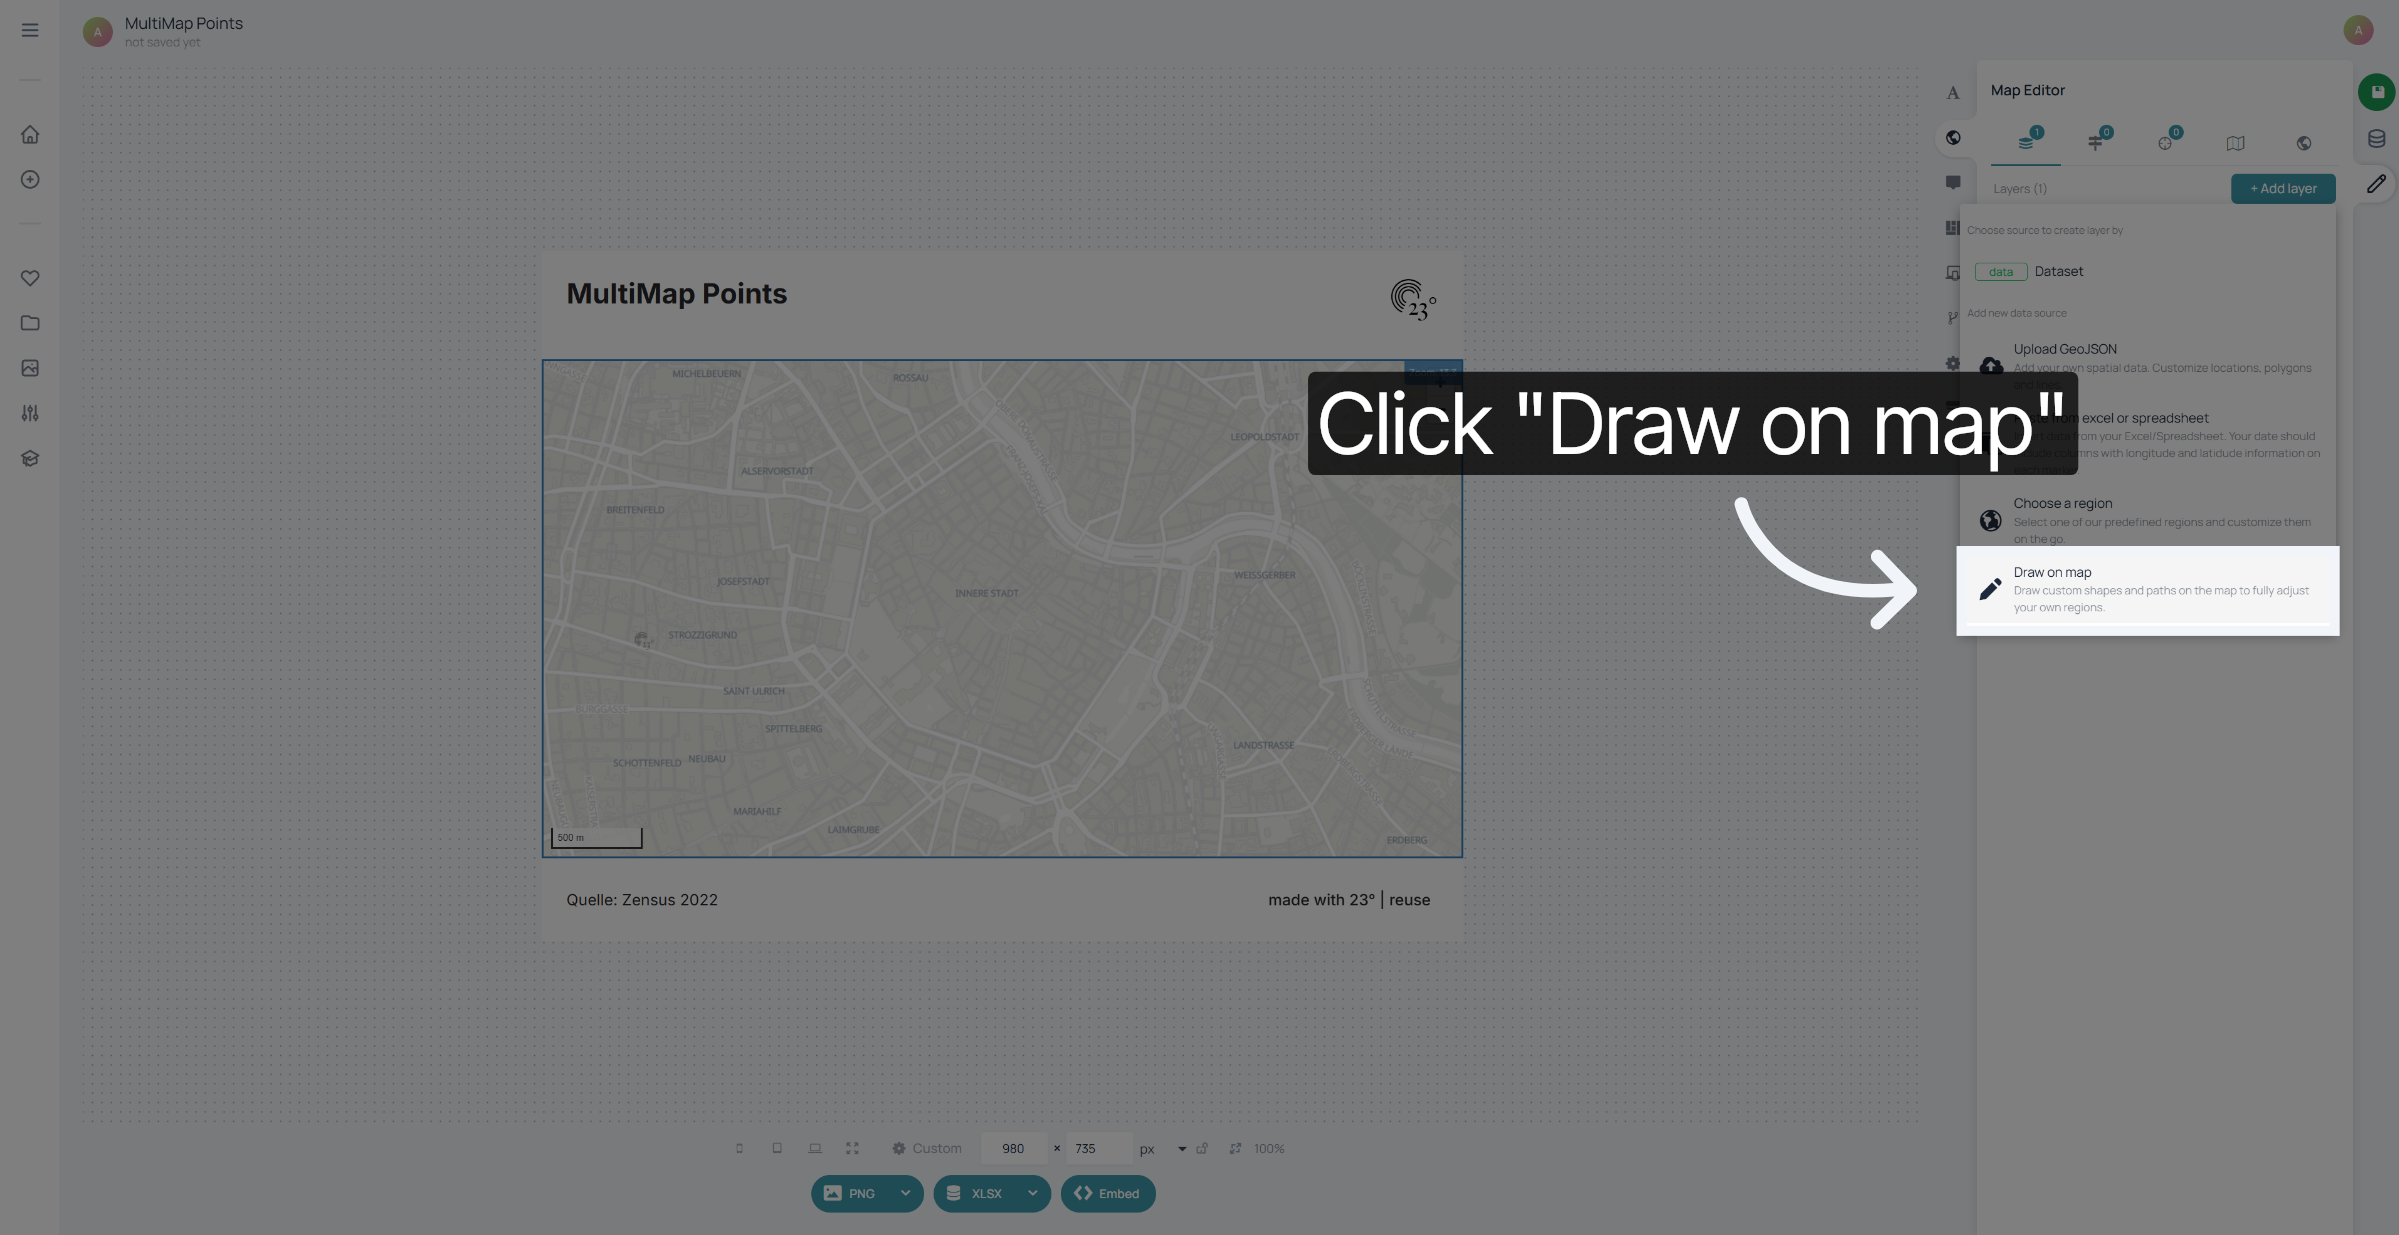
Select "Draw Polygons".
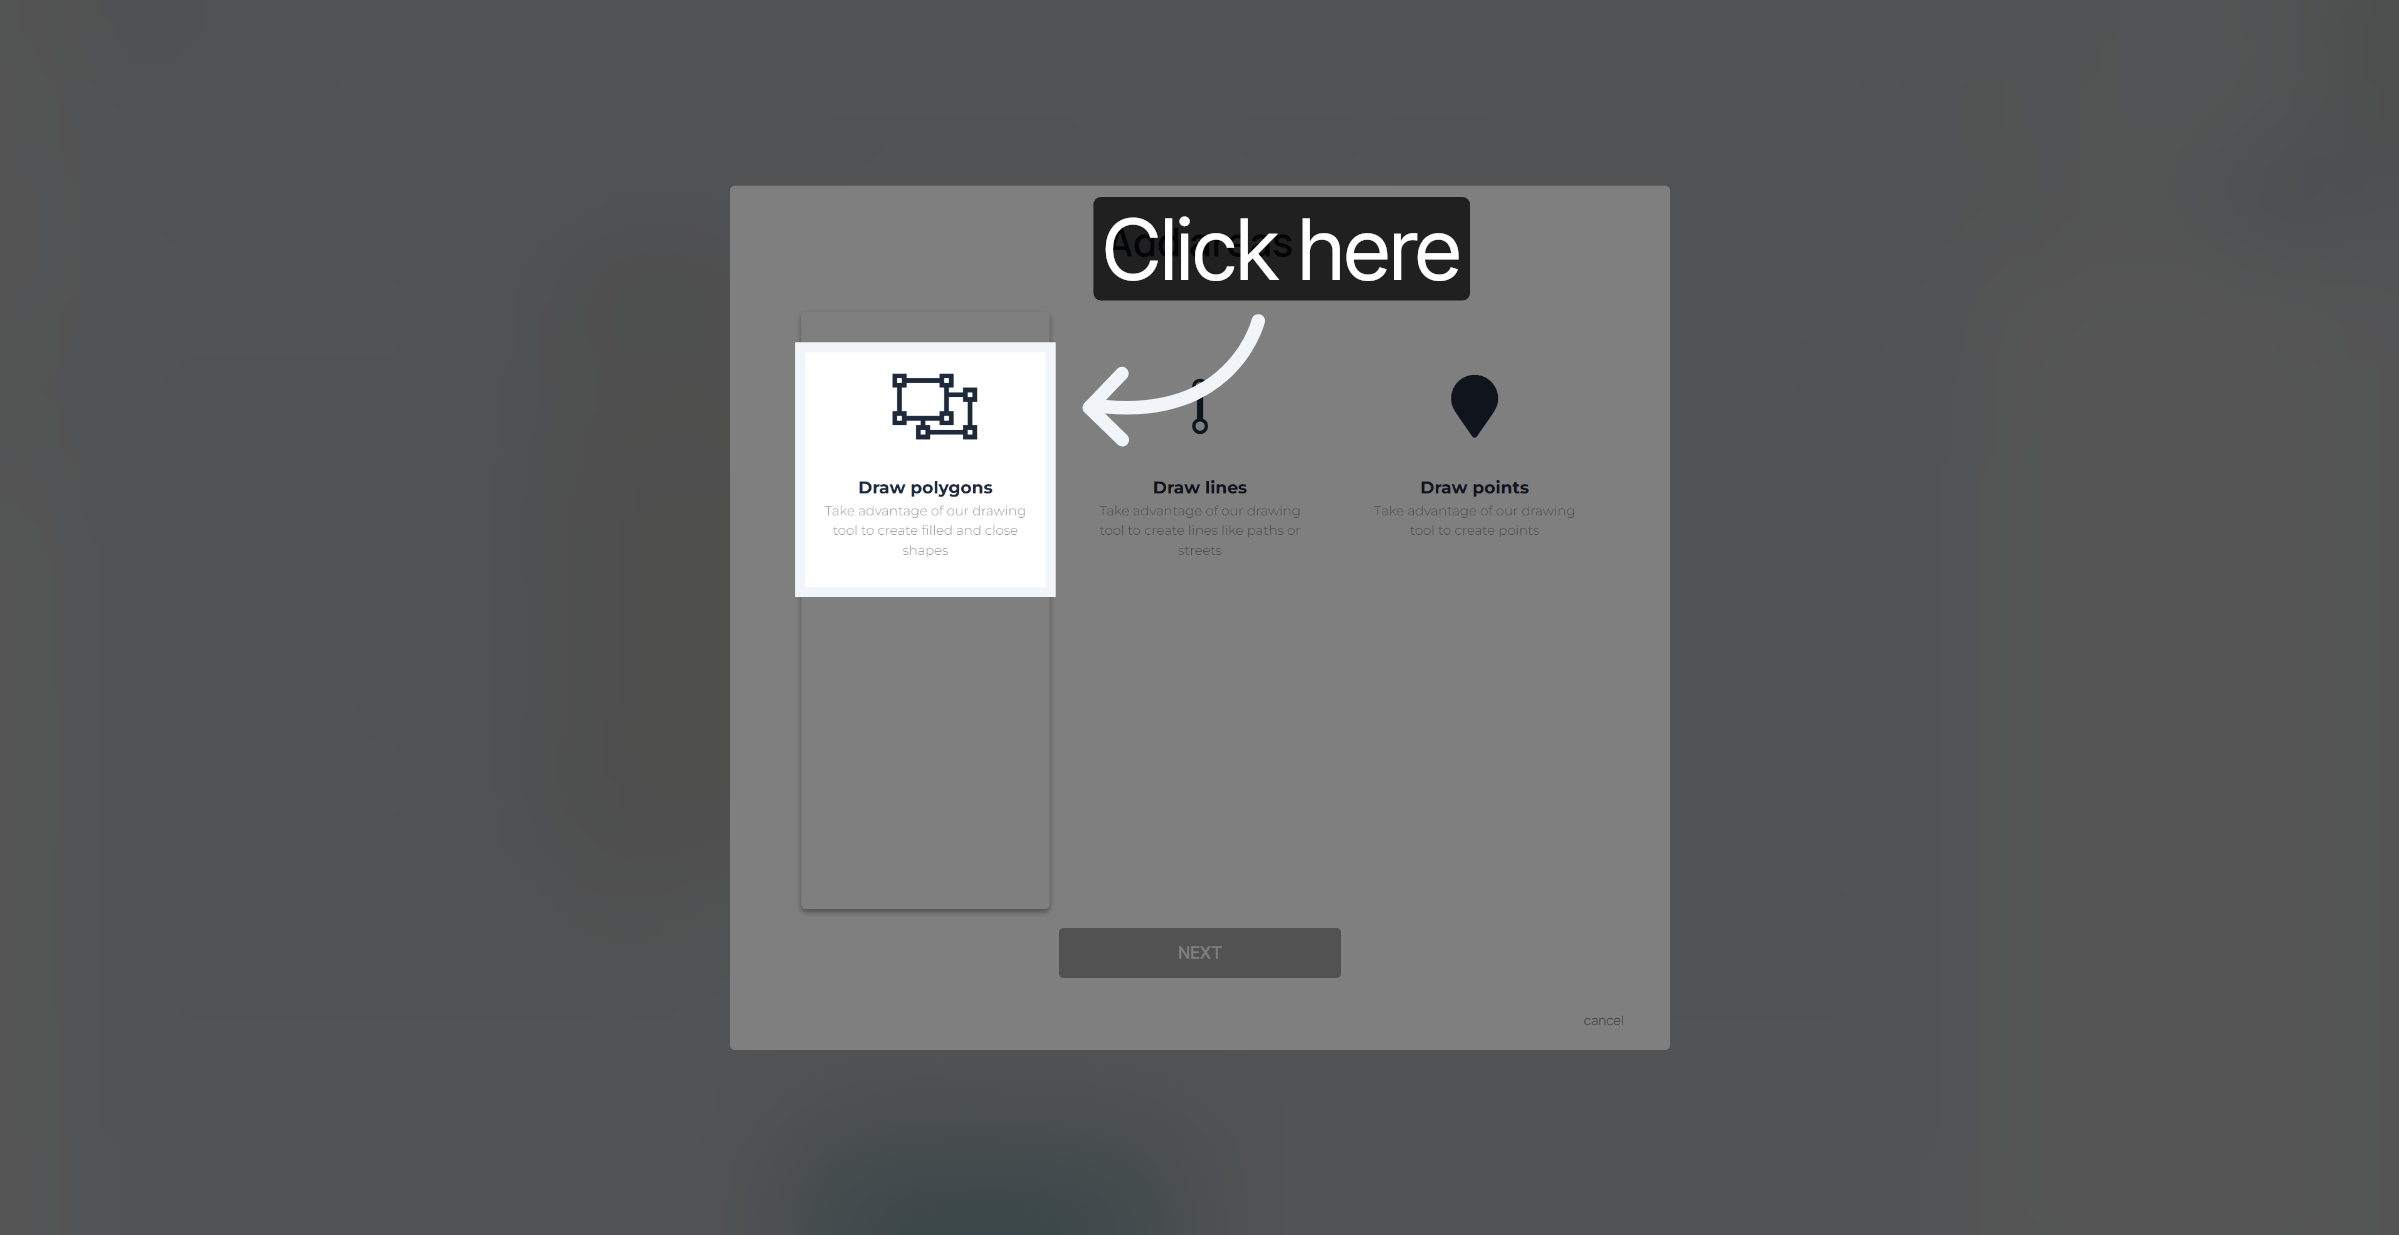
Click next to confirm your choice.
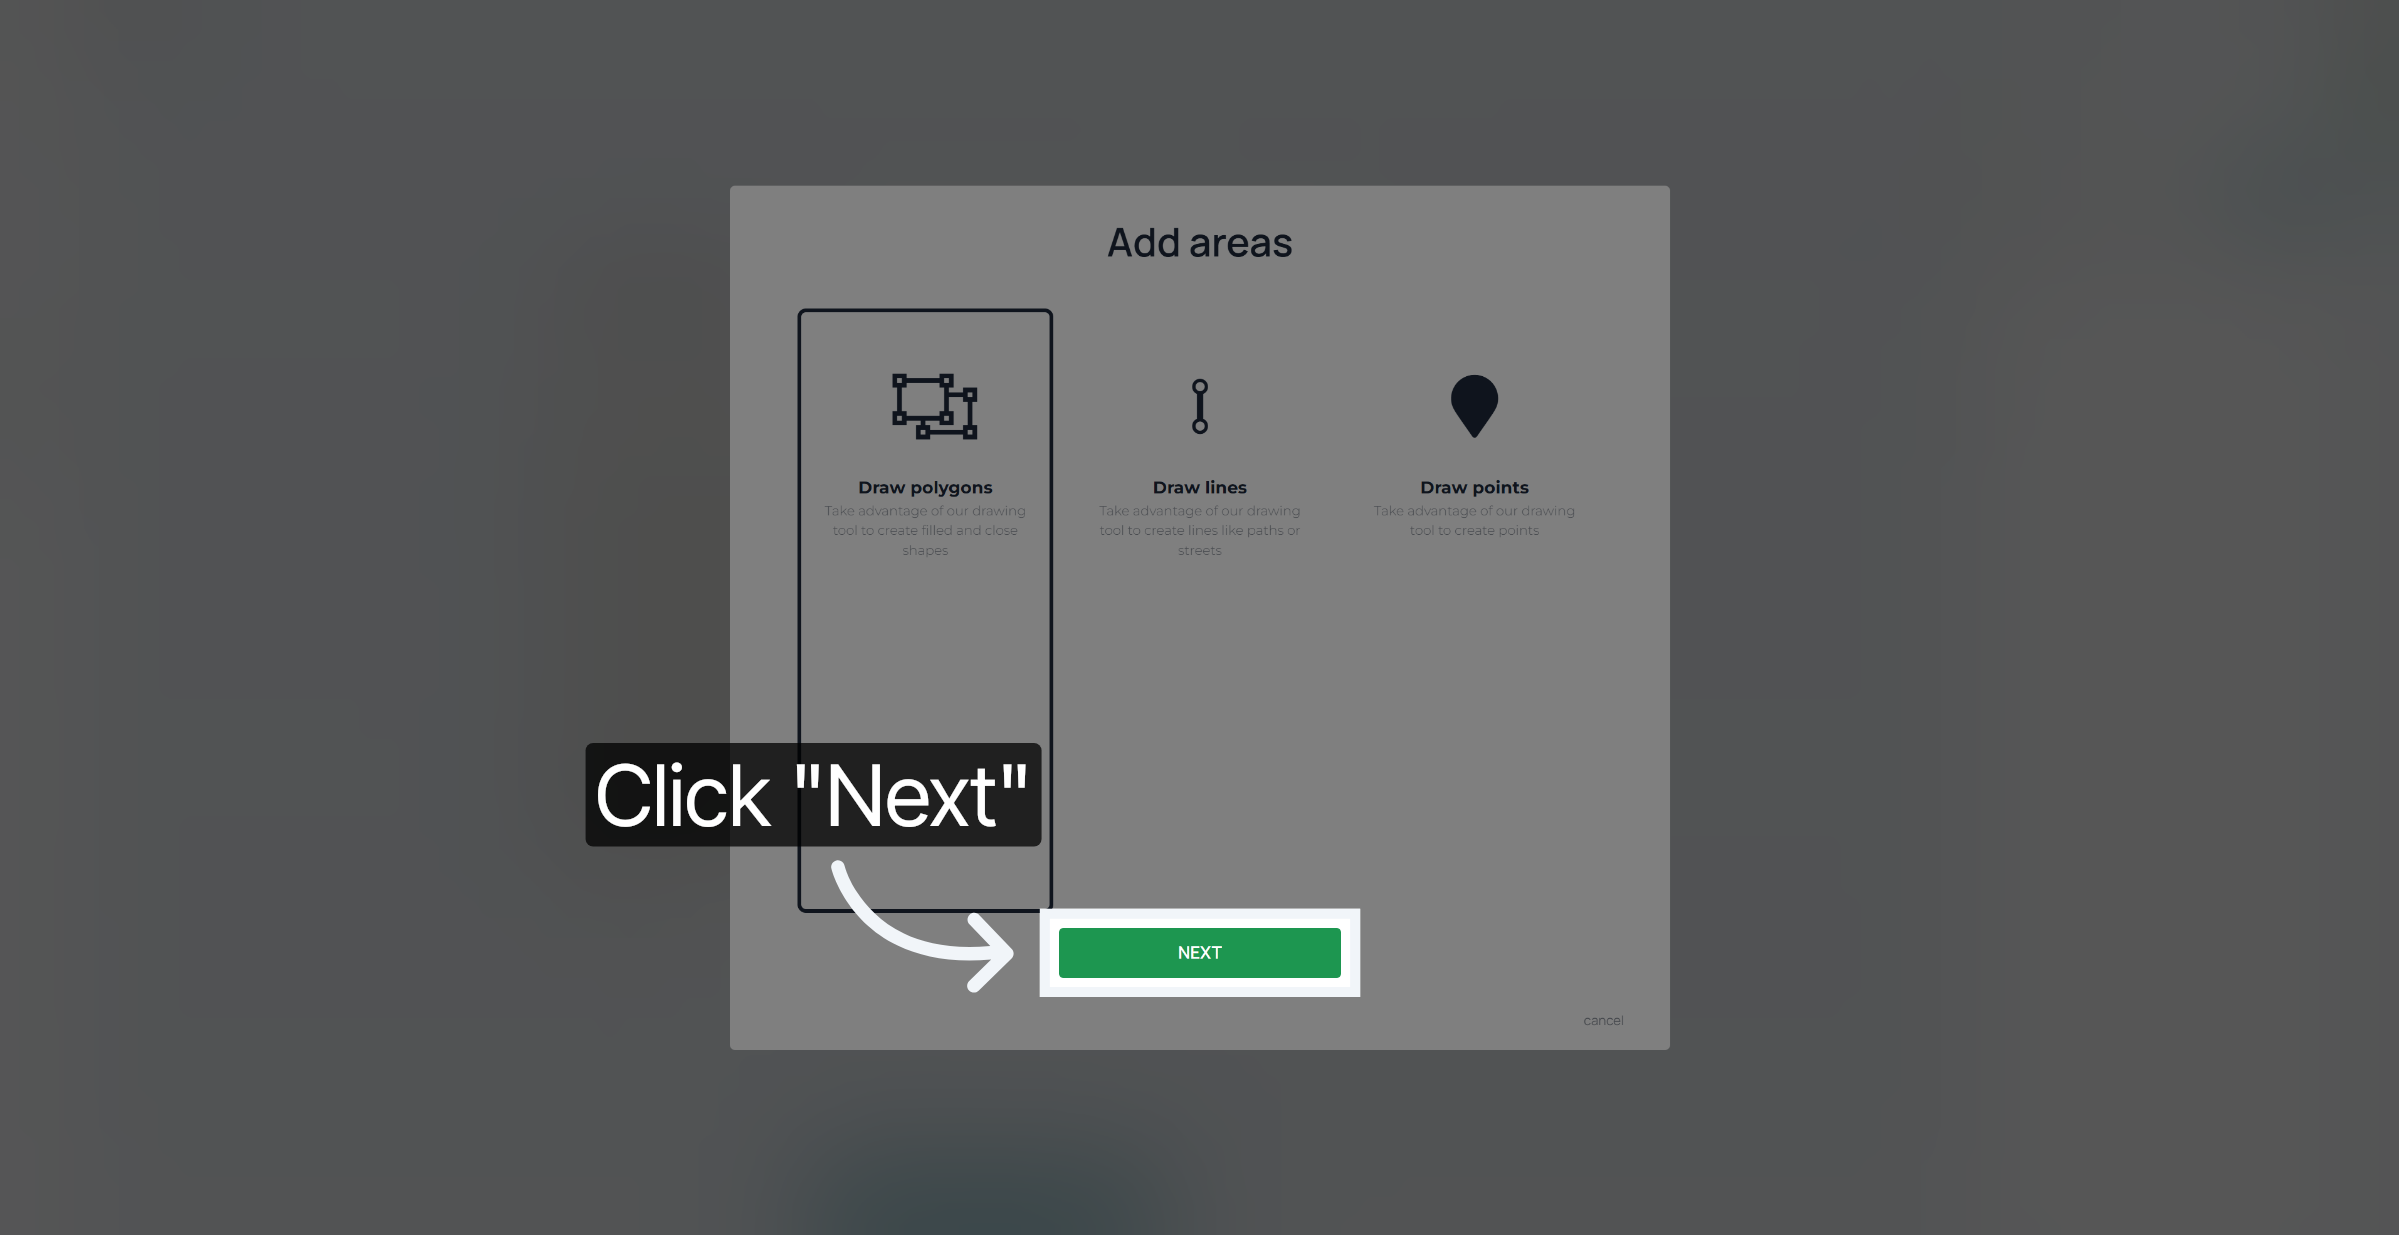
Click Add to map
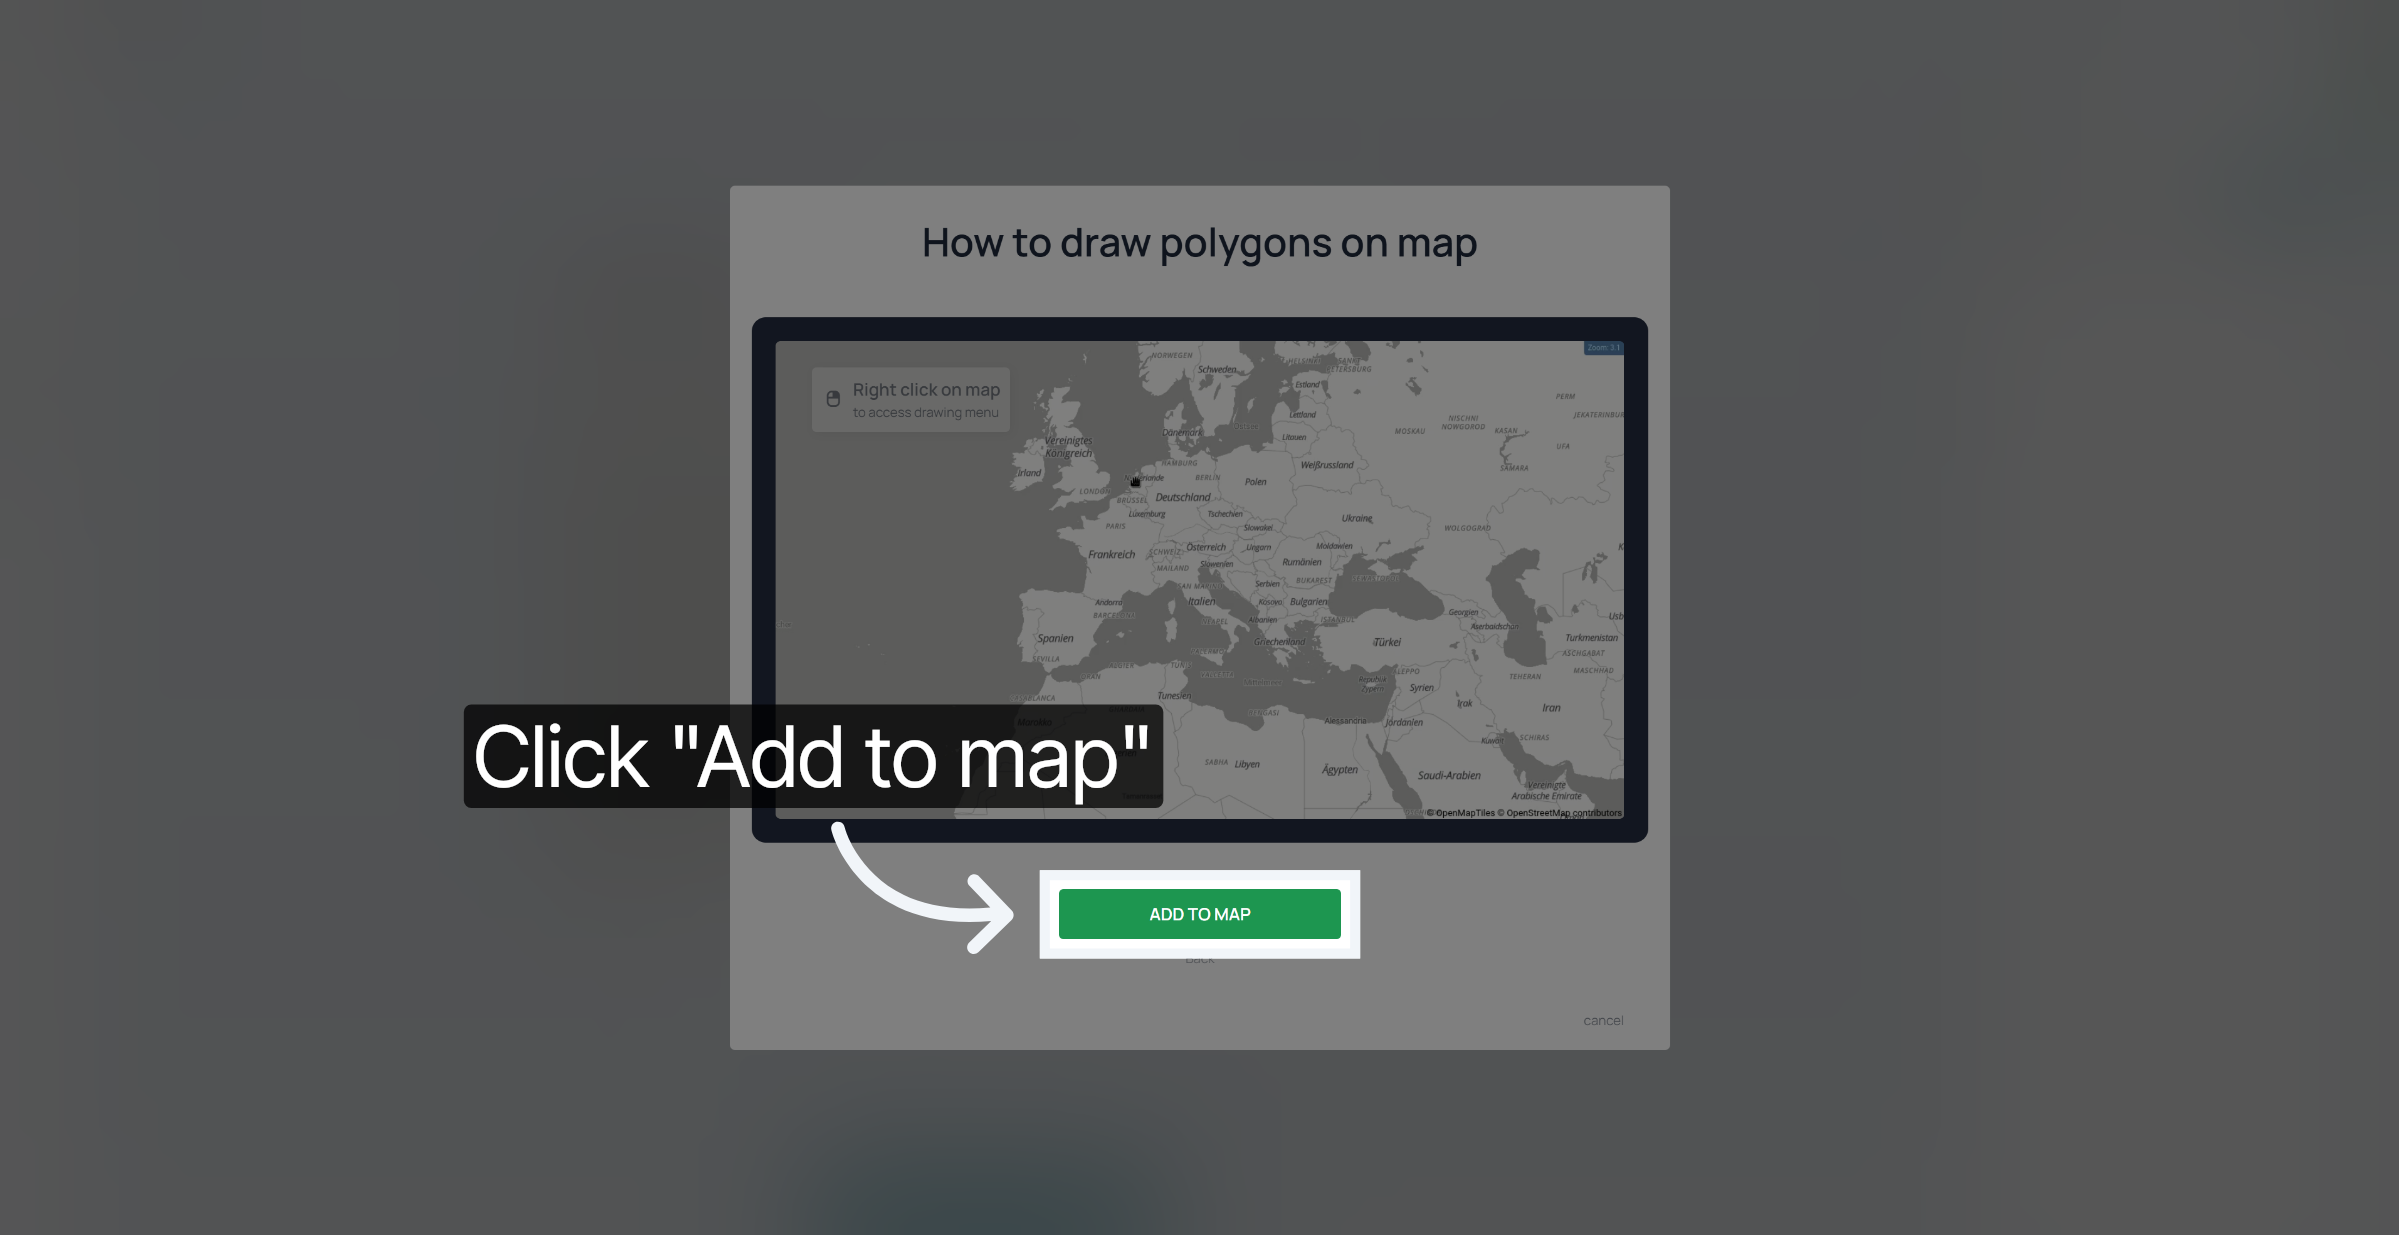
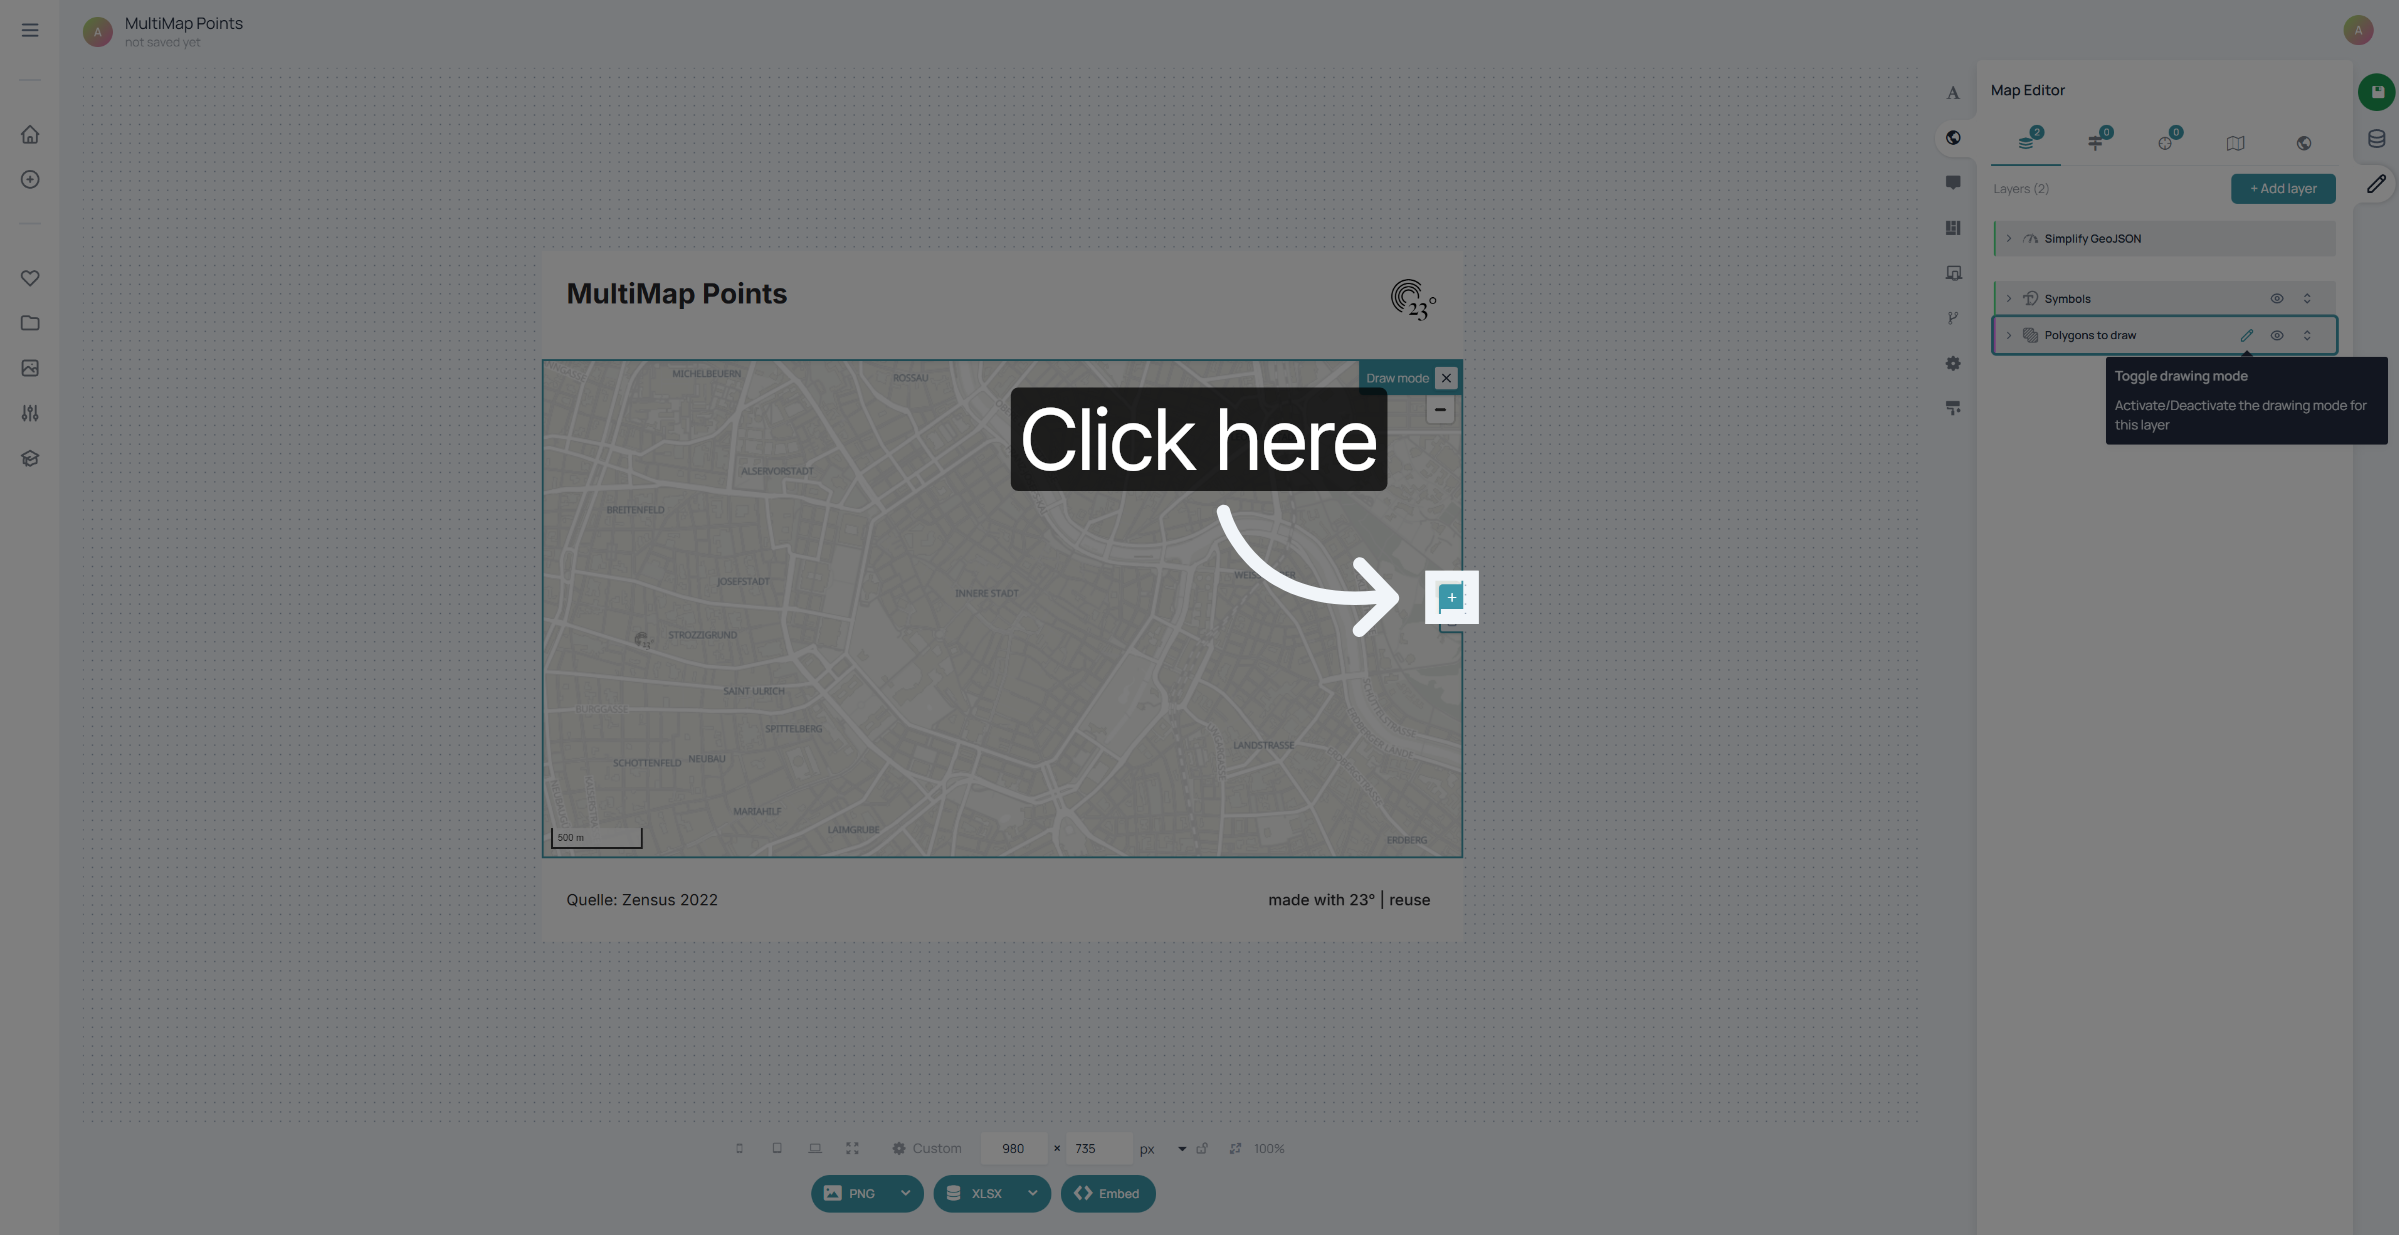
Click the + Button to start drawing
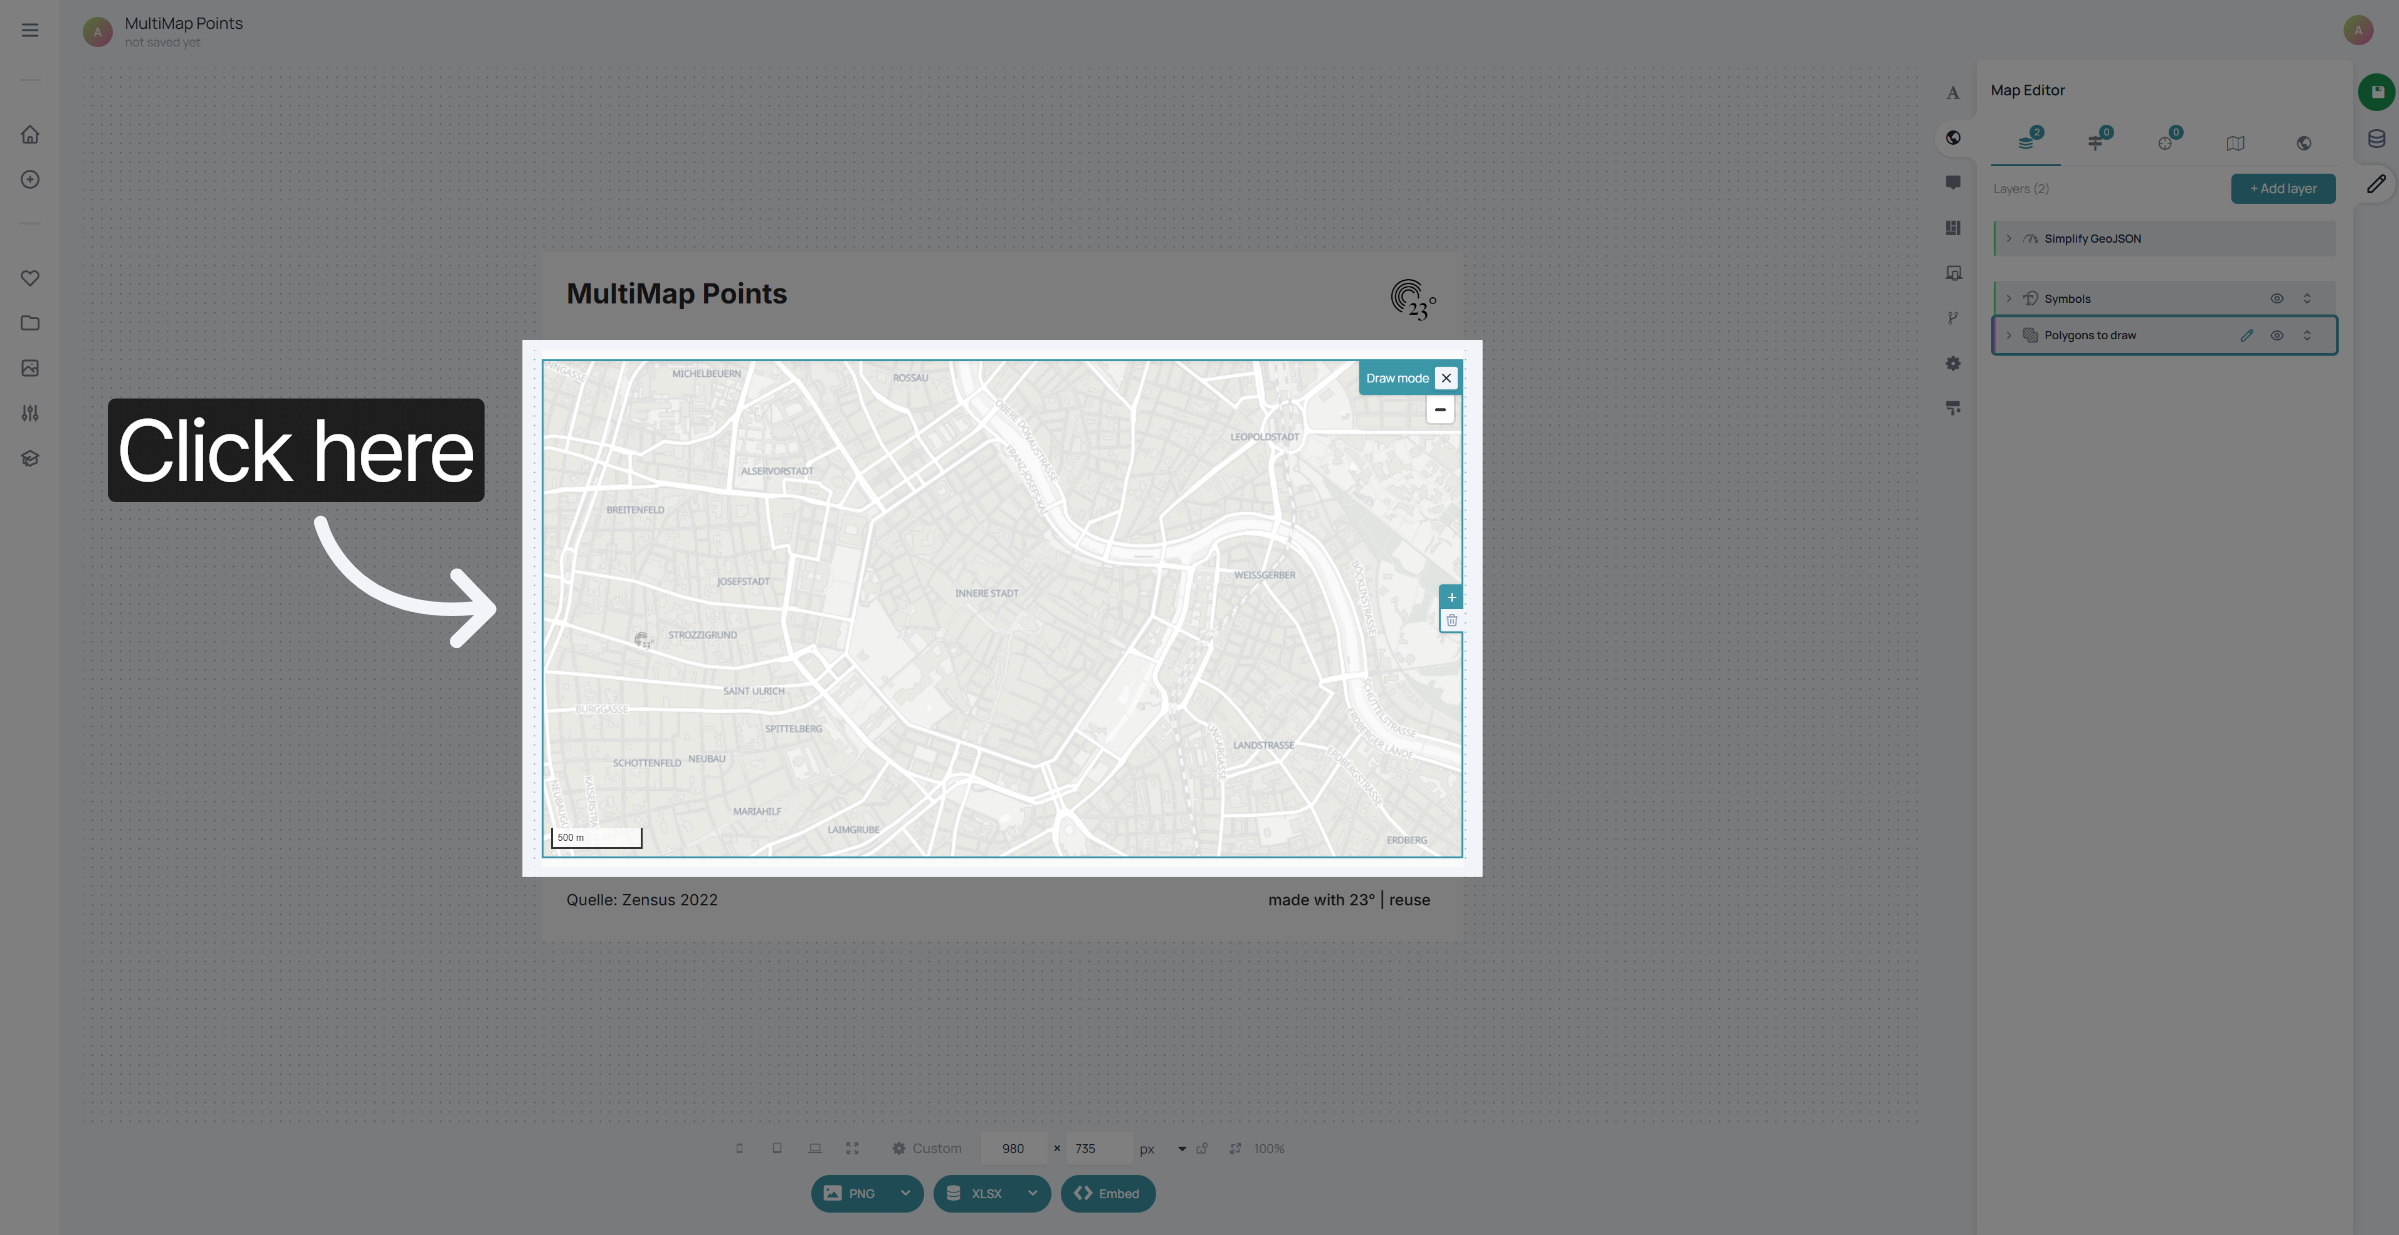
Click on point in the map where you want to start drawing from
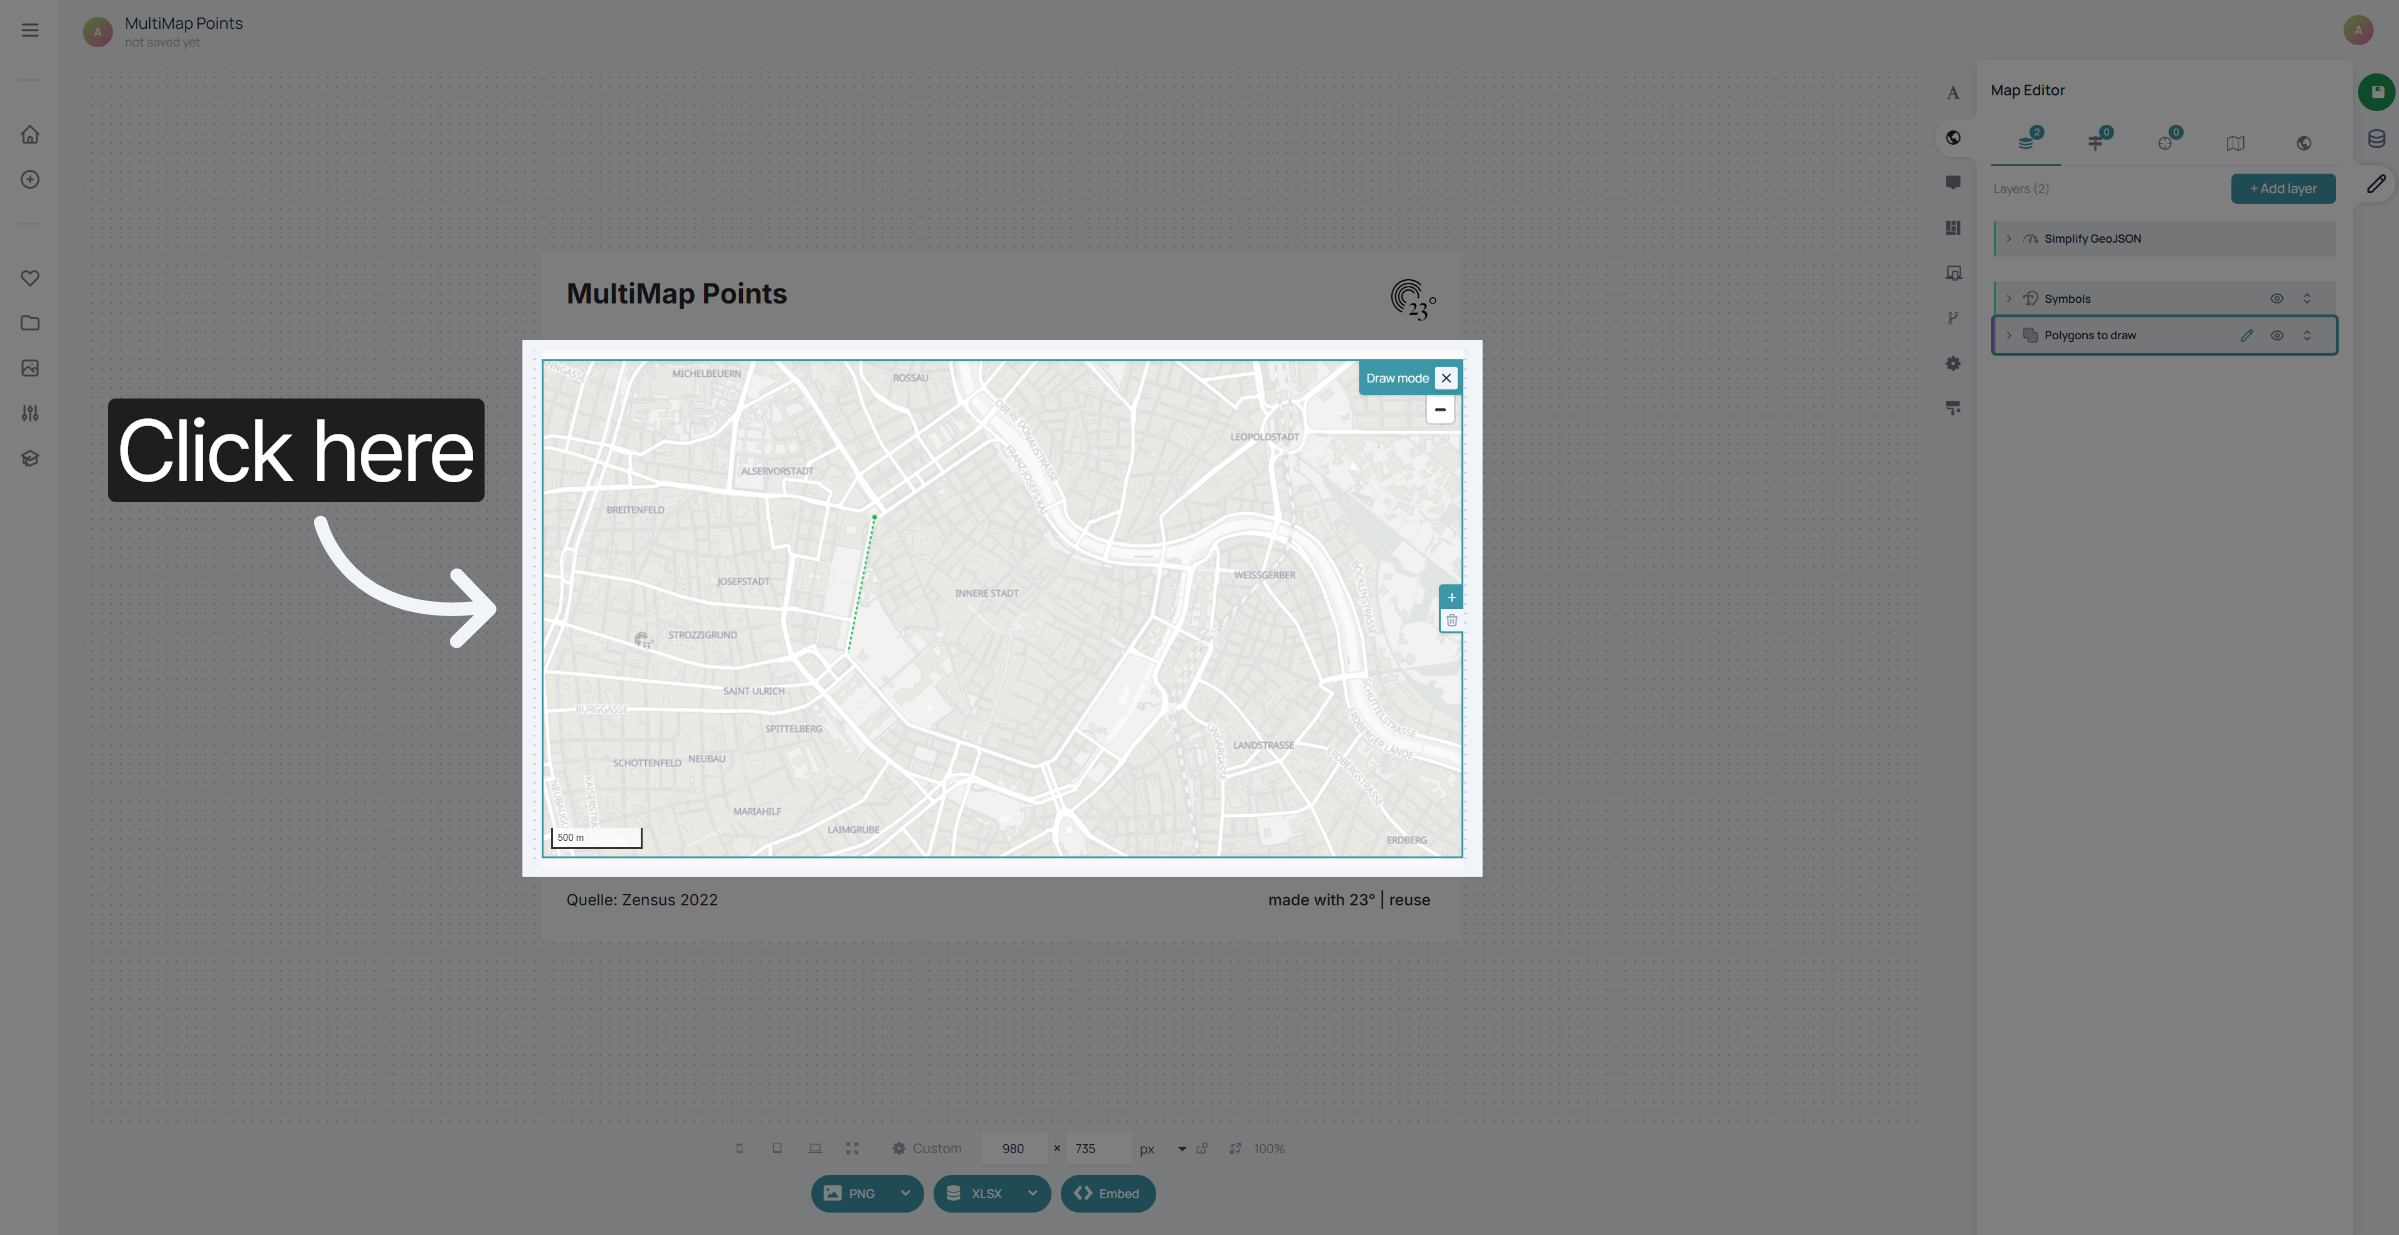
Now click on the other points you want to connect.
When finished and you are happy with your shape double click to confirm your shape.
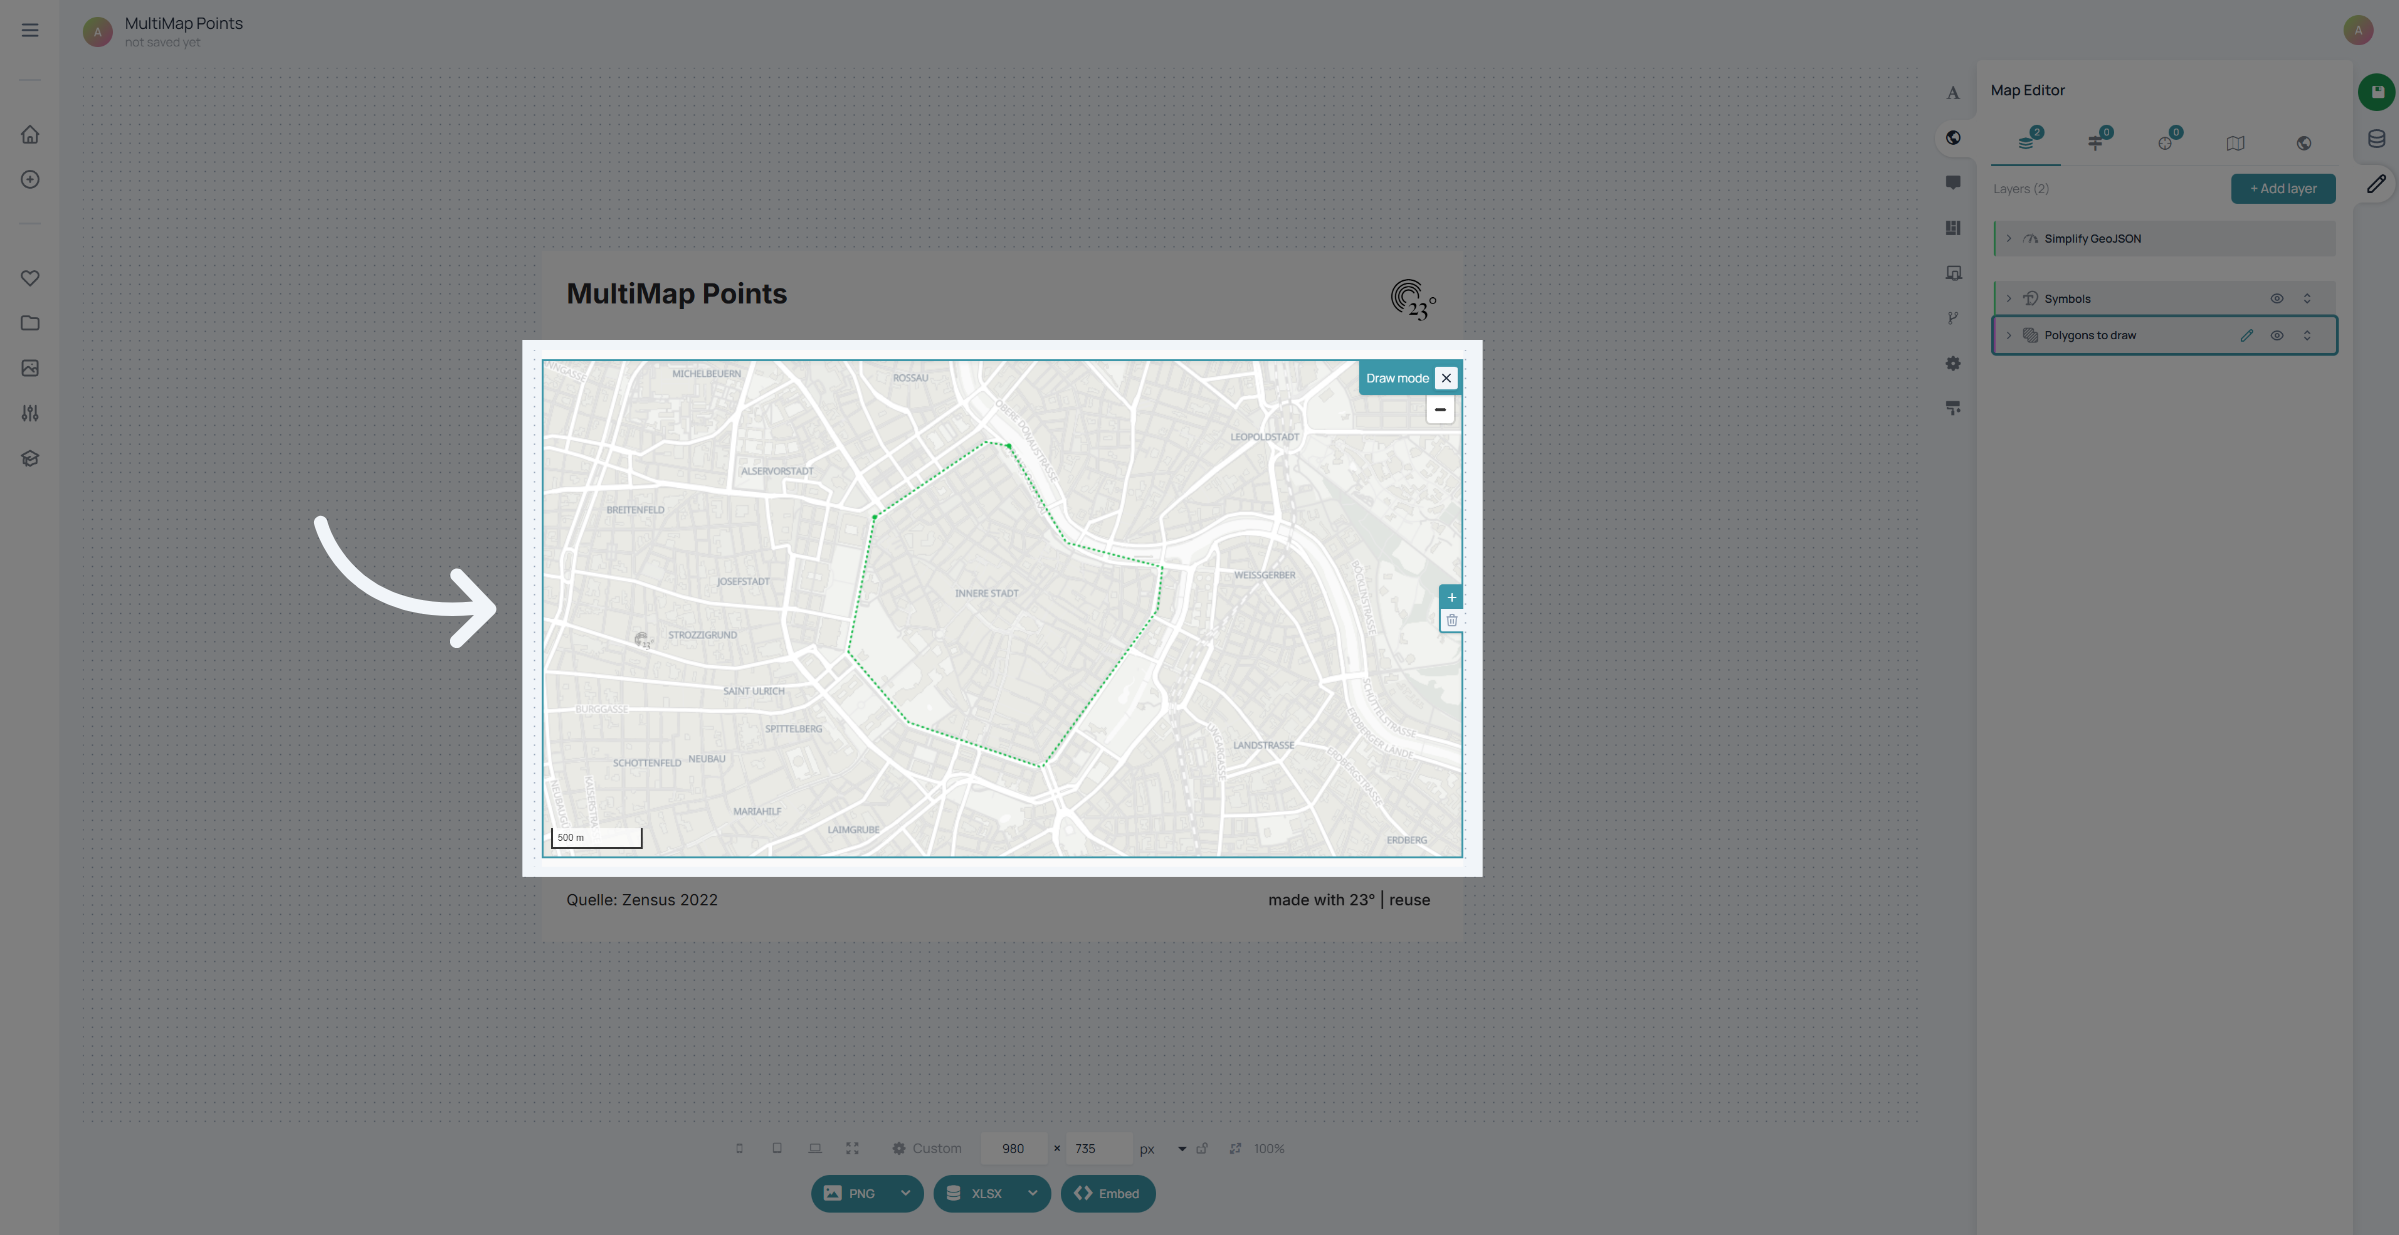
Your Polygon now appears with a default colour. To change it go to your polygon layer...
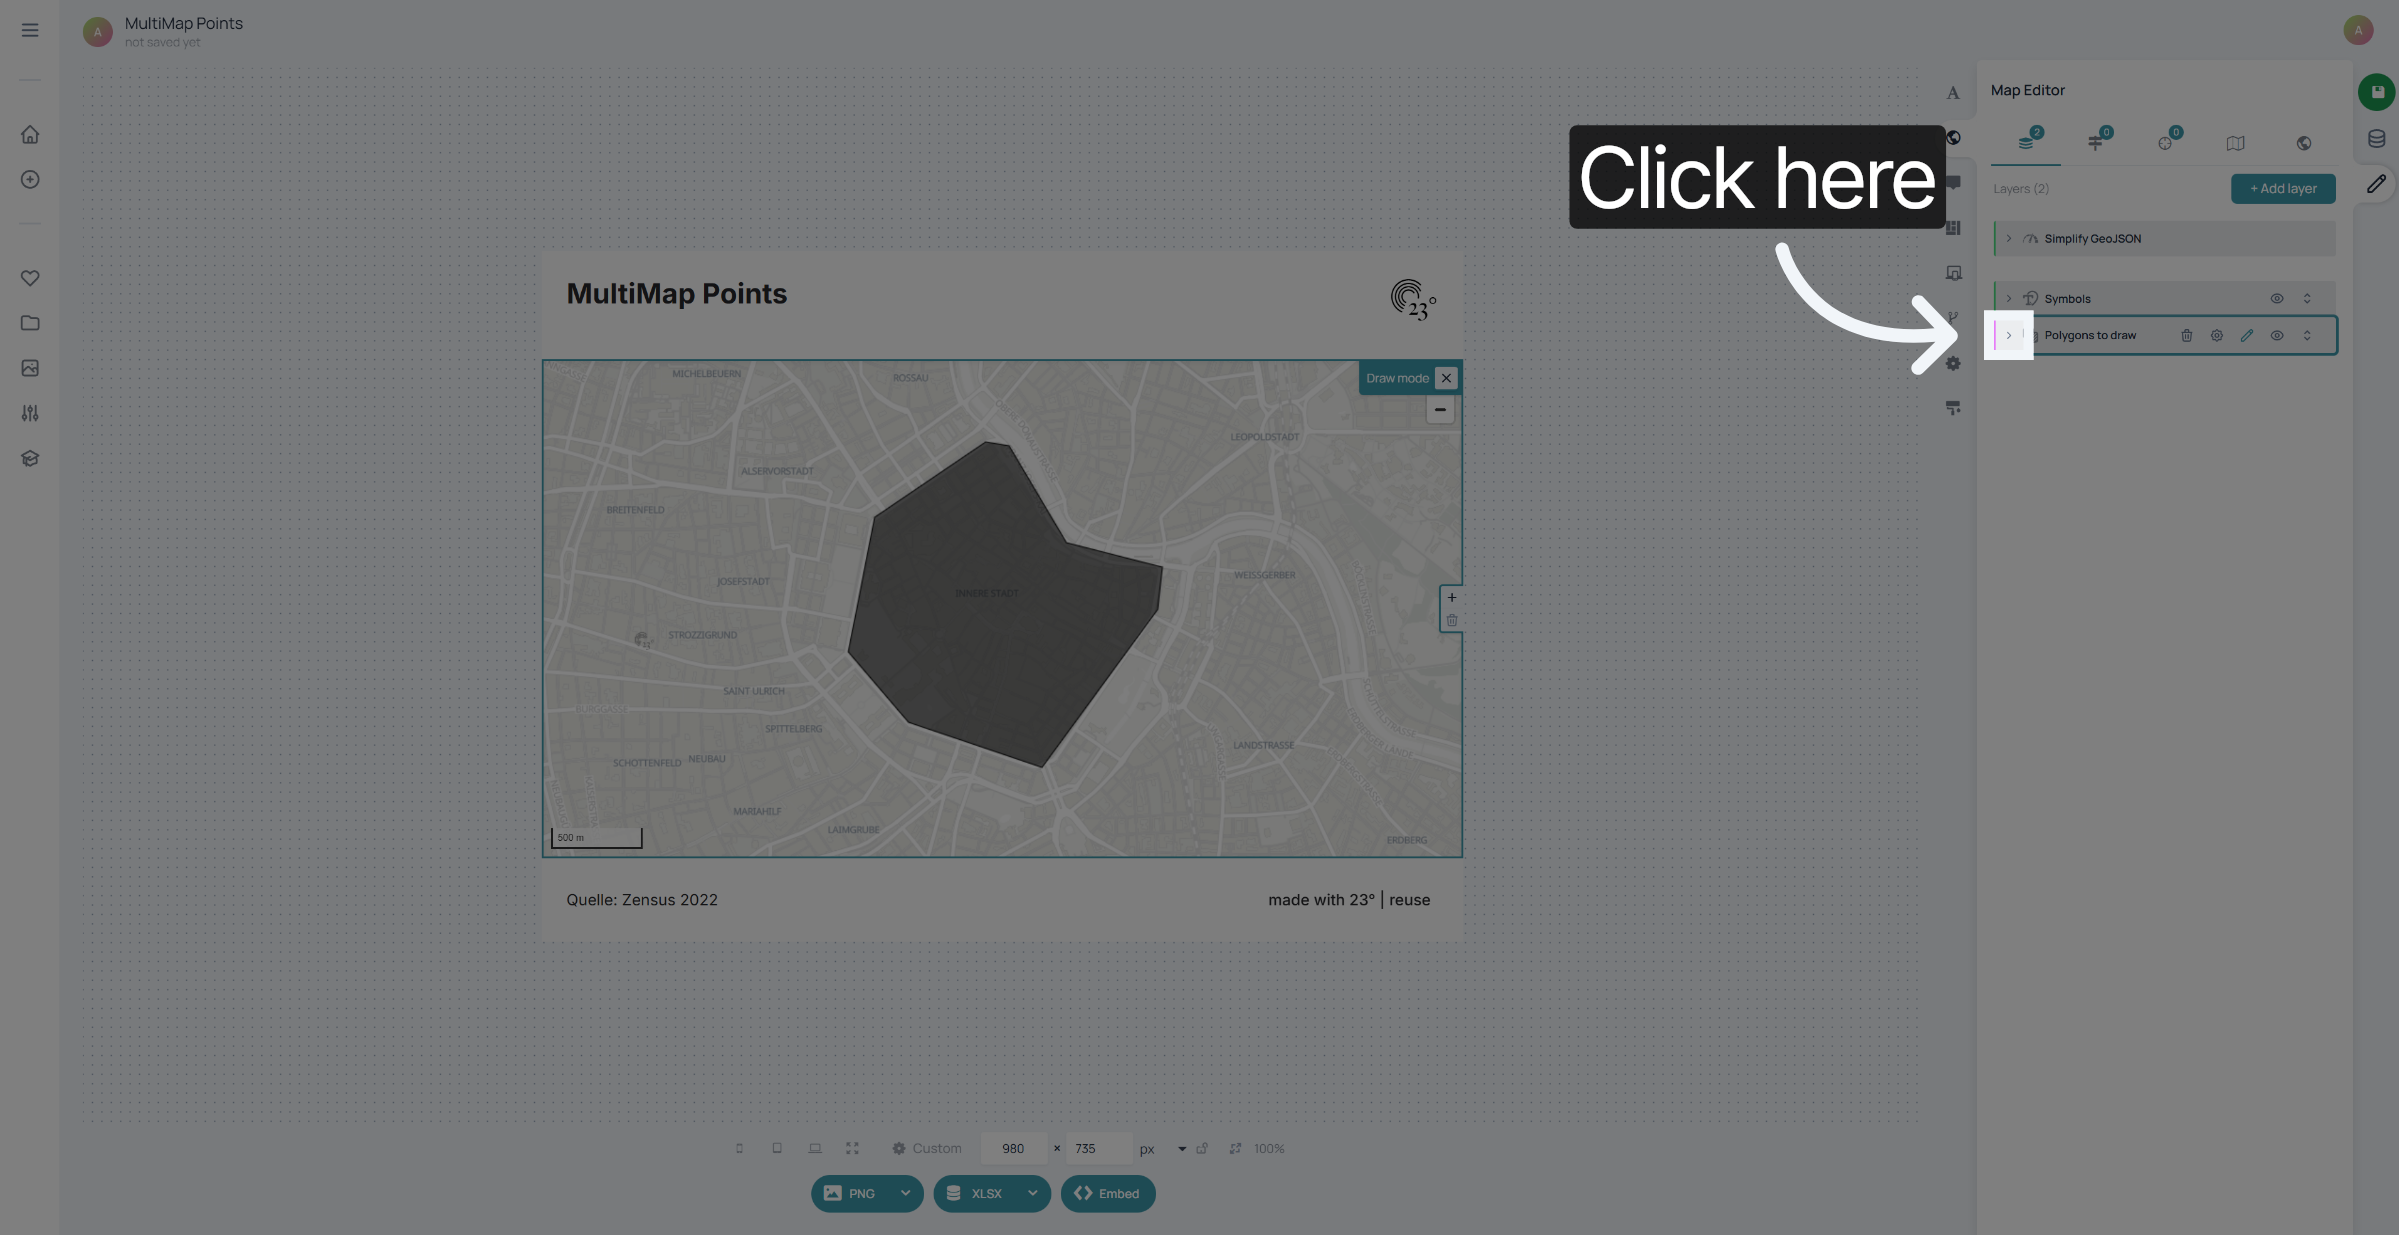
Select Fill..
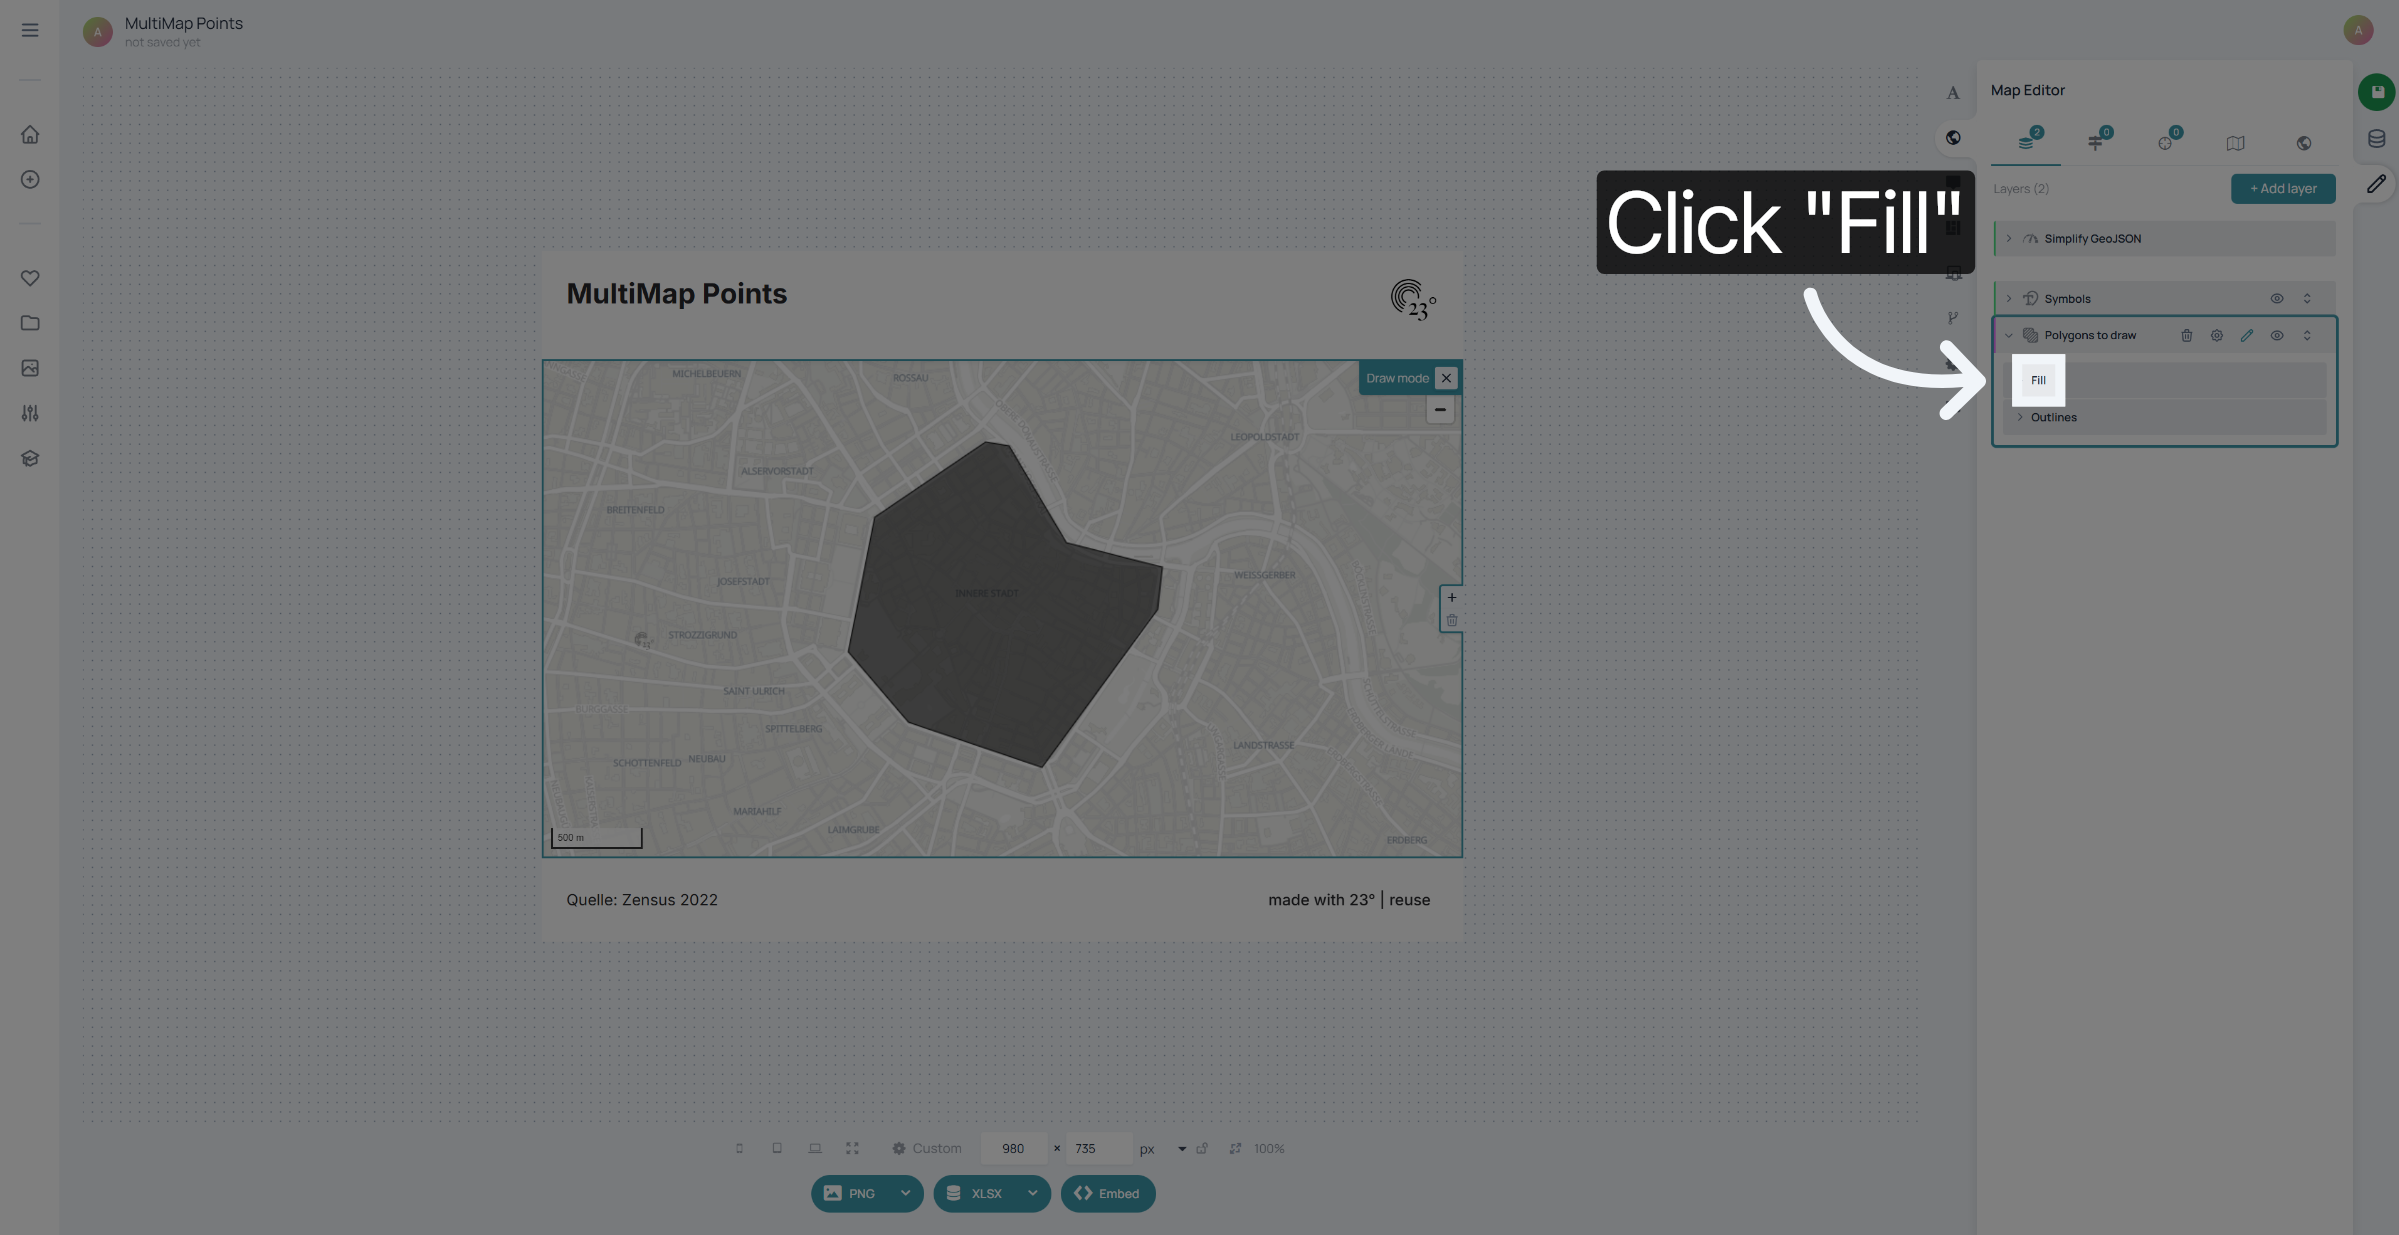
and choose the colour you want to use for your shape.
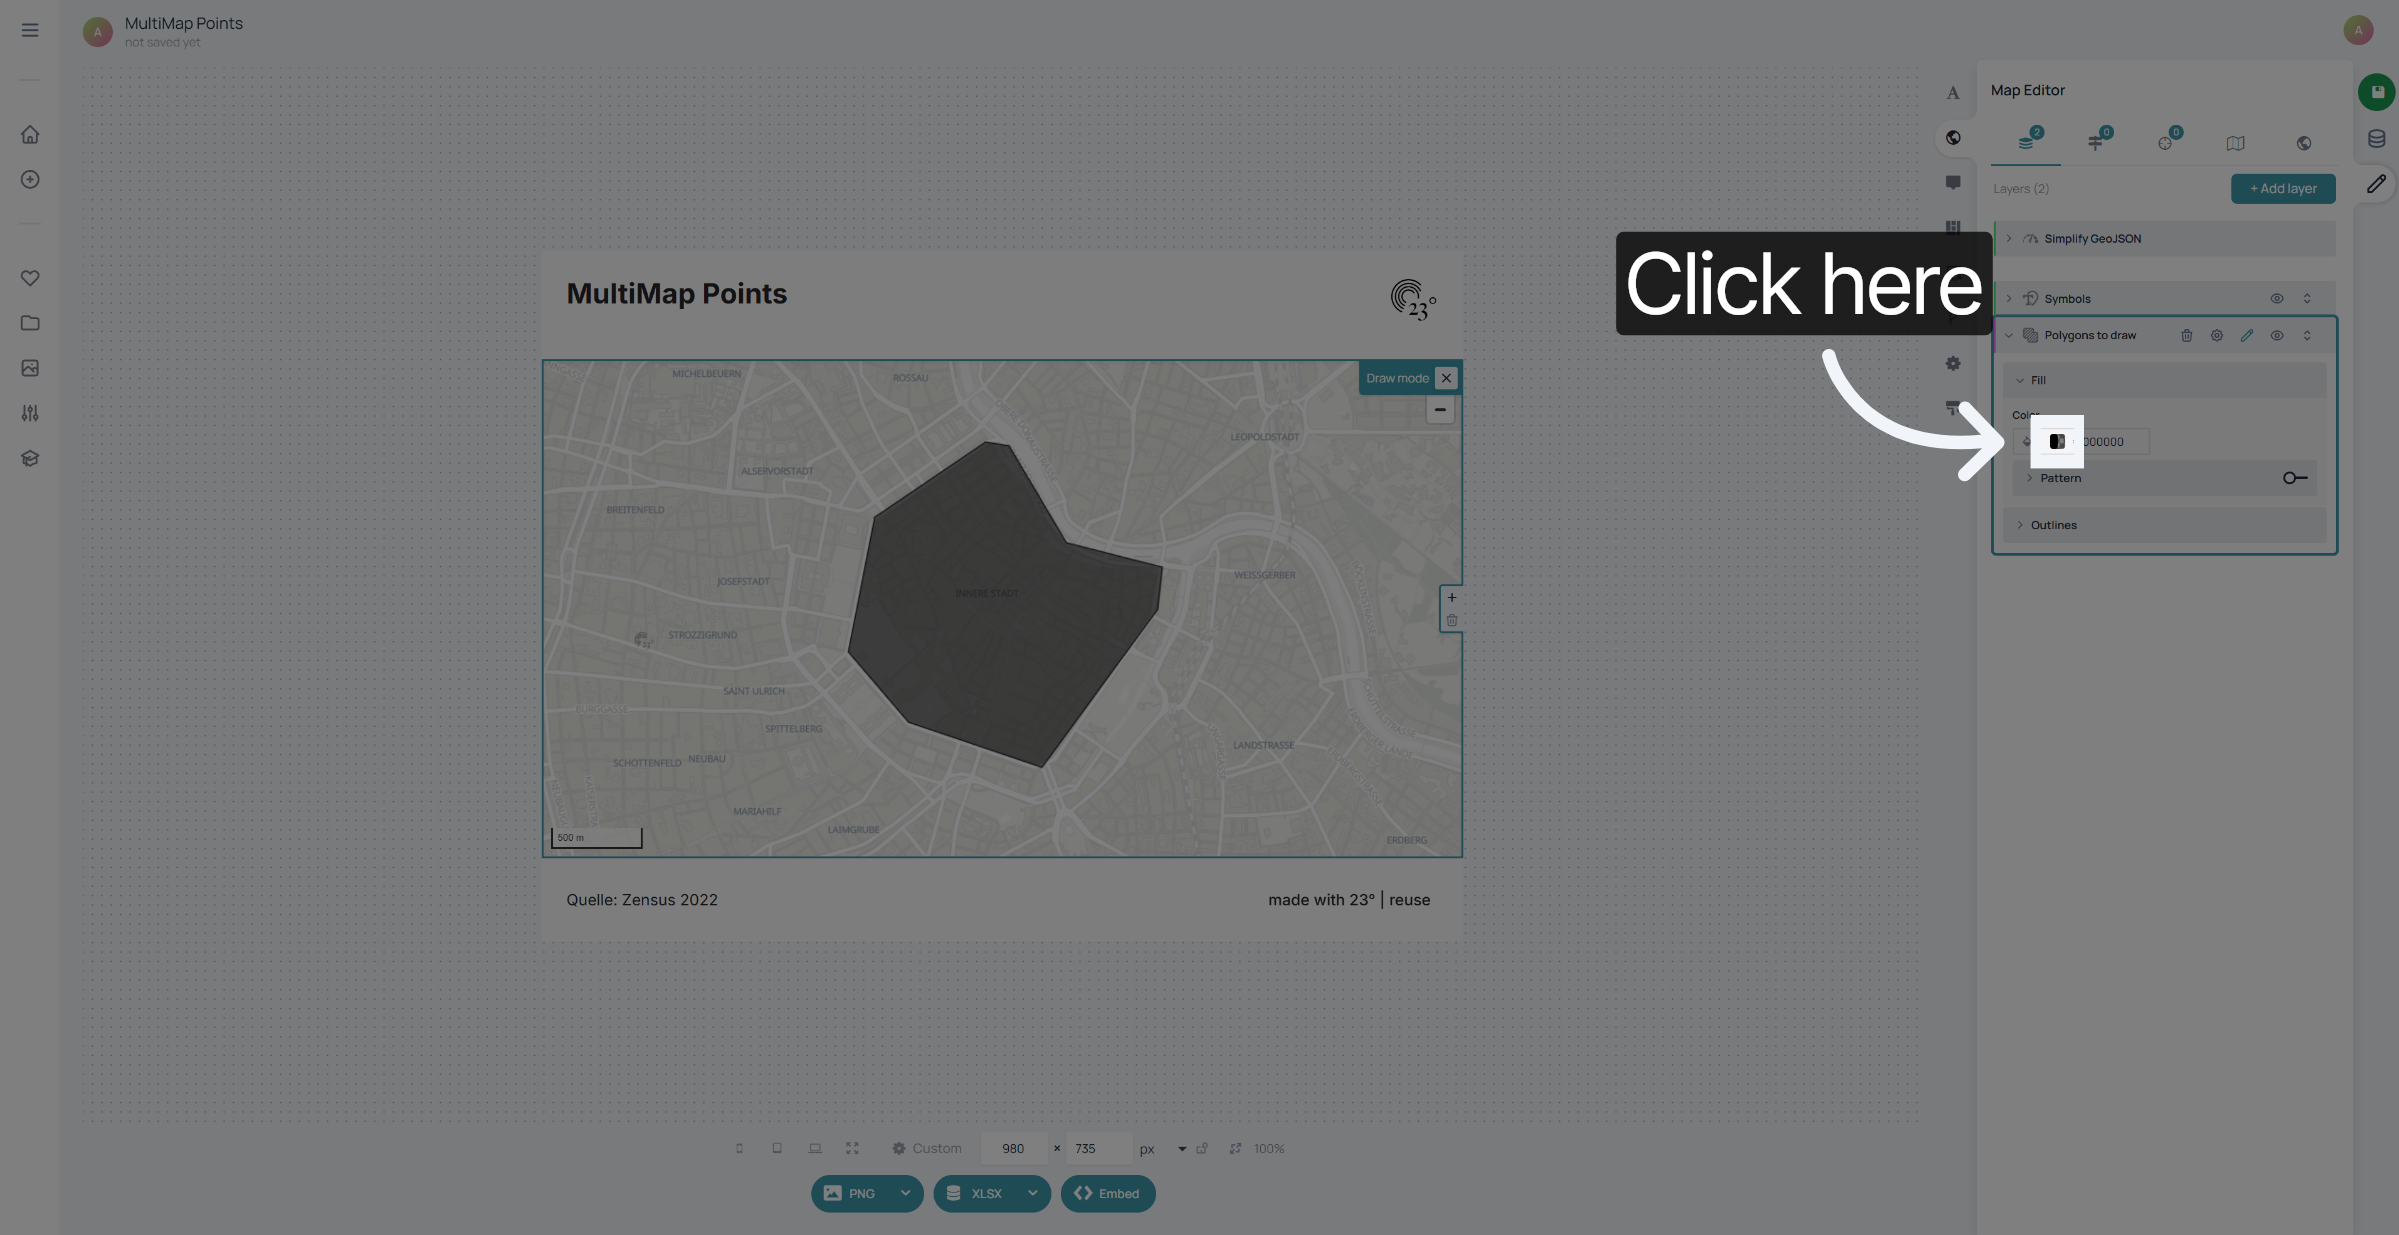
You can also display striped patterns within your polygon. Just activate the pattern function...
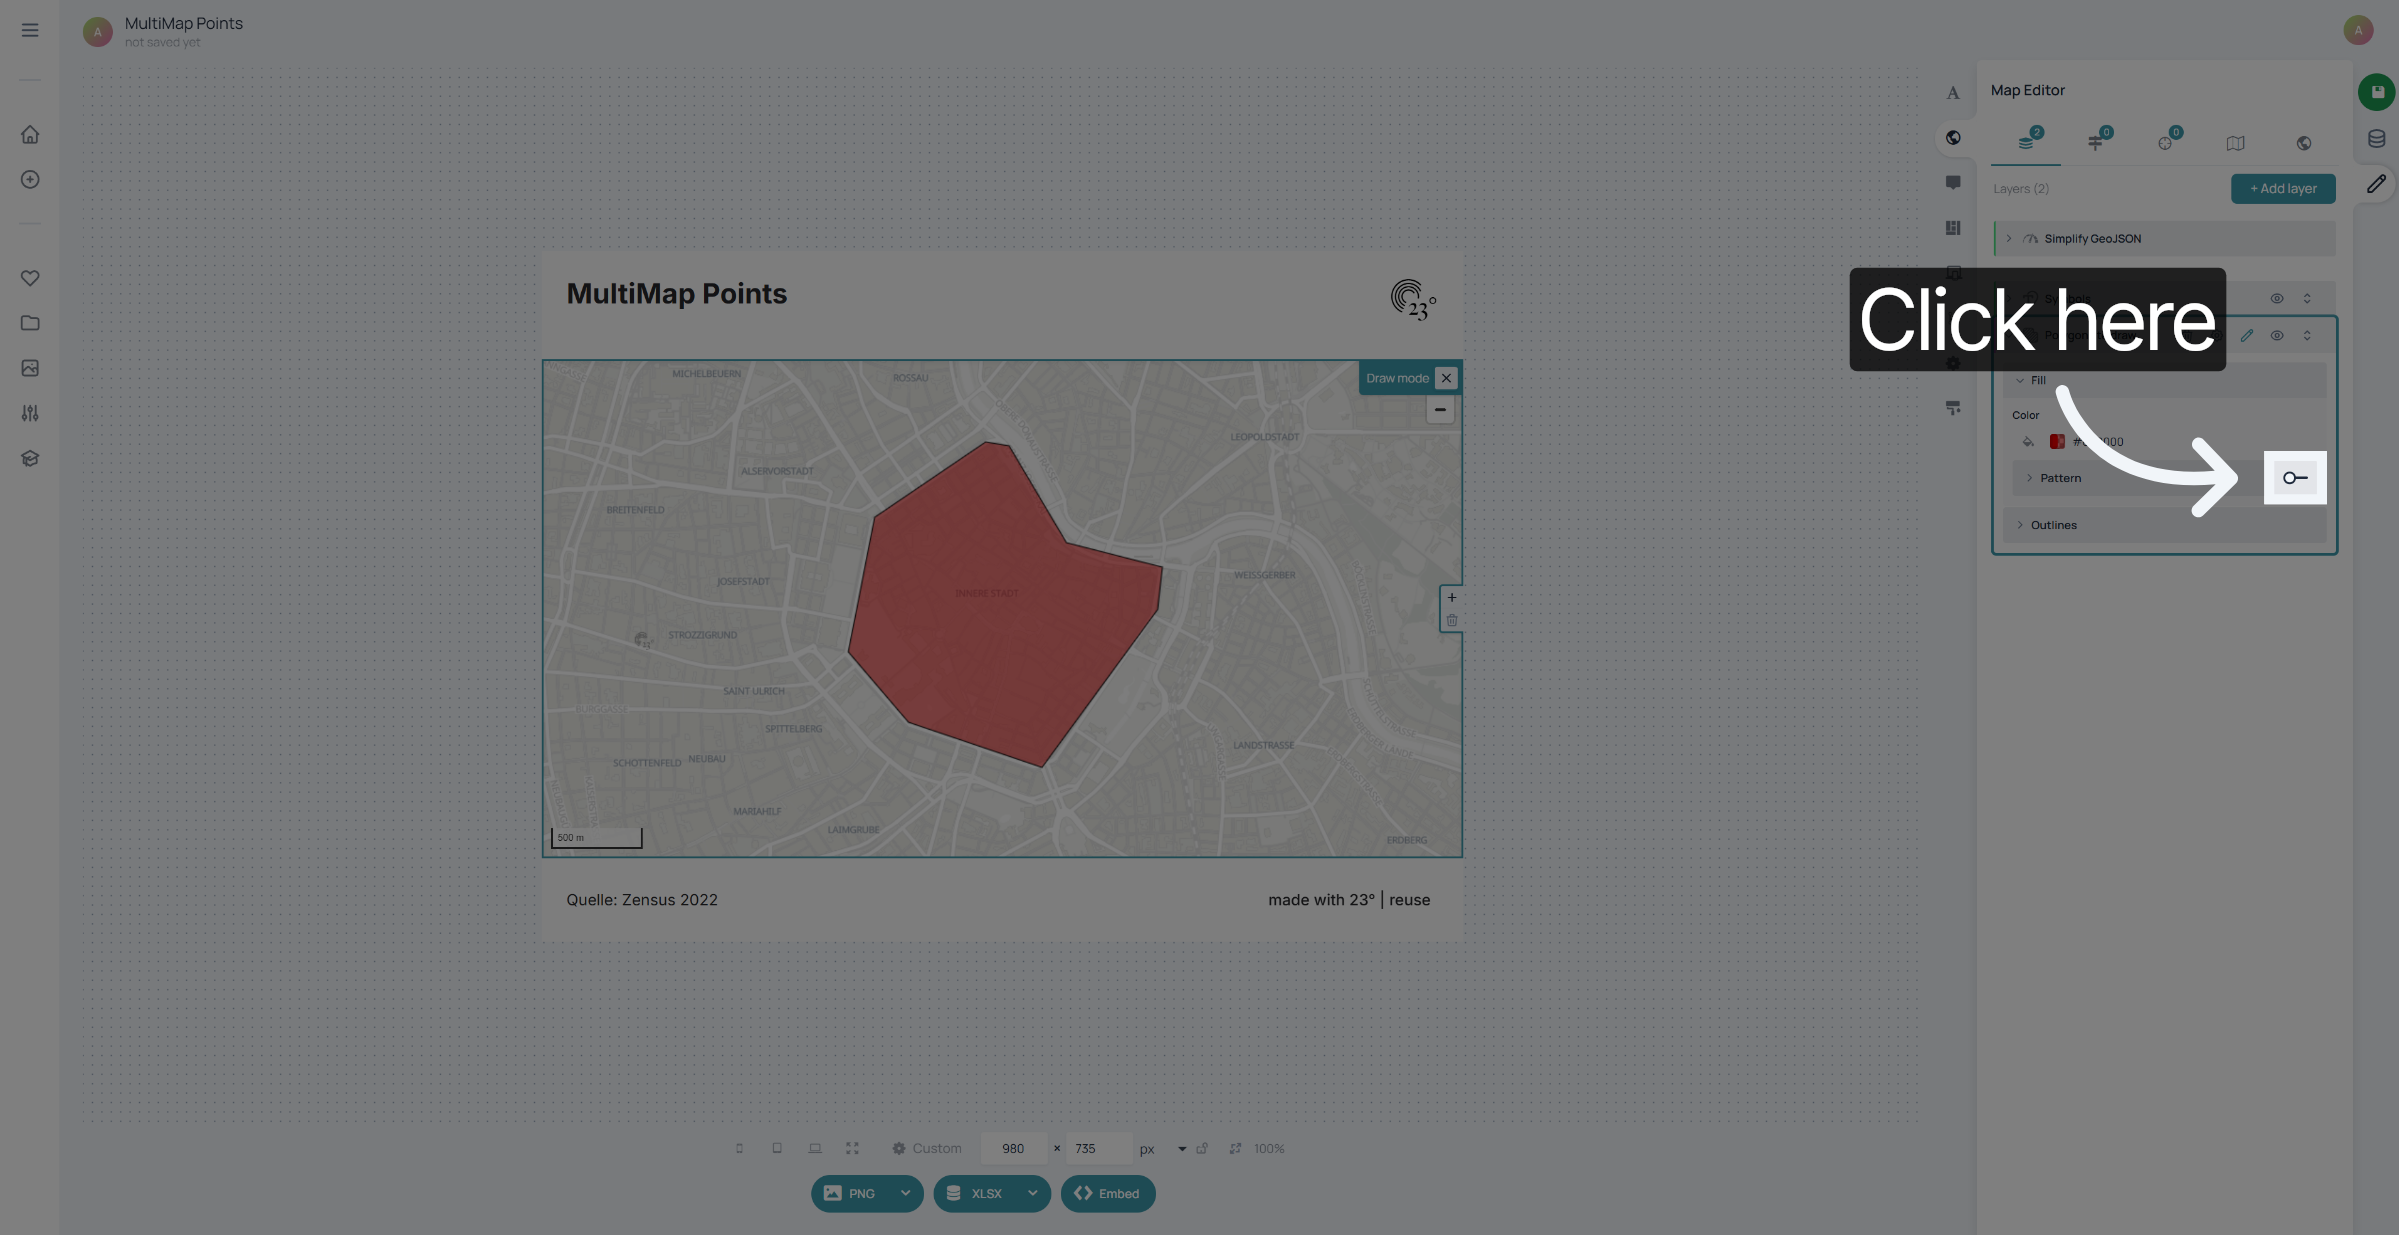
And Select a pattern from the media library.
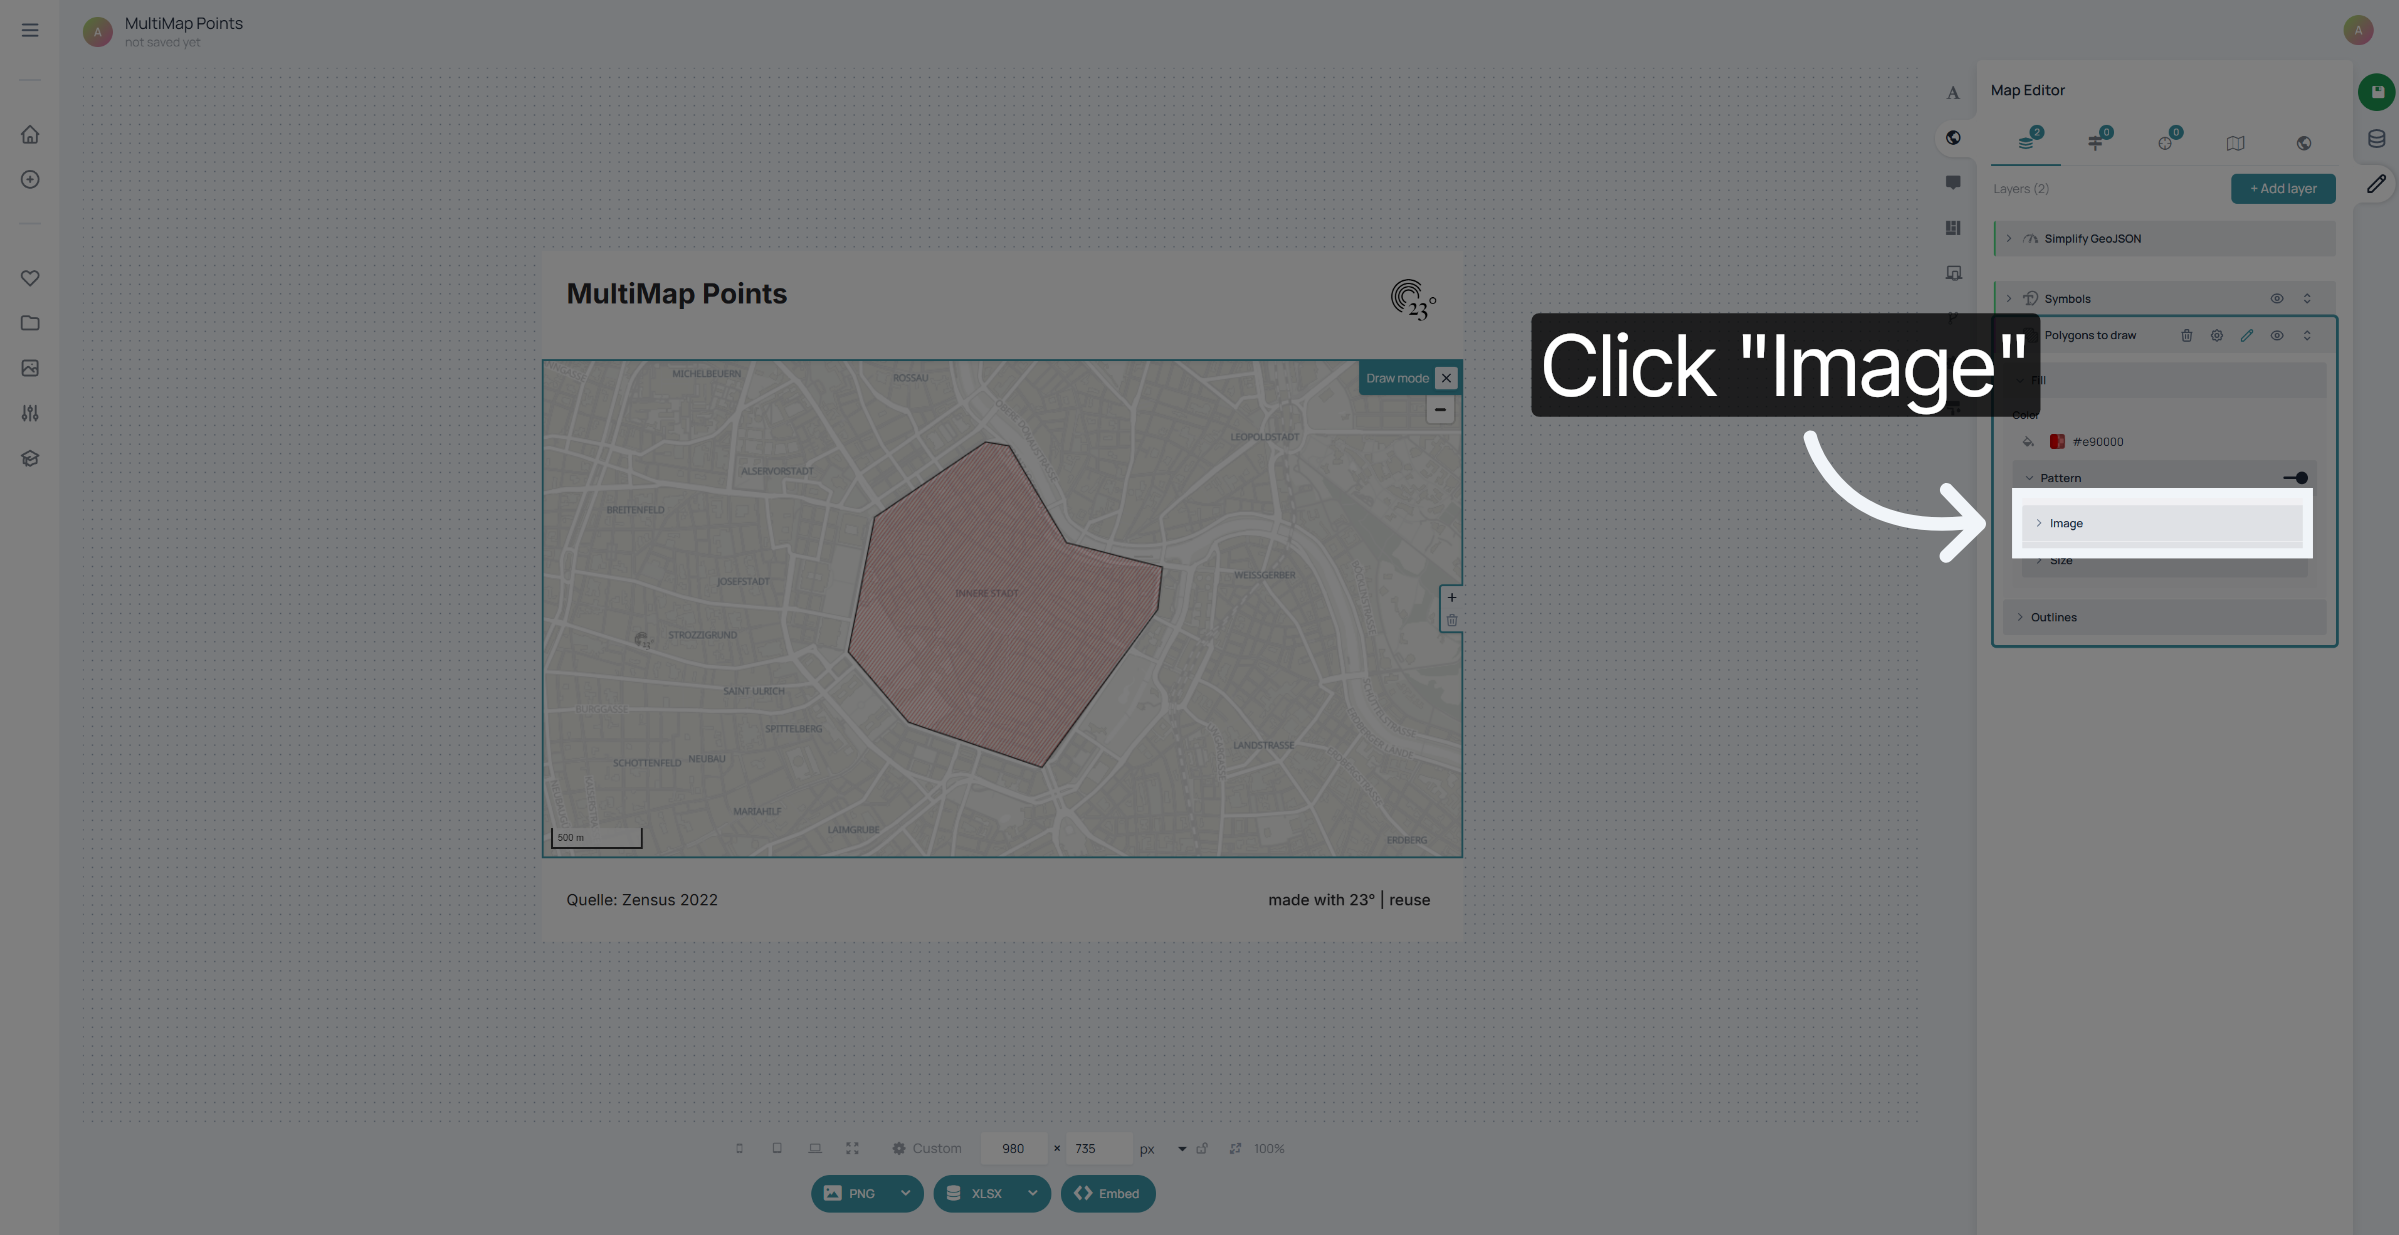
But you can also use the default striped pattern that we offer.
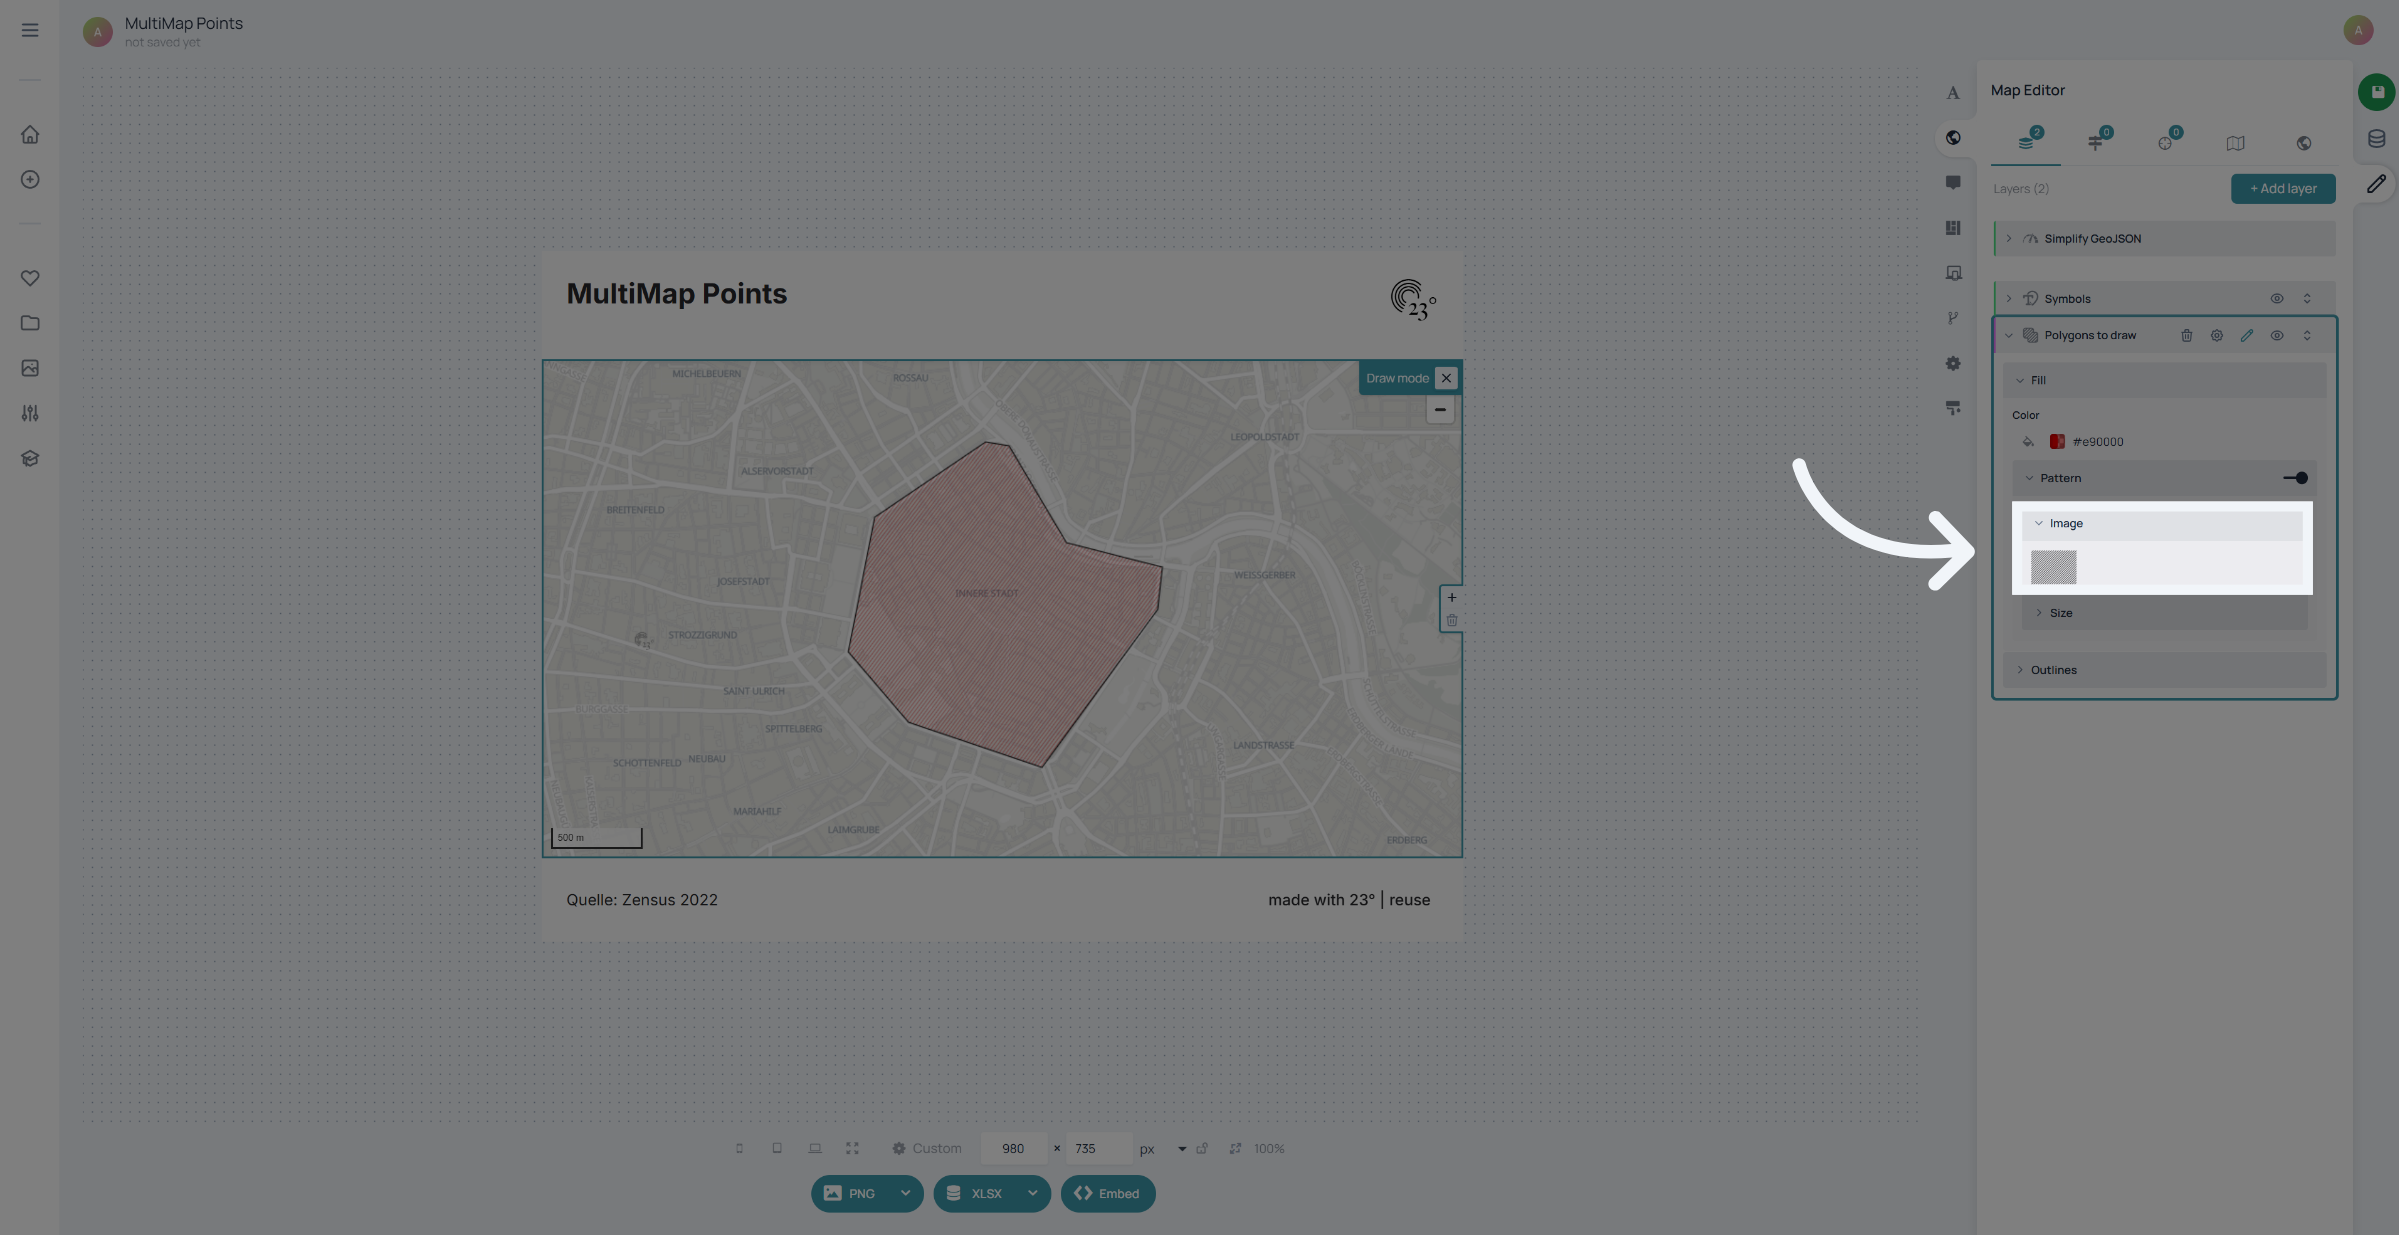
You can change the display of the pattern by playing around with the size values to find the best option for your use case. the bigger the number the more widespread the pattern lines will be
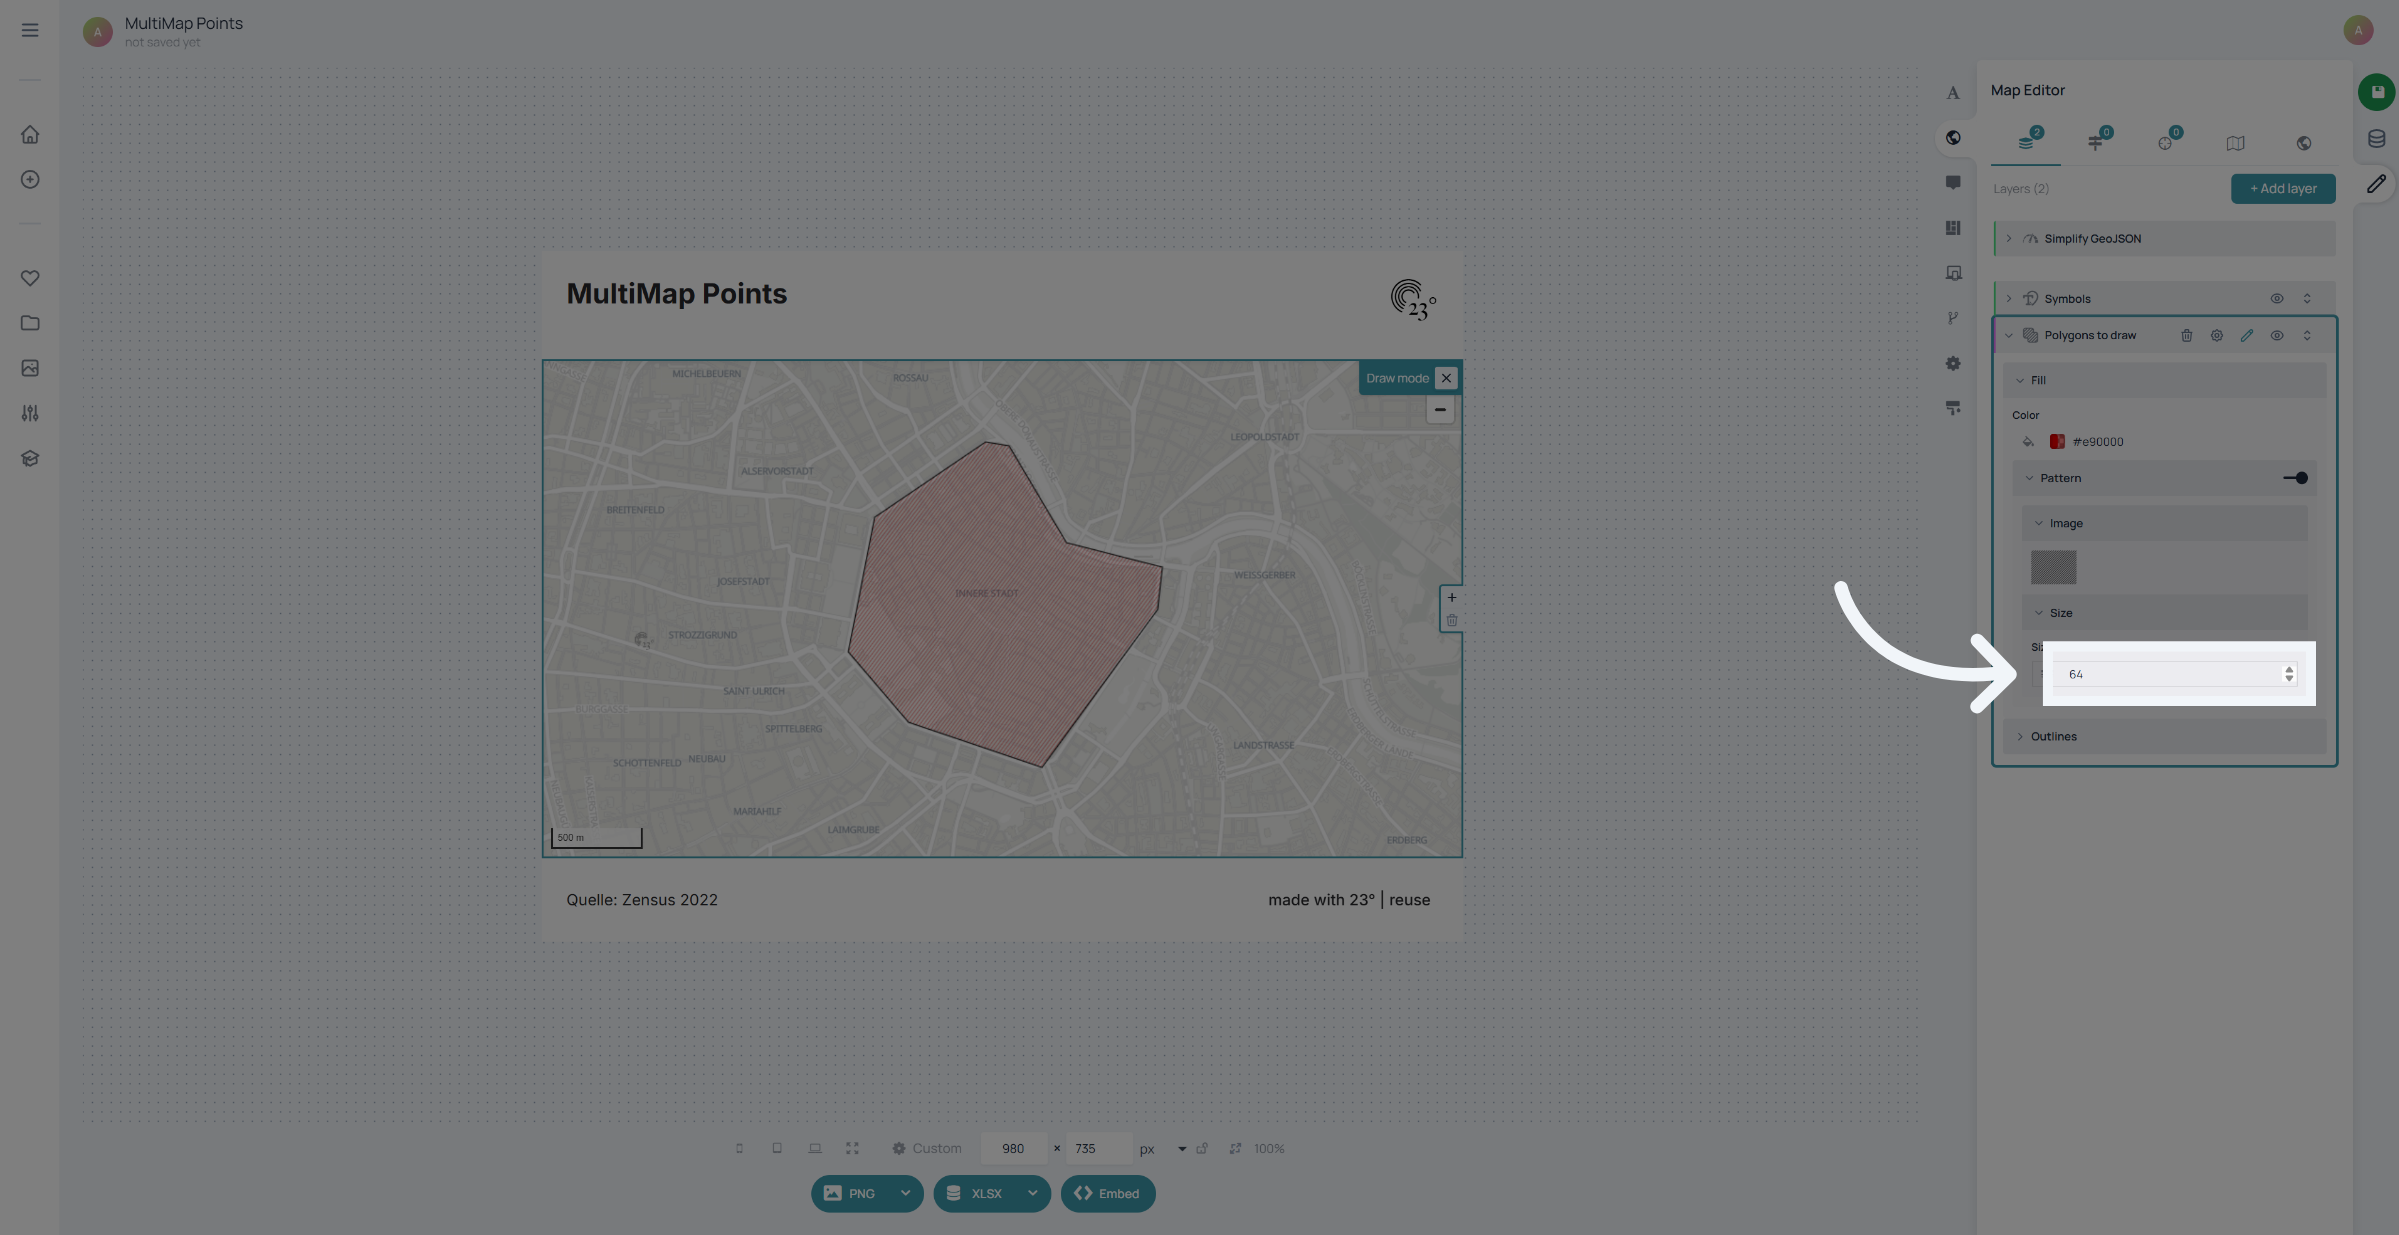
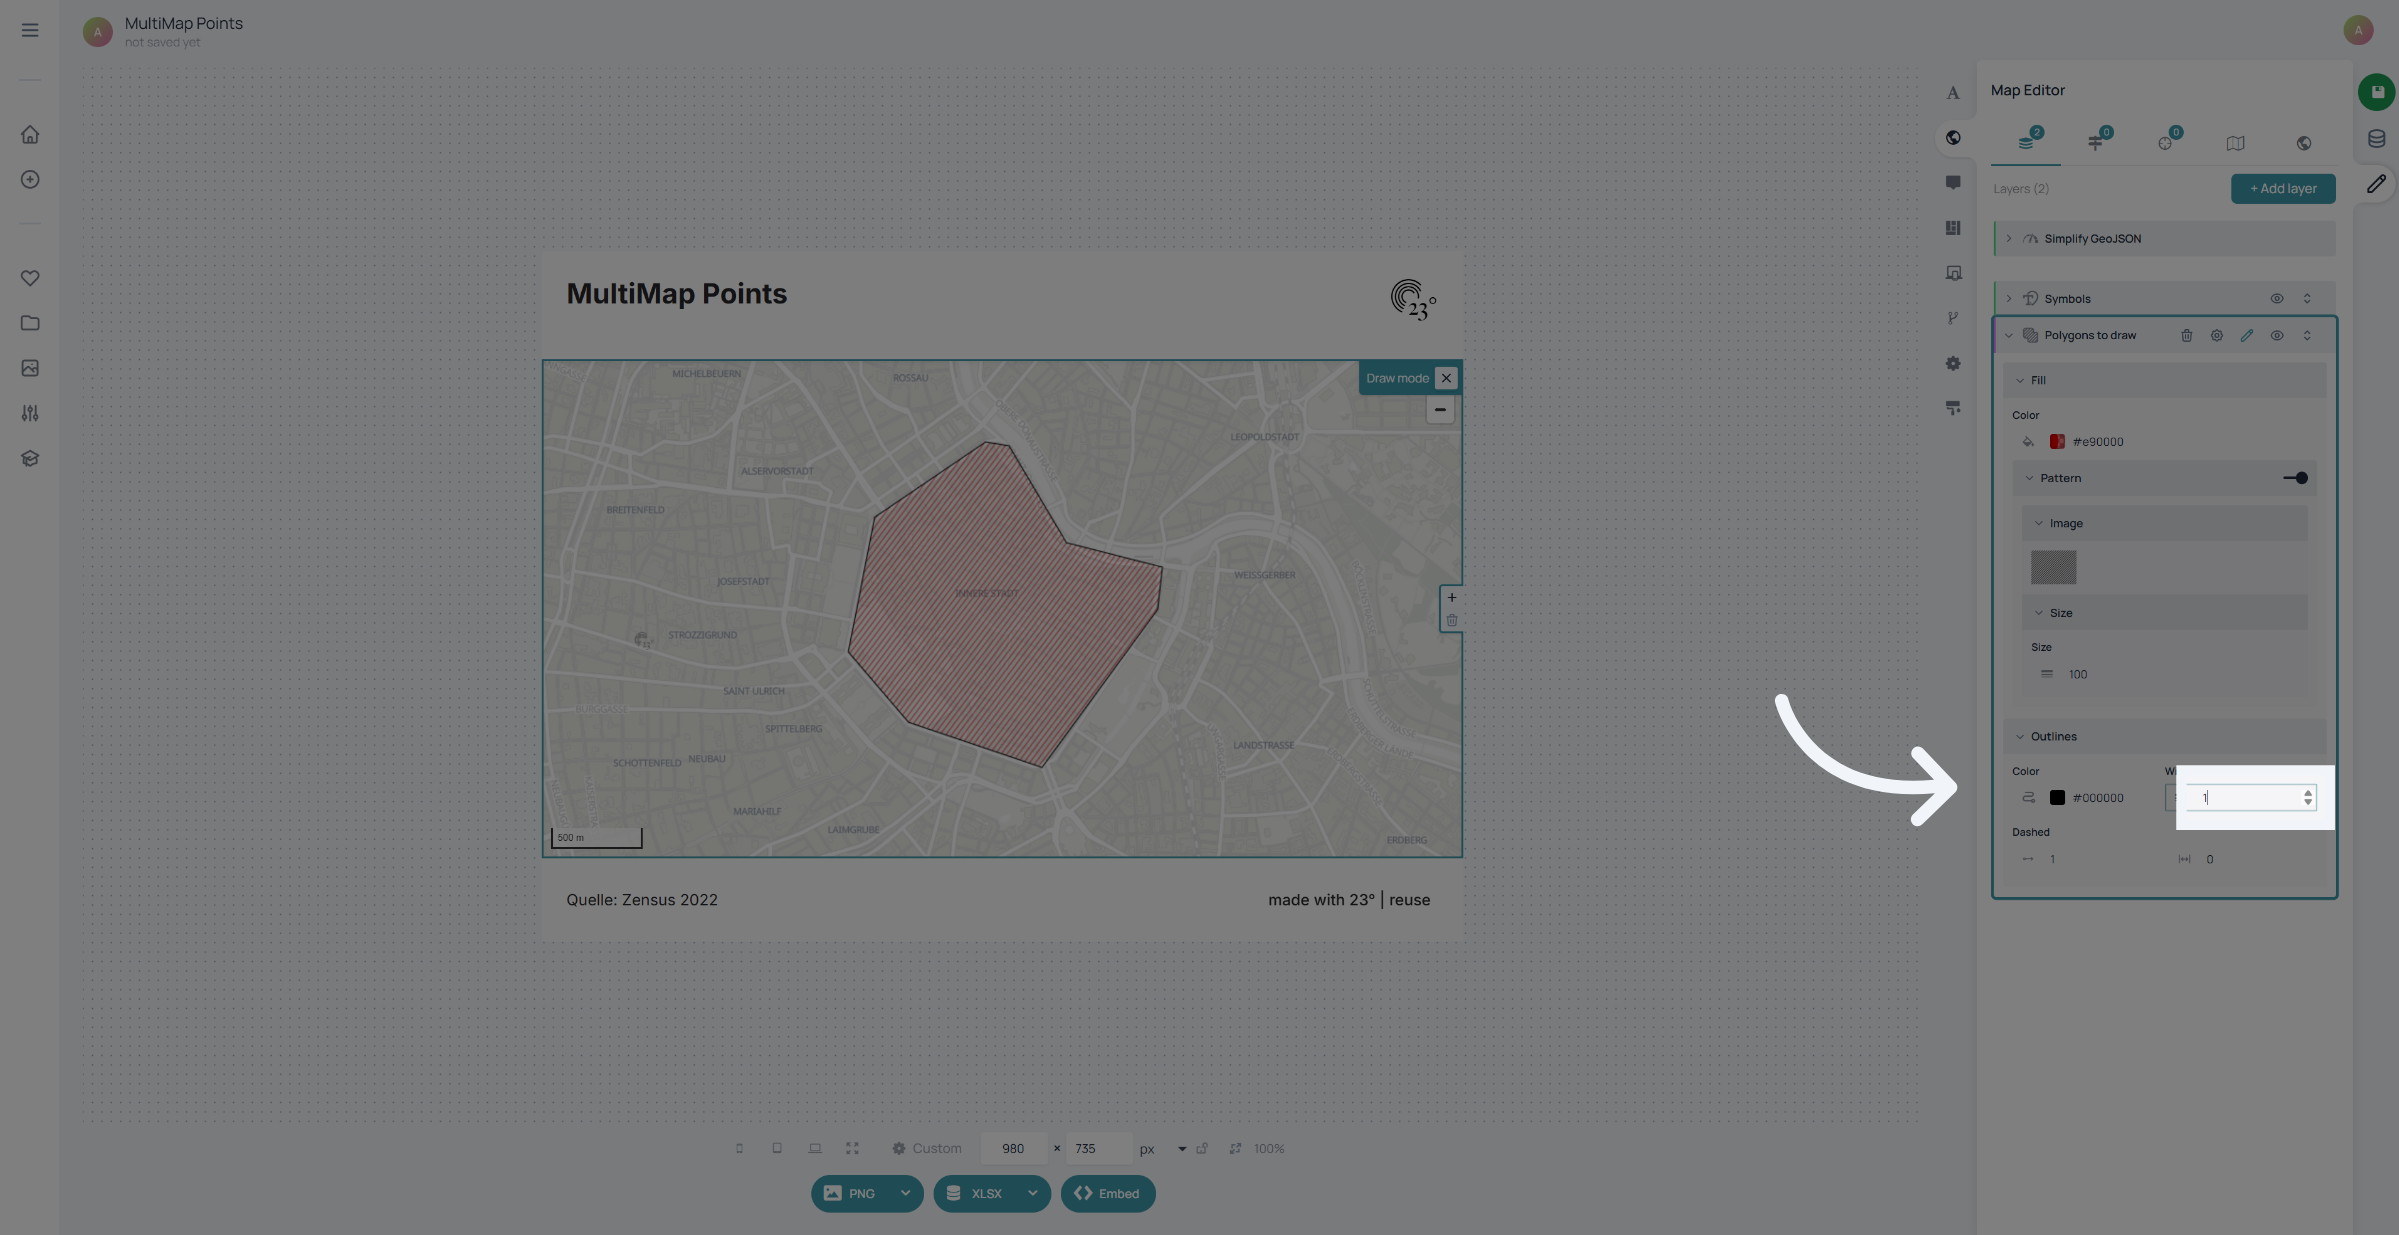
Click "Outlines" to adjust the polygon's border settings.
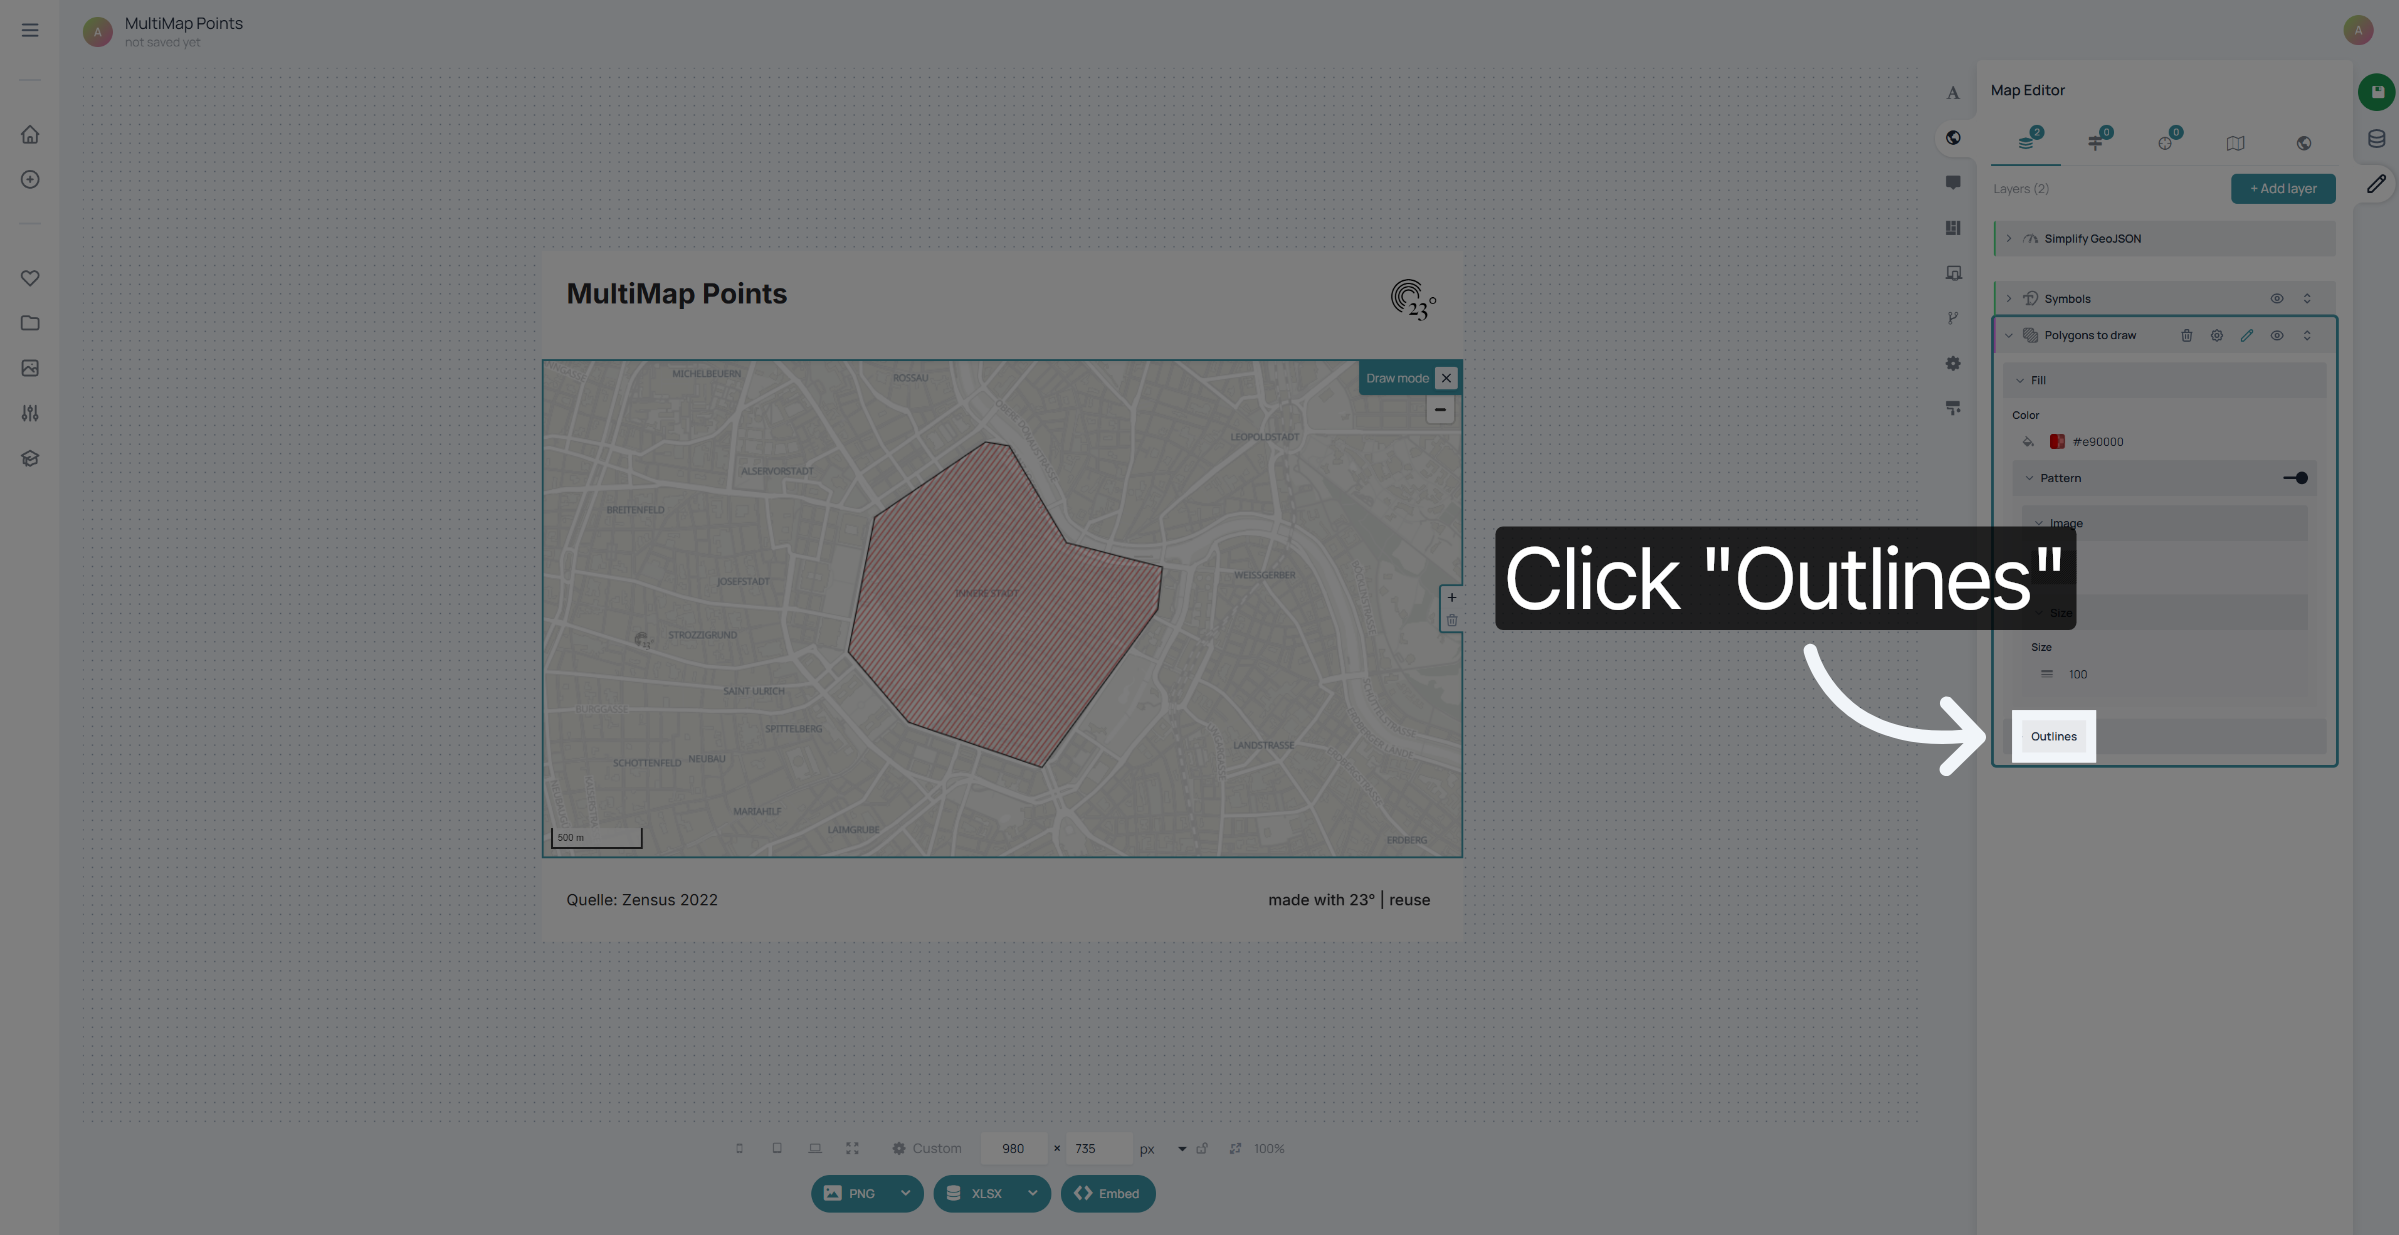
You can also set an outline width and colour for your shape.
You have successfully drawn and customized polygons on your map using the 23degrees application. Review your polygons to ensure they display as intended, and explore additional styling options to enhance your map visualization.